Miles
-
Posts
2394 -
Joined
-
Last visited
-
Days Won
37
Content Type
Profiles
Forums
Blogs
Events
Gallery
Downloads
Store
Everything posted by Miles
-

Porterfield brake pads/not the right size?
Miles replied to LoneStarS30Z's topic in Brakes, Wheels, Suspension and Chassis
From the Porterfield site AP137: Front for TOYOTA: 79-87 Pickup 4WD, 88 Pickup 4WD 4 Cyl exc. Turbo, 88 Pickup 4WD Turbo, 84-87 4Runner, 88 4Runner 4 Cyl, 76-89 Landcruiser Common brake pads for 240,260,280Z Upgrade Do you have this Toyota upgrade? What year Toyota? solid or vented set up? -
Brake booster and Master cylinder upgrade
Miles replied to milesz's topic in Brakes, Wheels, Suspension and Chassis
The 79 280ZX MC has the correct bolt pattern for the 240Z booster. I have used this set up for eight years with no problems. Stops fine with the Modern Motorsports Toyota 4x4 calipers up front and 240sx calipers in the rear. Unless you have an automatic 240Z, it is difficult to mount a larger booster because the clutch MC is in the way. Note if you use the 280ZX MC you will have to adjust the push rod that comes out of the booster to be a little longer or you will have too much brake travel and your car will not stop very well. But don't screw the push rod out too far or you will lock the brakes. See brake section for details. You can adjust the push rod on the car by unbolting the MC, leaving the lines hooked up, by removing the nuts holding the MC to the booster and then pulling the MC away from the booster to access the push rod adjustment. Adjust the push rod out in small increments, bolt the MC back on and test drive the car after each incremental adjustment to the push rod. If the brakes lock up you will need a 10mm wrench to open the MC bleed screws to relieve the hydraulic pressure that has accumulted in the hydraulic system. Of course you will need to back off the push rod lenth just a bit if you lock the brakes. Took me three tries to get the optimum push rod length and yes I did adjust the push rod out a bit too far once and had to open the the bleed screws on the MC to get back home. No big deal. There are some good threads in the brake section that explain the push rod adjustment. One of the threads has a drawing showing the relative positions of the 240Z and 280ZX push rod lengths. You can use the indicated length as a starting point. Note be careful not to pull the push rod out too far and drop the reaction disk inside the booster. The brakes will never be right if that disk is missing. See FAQ sticky for the discussion on lost reaction disks. -
Before you remove any wires go through the engine bay and tag each wire with a number on an address lable and document the number, function and color code on a wire list. If you are not sure about the function of the wire, test it with a volt meter etc. Take lots of close up pictures of the wires. When you do start disassembly of the wiring, unwrap the wiing harness keeping the numbered tags on the wires. Separate the wires you need from the harness, but do not cut any wires until you are ready to route and re-attach them.
-
Newbie trying to plan first build
Miles replied to SonewSodumb's topic in Gen I & II Chevy V8 Tech Board
Your sucess will depend to a large degree of how much planning you do before starting the actual build. Take your time and plan the project system by system. If you are handy with Excel, make a spread sheet that lists all of the parts you will need to buy showing source, p/n, cost/part and summery of total cost. I spent about three months planning and revising my spread sheet before buying parts. This gives you a purchase plan and helps budget your money. It also helped me avoid the "while I'am at it" syndrome. If you want a reliable daily driver keep it simple and use tried and true engine, drivetrain, fuel system, cooling system and brake system approaches found here and the JTR book. -
Is the MSA kit actually molded or cut and stiched?
-
Source for 15/16" or 1" brake master cylinder
Miles replied to wheelman's topic in Brakes, Wheels, Suspension and Chassis
Z Car Source of Arizona, Pep Boys, JC Whitney have the MC. -
Source for 15/16" or 1" brake master cylinder
Miles replied to wheelman's topic in Brakes, Wheels, Suspension and Chassis
A 1"" bore is too large. You want the 79-81 280ZX MC. Have you tried Motor Sports Auto (MSA) or Black Dragon (BD)? BD sells the 280ZX MC for $139.95. -
Car starts but dies when reved
Miles replied to CaptainJoe87's topic in Trouble Shooting / General Engine
Check out a Haines manual for a 280ZX. There might be a section on checking out the fuel pressure regulator. -
Car starts but dies when reved
Miles replied to CaptainJoe87's topic in Trouble Shooting / General Engine
Does it work? -
Car starts but dies when reved
Miles replied to CaptainJoe87's topic in Trouble Shooting / General Engine
Is your 280ZX equiped with a fuel pressure regulator? Try a search on it. -
Car starts but dies when reved
Miles replied to CaptainJoe87's topic in Trouble Shooting / General Engine
Try typing "280ZX dies" into Google. You should get a large number of hits with your specific problem. What you are describing appears to be a common problem for the 280ZX. Also, try the ClassicZ Club website. They specialize in stock Z cars and have probably delt with this problem. Do you have a Haines 280ZX manual? Follow the procedures for working on the fuel system. Post back here when you find the solution to help others who may have the same problem. -
Car starts but dies when reved
Miles replied to CaptainJoe87's topic in Trouble Shooting / General Engine
There is not enough information. You need to provide details e.g., year/make/model of car, carb or FI, specific mods that you have done etc. Have you checked battery voltage? A discharged battery can cause the symptoms you listed. Sparking relay - get a schematic and find out what the relay does. Do a search as members have posted schematics. -
Car Won't Go Into Gear When Running
Miles replied to 240zBoy's topic in Gen I & II Chevy V8 Tech Board
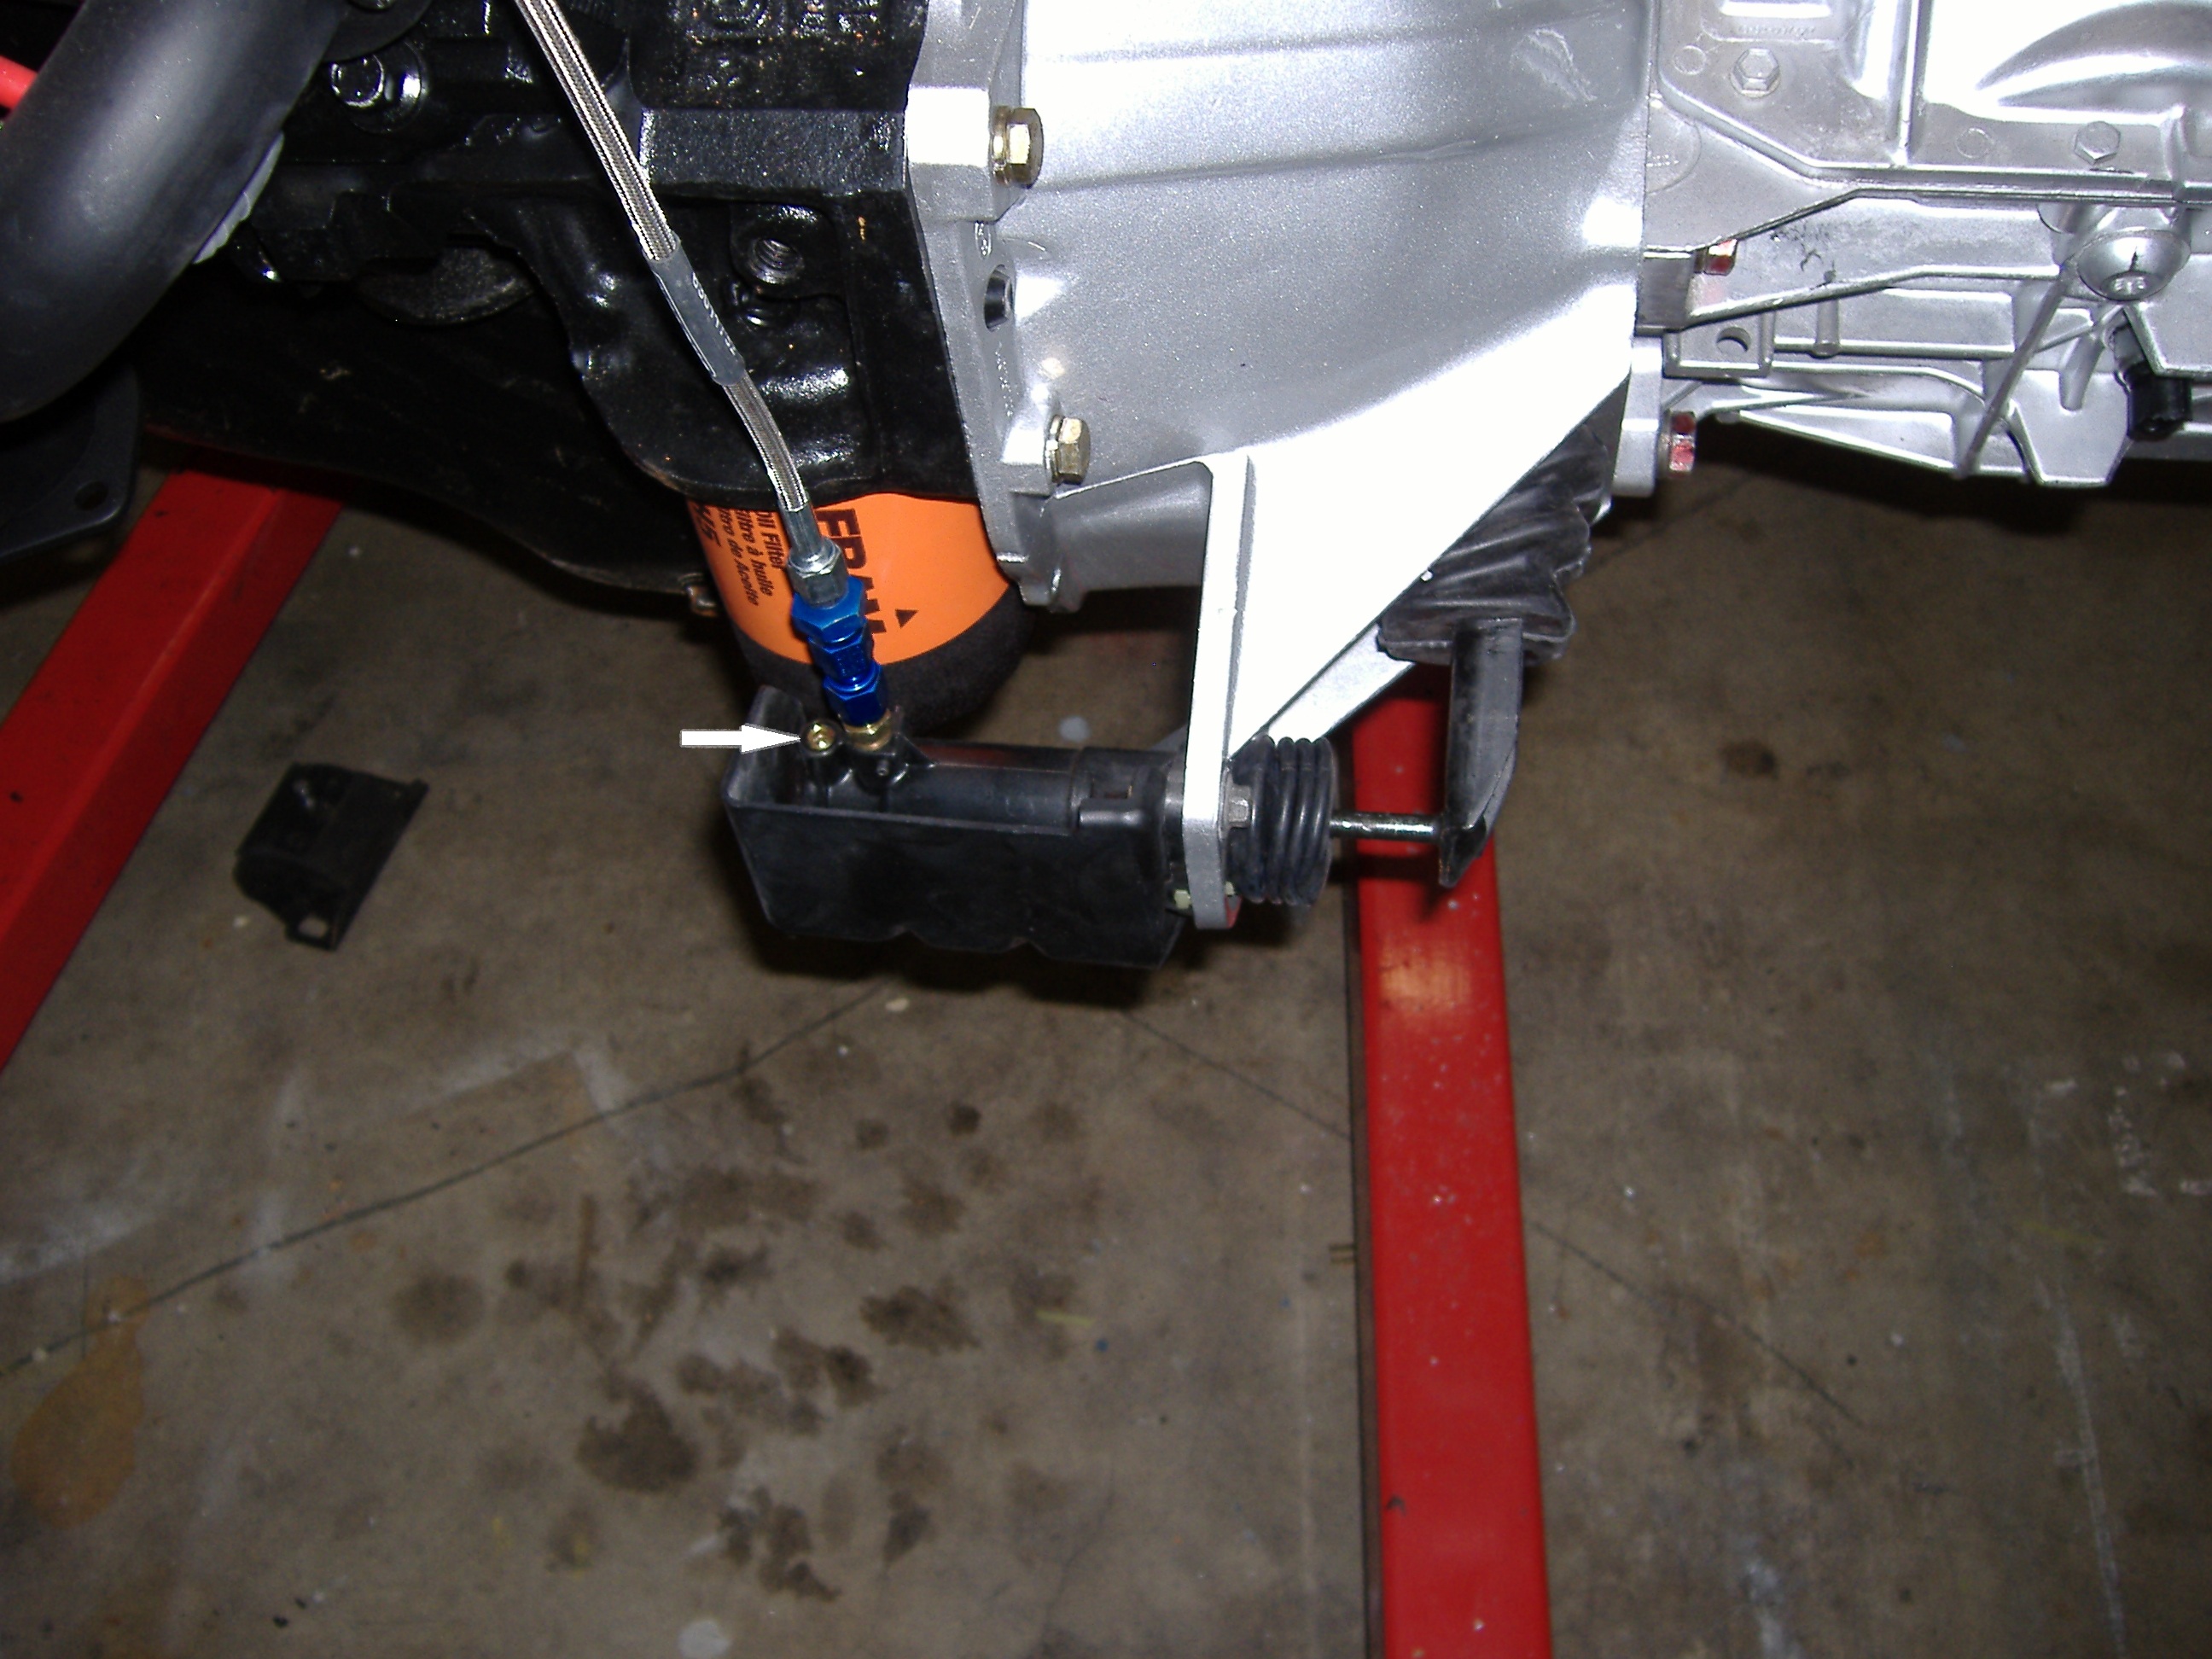
The Napa Camaro slave is plastic. See picture of my previous post. There is a company that makes a metal version. I have used the Napa plastic version on two builds and never had a problem. The bleed screw is on top. Napa Camaro slave UP37821 $43.98 -
How did you bed the pads?
-
I researched the R4S pads for my 240Z and most of the Honda, Mazda, BMW and Nissan sites report that the R4S pads have a good initial bite and improved braking performance as a street pad. I recall more positive then negative reports.The recurring complaint was about dust. I haven't installed the R4S pads yet, but will bed them in when I do install them. Perhaps if someone here has had a bad experience with R4S pads they will chime in.
-
What procedure did you use to bed-in the new pads?
-
Car Won't Go Into Gear When Running
Miles replied to 240zBoy's topic in Gen I & II Chevy V8 Tech Board
Pictured below is the Camaro clutch fork and throwout bearing. Is this what you guys are using?
-
Car Won't Go Into Gear When Running
Miles replied to 240zBoy's topic in Gen I & II Chevy V8 Tech Board
Yes, if you disconnected the line to the MC you will have air in the line and will need to bleed out the air. -
Car Won't Go Into Gear When Running
Miles replied to 240zBoy's topic in Gen I & II Chevy V8 Tech Board
with the 7/8" Tilton MC and Camaro slave the pedal is factory smooth and a little stiffer than the original stock Datsun set up before the engine swap. One reason that your clutch might be stiff is if your MC is larger than 7/8" (assuming that you are using a stock Camaro slave). The larger the bore size the stiffer the clutch will be. -
Car Won't Go Into Gear When Running
Miles replied to 240zBoy's topic in Gen I & II Chevy V8 Tech Board
The stock Camaro slave used a roll-pin connector to attach the hose to the slave. Is that what you have? Have you made any adjustments to the push rod and clutch pedal under the dash? There are two adjustments under the dash: push rod length is adjusted by turning the push rod in/out where it attaches to the clevis and you can adjust the clutch pedal bump stop to shorten or lengthen the over-all travel of the clutch arm. Be sure to leave a small amount in clutch pedal play. Can you post some pictures of your MC and slave set up? -
Car Won't Go Into Gear When Running
Miles replied to 240zBoy's topic in Gen I & II Chevy V8 Tech Board
240ZBoy Is the clutch throwout arm hitting the trans tunnel? Did you assemble the clutch disk in the correct orientation? Opps looks like I just missed your last post before I wrote this. Although, I am not sure why you needed to use a longer push rod since the Tilton MC and NAPA slave combination I used worked right out of the box on each of my builds. -
Car Won't Go Into Gear When Running
Miles replied to 240zBoy's topic in Gen I & II Chevy V8 Tech Board
See picture for bleed screw location.
-
sbc starter ...it doesnt fit JTR lets me down...
Miles replied to revlis240's topic in Gen I & II Chevy V8 Tech Board
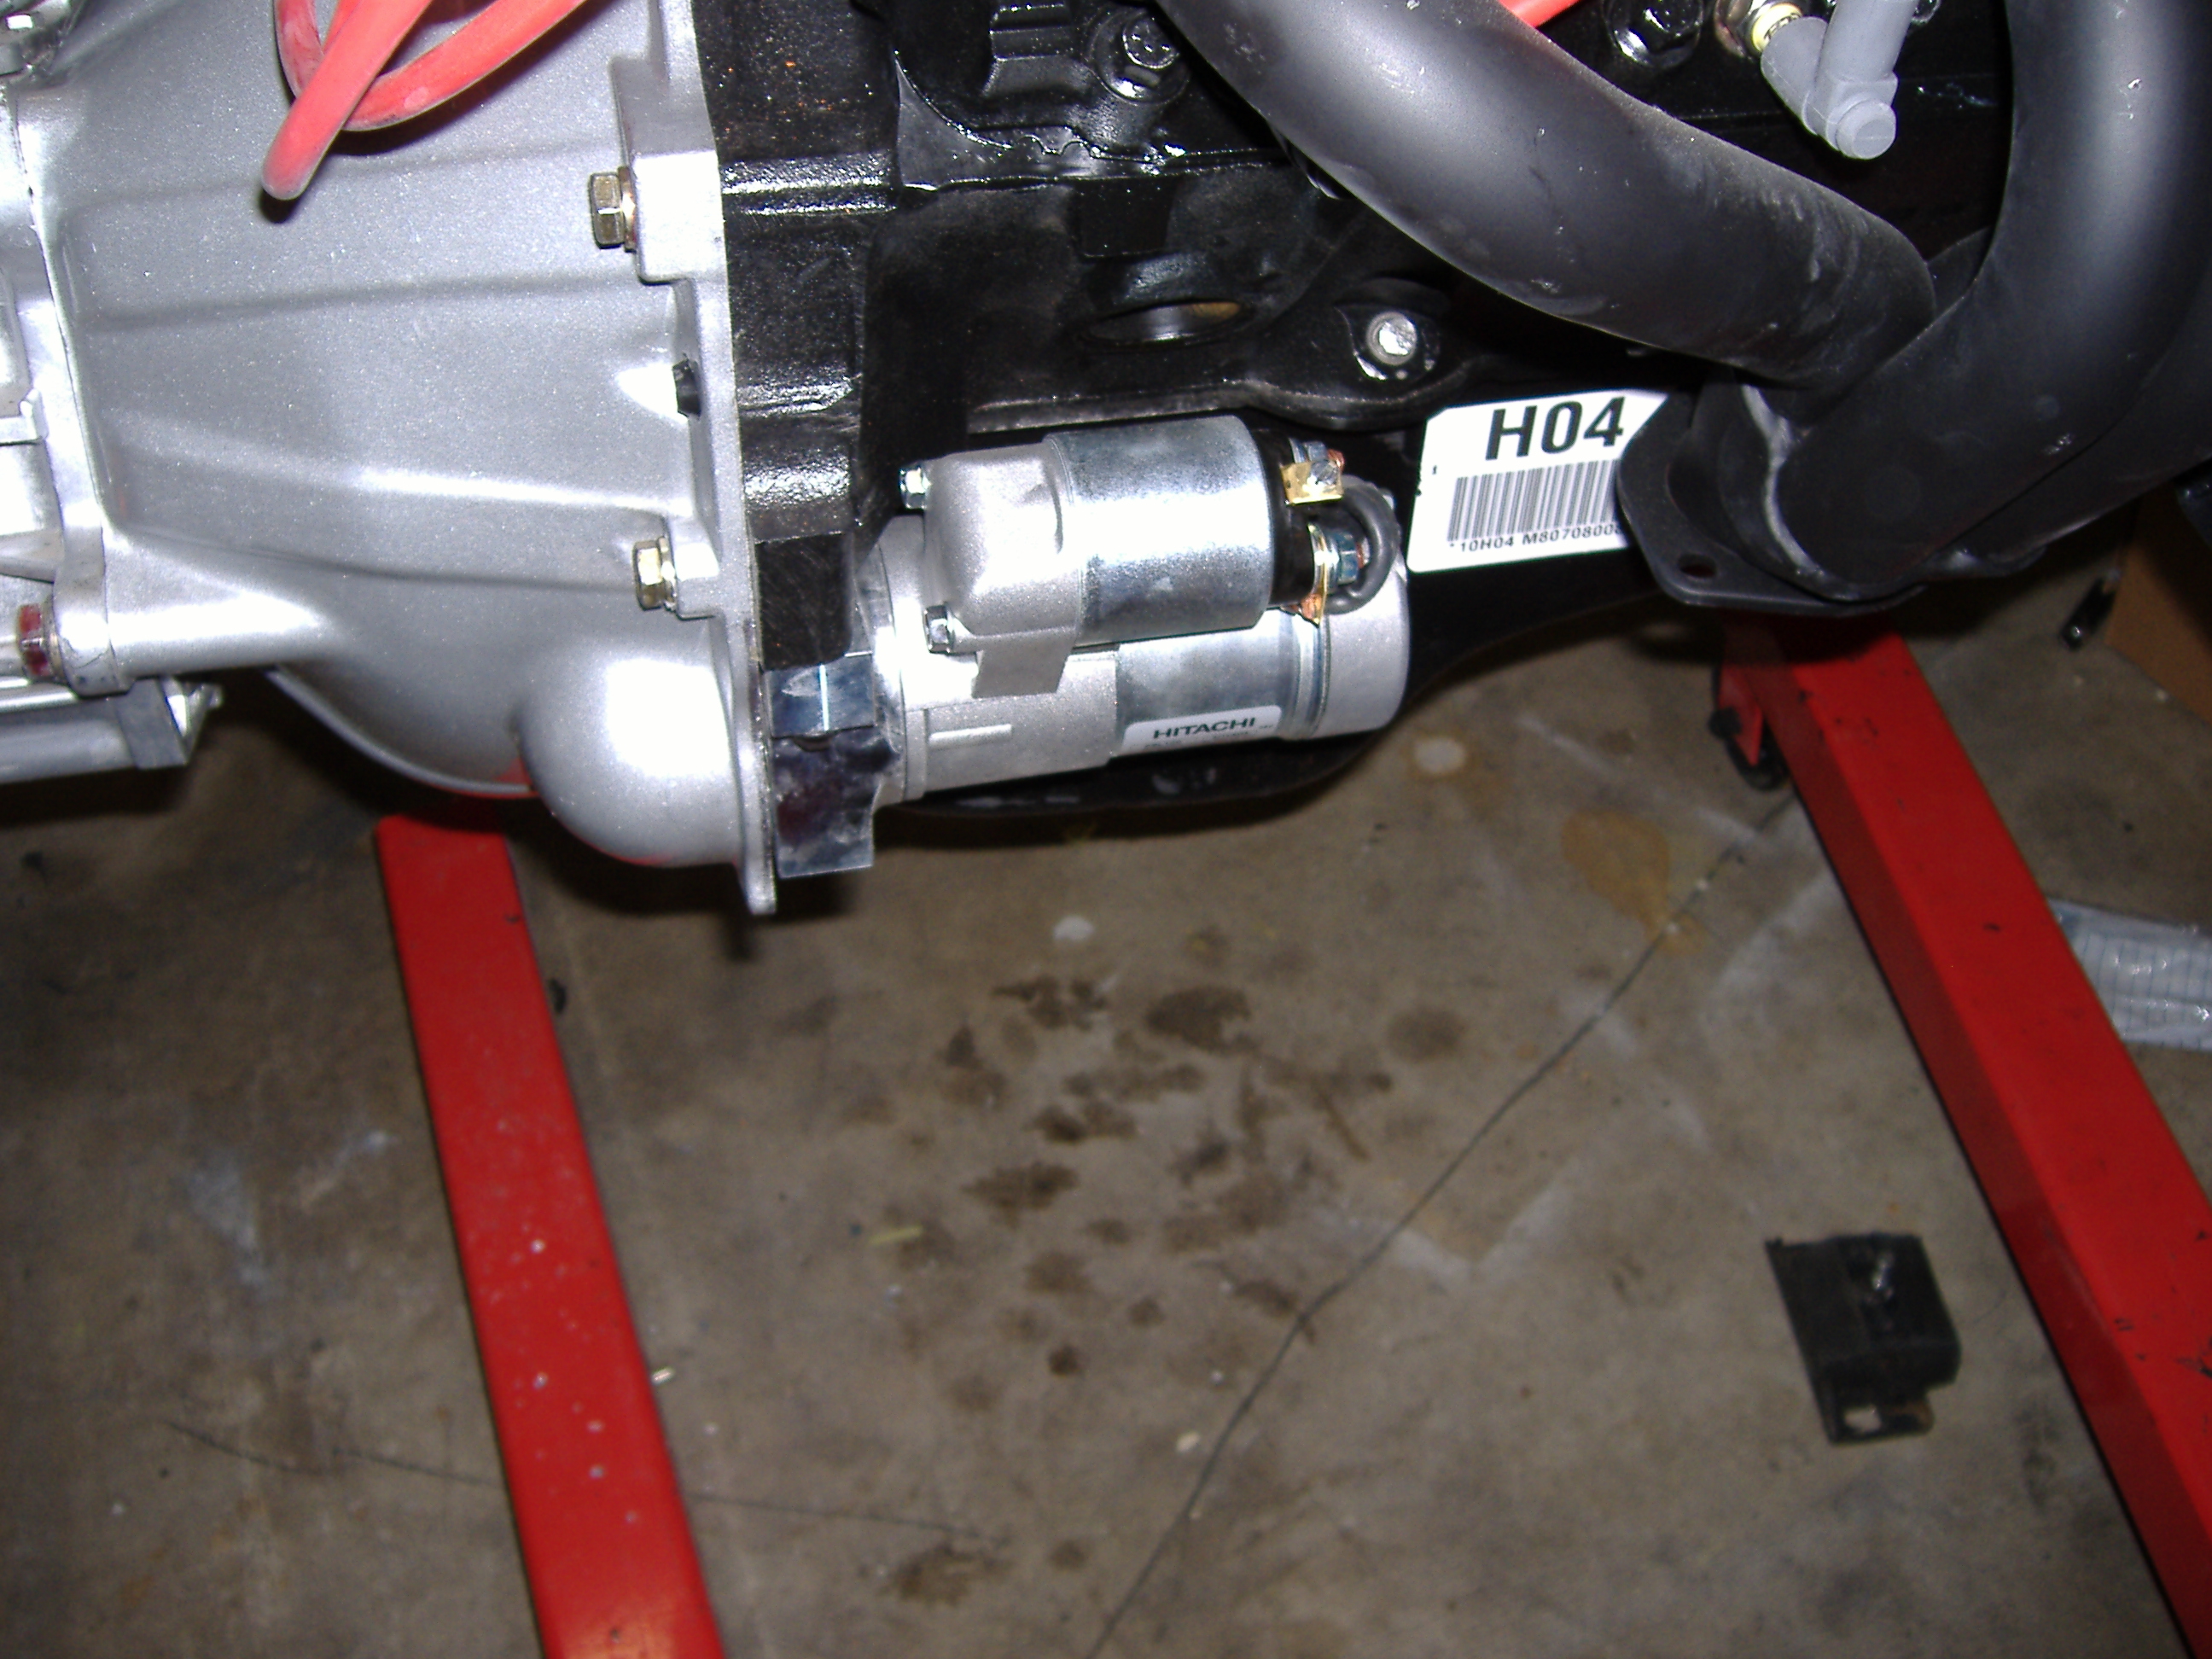
If your starter eventually wares out try a Hitachi starter gear reduction p/n PSL100. I have used Hatachi starters on two 240Z projects one ten years old and and my current daily driver for two years. No problems yet.
-
ford master cylinder / camaro slave / plastic line
Miles replied to revlis240's topic in Gen I & II Chevy V8 Tech Board
Kamikazee Yes the Tilton 7/8 MC fits right onto the stock 240Z studs in the firewall. Just replace the Tilton push rod with the push rod from the 240Z MC so the Tilton MC will connect to the clutch pedal like stock. -
No voltage gauge on the 240Z. The 240Z has an amp gauge which the power is routed through (those thick white, white/red wires). Inside the amp gauge the power goes through a thick copper bar. What happens is that copper bar melts if there is a direct short in the circuits those white, white/red wires feed. I found that copper bar inside the amp gauge melted on the first 240Z I bought. To avoid that melted gauge problem some 240Z owners just do what you did and just bolt the wires together that connect to the amp meter. There must be some reason that the amp gauge failed. That is, there may still be a short in the wiring you need to find. Congrats, you are now 240Z electrician.