Miles
-
Posts
2393 -
Joined
-
Last visited
-
Days Won
37
Content Type
Profiles
Forums
Blogs
Events
Gallery
Downloads
Store
Everything posted by Miles
-
Best link I found for a Ford build: http://lainefamily.com/240Z_V8_Conversion.htm
-
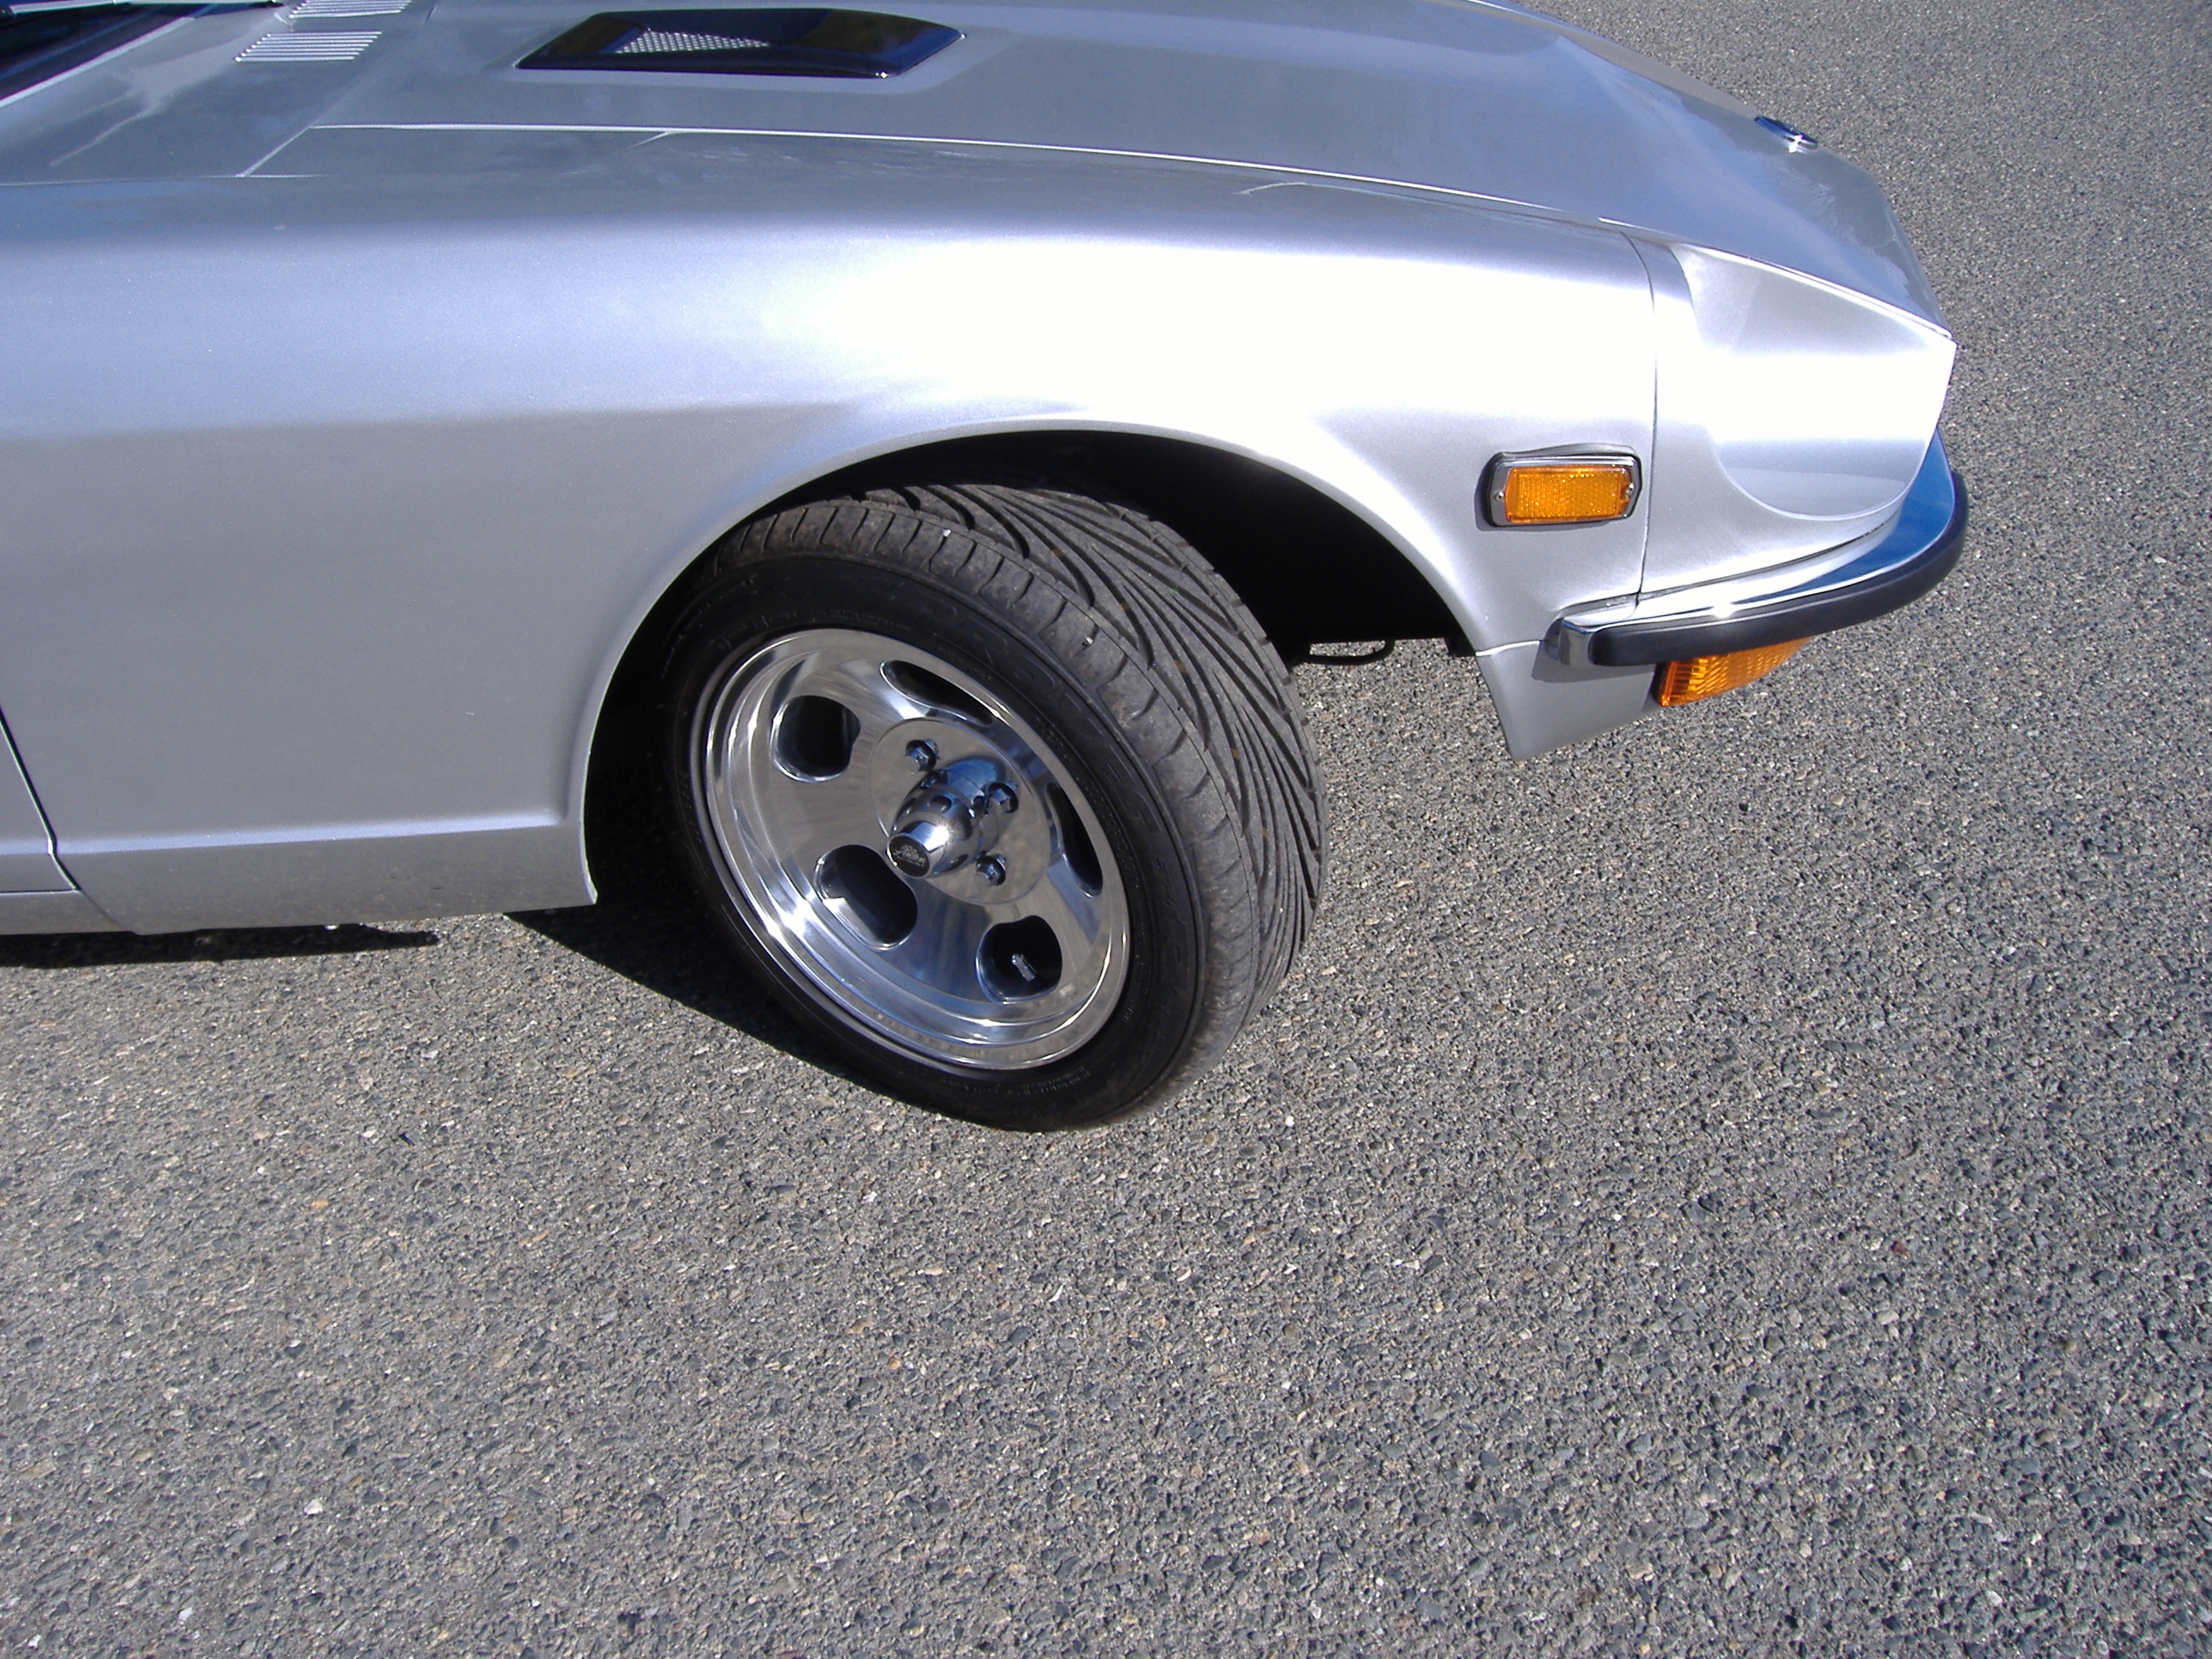
I have been using Toyo Proxes on my stock and V8 240Z cars for some time. All of my 240Z cars have been daily drivers in a sunny warm climate. I have not had a single problem with these tires. I bought a set from Les Schwab last year for about $130 each. Note: if you change your tire size it will throw your speedometer off. There are a number of tire size calculators on the web where you can simulate different wheel and tire combinations and determine the effects on your speedometer. You will need to know the gear ratio of your differntial which you can research here in the drivetrain forum. Look in the threads for differentials.

-
On hot days here in Sacramento my temp gauge gets up around 210 - 218 deg. I have the JTR radiator with a Flex-A-Lite 180 fan which I now think may be a marginal set up on a very hot day. So I am debating if I should up grade the radiator or do the Taurus fan install. My alternator is only 60 amp so if I go the Taurus route I'll have the additional expense of upgrading the alternator too. So now I know what Volvo relay to get if I go with the Taurus fan. I am also looking at using an Arizona Z or a Ron Davis custom radiator. Thanks for the info.
-
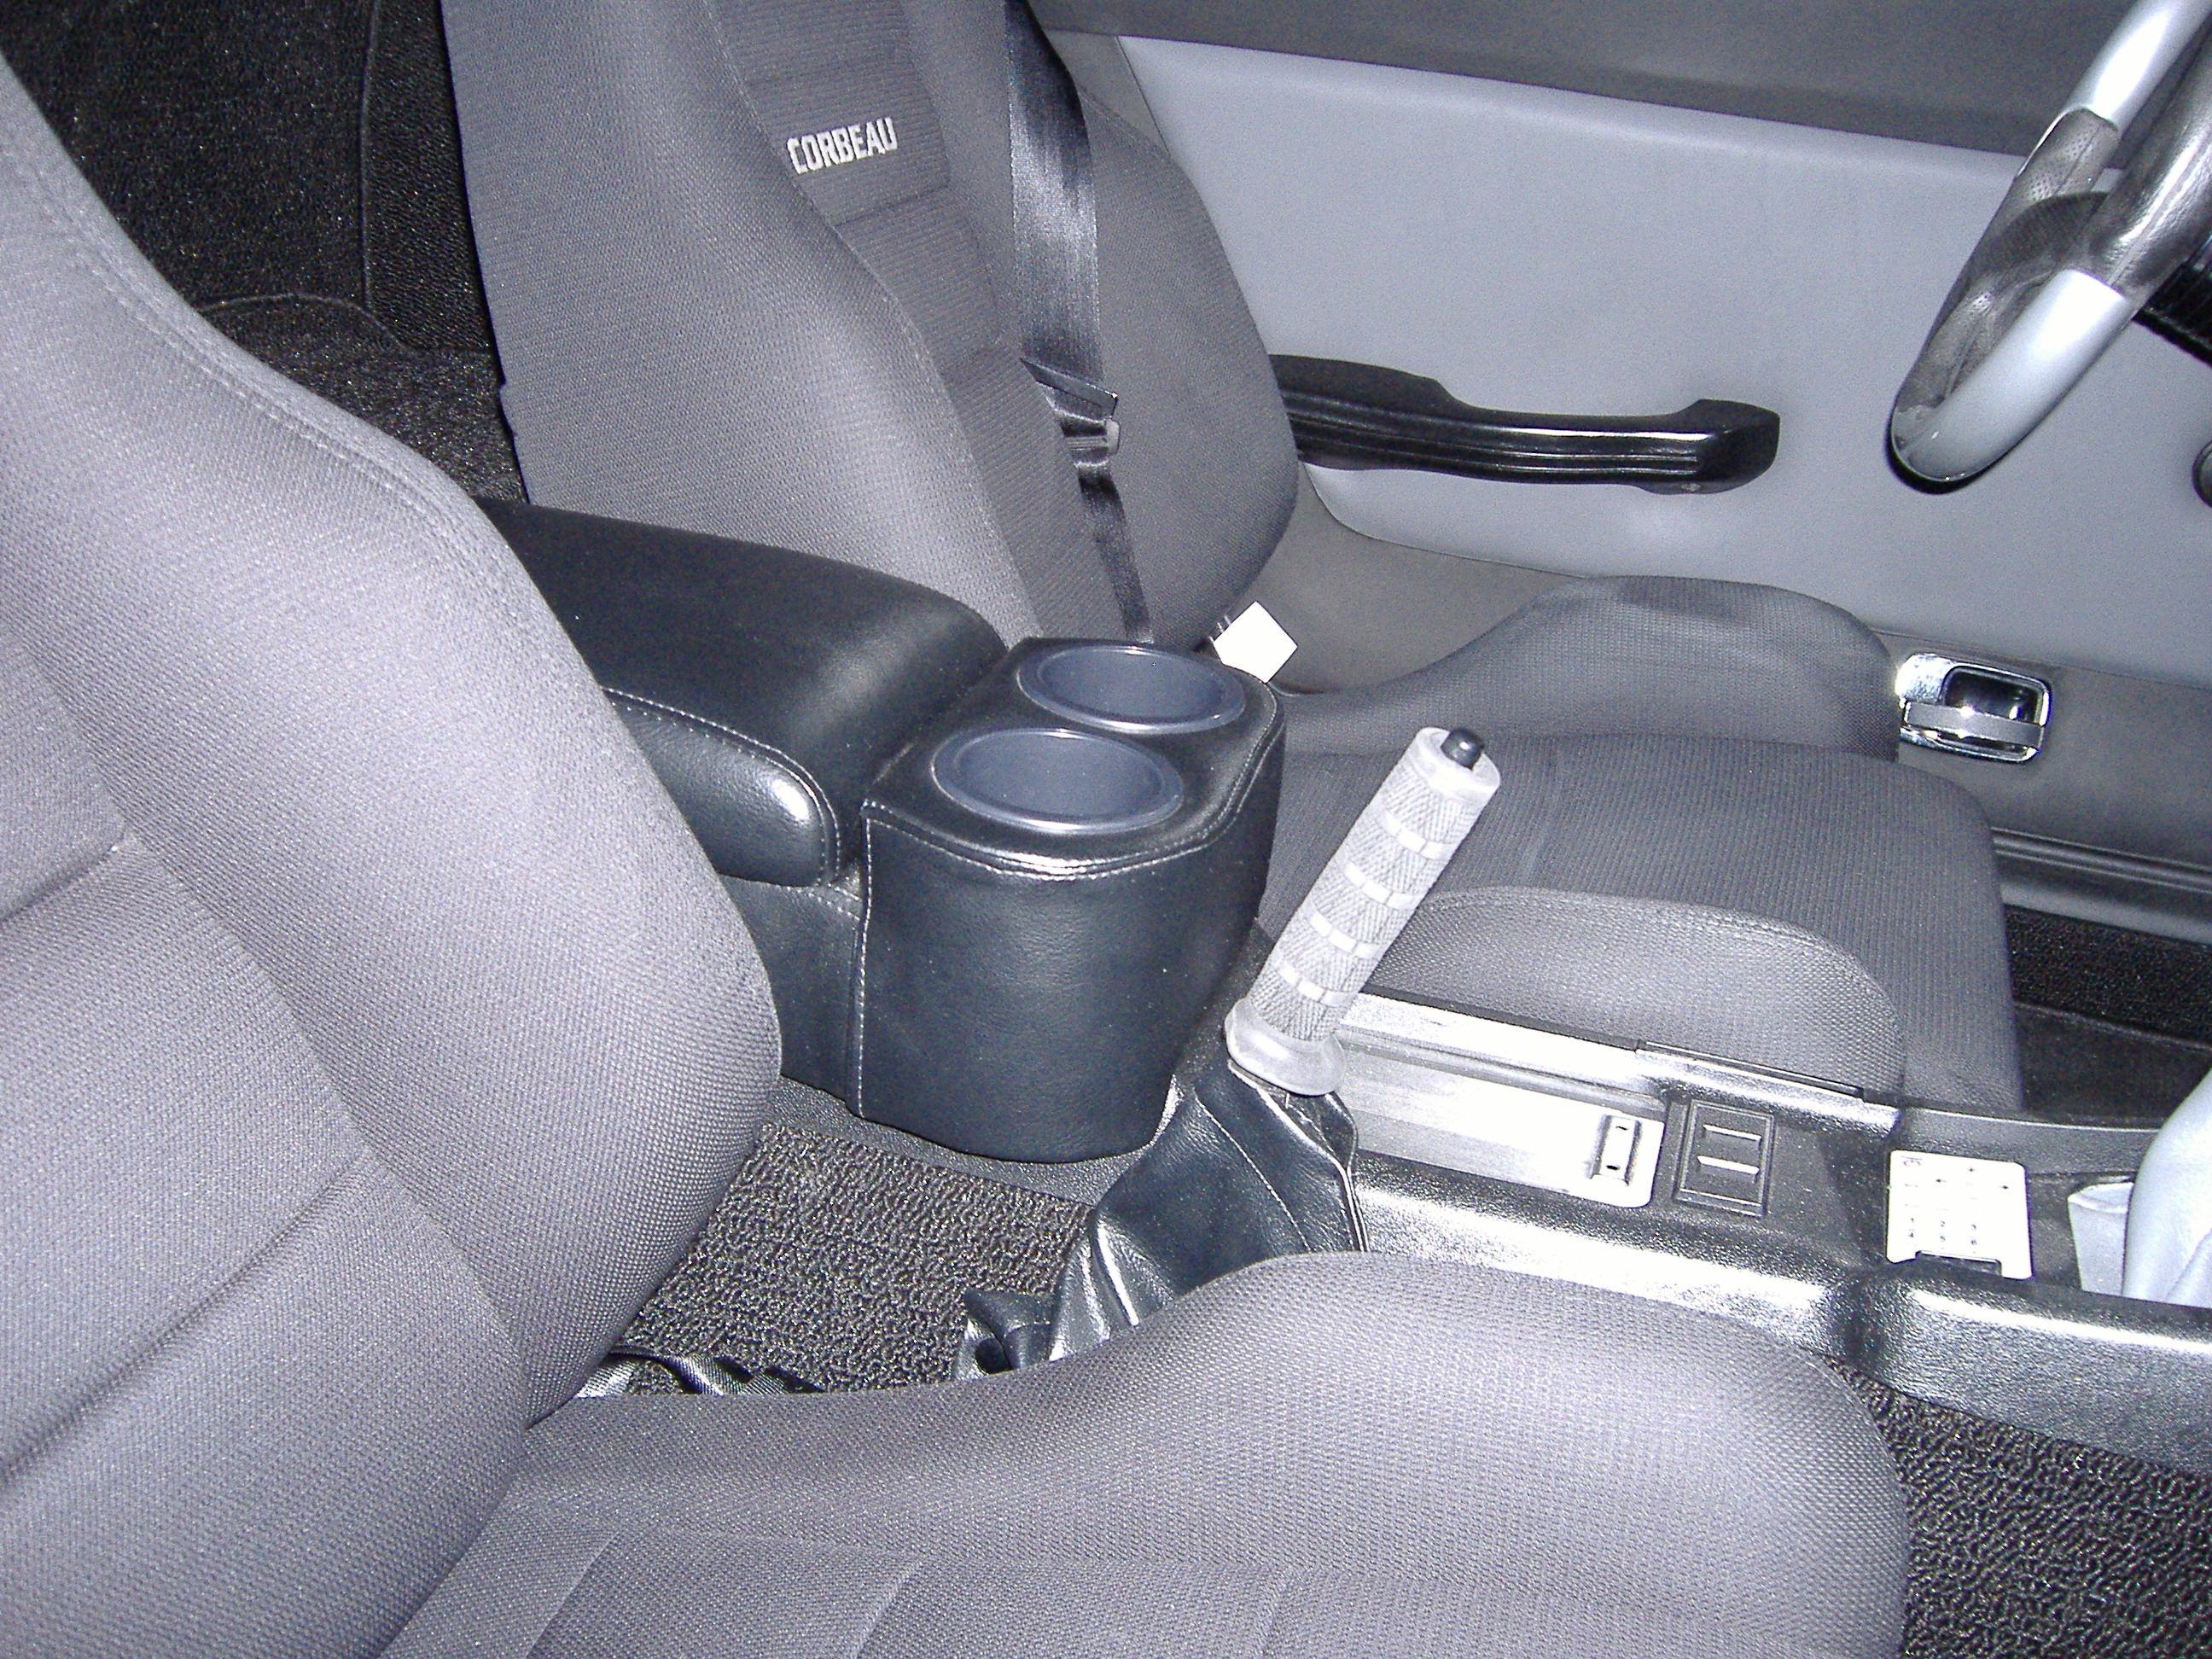
For years I just removed the ash tray and set my large soda cup down in the hole. I can't do that now because my USB jack for my entertainment system lives down in the former ash tray hole. Try it.
-

How do i open up the 240z tail lights
Miles replied to logan1's topic in S30 Series - 240z, 260z, 280z
If you don't already have it, get the book "How to Restore Your Datsun Z Car" by Wick Humble. It is full of neat tips on how to dismantle, install and repair Z car parts. I used it extensively when I rebuilt my 240Z. I got mine from MSA. -
what year and model Volvo is the relay from? Also, what is the amp rating for your alternator?
-
How do i open up the 240z tail lights
Miles replied to logan1's topic in S30 Series - 240z, 260z, 280z
The housing is held togther with a heavy caulking type material. Remove the bulb sockets and soak the housing and lens in hot tap water. I fill up my kitchen sink with hot water, submerge the lens/housings, and let them soak about 30 minutes and then gently pry and pull the lens away from the housing. Re-heat as required as you don't want to force the lens and housing apart. To re-assemble the lens and housing go to your hardware supply place and buy a roll of cauking rope aka "Dum-Dum". It is a soft gray material that looks like modeling clay. Place the "rope" where the lens and housing interface and then apply even pressure around the perimeter of the lens to press the two parts togther. Then trim off any material that squeezed out around the perimeter. I used plastic polish to clean the lens, but you can also buff them. There may be a post here that tells how to polish the lens. -
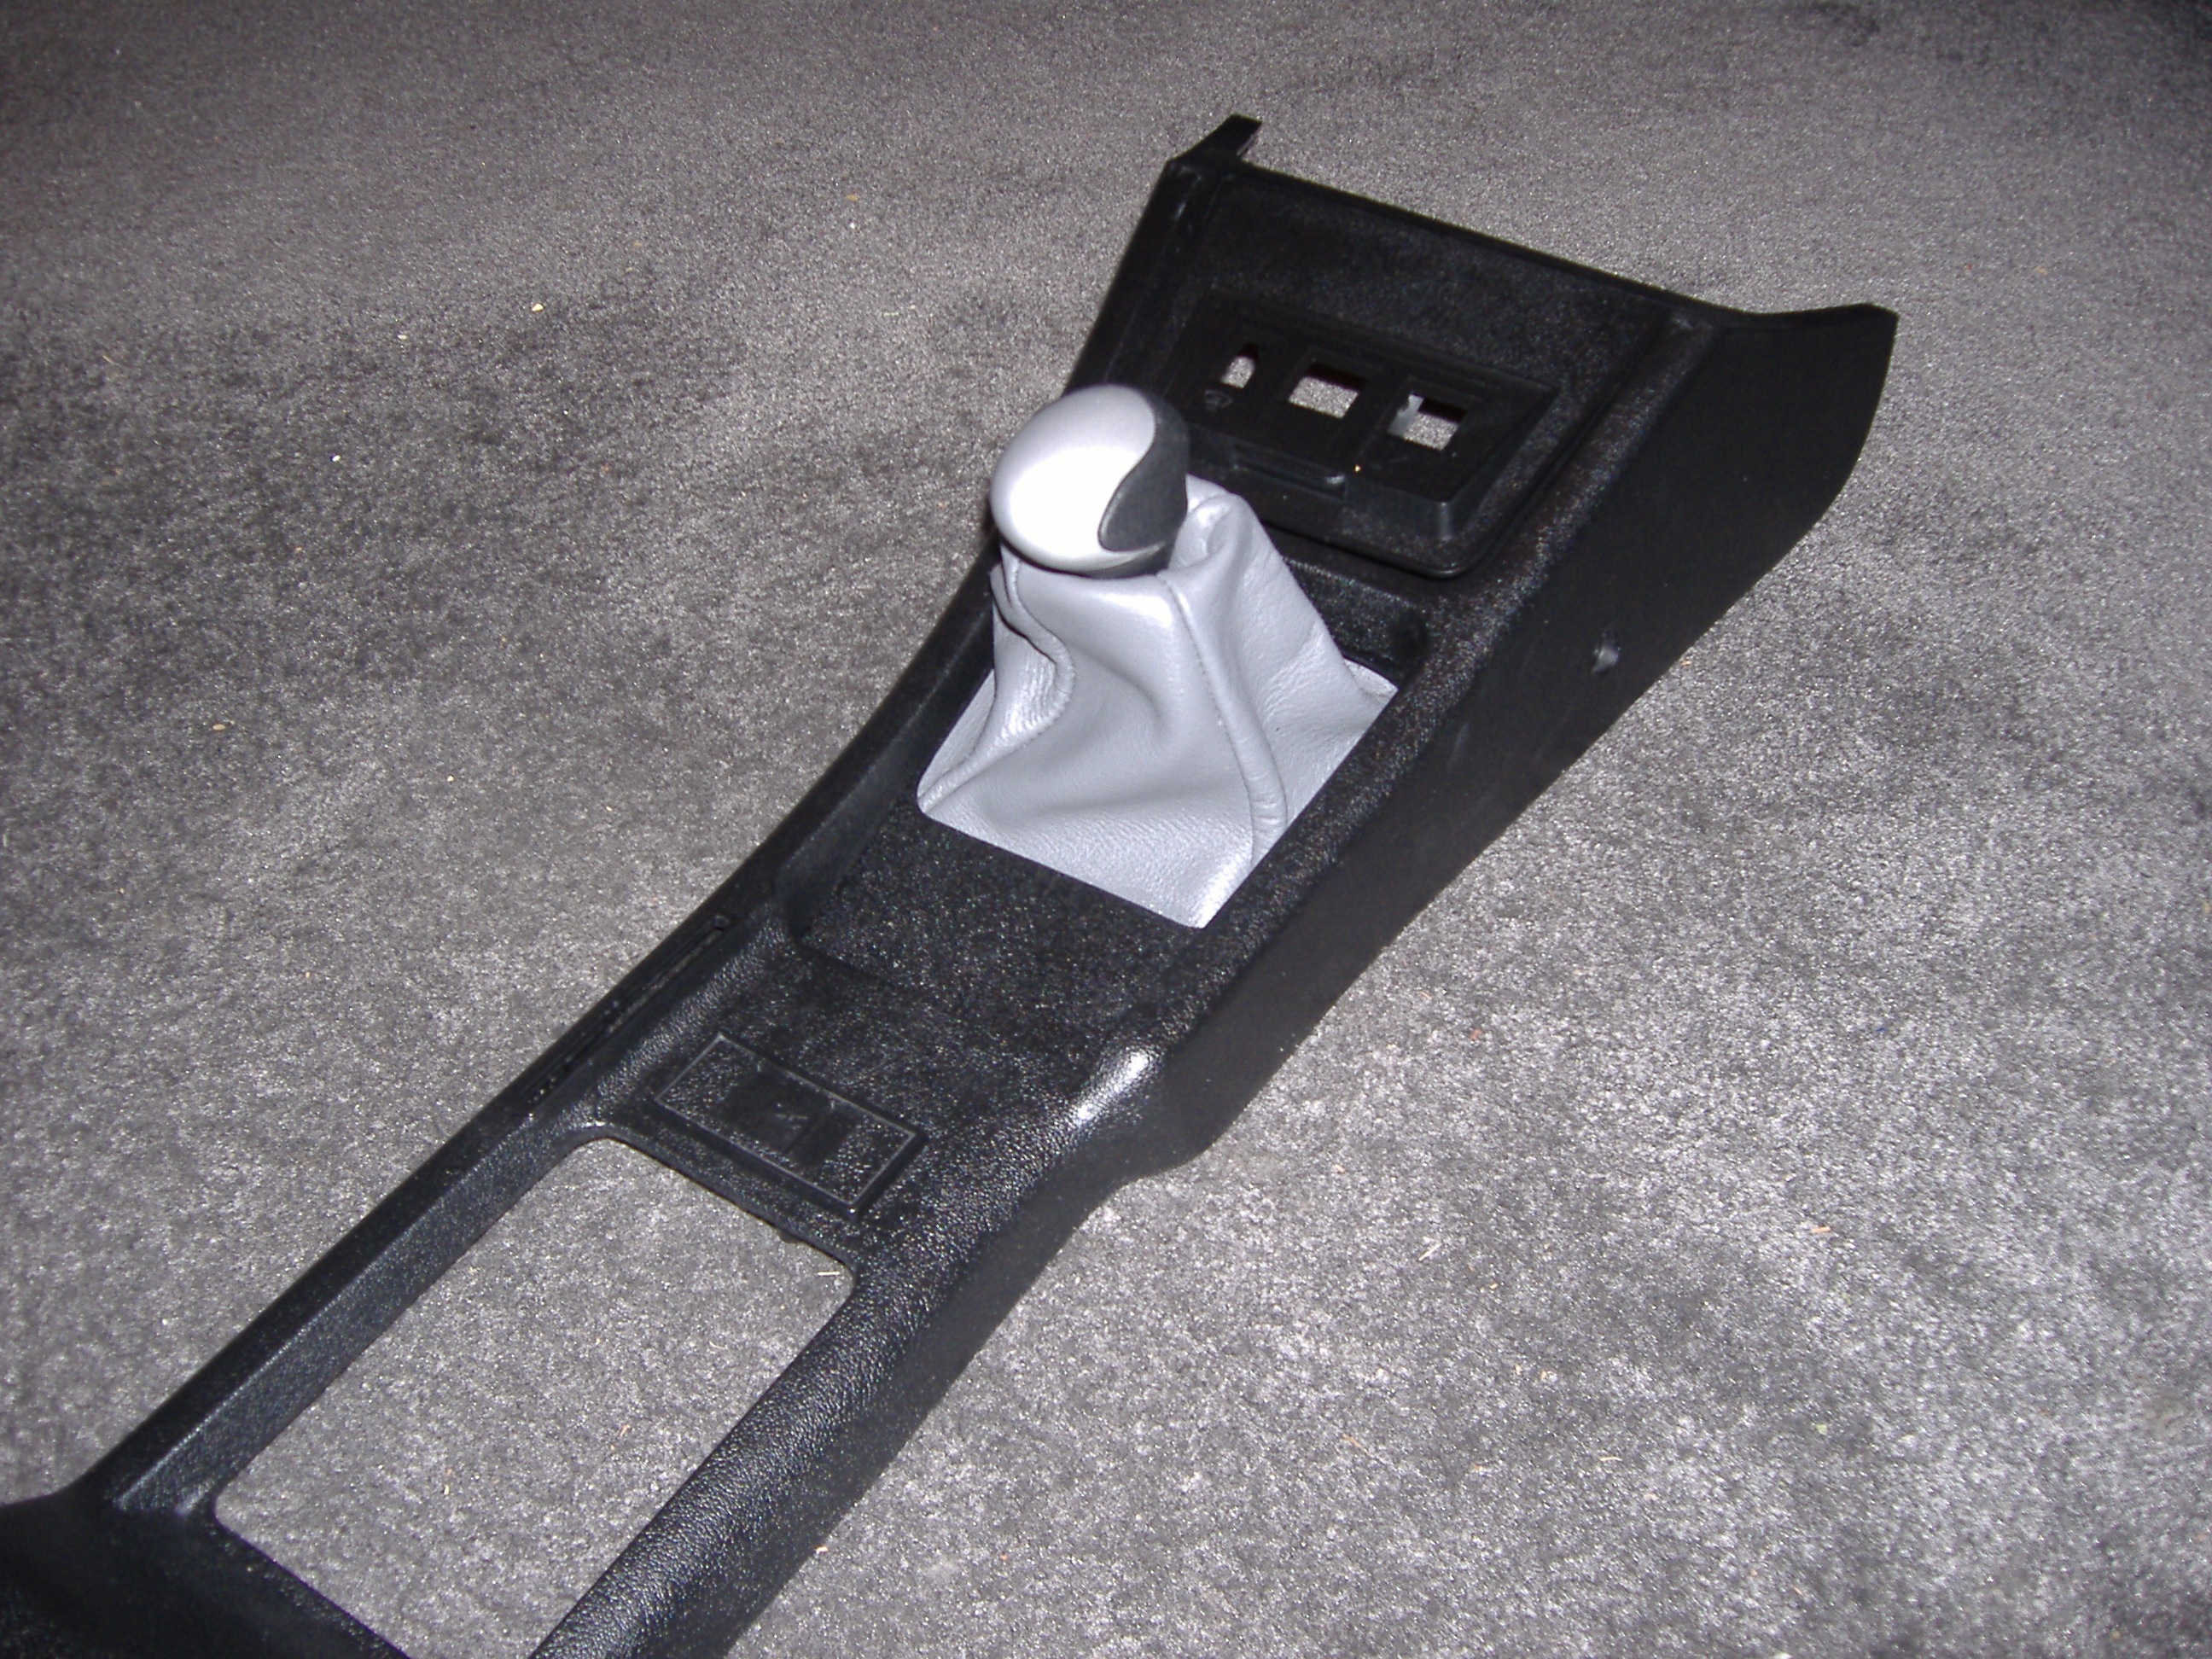
I have one. Doesn't affect shifting, but does get in the way of the Parking Brake. The cup holders are small.
-
Car Won't Go Into Gear When Running
Miles replied to 240zBoy's topic in Gen I & II Chevy V8 Tech Board
Your welcome. Make haste slowly. -
Car Won't Go Into Gear When Running
Miles replied to 240zBoy's topic in Gen I & II Chevy V8 Tech Board
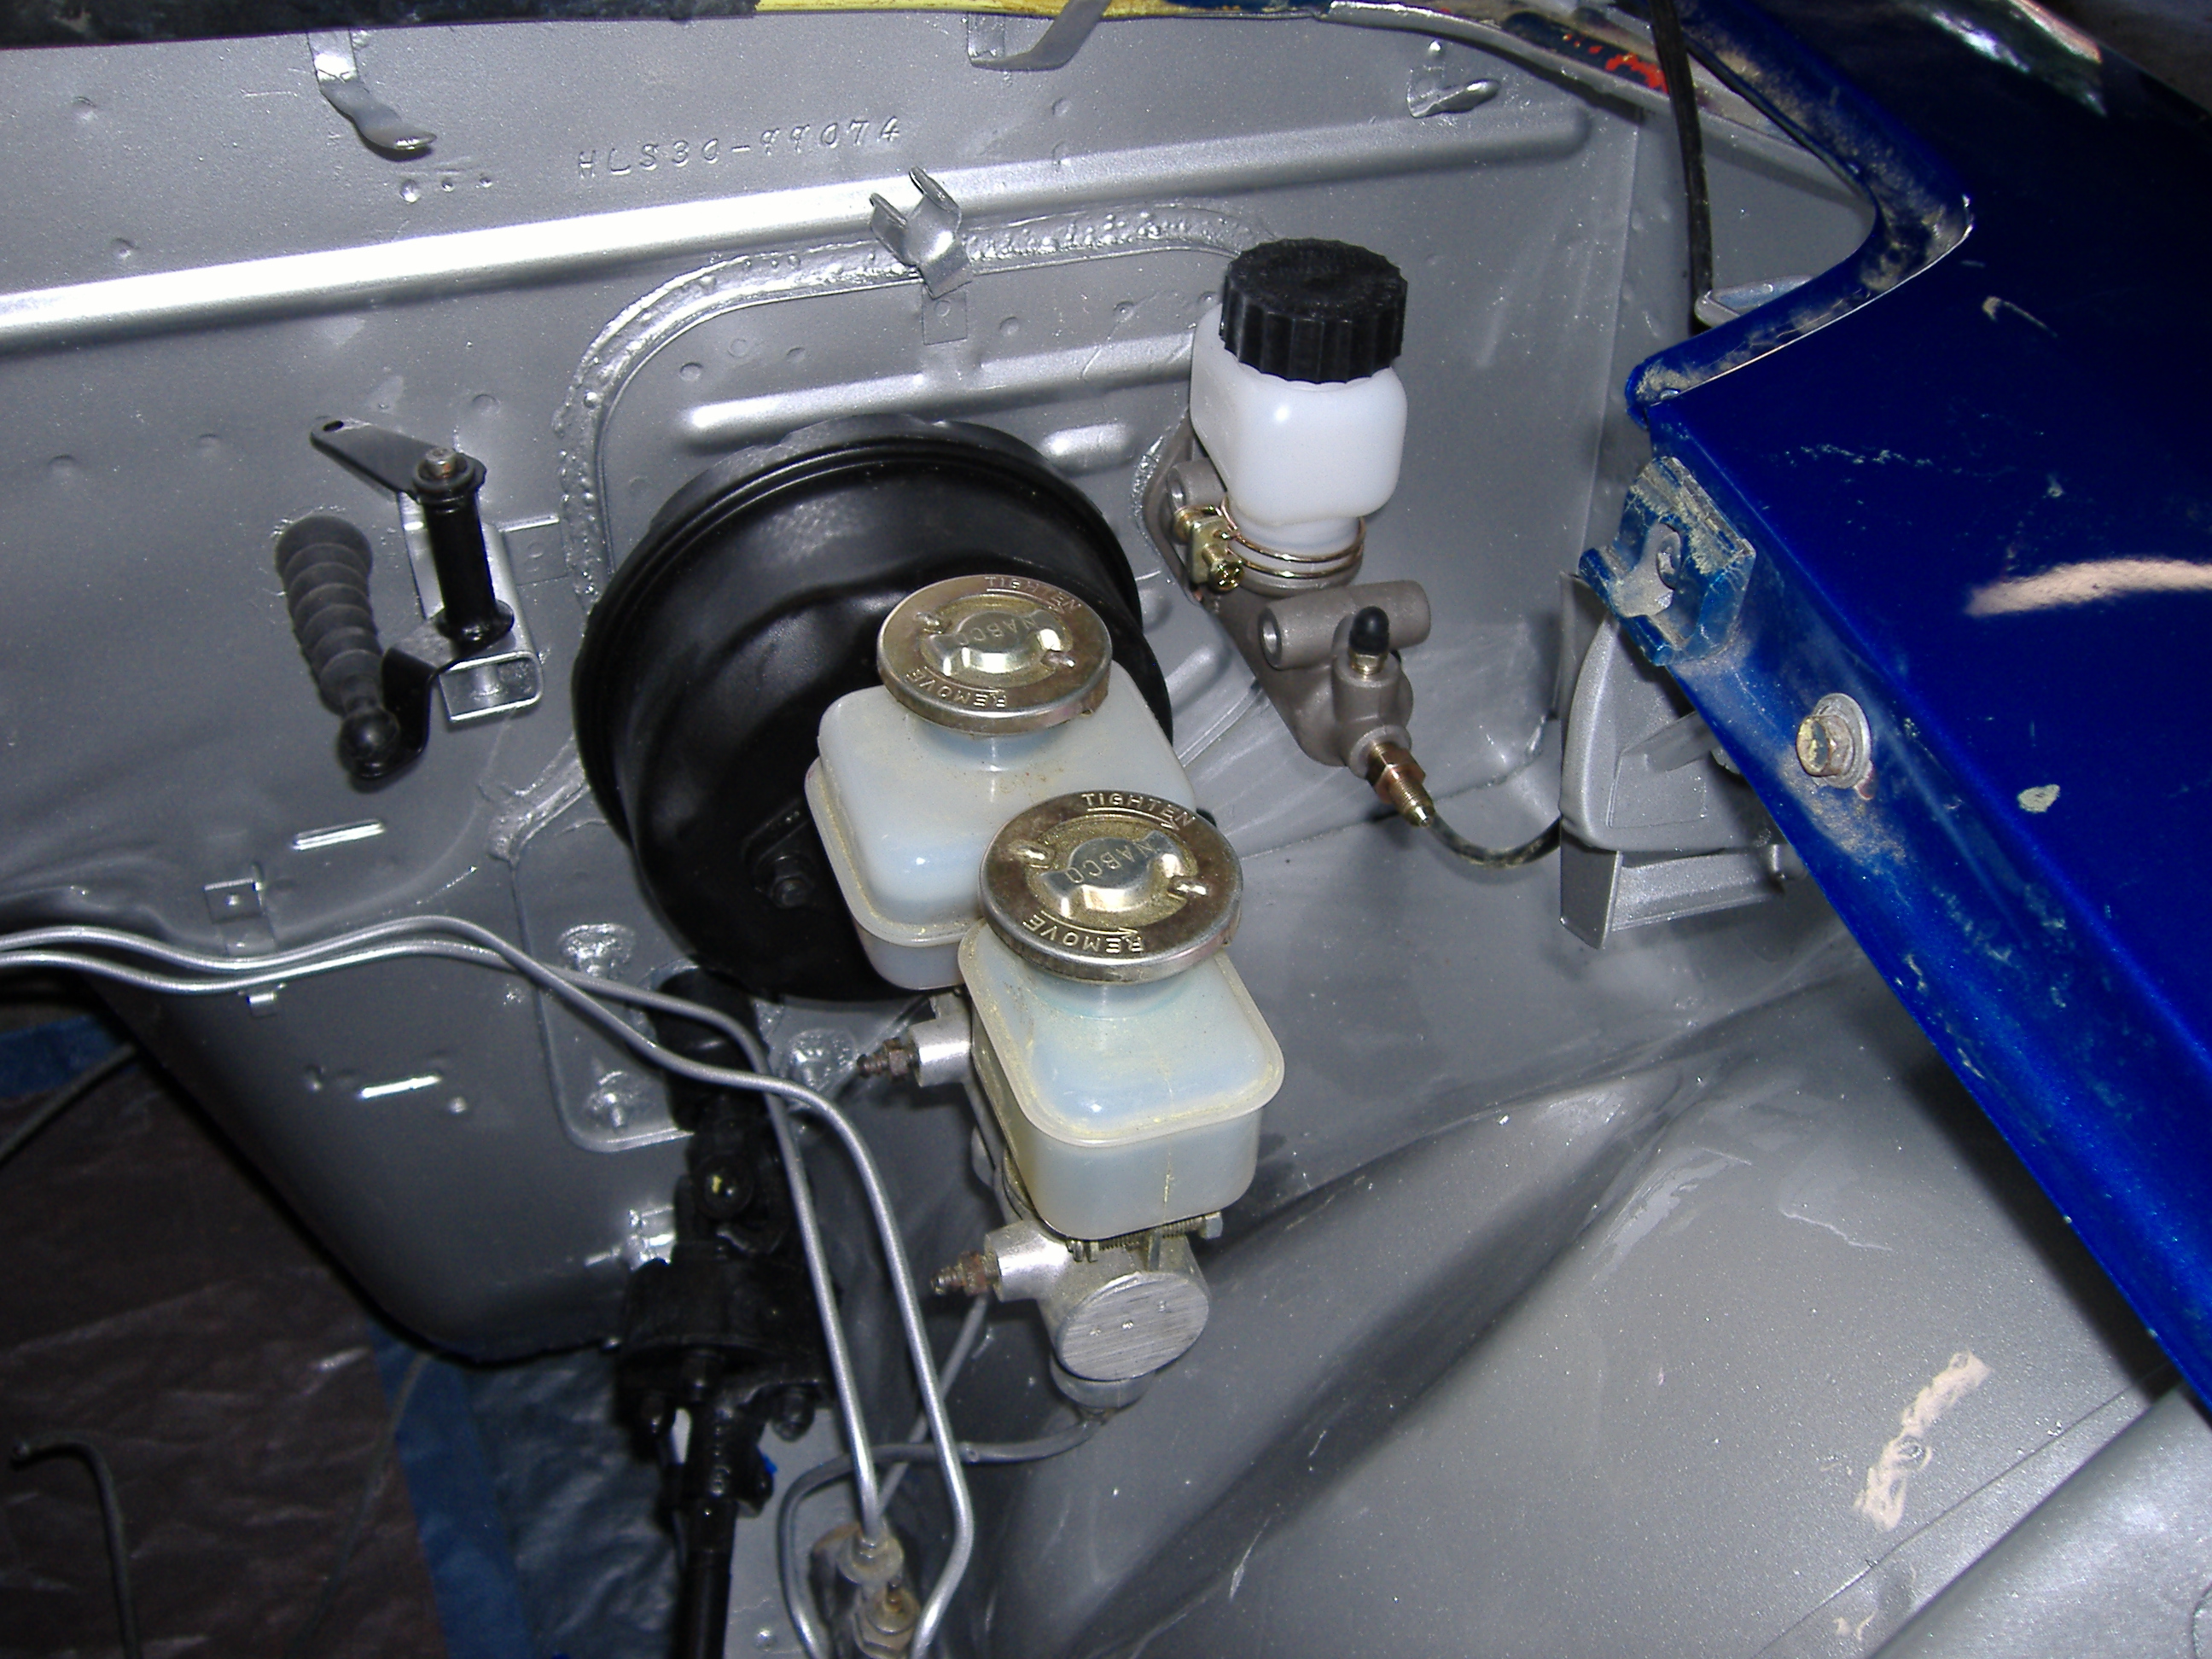
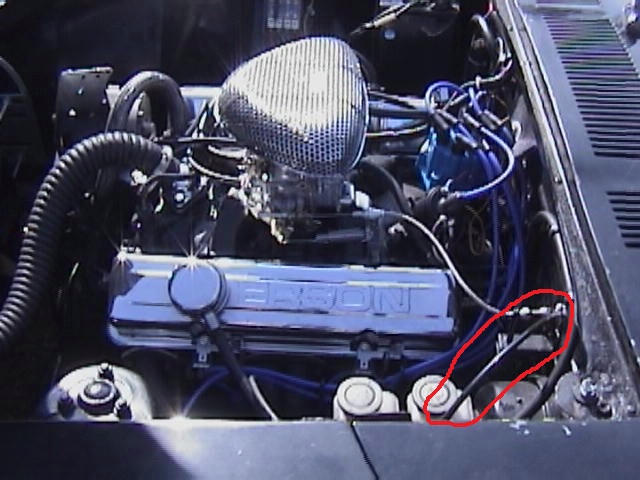
I shortened the shifter as seen below. Note that you may need to trim the shfter hole on the driver's side because the shfter housing may touch the tunnel at that point when the engine is torqued over. This will cause a major vibration every time you hammer the throttle. You will need to make some kind of cover for the large Datsun shifter hole. When you screw it to the tunnel be mindful that there are brake and fuel lines running inside the tunnel on the passenger side. Note also that the Camaro shifter does not move much so it does not need a big hole. Install the shifter on the trans and mock up a cardboard cover with the hole where you need it. Fab up an aluminum cover from the cardboard pattern. On the Tilton, you can swap the Datsun push rod into it so you can use the stock push rod and fork. To bleed the Tilton just open the bleed screw on the slave and let gravity fill the hose and slave. As the MC empties top it off so you don't run out of fluid and get air in the line. I let it drip for about a hour. Then close the bleed screw and push the clutch once or twice and it should be perfect. Adust the push rod and the clutch stop bumper so there is a small amount of play in the pedal. I removed the Camaro slave and assembled the hose, fittings and slave on the bench and then lowered the assembly into the car. Be sure to use a swivel fitting between the hose and McLeod roll pin adaptor to make routing the hose easier. If you are not sure about the fittings just take the whole assembly to your local speed shop that sells Russell or Earls fittings.
-
Car Won't Go Into Gear When Running
Miles replied to 240zBoy's topic in Gen I & II Chevy V8 Tech Board
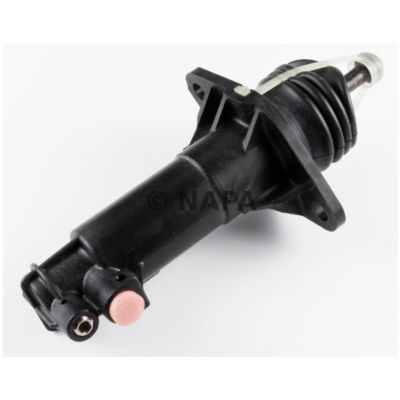
What is the MC bore size? Here is a method for the Tilton MC: I used the Tilton 7/8" MC, Mcleod roll pin adaptor and a Camaro slave. Parts numbers: Tilton 7/8" MC TIL-74-875U $80.00 Summit Napa Camaro slave UP37821 $43.98 NEW P/N IS NCF 73110 McLeod roll pin adaptor MCL 139026 $46.39 Summit Earls 32" -3 ST/90 Clutch Hose EAR6301172 $27.00 Earls -4 FEM swivel EAR 915104 $7.99 Earls -3 to -4 union EAR991902 $4.99 Note on the McLeod roll pin adaptor the tube part that slips into the plastic Camaro slave has a diameter that is slightly larger than the hole it fits into. I had to file the wide part of the tube so that the adaptor would complety seat into the roll pin hole on the Camaro slave.
-
Car Won't Go Into Gear When Running
Miles replied to 240zBoy's topic in Gen I & II Chevy V8 Tech Board
What is your set up for MC and slave? -
Her is another idea for the throttle cable set up. Works good
-
ford master cylinder / camaro slave / plastic line
Miles replied to revlis240's topic in Gen I & II Chevy V8 Tech Board
Davy I received a lot of help here over the years. Time to give some back. Miles -
Why not just pull the differntial and freshen it up with new pinion seal, side shaft seals and cover gasket. It takes me a weekend because I am slow. Four to six hours to R & R with a helper??
-
ford master cylinder / camaro slave / plastic line
Miles replied to revlis240's topic in Gen I & II Chevy V8 Tech Board
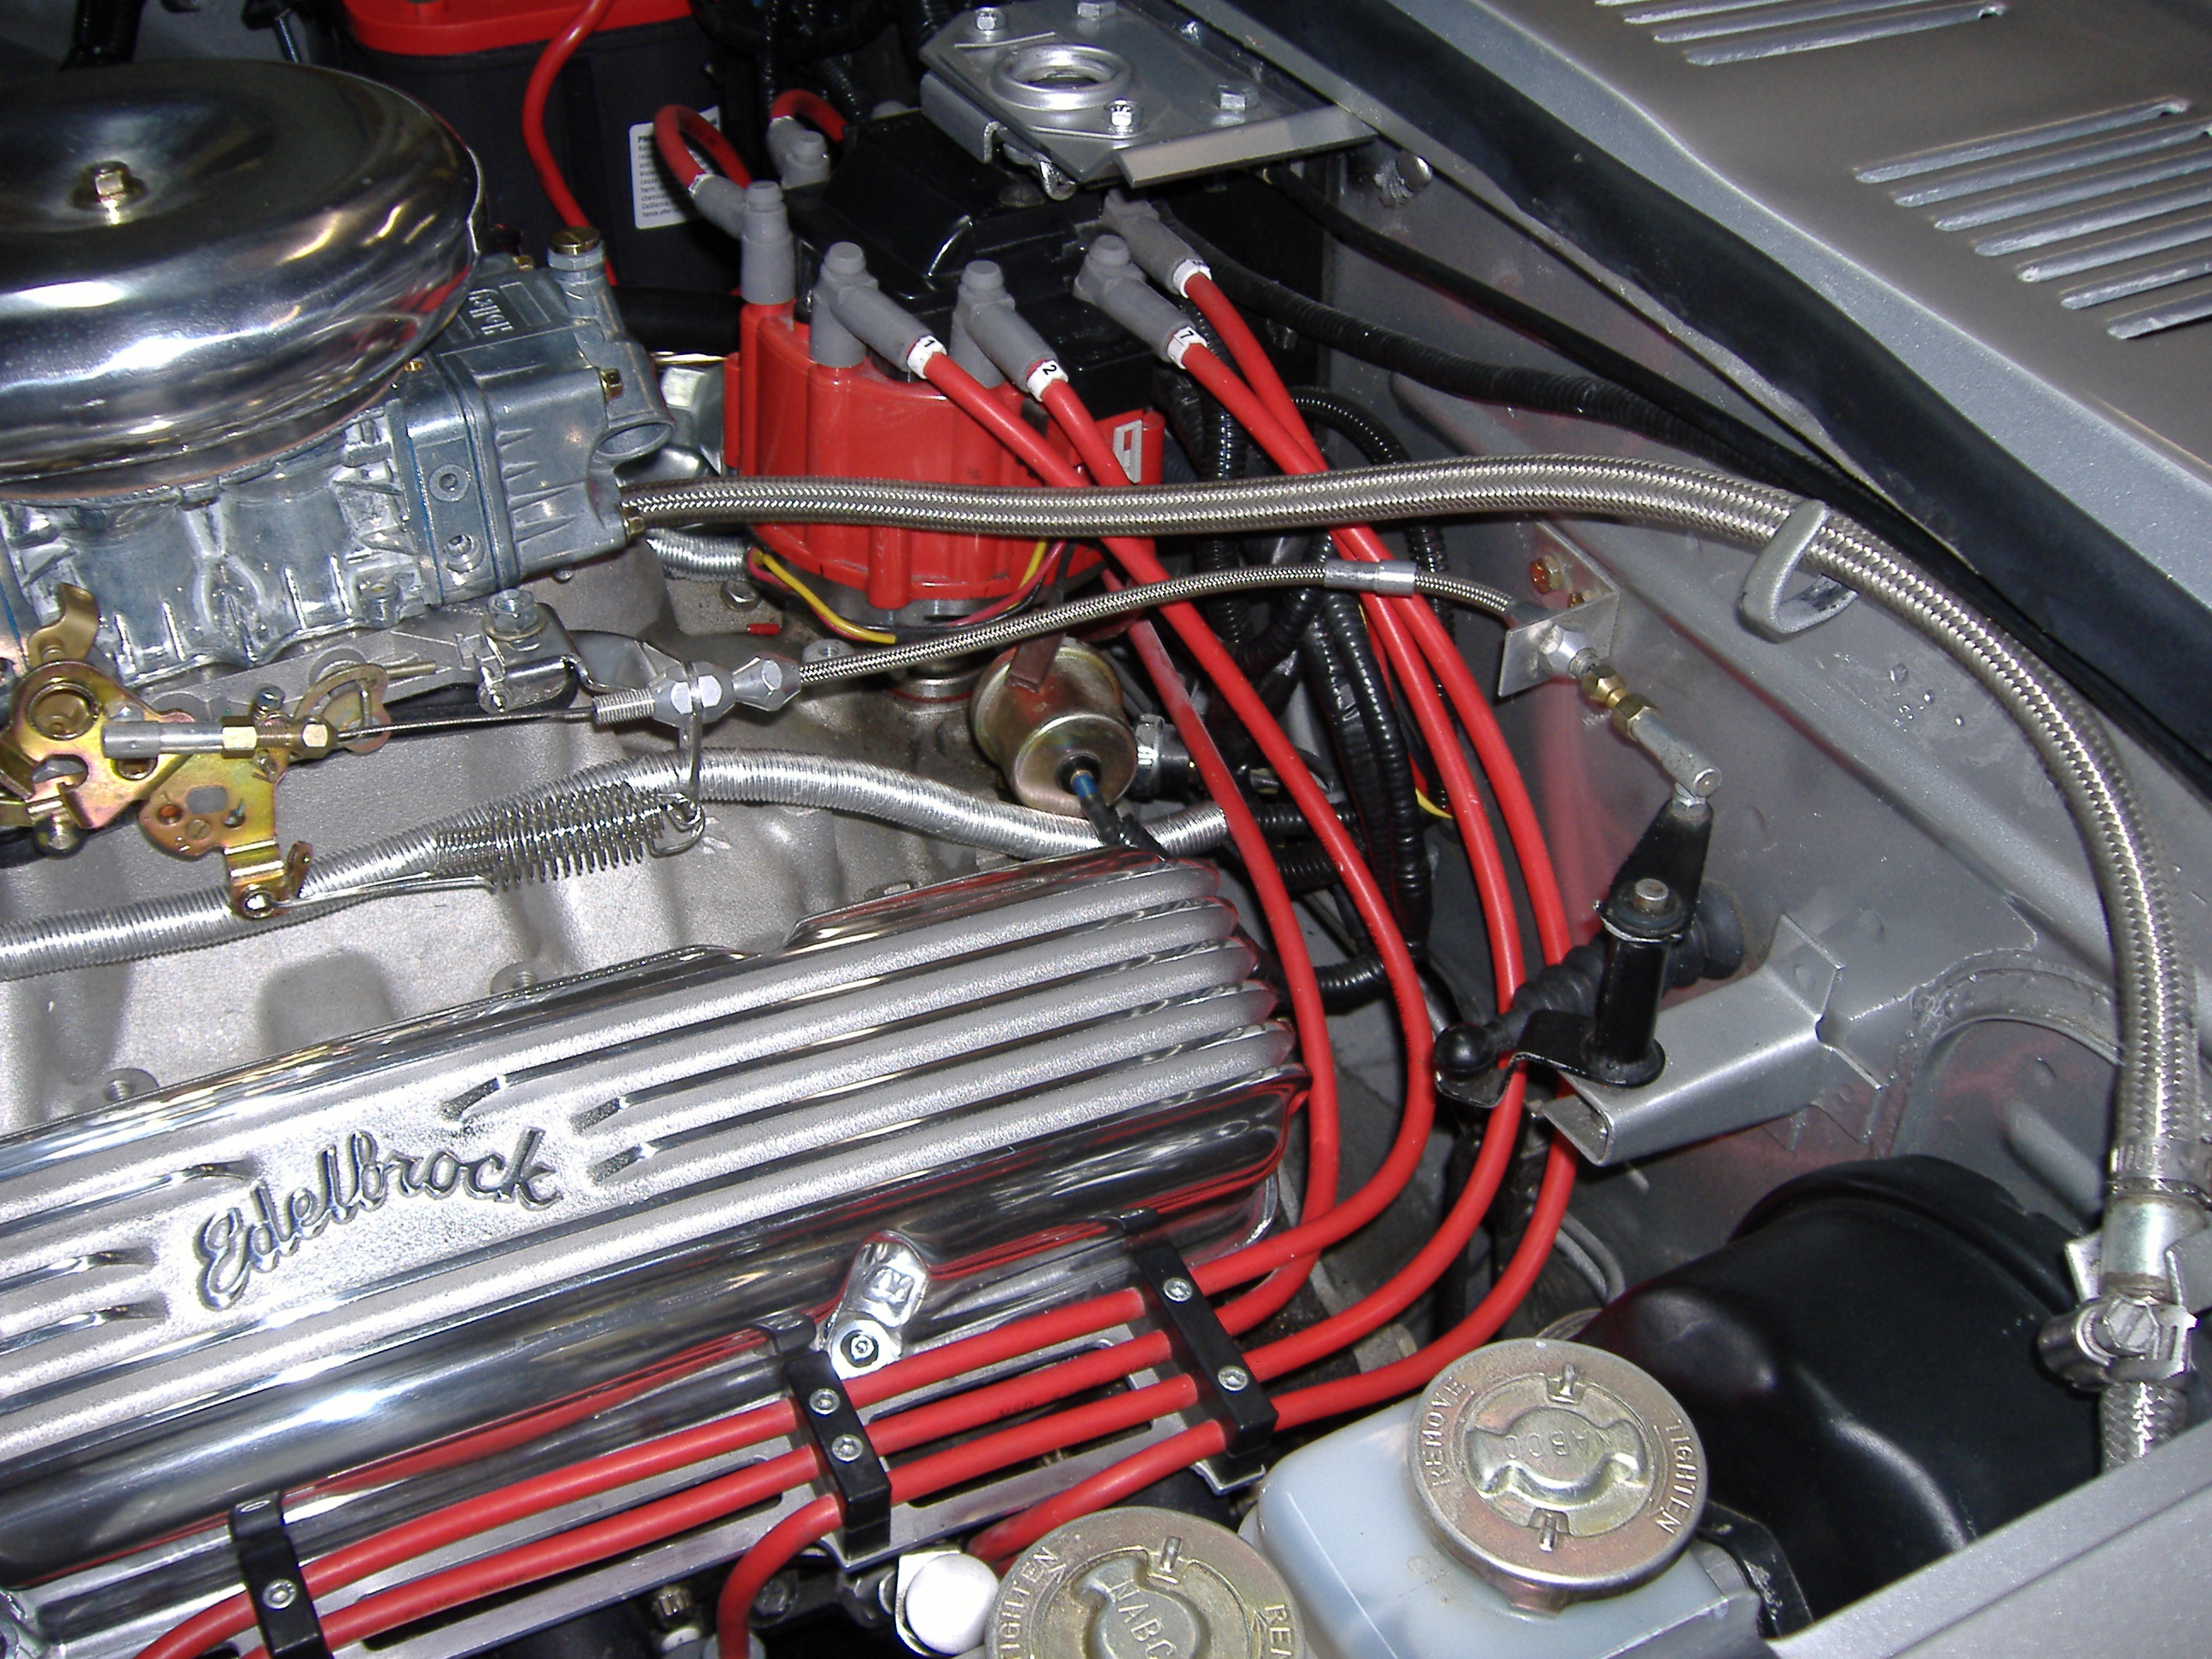
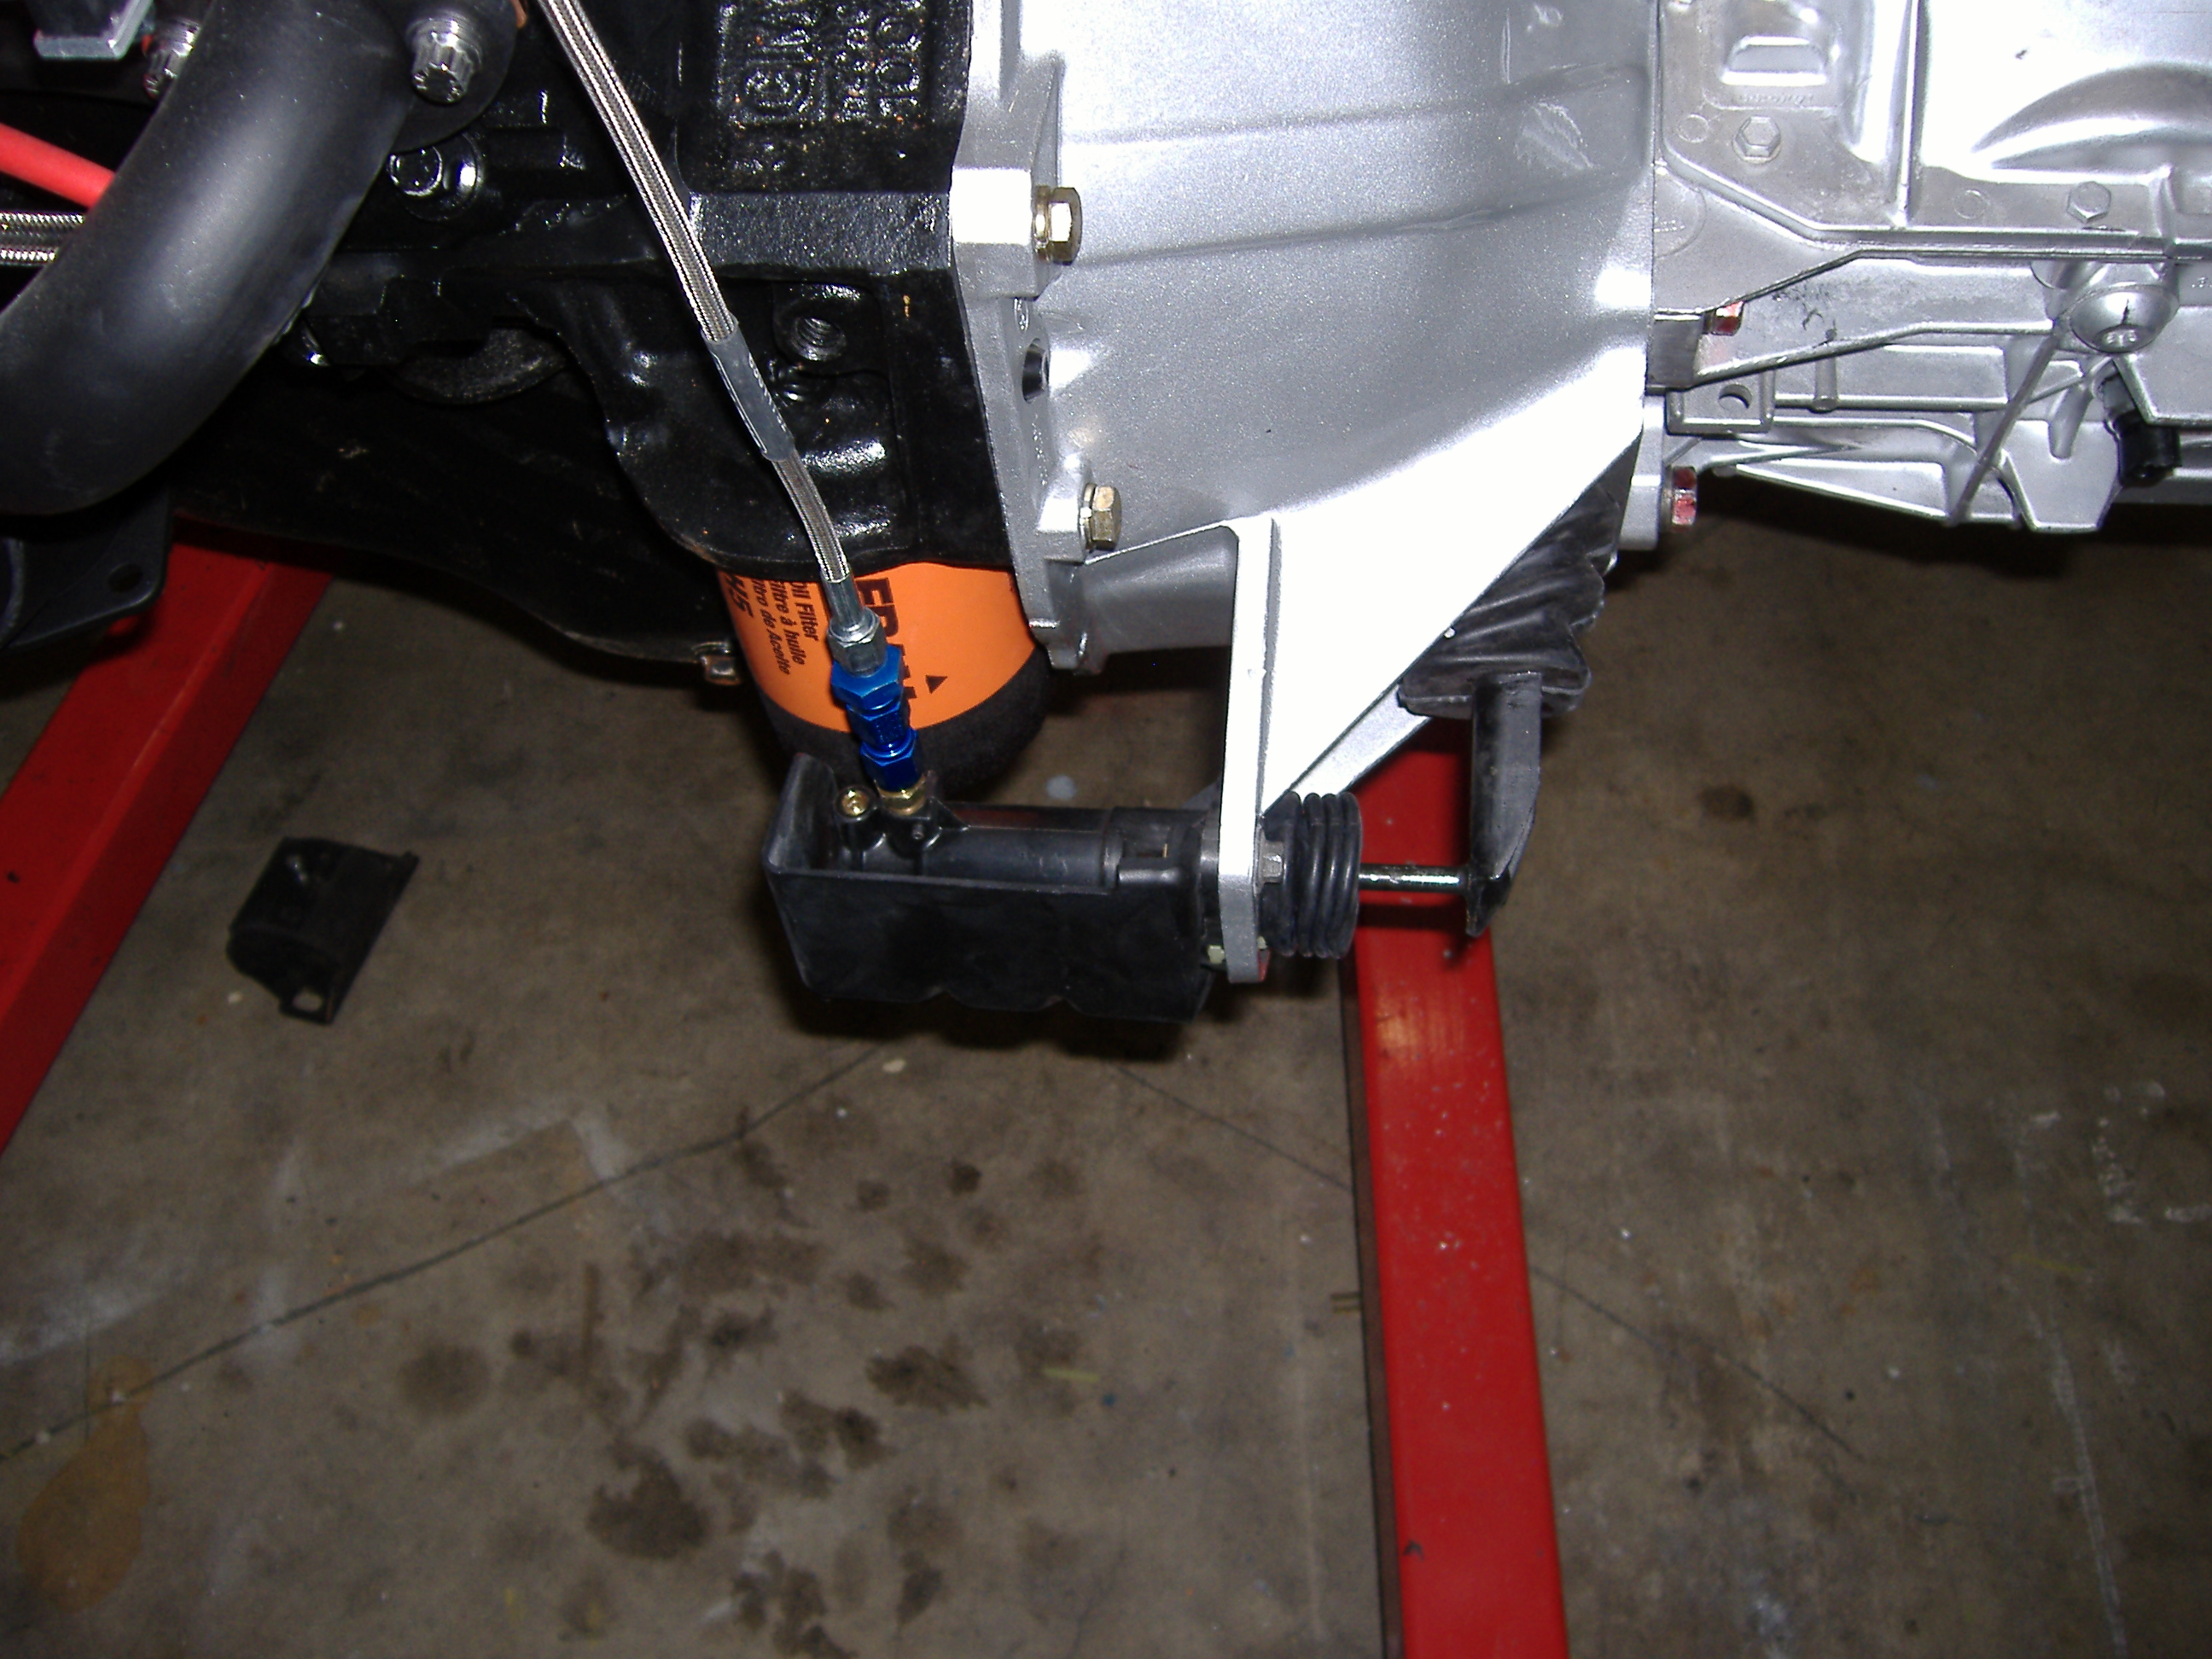
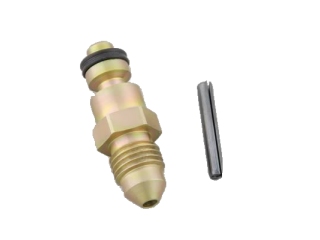
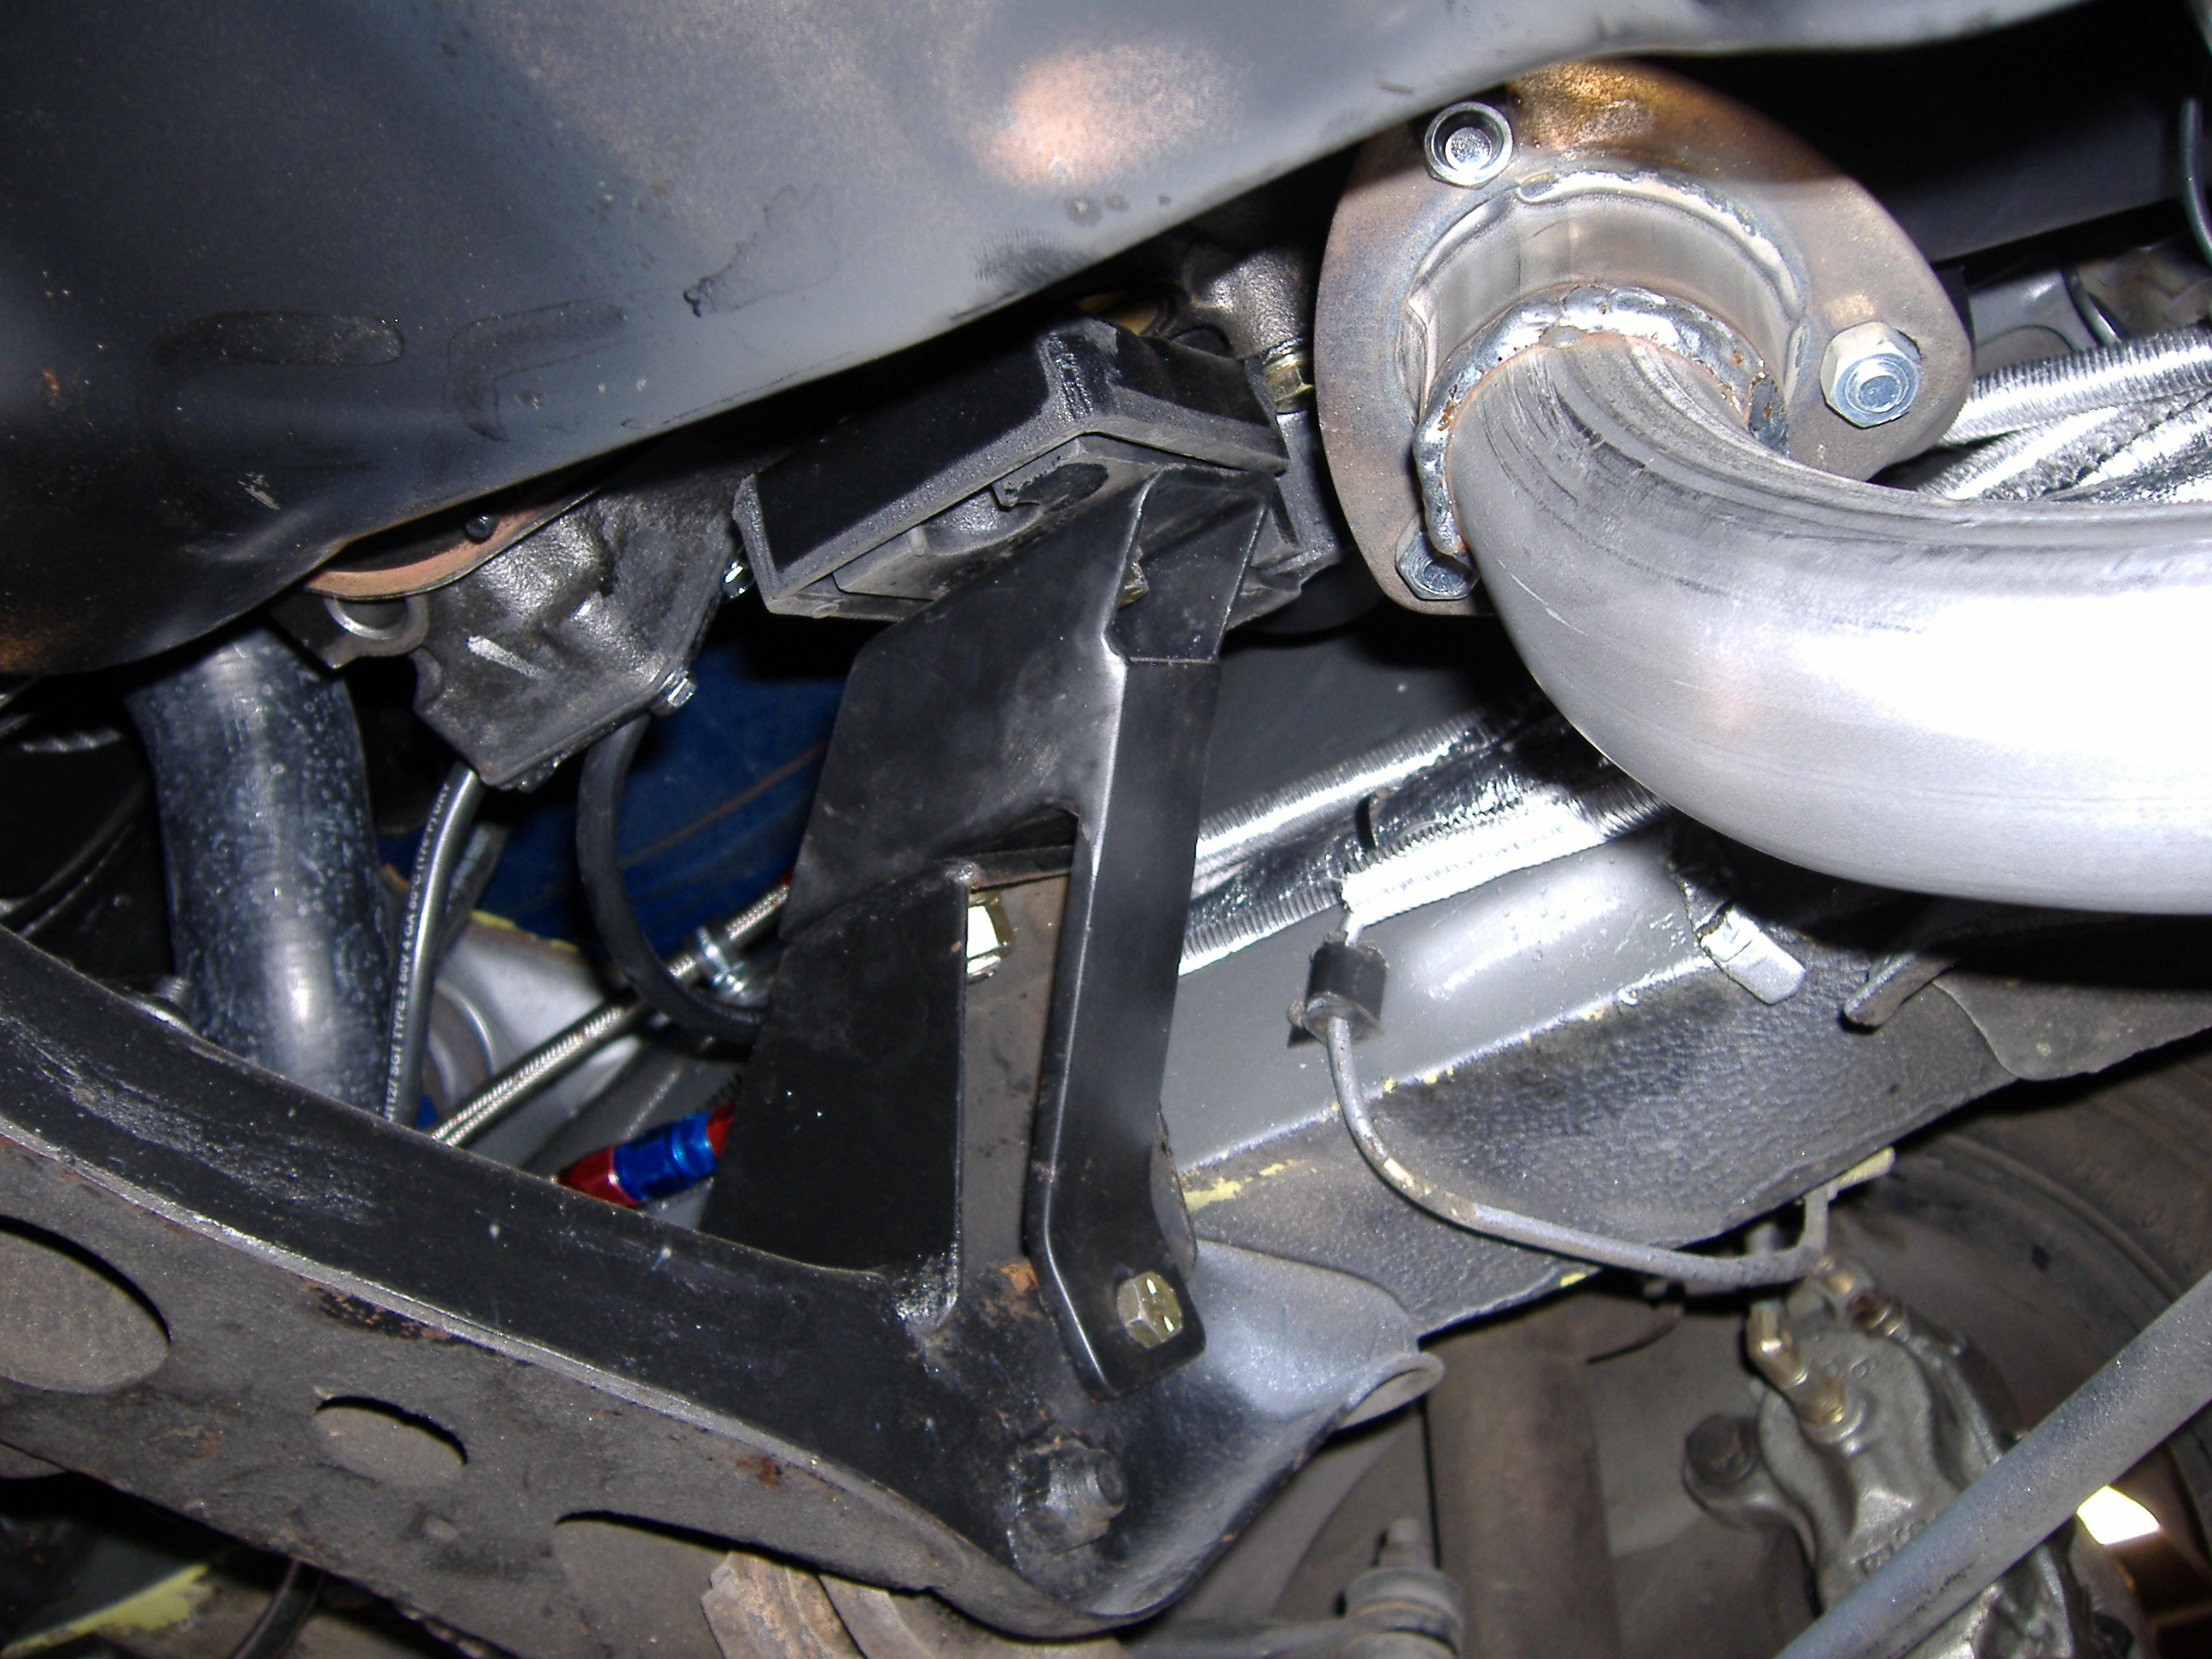
Be sure to route the plastic Ford line away from the exhaust header. See pics of my old build. I think that I flipped the hose around. I found the easiest way to install the hose was to remove the slave attach the hose/roll pin to the slave and then lower the assembly into position and bolt the slave to the bell housing. Makes easier working topside and manage the small roll pin and O ring.
-
ford master cylinder / camaro slave / plastic line
Miles replied to revlis240's topic in Gen I & II Chevy V8 Tech Board
I used the same clutch set up on my first 240Z v8 project ten years ago. I too had to redrill the holes for the clutch MC and hit the flange inside. Never had a problem with it. It worked good and is still on the road. Since then McLeod offers a roll pin adaptor (p/n MCL 139026 at Summit) that fits in the Camaro slave that allows the attachment of a -3 braided line. For my second 240z V8 build I used the Tilton 7/8" MC, Mcleod roll pin adaptor and a Camaro slave. Parts numbers: Tilton 7/8" MC TIL-74-875U $80.00 Napa Camaro slave UP37821 $43.98 McLeod roll pin adaptor MCL 139026 $$46.39 Earls 32" -3 ST/90 Clutch Hose EAR6301172 $27.00 Earls -4 FEM swivel EAR 915104 $7.99 Earls -3 to -4 union EAR991902 $4.99 Note on the McLeod roll pin adaptor the tube part that slips into the plastic Camaro slave has a diameter that is slightly larger than the hole it fits into. I had to file the wide part of the tube so that the adaptor would complety seat into the roll pin hole on the Camaro slave.
-
Jack stand points on 240Z
Miles replied to New-to-240z's topic in Brakes, Wheels, Suspension and Chassis
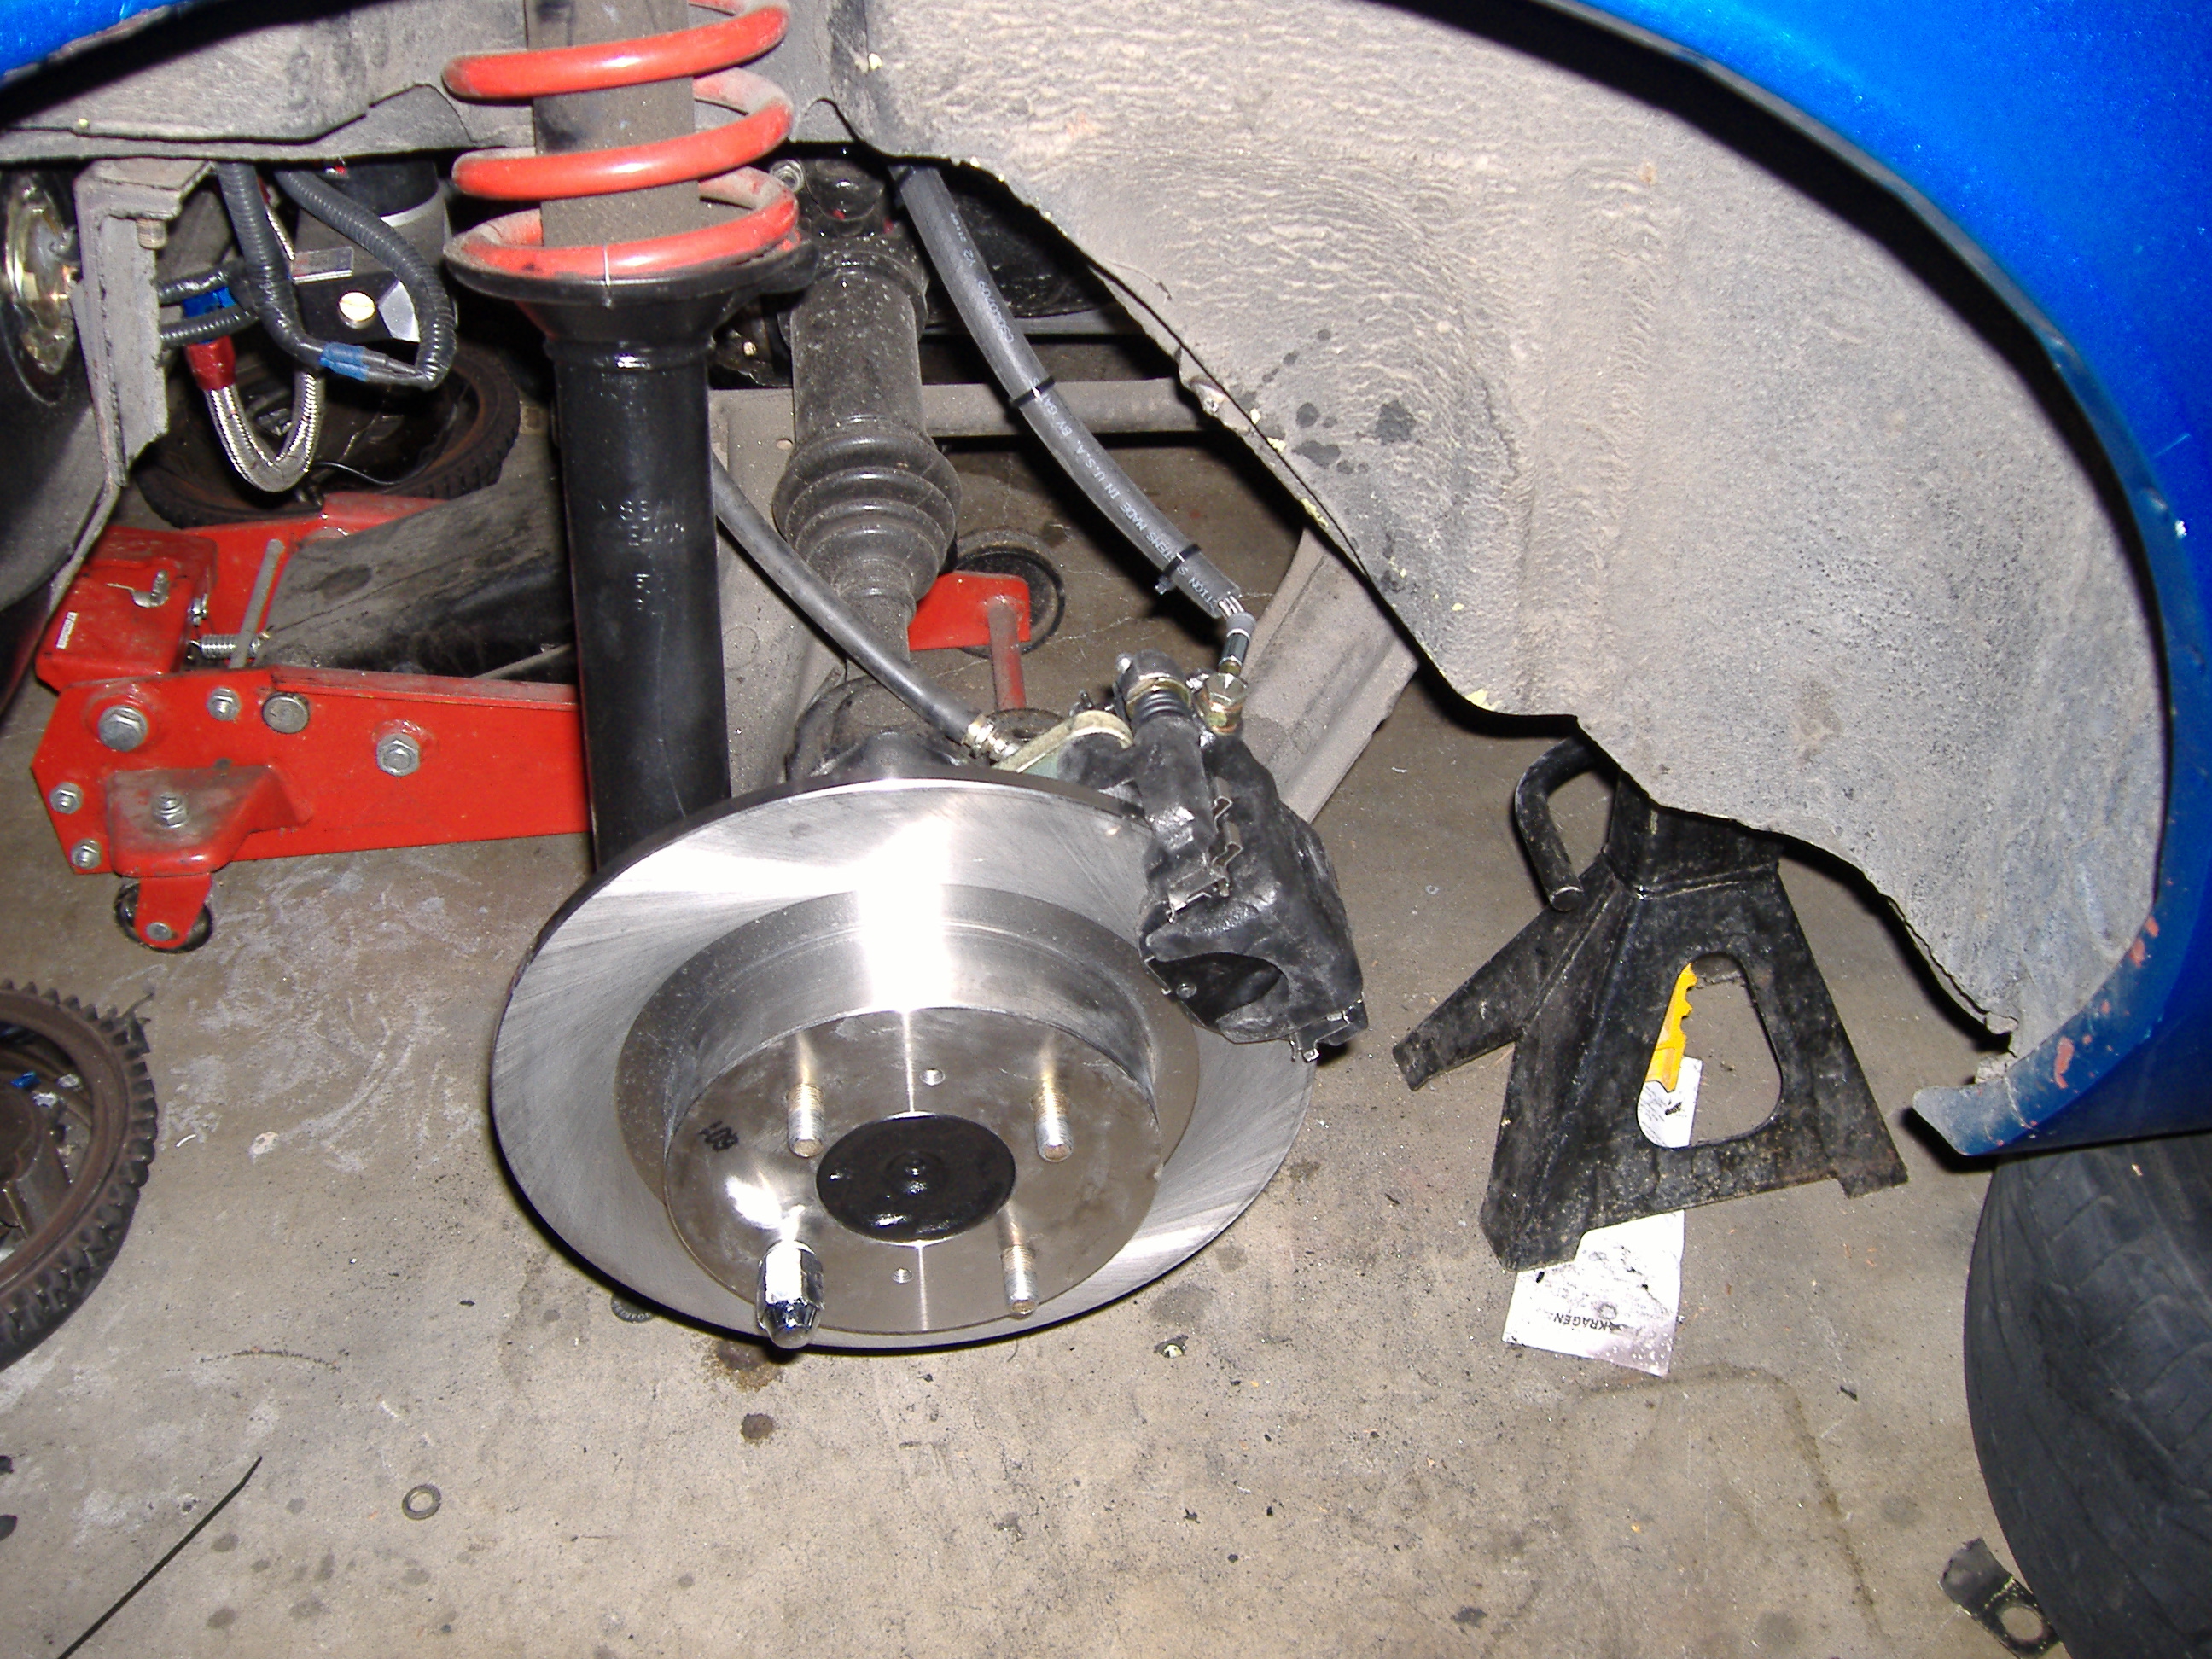
Front: Floor jack under the center of the front cross member. Jack stands under the frame rail aft of the TC attachment point. I leave the floor jack under the cross member after I lower the car onto the jack stands. Rear: Floor jack under the differential. Jack stands under the latteral frame members that are just in front of the rear wheels. see picture. Note that I leave the floor jack under the differential after I lower the car onto the jack stands as an added safety measure. Verify that the frame members rest firmly on the jack stands when you let the car down. When working on brakes or suspension I slide a tire under the frame rail on each side so if the car slips it will fall on the tire and not me. Don't trust those factory scissors jacks. Mine snapped and dropped the car while changing the tire. I now use truck sized jack stands for more stability as recommended by one of the members here.
-
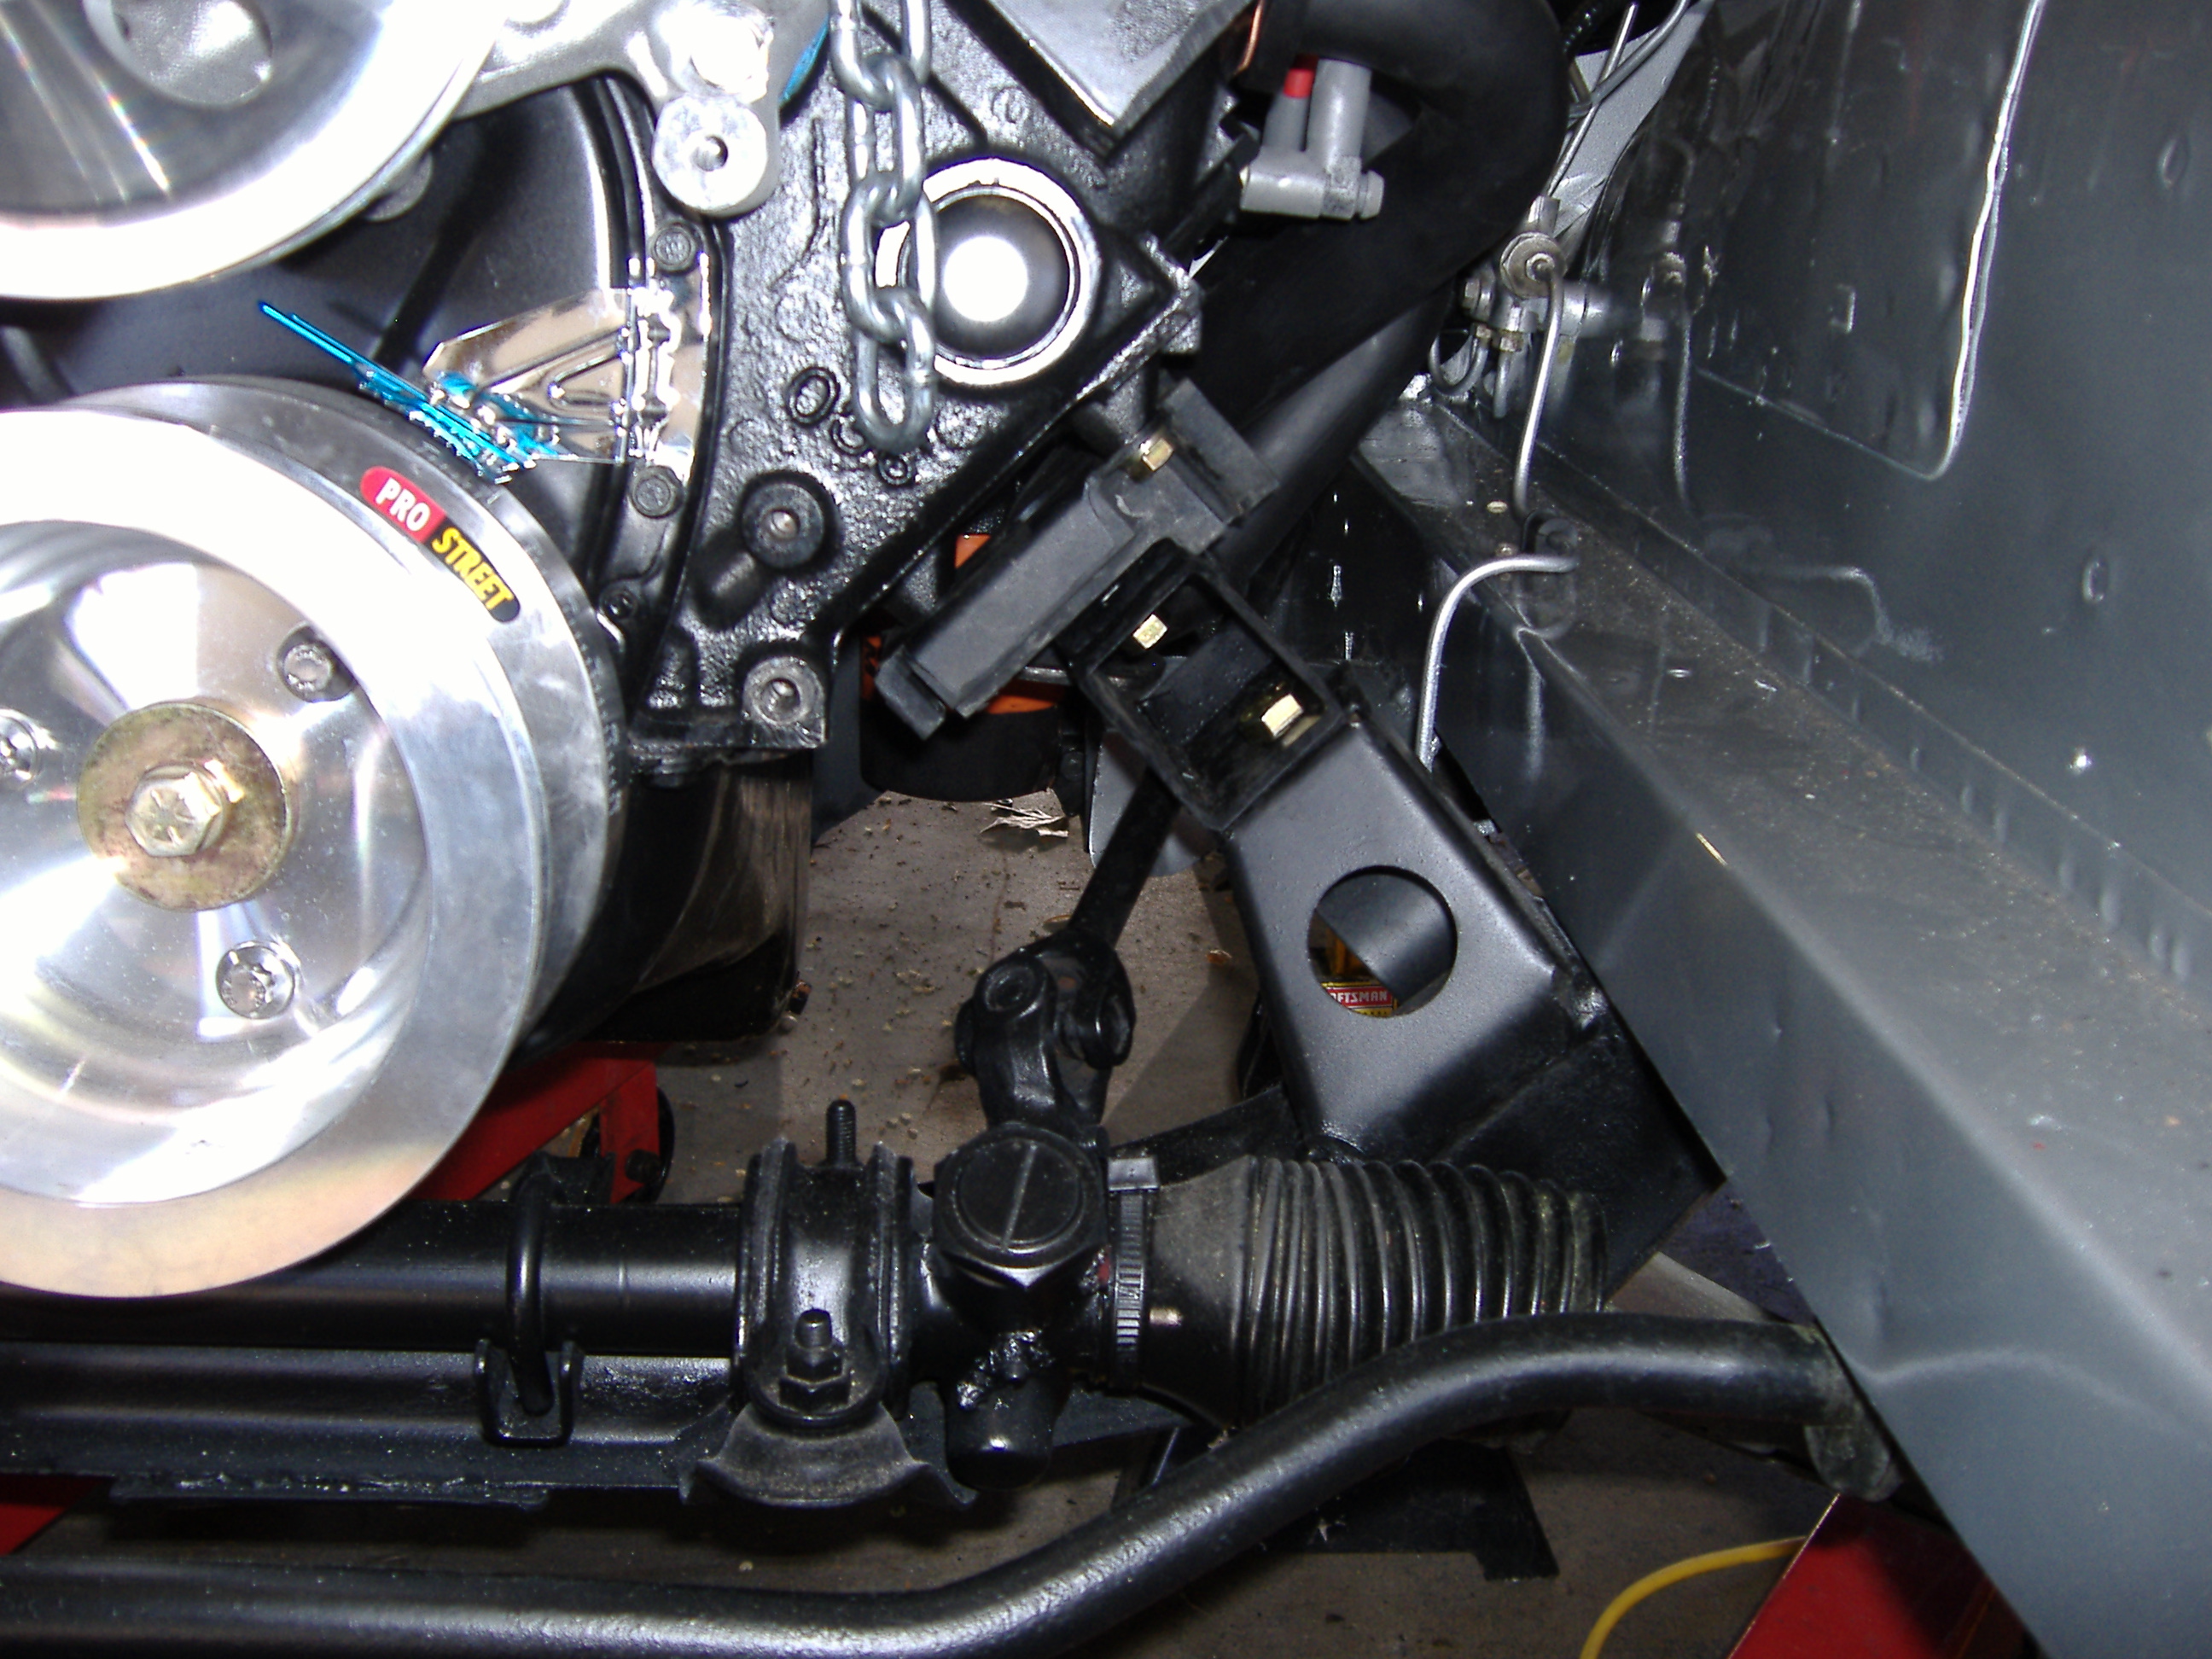
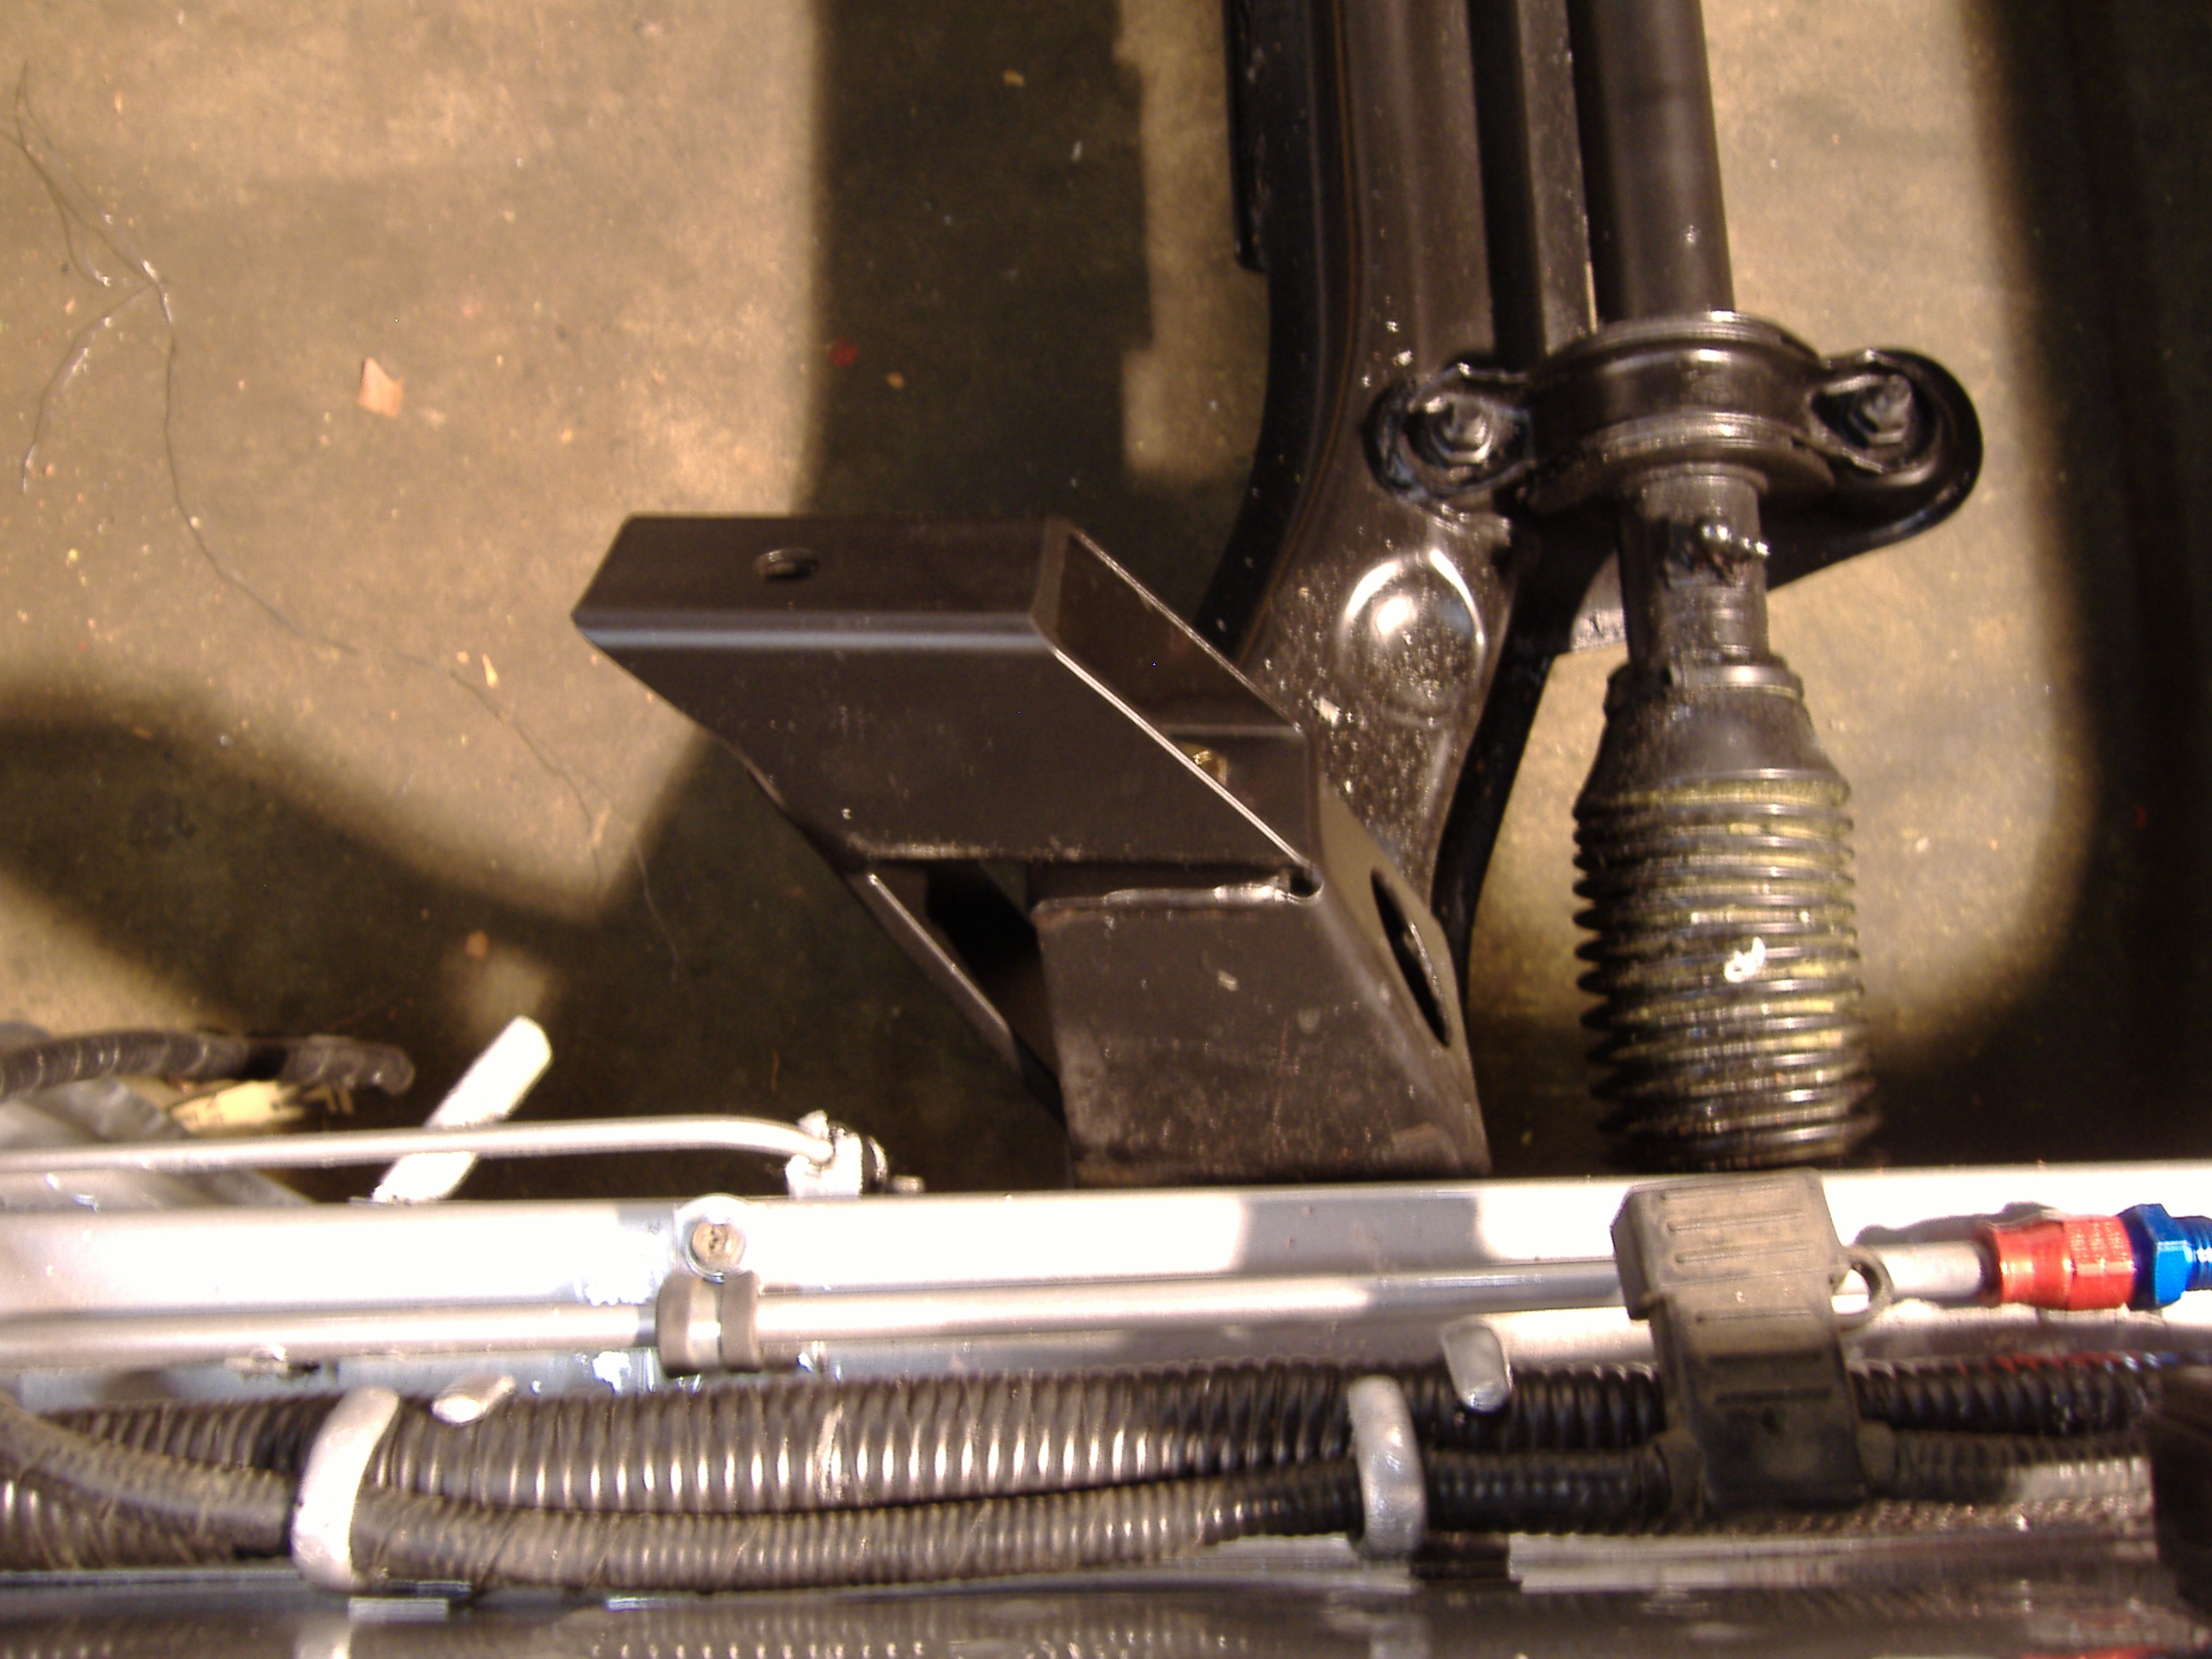
I am one of the few people here to use the MSA V8 installation kit. I have used it on two 240Z v8 builds. The first car 10 years ago and the car is still on the road. The second v8 Z two years ago with no problems. The one thing I like about it is the trans mount bolts inside the tunnel allowing you to move the trans tailstock up/down to get the best driveline angle before bolting the mount in place. Do a search for MSA mounts. You shouild find 2 or 3 of my posts on the install. In terms of engine position it is close to the fire wall and low, but not as low as the JTR mount.
-
I use a quarter inch drive ratchet and an open end wrench with the gas tank in place to remove/replace the bumper.
-
I recall that Dave Irwin over at ClassicZ has posted pictures of the column wiring. He rebuilds the headlight and TS switches. You may want to PM him for wiring info.
-
go here: http://forums.hybridz.org/index.php/topic/62367-anyone-heard-from-ross-lately/
-
Let us know how the Vintage door seals work.
-
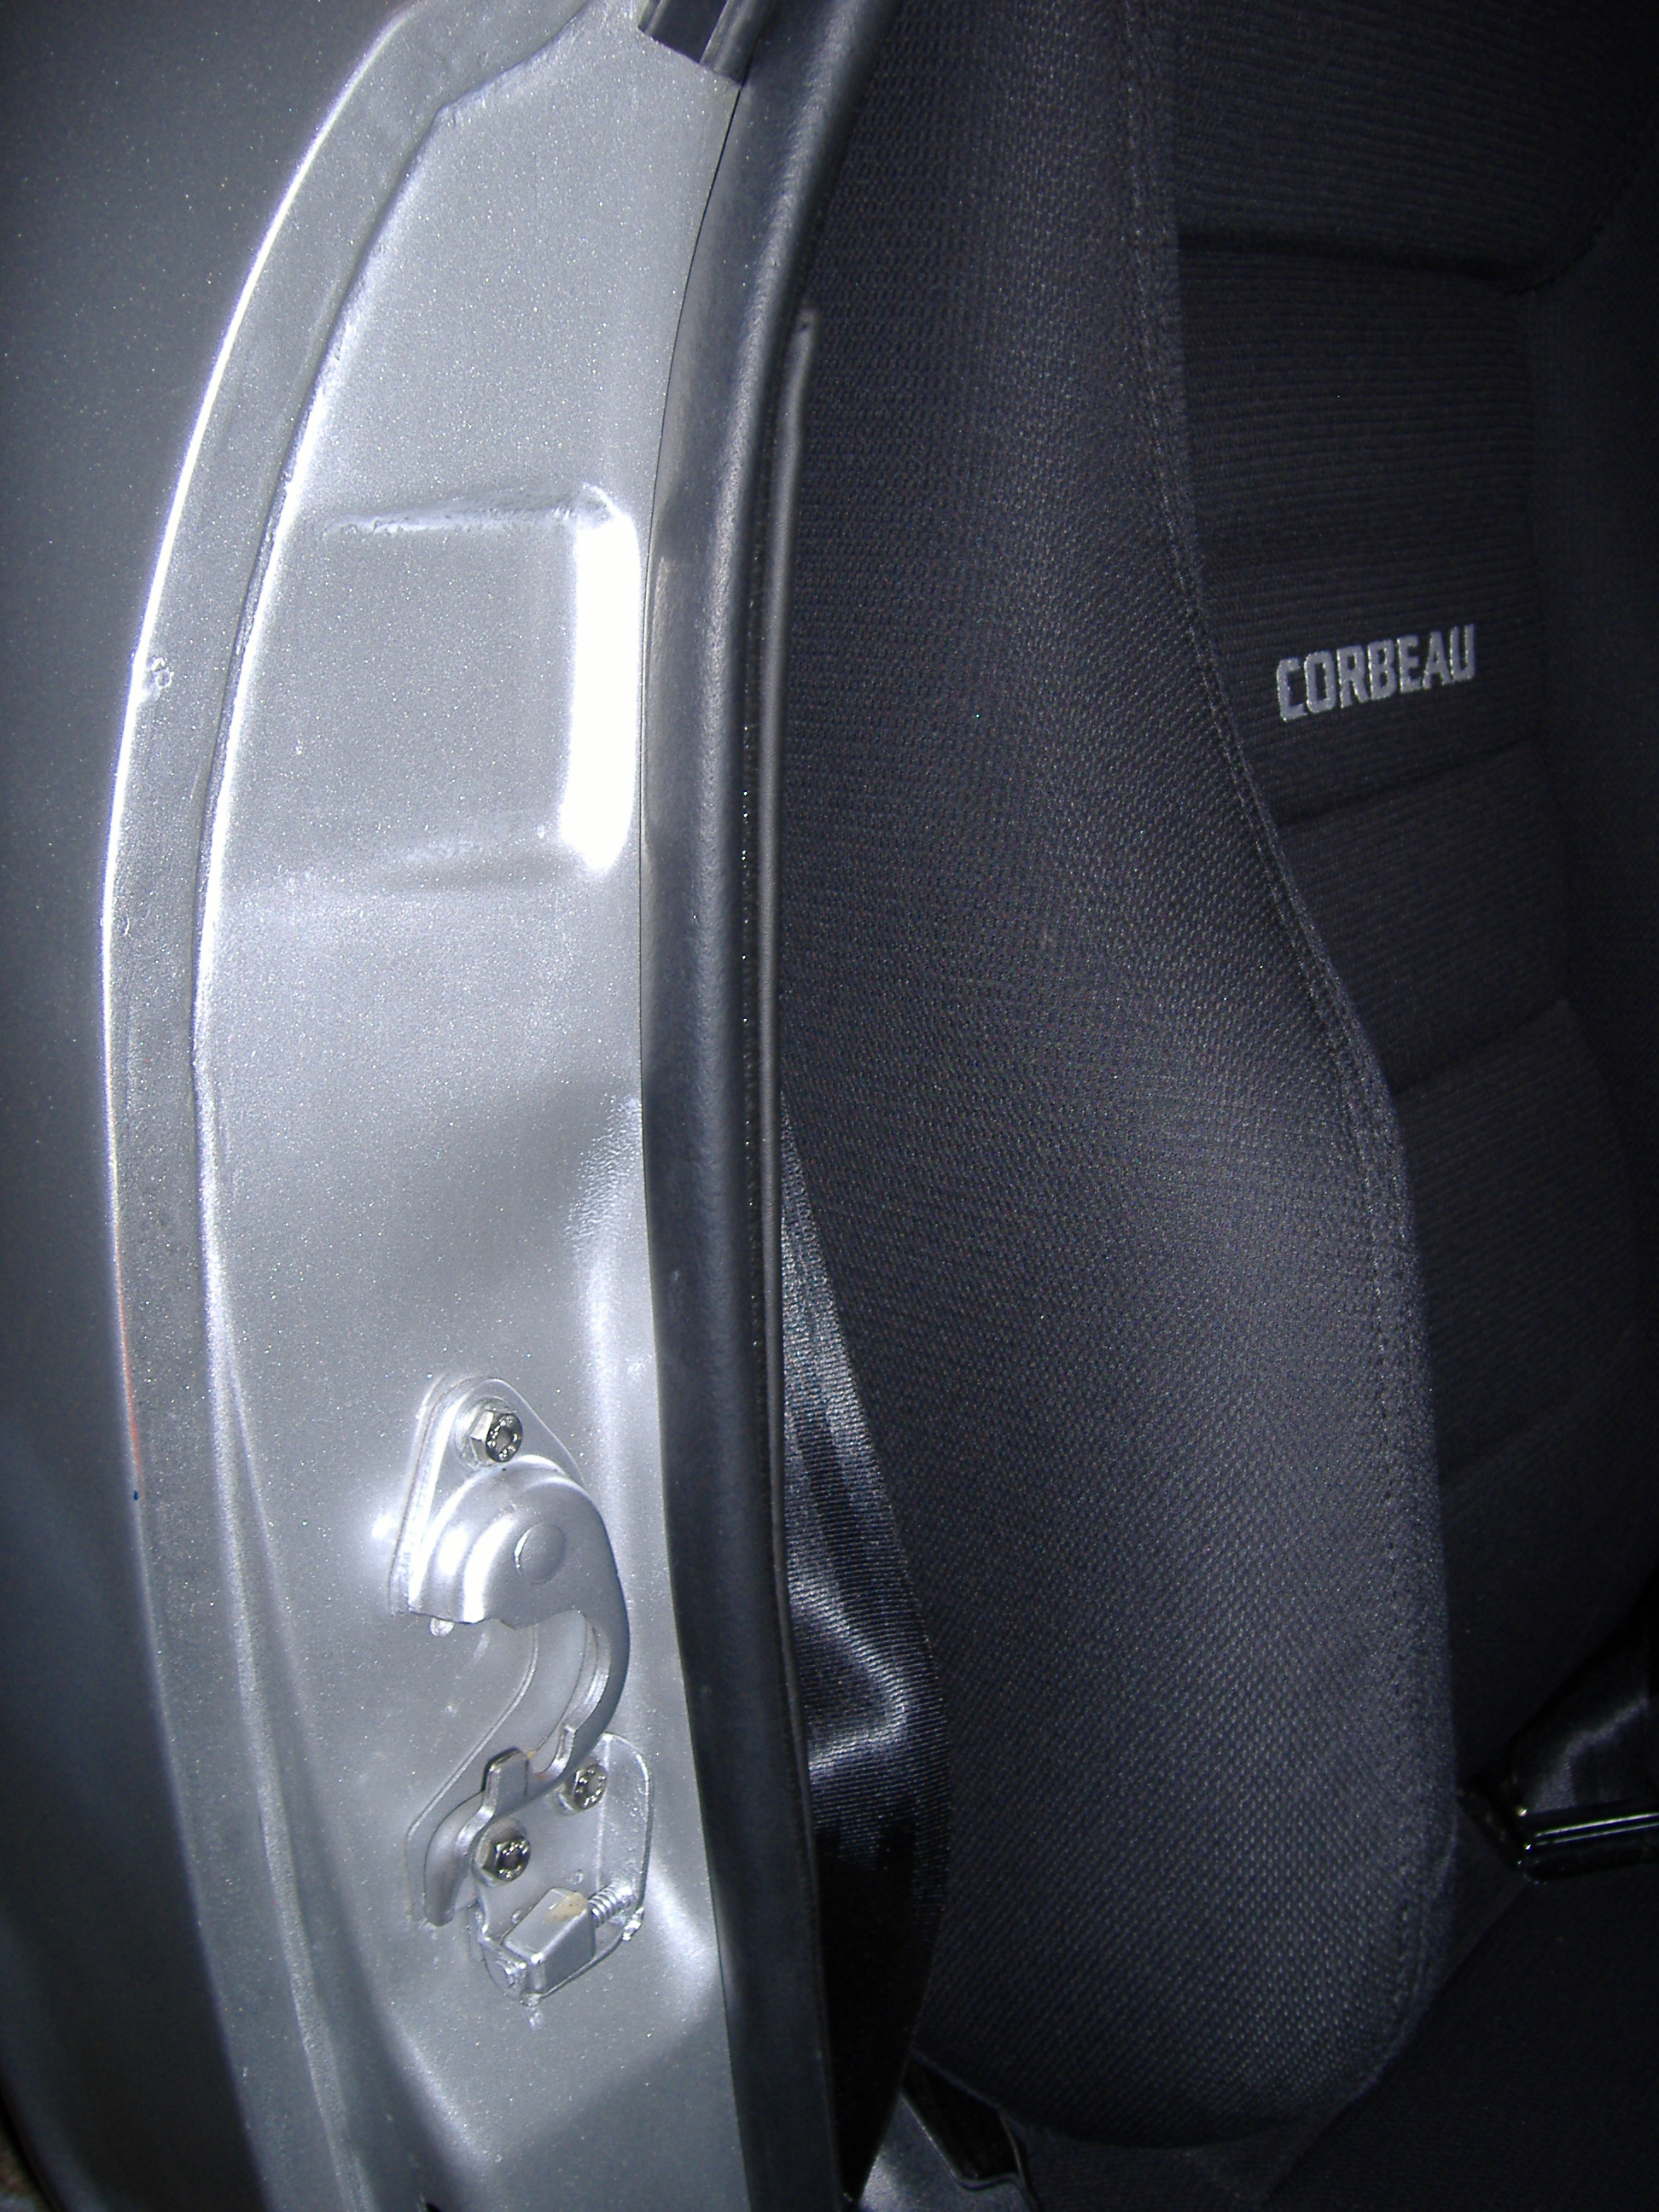
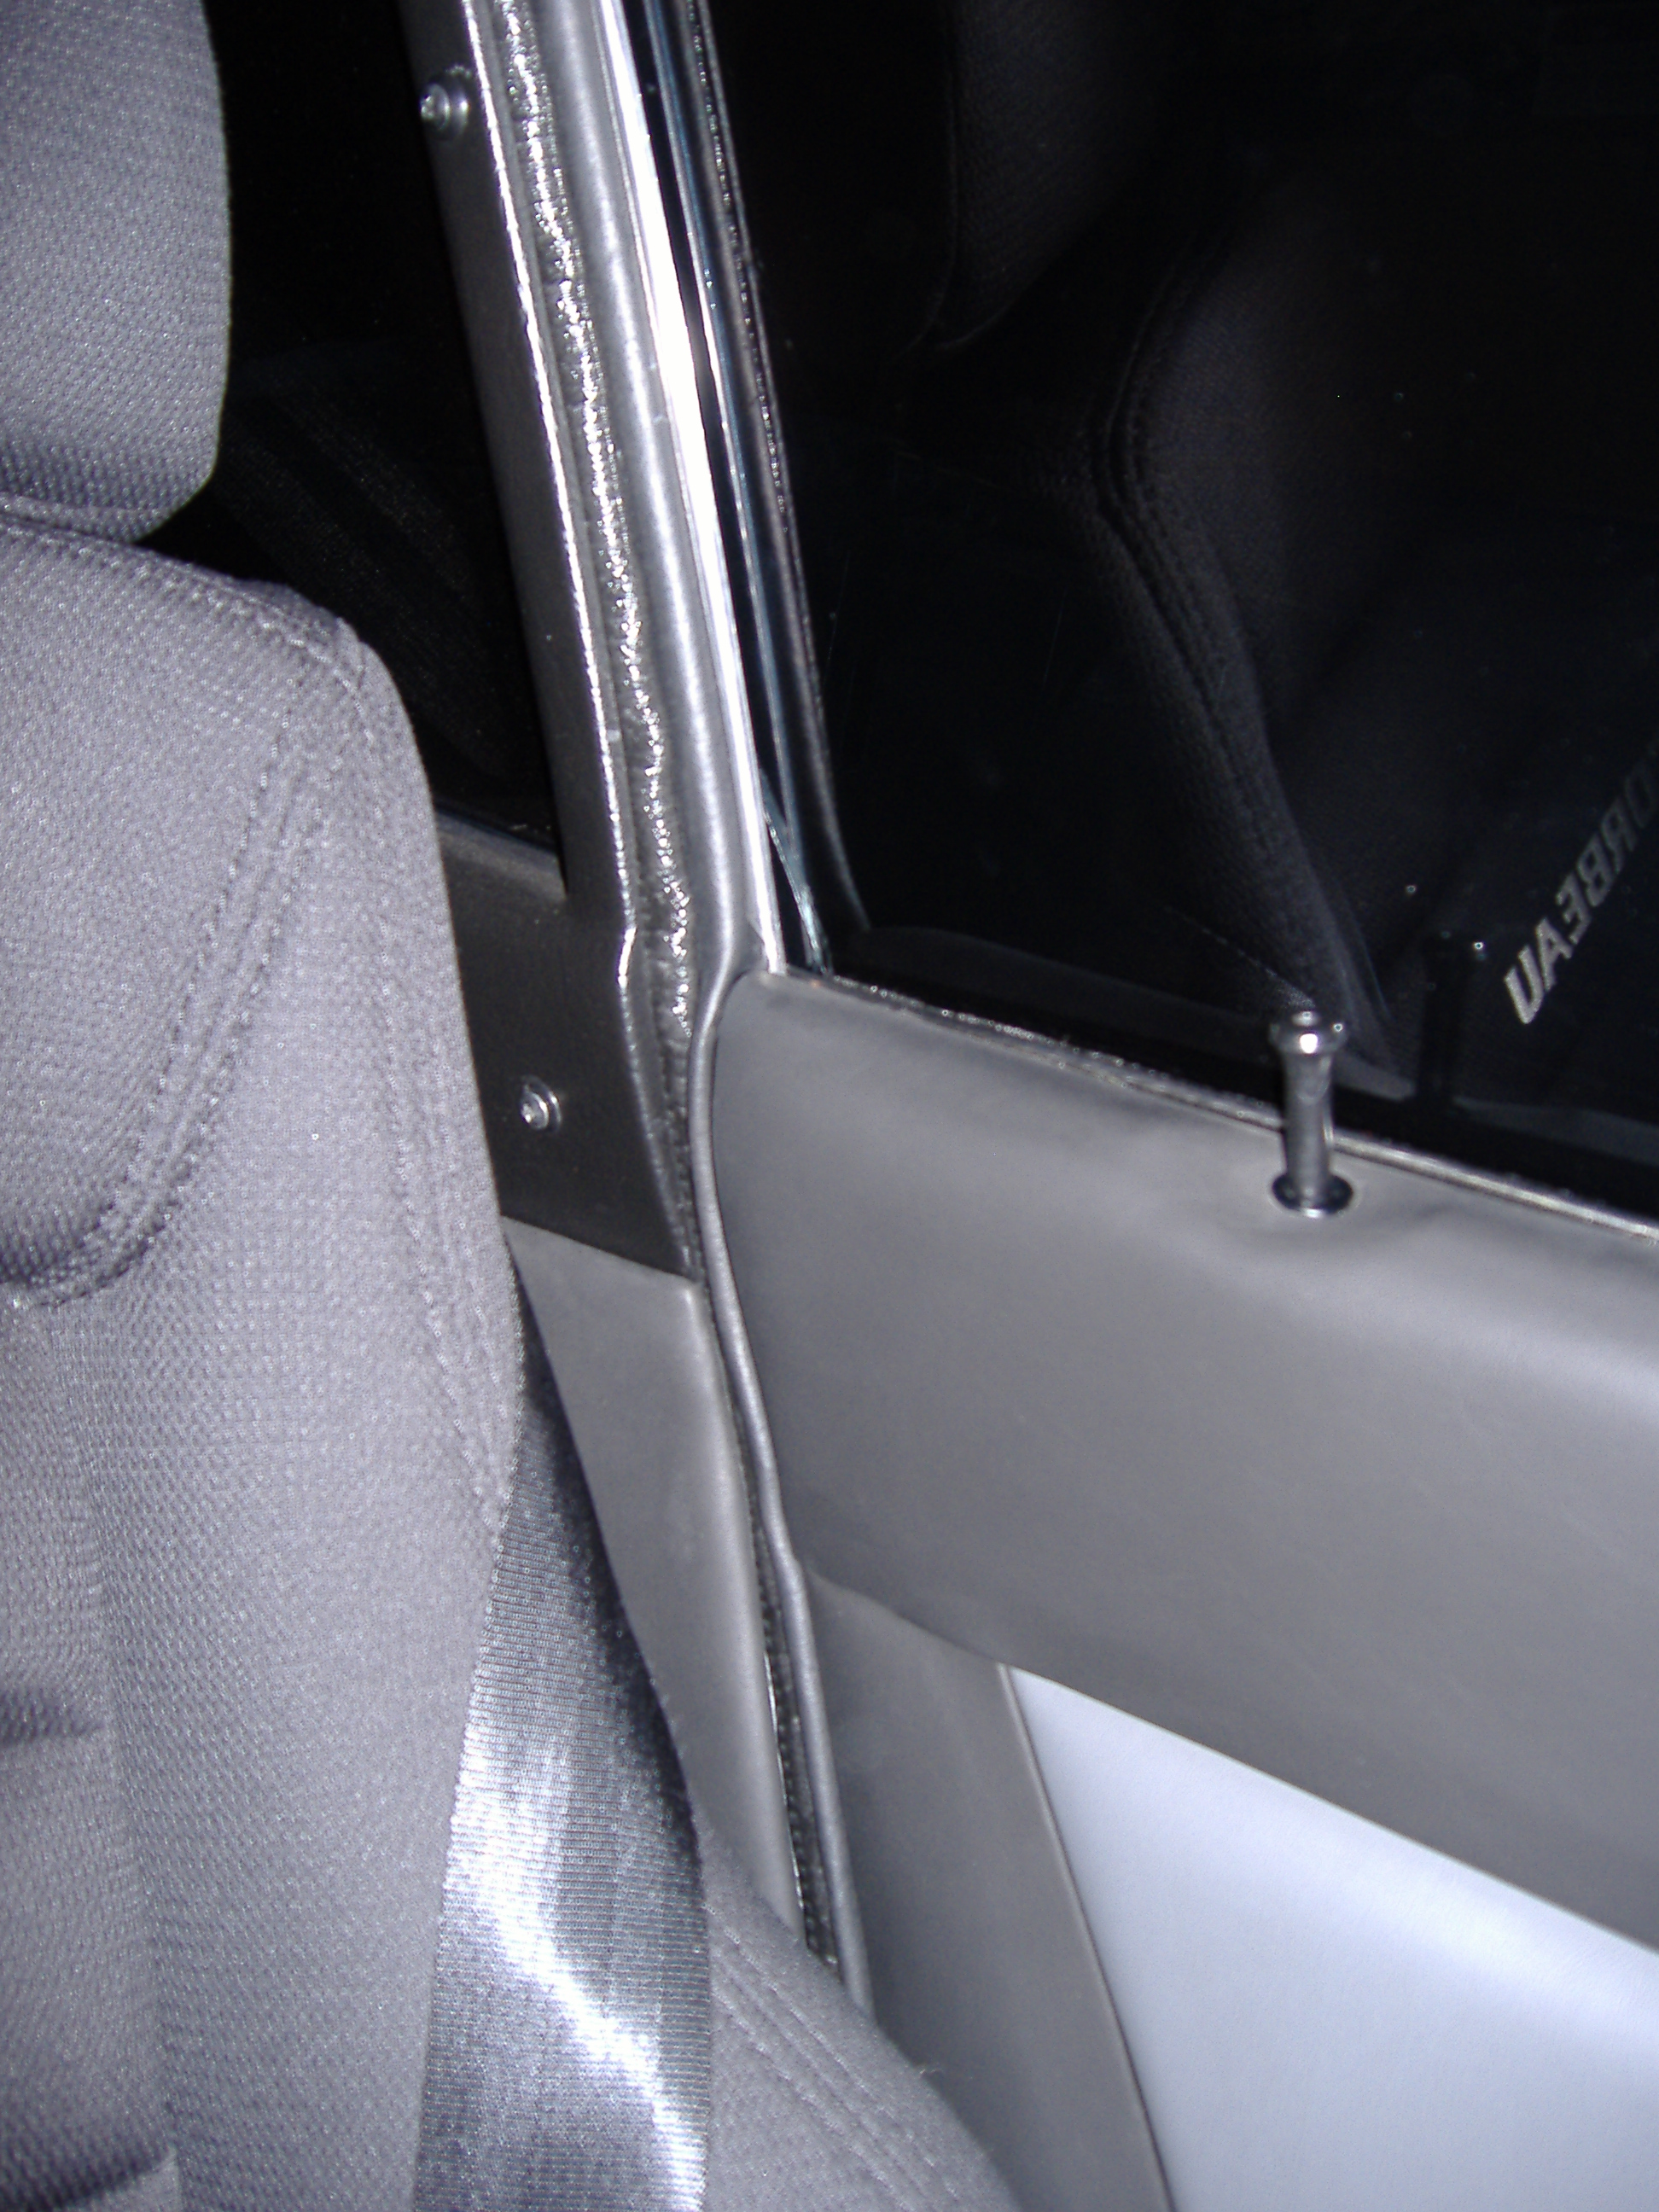
Pictures
-
I have done two 240Z hybrids and used the Precision kits that MSA and Black Dragon sell on both projects. On the second 240Z hybrid I would have tried the Vintage seals as I had heard that they were softer, but they were still developing the door seals and I didn't want to wait. I will try the Vintage parts next time. With the Precision kits the door seals were too thick and the doors would not close which is a common complaint. Also, the hatch glass seal was mal-formed in the top corners. I ended up buying an OEM hatch seal from Courtesy Nissan. For the door seals I have used door seals from Pep Boys. They work, but are about 10 inches too short so I just buy three and splice in a 10 inch section. They use a pinch strip which holds well and they conform to the 90 deg bend at the top of the door. The doors close normally and they seal well. The p/n for the Pep Boy seals is 3554. They are made by Magic Mounts and can be seen at thier website. You can see this at http://www.magicmoun...oducts/3554.htm