-
Posts
1384 -
Joined
-
Last visited
-
Days Won
12
Content Type
Profiles
Forums
Blogs
Events
Gallery
Downloads
Store
Everything posted by rossman
-
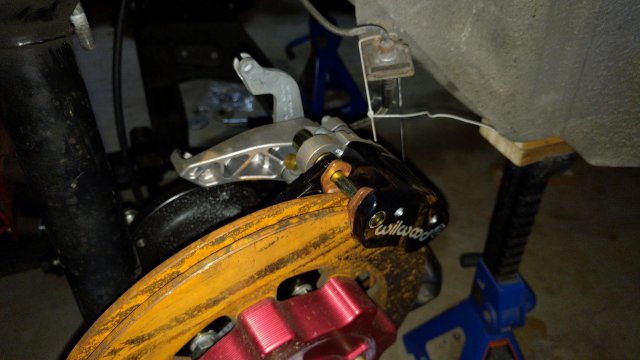
Thanks! I will! I wanted to verify because, according to the boxes I received, I had to install the left caliper on the right of the car and vice versa. I couldn't find any markings on the calipers to verify.
-
-
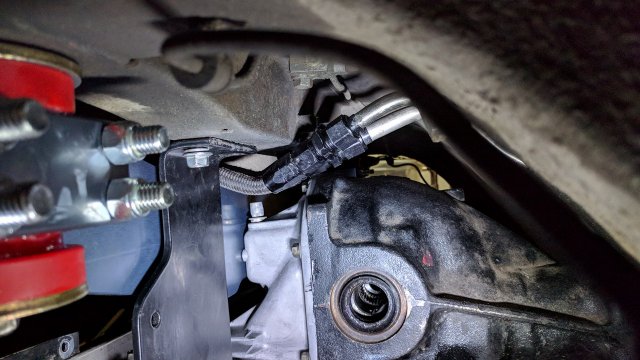
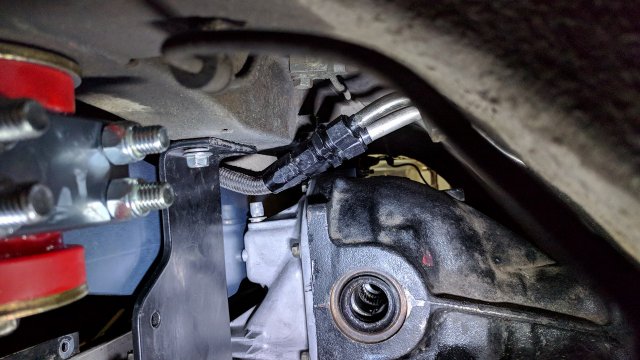
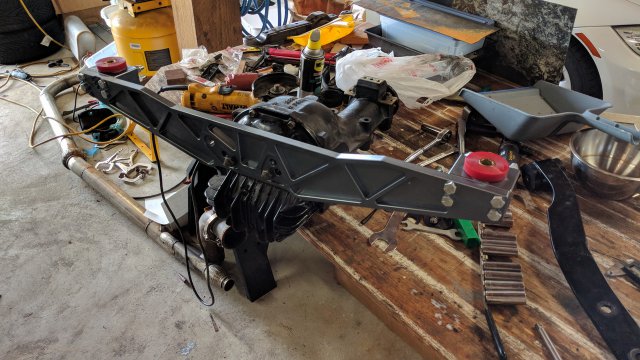
After upgrading my mustache bar to a Techno Toy Tuning bar my custom fuel line routing doesn't work anymore. The bar is considerably taller than stock and pinches the flex hose. I'm considering a few options and I'm looking for suggestions. Options I've considered are the following. 1. Routing the flex lines around the outer mustache bar mounts. 2. Installing 30 degree fitting instead of straight as pictured. 3. Drilling thru the side of the frame rails and bending new tubing to mate up to the existing tube. 4. Other options? Let me know what you think. Cheers, Ross
-
Gotcha, thanks!
- 199 replies
-
- rb25det 240z
- rota rb-r
-
(and 2 more)
Tagged with:
-
I'm really enjoying your build. Keep up the great work! I'm planning my VintageAir install and I'm curious why you used hard line, after the condenser. Shouldn't it be insulated? Not criticizing, just curious/learning.
- 199 replies
-
- rb25det 240z
- rota rb-r
-
(and 2 more)
Tagged with:
-
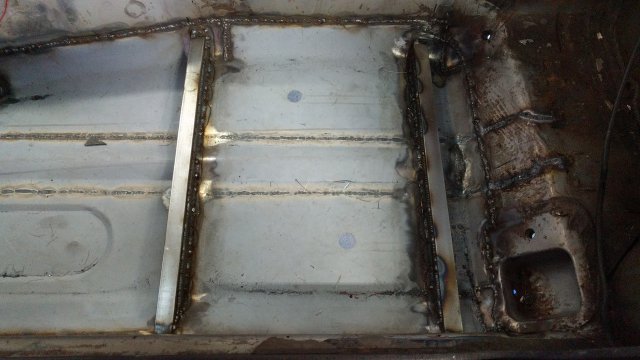
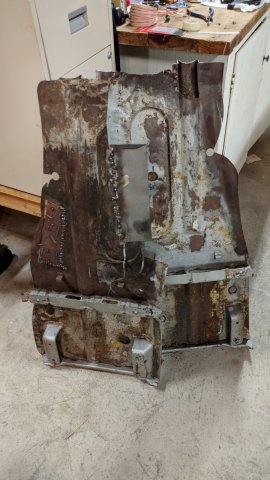
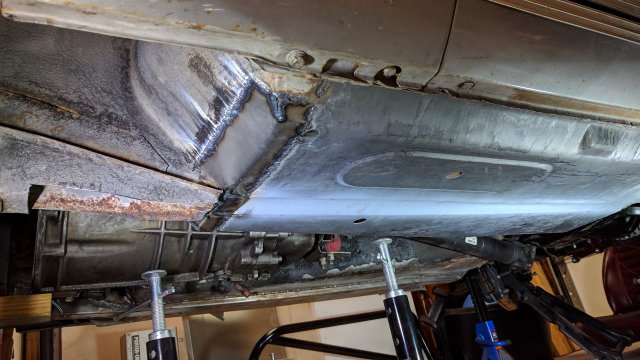
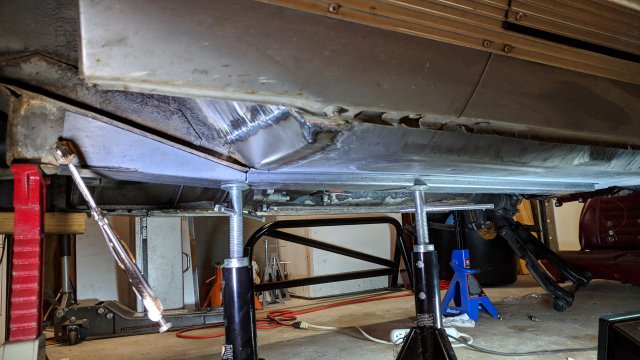
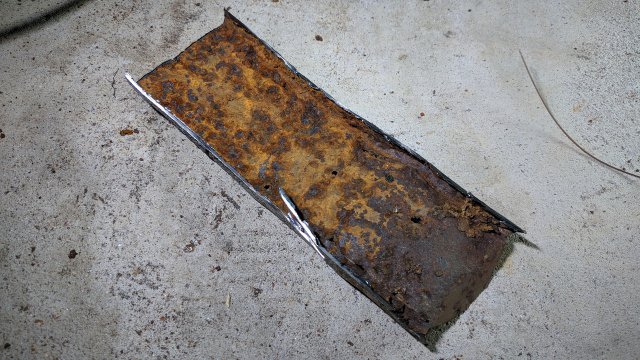
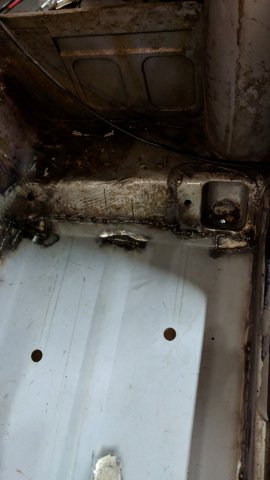
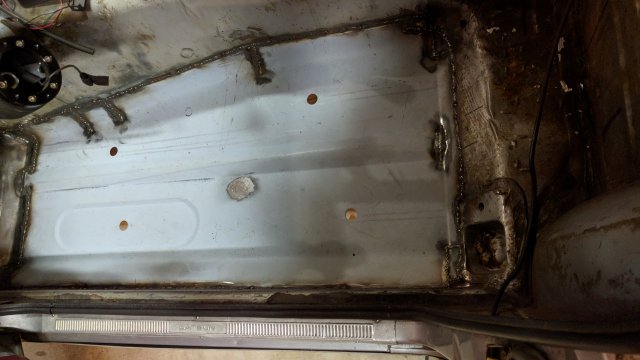
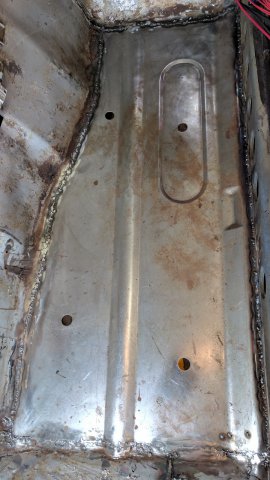
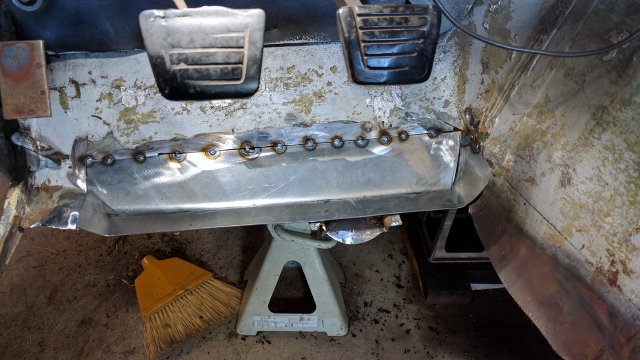
Floor pans, frame rails and seat brackets are done! I used modeling clay to get the as-installed profile of the pan. Downside is that the clay shrinks as it dries. Didn't figure that out until the second bracket that I cut short.
-
Rebello built my entire long block. He used notched flat top pistons with a metal head gasket. Compression is 8.5:1 according to him. The cam is a regrind but all the lash pads are stock height. I guess he compensated for the difference in cam base circle by adjusting the valve heights.
-
Interesting shots of the engine too. I was surprised to see that it's a single throttle body and seemingly tiny intercooler. Looks like it has some sort of water or alcohol injection too.
-
I was surprised not to see this video linked here already:
-
Jay Leno is just a great guy. I met him while working a summer job at a hotel in Houston. He's just as friendly and down to earth in person as he is in his videos.
-
The converted numbers are similar to my Rebello ported p90a head. The port is what Rebello called a "mild port." Custom Isky Turbo cam Intake: .535 lift, 278 duration, 114 lobe center Exhaust: .535 lift, 278 duration, 114 lobe center Ported head with 1 mm over sized stainless intake valves Intake: 201 @ 25" water Exhaust: 151 @ 25" water
-
It certainly has some drawbacks (weight also), but structurally it looks much more stout that the crappy cantilevered designs being sold by other vendors.
-
This seems like a good mount design that doesn't require mods to the body and can take the moment well.
-
Is this the correct door for my Early 71 240Z
rossman replied to 5 Star Rising's topic in S30 Series - 240z, 260z, 280z
If the door latches ok then it's probably the correct door for the car. Both the hinges and latch positions are adjustable. -
The rear link allows the distance between the inner and outer rear pivot points to change as the LCA swings thru it's arc instead of forcing the motion thru the strut. The motion is complicated enough that it's difficult to visualize, at least for me. I had convinced myself that it worked back when those old threads were active...BUT, I didn't model it kinematically so, there may be a factor that I'm not considering. In other words, I could have it all wrong!
-
The rear rod-end link allows an extra degree of freedom when you add a toe angle other than 0. Rigid H-arm LCAs load up the strut/bushings while rotating instead. The loading in the LCA is much different than the others and this type of A-arm LCA has been discussed/debated extensively on Hybridz, but I believe the general consensus is that it's a superior design.
-
You just need the distributor and shaft.
-
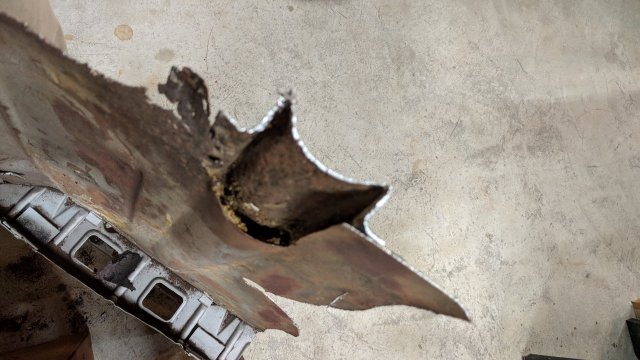
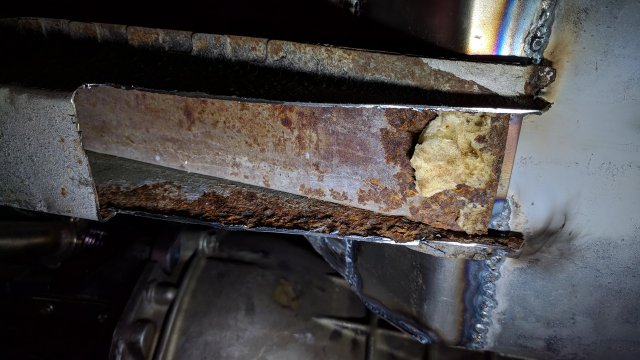
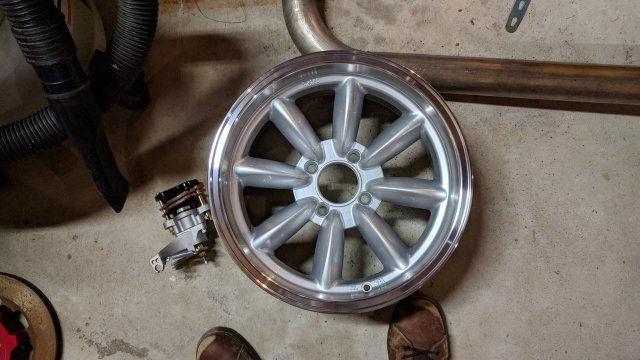
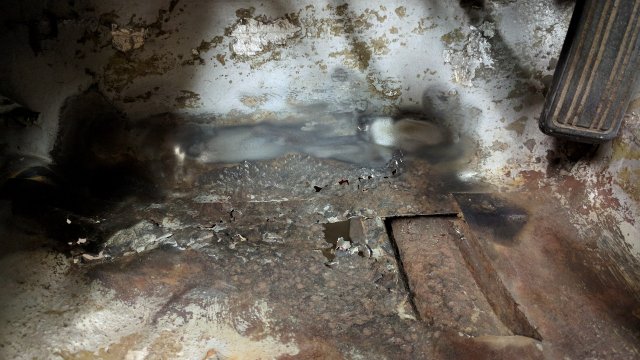
Did another 4 hours of so fitting up the drivers side baddog frame rail and snapped a few pictures of things I've done to the car recently. The drivers side floor pan is done as you can see below. This one went in much easier than the passenger side. Lets just say I learned a lot! Old frame rail cut out and floor pan prepped. The dumbass PO filled the frame rail with urethane foam from the top side. I guess he did it to keep his heal from falling thru the floor pan. BadDog frame rail fitted up. Old floor pans with rusty, crushed frame rails. Rota 16x8 +10 going in soon! I had to get them to clear my new Wilwood parking brake that you see laying beside it.
-
Thanks man! I lost some personal stuff that I was sorting thru trying to decide what to keep and what to recycle/donate. The flood made that decision easy...off to the trash it went! Also ruined a finished room downstairs that I never used. I just ripped out the drywall and insulation then sprayed everything wet with vinegar and borax to kill any mold growth. Still haven't replaced the dry wall and I'm not sure I will any time soon. I won't give up but sometimes life gets in the way. I have couple of hobbies and a job that eats up lots of my time. I'm off work until the 1/2/18. You should come on by and check it out. I would love to see your beast!
-
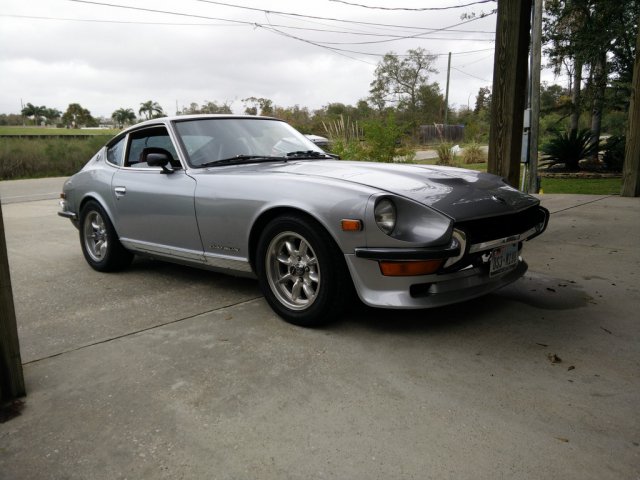
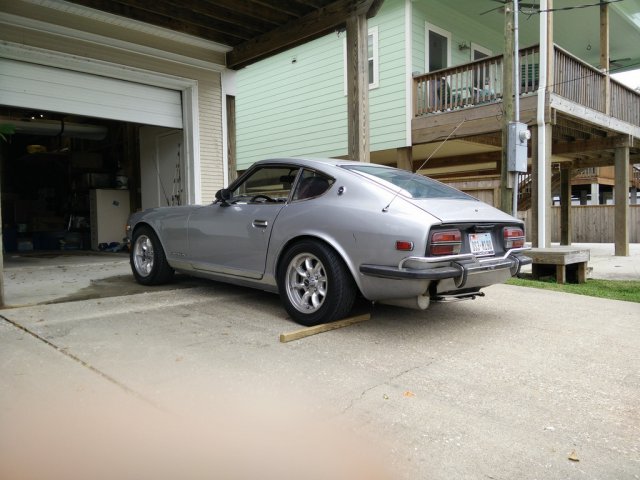
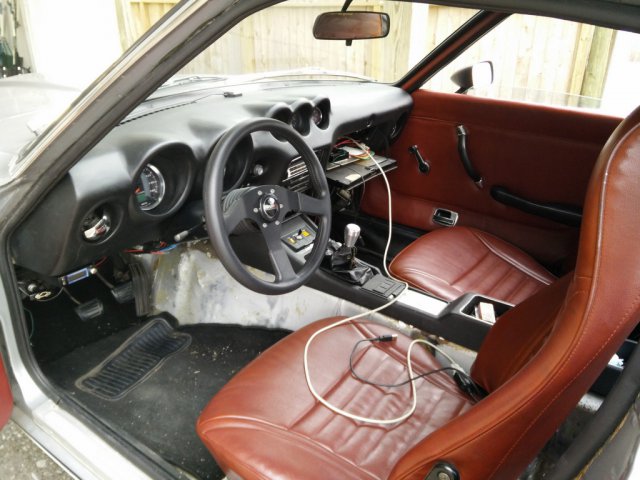
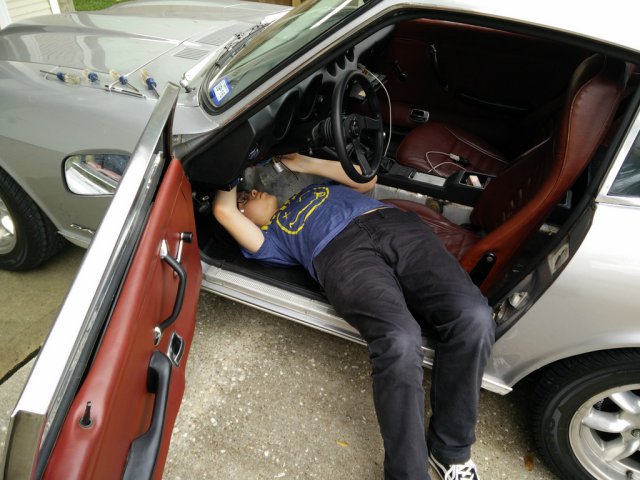
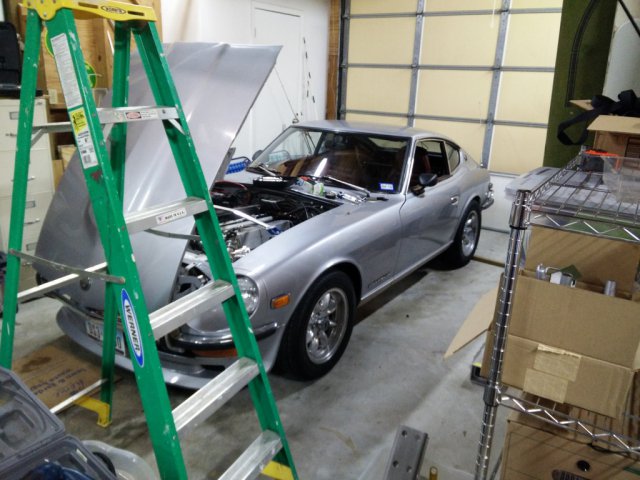
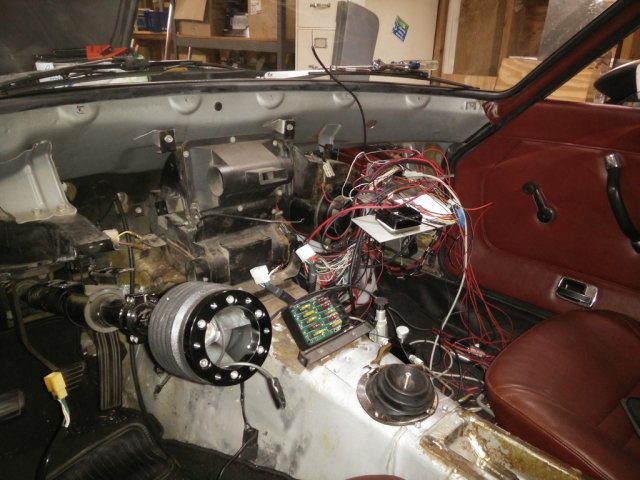
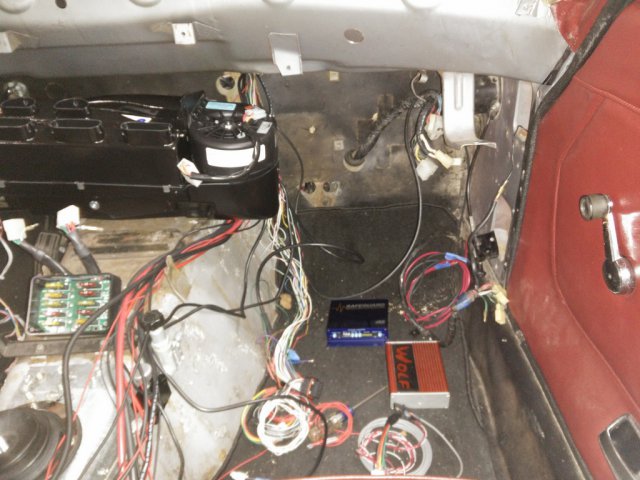
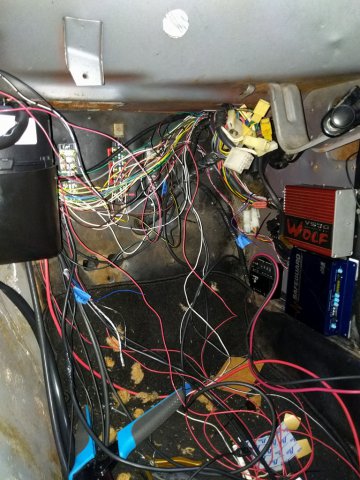
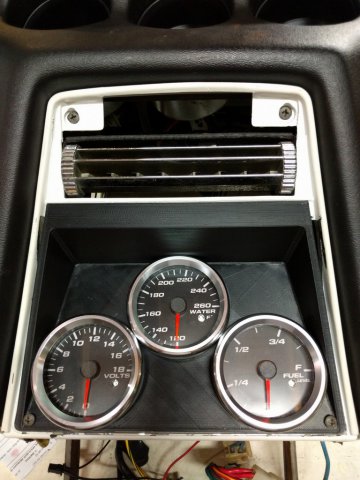
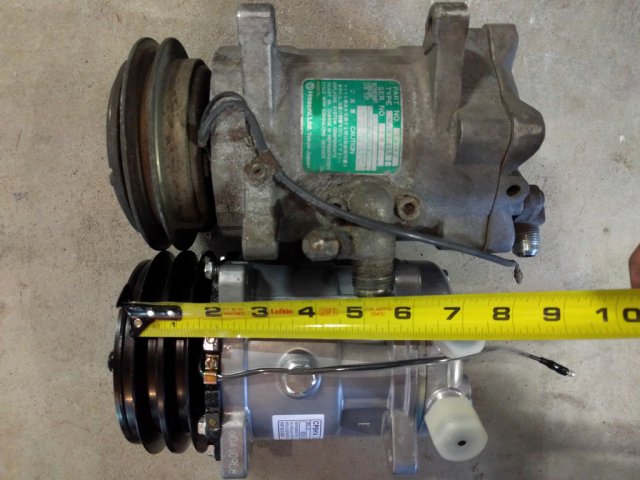
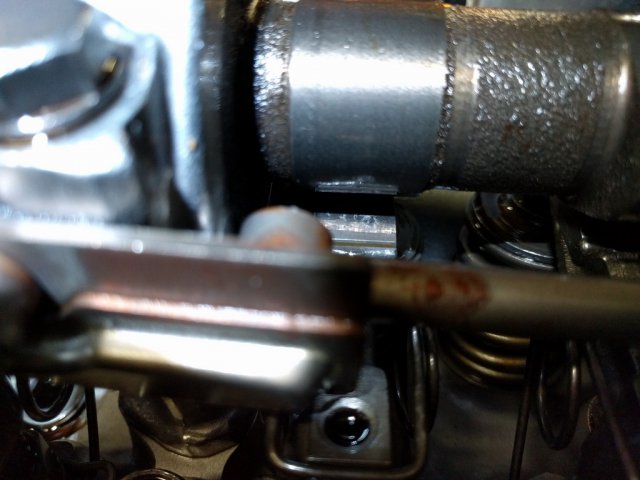
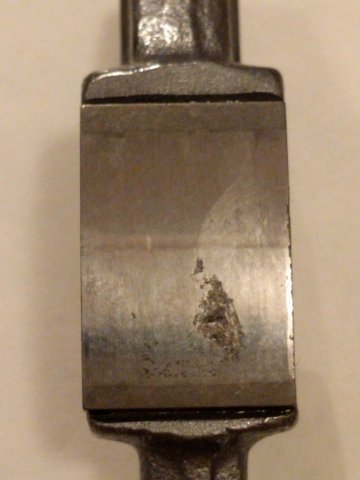
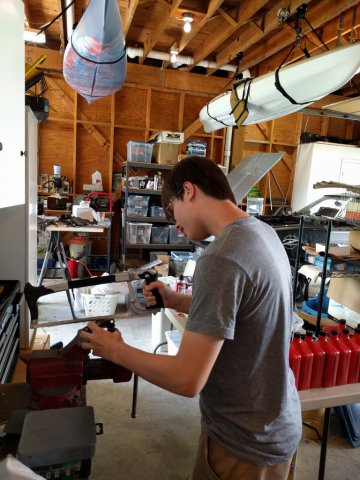
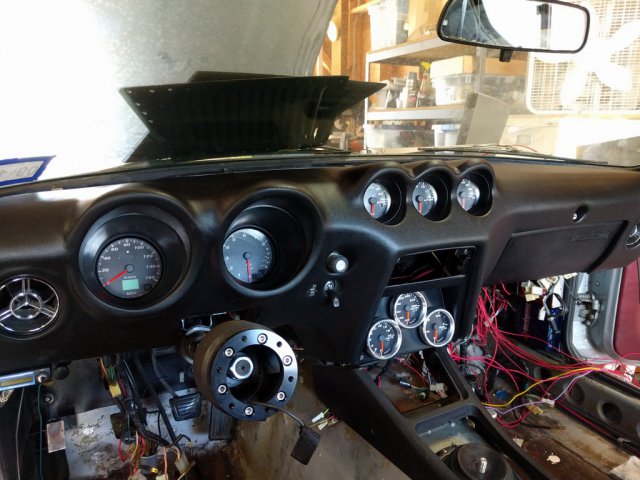
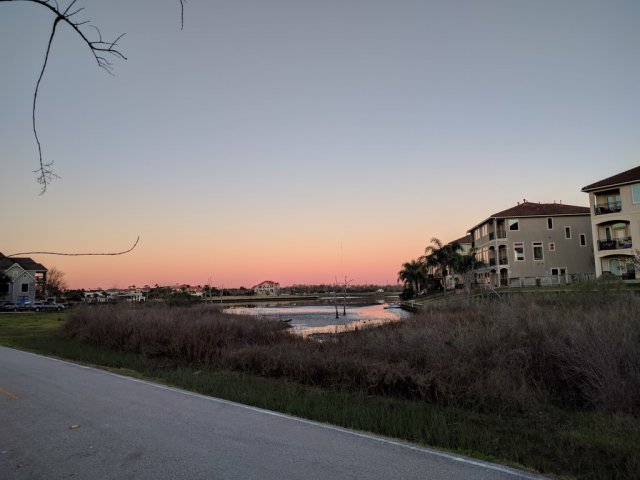
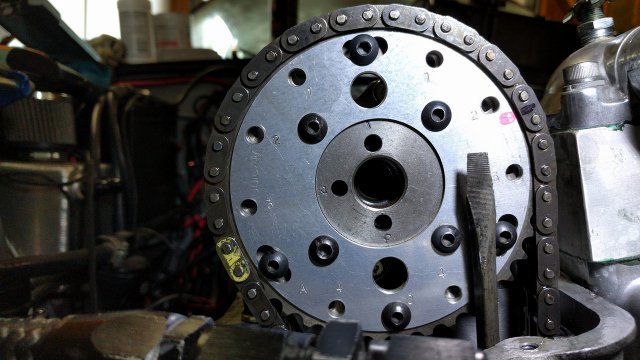
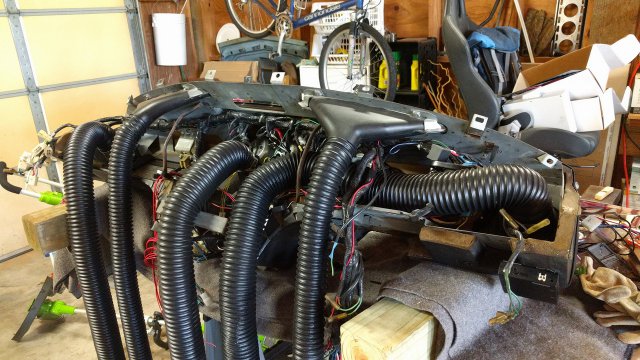
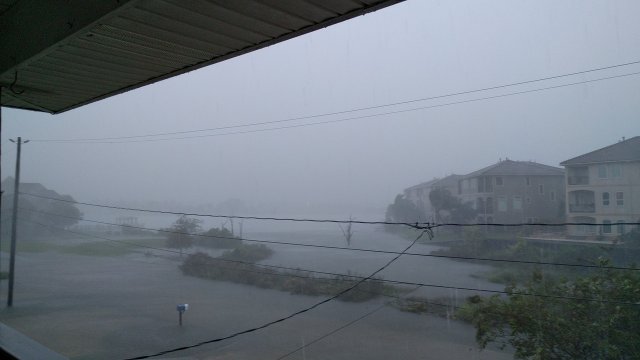
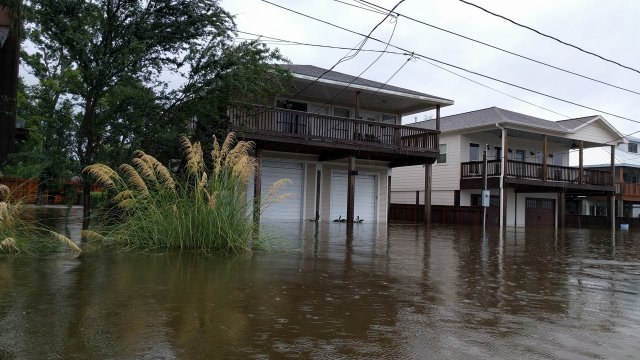
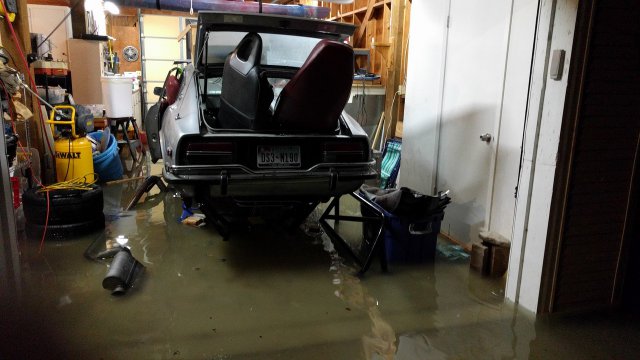
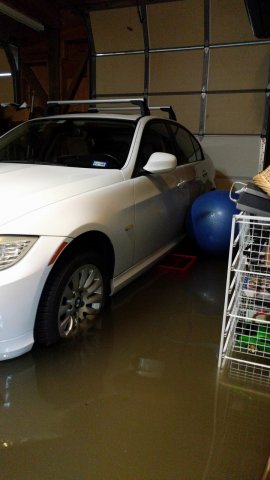
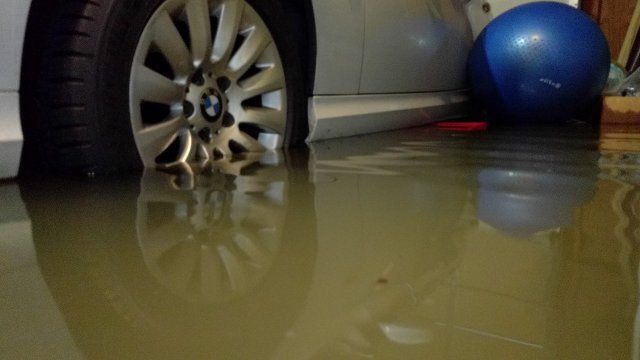
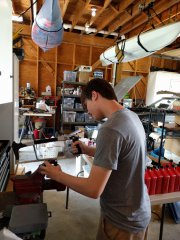
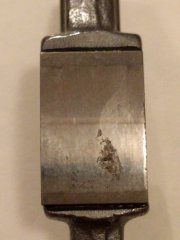
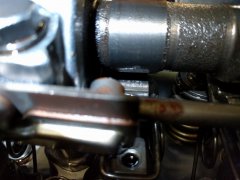
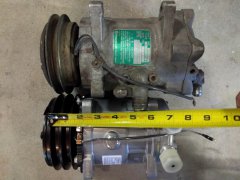
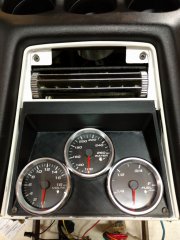
I can't believe it's been almost 2 years since my last update. Some of these go back prior to my last post but I'll try to avoid duplicates... Here are a few pictures of the car just before I pulled the dash back in December 2015. Convinced my 14 year old (now 15) son to help pull the dash Dash is out! How about that wiring mess? Test fit the Vintage Air unit. What a mess. Created a radio delete gauge panel from 3D printed ABS. Vintage Air Sanden style compressor compared to the old Hitachi unit. Discovered spalled rockers. There is a separate thread I created on my spalling issue. I replaced all of the rockers with new OEM units and had the cam polished. My son helping me with modifying the vents for the new air conditioning system. Test fit the dash. Looks pretty good! Nice sunset in front of my house. Note the water level during low tide... Replaced the passenger side floor pan. Installed a new Nismo adjustable cam sprocket while I was messing with the cam. Currently set to zero. Fully plumed dash. Hurricane Harvey hit! Note the water level! The Z escaped flooding by a few inches! There was a water line half way up my disk brakes! This picture was taken after the water receded quite a it. Had my daily driver on jack stands. These pictures were taken after the water receded. Missed flooding by less than an inch! Had 17 inches in my garage. Installed new TTT mustache bar. It's quite a bit taller than the stock 280z unit. Need to re-route those fuel lines. Also stripped all the powder coating off the diff cover. That was a bad idea. I feel better now. Started work on the drivers side floor pan.
-
From the album: rossman240z
-
From the album: rossman240z
-
From the album: rossman240z
-
From the album: rossman240z
-
From the album: rossman240z

