Search the Community
Showing results for tags 'interior'.
-
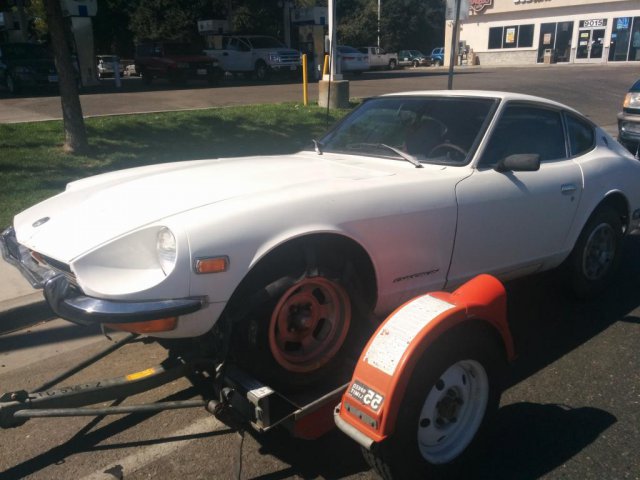
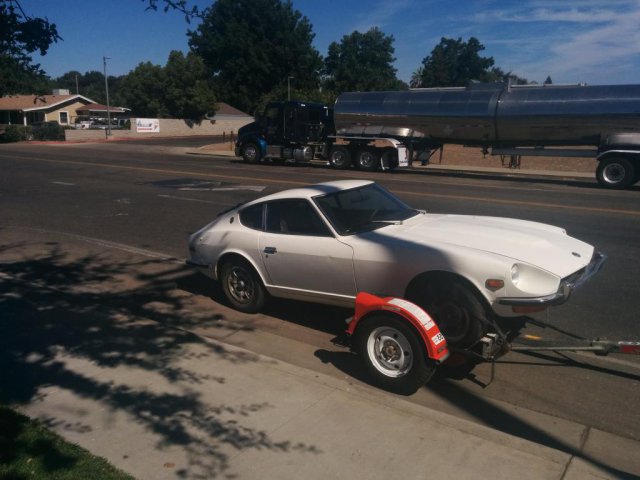
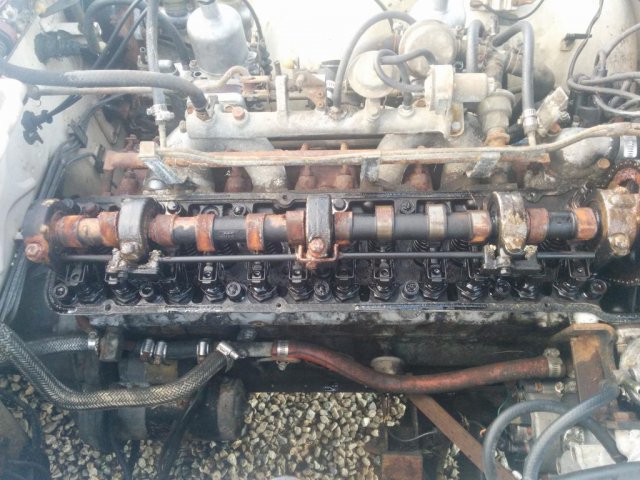
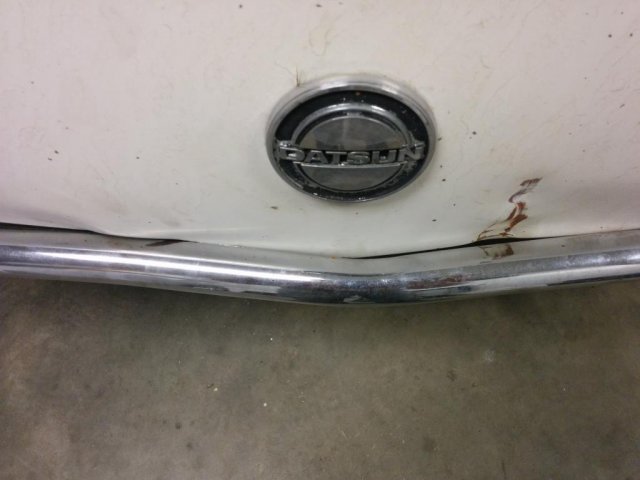
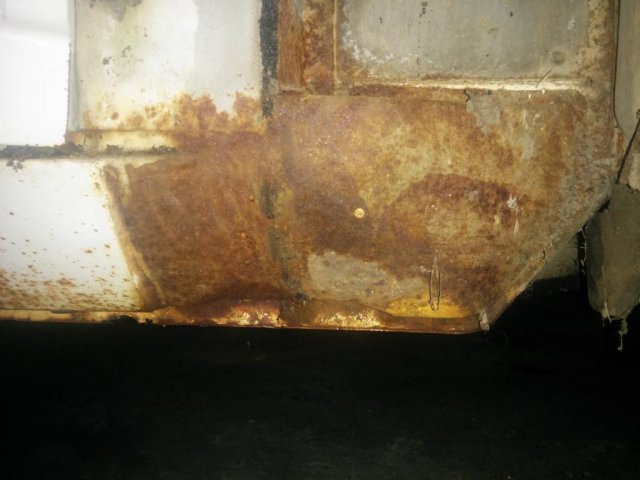
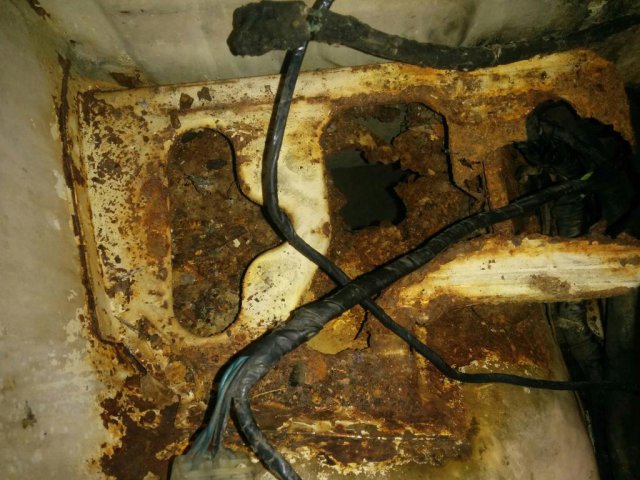
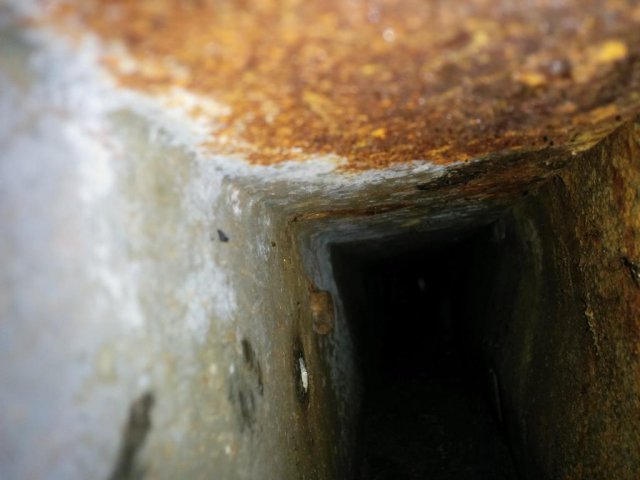
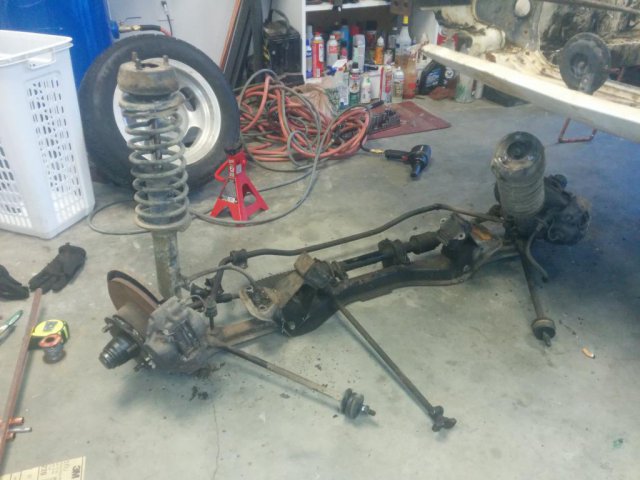
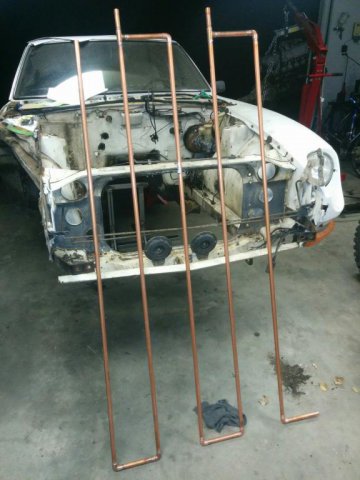
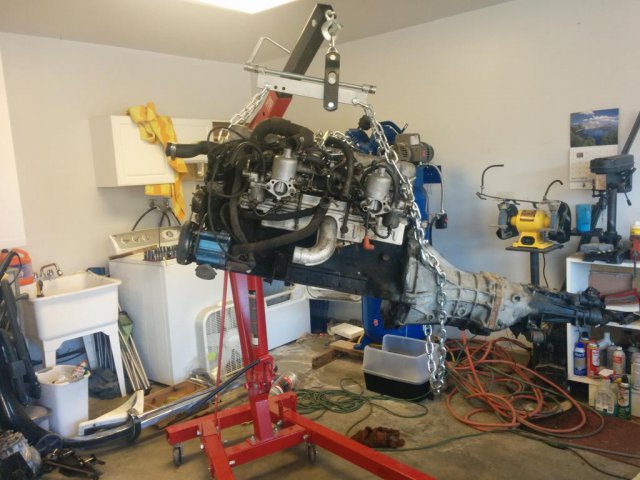
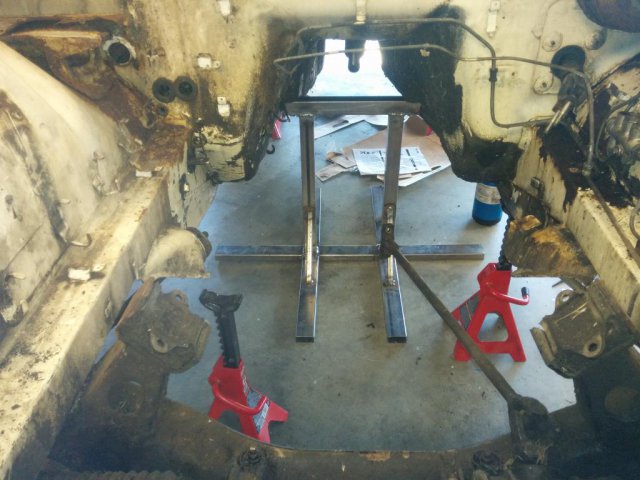
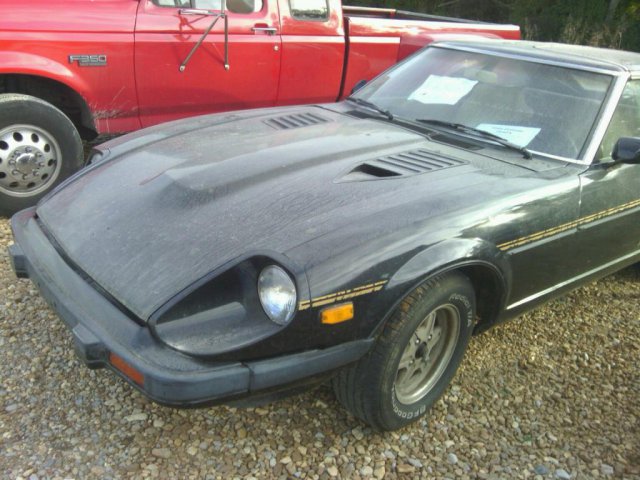
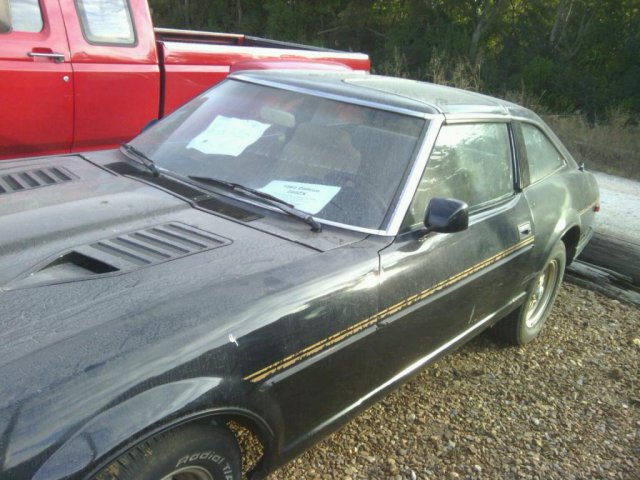
Hey guys, I recently bought a 240z and it ended up having more rust than I originally thought, thus begins my new winter project. Pulling her home with my 1987 2WD Toyota Pickup. That was a long haul between northeast of Sacramento and Southern California. The truck performed well though! The car sat for a while and the engine internals have rusted. The overview plan is to pull the engine, fix the front half of the car's rust problems, swap the SUs from the L24 to my rebuilt L28, install the engine, and drive it while fixing other things (interior). Some hood damage. Hopefully I can bump these out. Starting to inspect for rust on the passenger side frame rail/firewall interface. It's definitely in need of some work. Inside engine bay rail. Engine removal In preparation for cutting into frame rails I dropped the front suspension to remove as much stressed from the rails as possible. Stand I welded up to support car from the transmission mounts. I've made a little more progress -- started making patch panel templates and cutting metal from the battery tray area. It looks like I'm going to be replacing a lot of metal around the battery tray area -- frame rail, battery tray inner fender, a piece of the firewall, and passenger side floor pan. Hopefully driver side isn't this bad.
- 76 replies
-
- restoration
- metal fabrication
- (and 19 more)
-
I have a recently rebuilt 79 zx with no interior parts beside the dash(no carpets nothing). Yesterday I bought an 82 t top with a full interior and a heating problem (also terrible body). Carrying over the interior parts will be the fun part, but I can’t keep myself from thinking about a t top conversion. My 79 already has a poorly corrected moonroof already so aesthetics won’t be an issue. Is it possible enough to be done myself or be relatively affordable at a shop? (Under a grand?) Also wondering if the quarter windows and taillights are compatible
-
So i picked up some insulator for from MSA, "The Insulator" while i was setting up for a restoration of the interior, but he carpet kit I got, ACC brand from stock interiors comes with a Jute pad SO, I guess my question is do I need, or even want both and if so in which order? I was thinking using adhesive spray to seal down the insulator to the body with the silver side down and laying the jute pad over it and carpet over that. Overkill or am i on the right track? thanks
-
Hello, So I'm new to HybridZ and somewhat to Z's as well. Got mine back in May of 2014, I've been restoring a 1978 280z and so far I haven't had too many problems. As of now it runs good, sometime it's has problems on a cold start, and it'll idle high but then settles down to around 700-800 rpm. Well anyways right now my issue is with the amount of heat in the cockpit. It gets hot in there, and I feel like it's coming in from the engine bay, but I've also been told it might be coming from the tranny. I wanted to know if anyone else has had this issue and how you solved it? Any information would be helpful. Thank you
-
Guys i am trying to figure out the best way to glue the factory vinyl back on the strut towers. I know contact adhesive is what most people use. Is this really the easiest/best way to do it? With all of the different angles and cuts of the vinyl coverings, it seems like it won't be easy to do on the first shot. Most seem like they start from the top, with the vinyl inside-out, and work their way down. But is there an adhesive that can be used that won't bond on contact like the contact adhesive? Something that once the vinyl is in place, can be moved around a bit to make sure the vinyl is where it needs to go exactly? Any help here would be appreciated. Getting this vinyl glued on is stopping me from finishing a lot of the trim work as it goes underneath quite a few pieces obviously. Thanks
- 2 replies
-
- vinyl
- strut tower
-
(and 2 more)
Tagged with:
-
This is really simple and basic install but thought some other folks might like it. Bought a usb charging outlet/panel from amazon: http://www.amazon.com/gp/product/B00IRJH8CE/ref=oh_aui_detailpage_o01_s00?ie=UTF8&psc=1 It comes with a mounting plate but can be pulled from that and just use the circular portion as seen in the picture above. This very well could be installed in the dash in place of the cigarette ligrher outlet but I like the idea of keeping the cigarette outlet for a more universal 12v outlet. So this got installed in the center console. I popped out the small square port in between the fasten seatbelt and defogger lights. The hole did have to be opened up. If you have a pristine center console, this would be a hard pill to swallow, but mine is beaten up so i had no problem opening up the hole some. Wiring is super simply. Just supply switched 12v and ground to the two spade connectors on the back and you are done. The front panel has a fairly obnoxious blue light that is on all the time. I intend on painting over it, but there a rubbery cover for it when not in use. Installed one in my daily as well. (shows the light on)
-
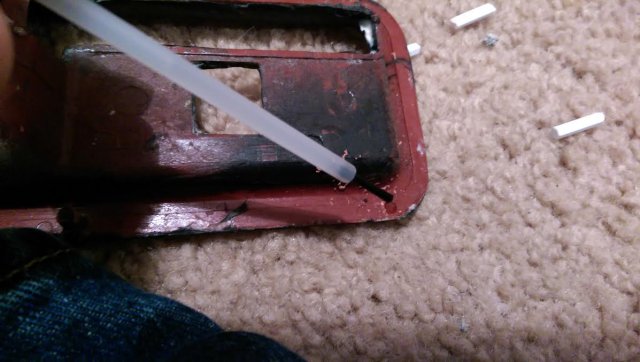
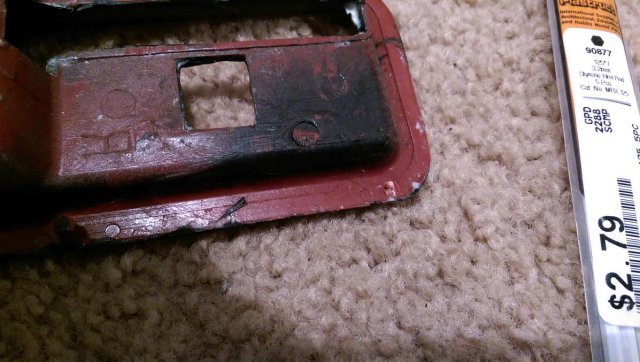
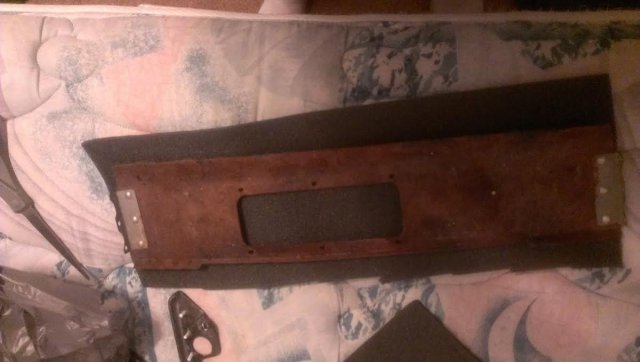
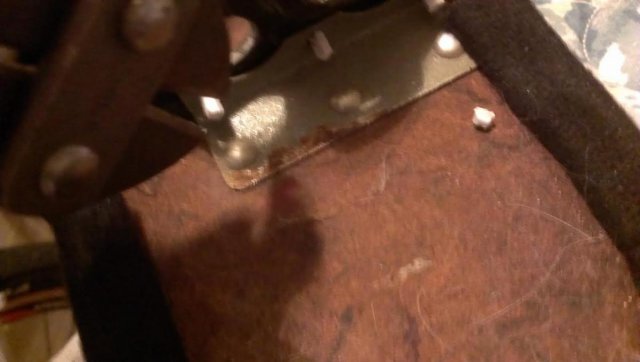
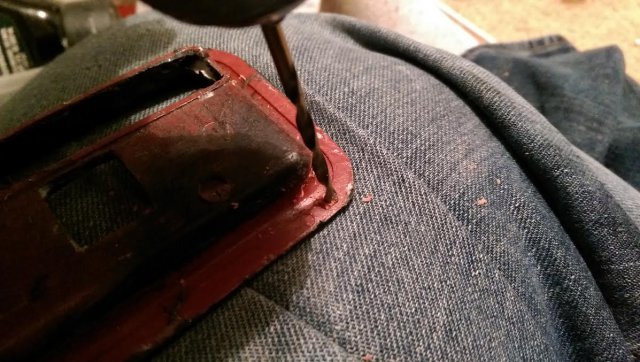
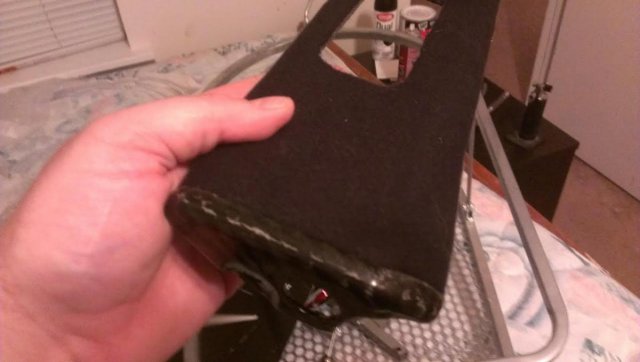
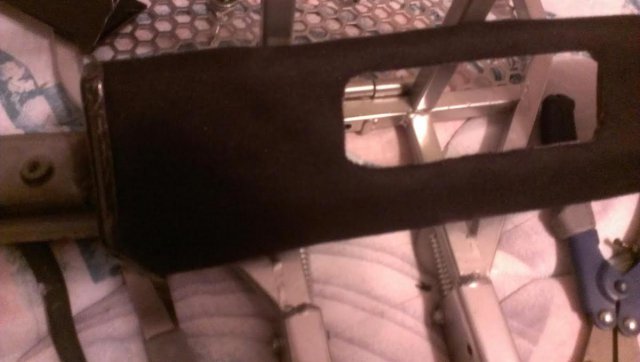
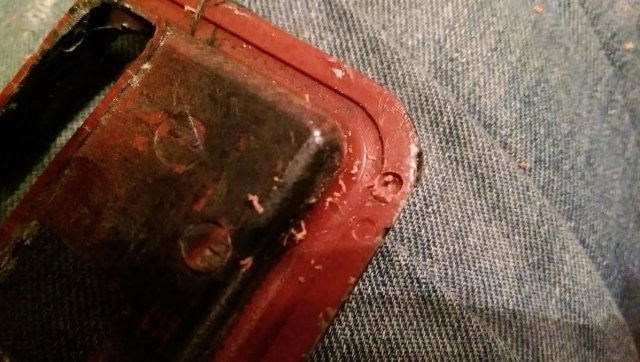
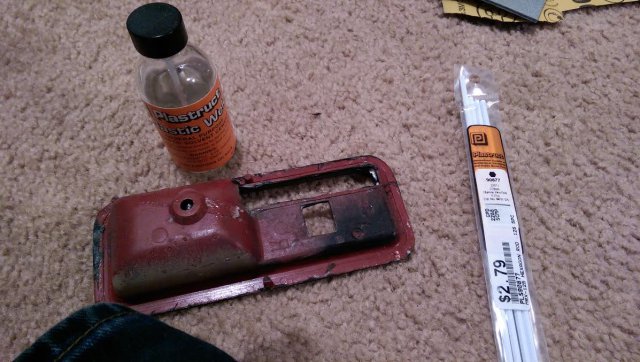
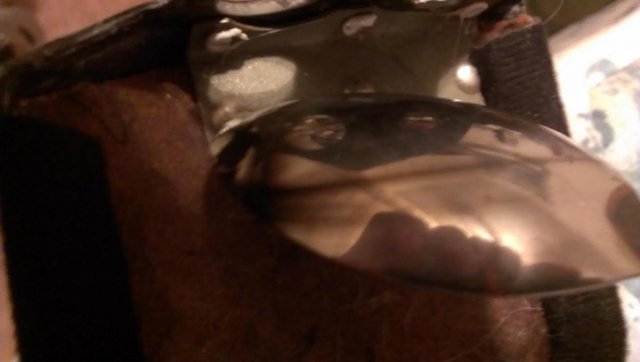
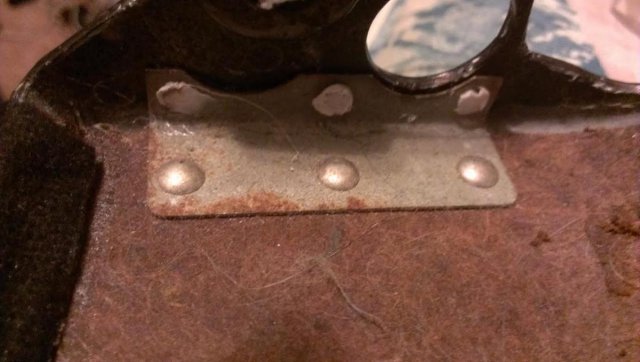
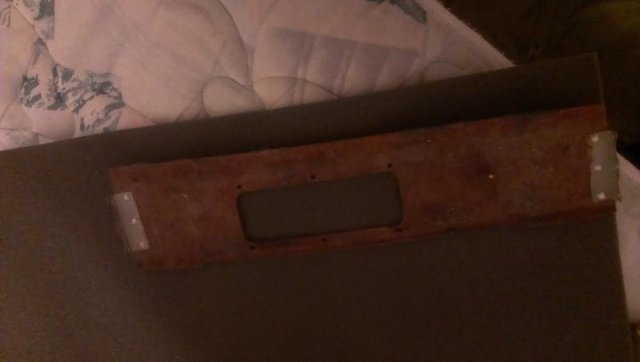
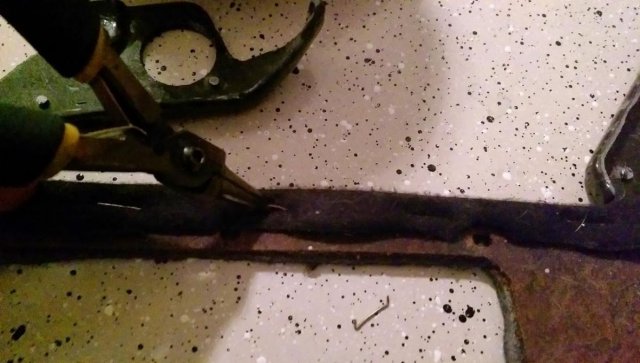
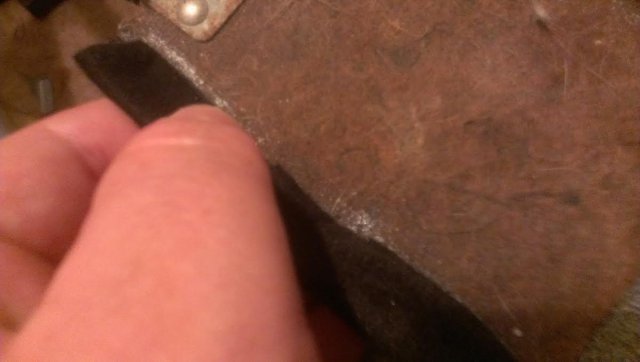
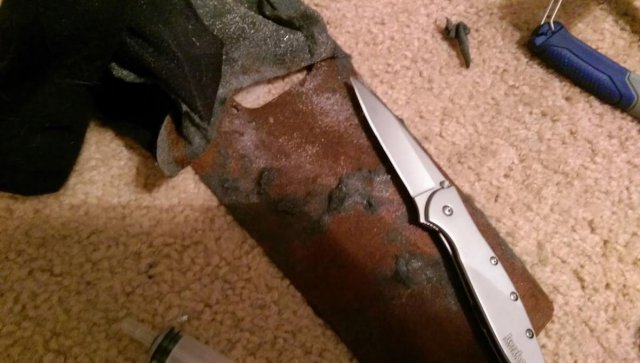
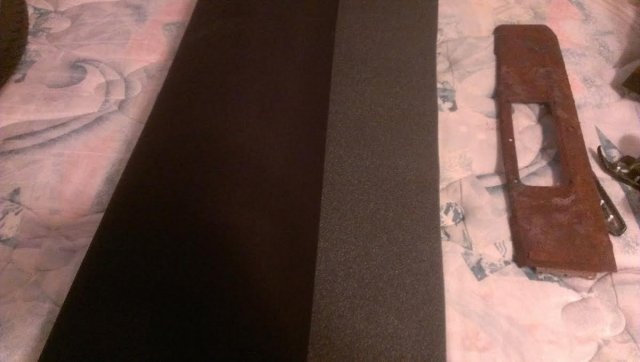
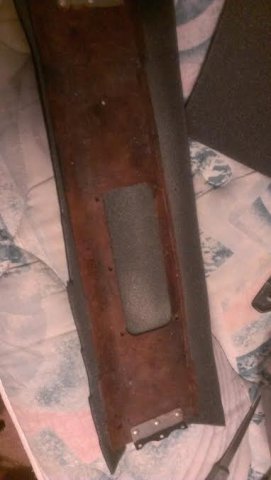
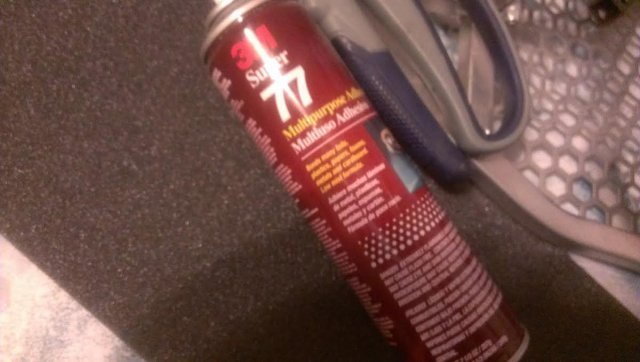
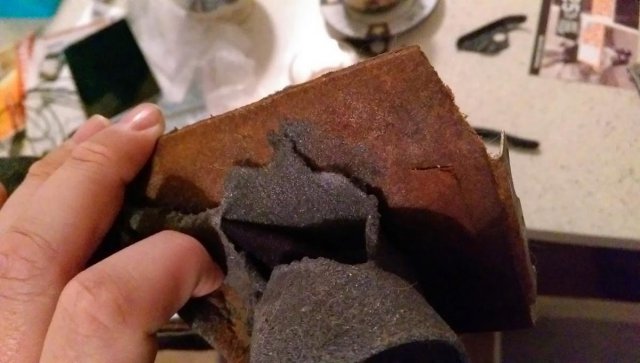
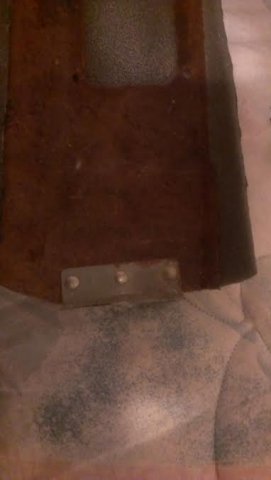
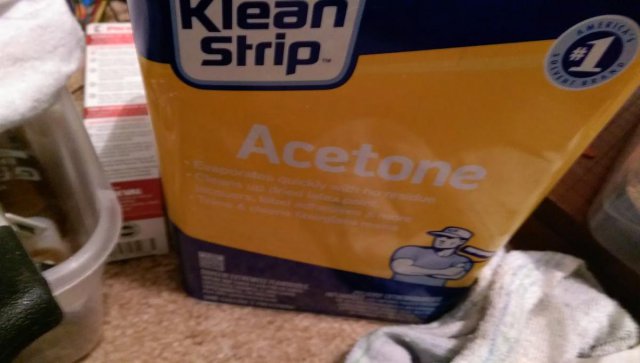
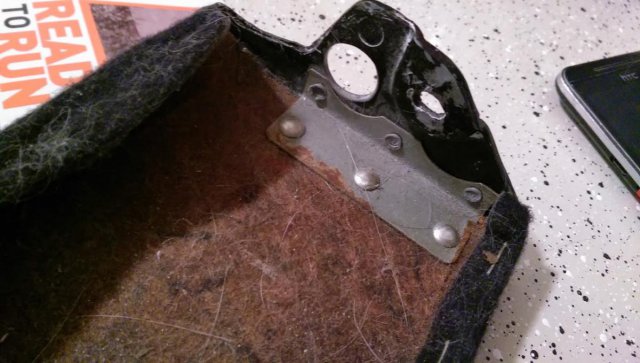
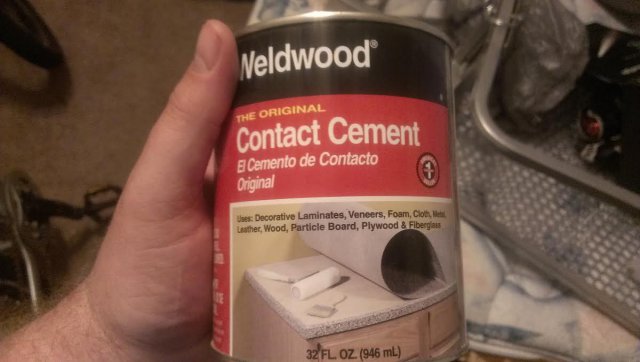
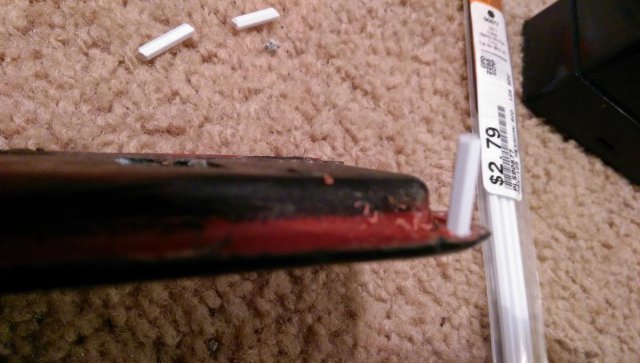
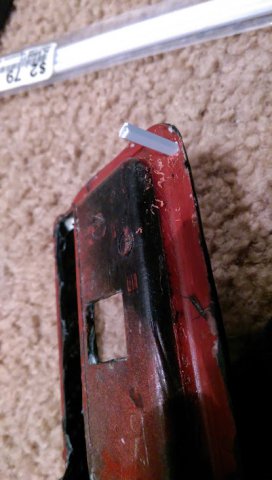
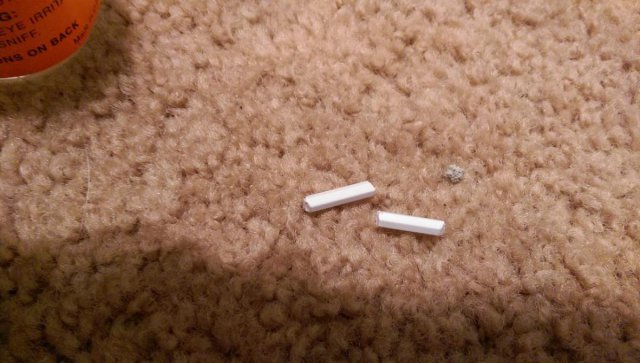
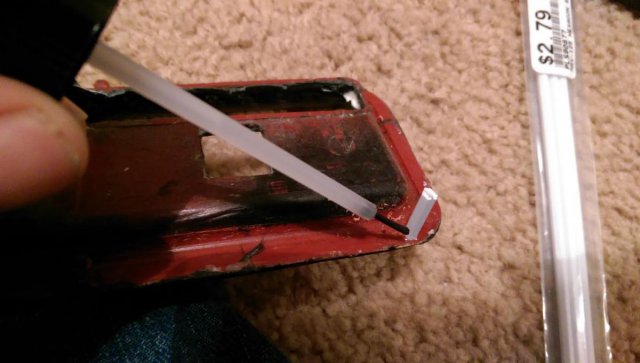
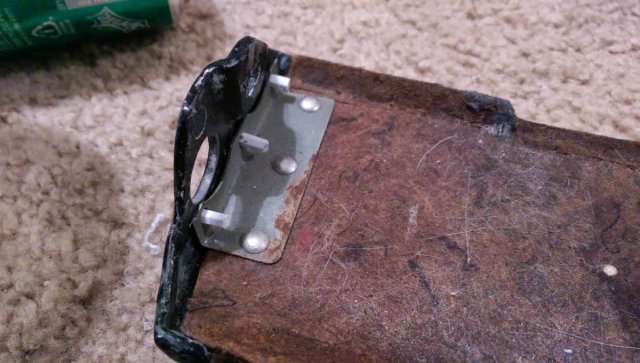
Hi everyone, I wanted to make a little "how to" for how I reupholstered the T-top inserts (dont know the actual name) on my 280zx. I had already completed the part once, but thanks to a sick cat, I had the pleasure of doing it again. Since I was going to do it all over again, I figured I could at least document it, with a few little tips I figured out myself (that apply to other interior pieces as well). I know when I first started messing around with interiors, I had trouble finding information, so I am hoping someone may find this useful. I will be doing my sun visors soon, if anyone wants a write up, let me know. First off, the part has to be removed, FSM or just looking at it should explain how it comes off, mine was already off and not installed (and covered in cat hair and snot): The first thing you want to do is remove the existing fabric, the plastic pieces are attached with pegs that fit through holes then are melted: take a knife and you can snap them pretty easily to get the parts off (I'll discuss putting them back on later): Most of these pieces on our cars is just chip board with a vinyl attached using adhesive, rivets, and staples, the staples in this case need to be removed: Now remove the material: Vinyl usually comes off relatively easy, be careful not to destroy the chipboard piece, since I used headliner material on mine....it tore apart and was a little more difficult, to make it easier you can use acetone and a knife to scrap the stuff off (works really well for headliner pieces). Once done you should have a "clean" part: If you are recovering with vinyl, you may want to run coarse sand paper over the piece to make sure and get everything even and all original fabric off. Any little piece left can be seen or felt through vinyl. I purchased some headliner fabric at Joannes, it's really easy to work with and relatively inexpensive. Lay the part on the fabric and cut to size...well, close to size: I prefer Super 77 for attaching light fabrics, it is somewhat forgiving and, if used correctly, makes a pretty strong bond. I coat both the fabric and the part in glue and let set for about ten minutes until they are both tacky then stick them together: Check to make sure that there are no large bumps in the surface and that it looks nice and even: If it looks good, trim off the excess on the parts where the fabric sits flush and the other edges keep about half an inch to a quarter of fabric hanging over so that it can be securely fastened to the bottom. The Super 77 and other spray adhesives I have used are all really good at clinging to surfaces, as long as there are not too many bends or complex curves, but if there are they seem to want to release over time. My solution to this is Weldwood contact cement, my personal choice, there are others that work just as well I am sure. You can attach the excess to the back of the part using staples if you wish, but I could not find any more really shallow staples, so I went ahead with my contact cement. I added the cement to the excess fabric on either side and to the back of the part itself. (not very noticeable) Then I waited about thirty minutes for it to become quite tacky and rolled the excess onto the part as tightly as I could. Normally you would want to start from the middle and work your way out, since this was a smaller piece it really didn't make that big a difference. Let this set while you go and tend to your plastic pieces. . . . . . . .. . This feels like one long run on sentence, sorry for that, . Now to the plastic pieces, I had cut the little pegs off of the parts, now I need to fix that so that I can reattach them. First you need materials: I could not find ABS rods, but I was able to find 1/8th inch styrene rods, a plastic "glue" a power drill with ~1/8th inch bit..some flexibility here and the part. The glue is actually a solvent, Instead of sticking the pieces together it actually "welds" them. It dissolves the plastic into a paste, when it evaporates out you are left with a rigid plastic once again. If you have a crack in a plastic, or a chip, you can dissolve some shavings with the solvent and use it as a filler, just do not go on too thick or the solvent cannot dissipate and it will look horrible. I use to use acetone for attaching a lot of plastics, it works extremely well for acrylic, but doesn't seem to hold as well on abs and other automotive plastics (for me). This particular solvent is mostly MEK based, which you could buy at most home improvement stores, MEKP is used as a catalyst for lower end fiber glass resins and I have heard that it works to weld plastics, but I have never tried it myself. Take the piece and locate where the peg was, then drill this area out Spot found Be very careful to not go completely through the piece, we are just trying to increase the surface area that is being contacted as well as aid in holding the peg in place long enough to stick. You should end up with a shallow divot Now add a large drop of solvent into this hole and let set for a few seconds While the solvent is setting, go ahead and cut a piece of the rod off, longer is better than shorter, usually I start with a little under a 1/4" Now shove the peg into the divot, twist it so that it will conform to the shape of the divot then hold it in place a good twenty or so seconds, until you can let go and it does not move: Now add some more solvent around the base of the peg, I like to push shavings around the base to build it up a little and hopefully make it a little stronger: That's one down, now go ahead and do the rest. I sometimes take my chances with the original pegs if they were not broken completely off, but it is probably best to go ahead and replace them all. I let the solvent do it's magic for a little bit then I do a test fit to make sure that the pegs line up with the holes on the part, as long as you do not wait too long (time varies with conditions), you can still move them around a little. Then I let them set overnight..because that's what the bottle says to do. . . . . . Next day: The best part, putting it all back together. Take the pieces you have added pegs to and put them in their appropriate places and trim the pegs down a little (if needed): ] Now take a soldering iron, wood burning tool, hot piece of metal, whatever works and melt the pegs to the part. I use a small butane torch and spoon....which is probably not the most innocent looking way of doing this....I heat the spoon up then press it to the peg until it melts flat. Be careful when melting the pegs, they can catch fire, the fabric is flammable as well. Once done it should look like this (or hopefully better): Continue for all the pieces you removed, also give a little strength check to make sure everything is holding firm. As long as everything is holding well and it looks good, you are done, now all that's left is installing it back into your car. I hope this helps some one. In the mean time I'm going to continue with my interior and slowly customizing everything.
- 2 replies
-
- upholstery
- carbon fiber
-
(and 3 more)
Tagged with:
-
Looking for the interior door panel for the driver's side door for a 75 280Z. email me: jminer84@gmail.com
-
- 280Z
- door panel
-
(and 2 more)
Tagged with:
-
I'm thinking about starting a project in restoring a 1982 280zx. It's selling for 2650 and the engine sounds fine. the interior is all kinds of f*cked up though. the gauges/instruments are mostly not working, one t-top window is cracked, there is rusted out areas near the back wheels, cracked dash, and 50% of the interior plastic is chipped, broken, or missing. Performance wise the transmissions feels solid and the engine sounds great for a 160k mile car, however, the AC/Heater isn't working. I've been scouring the web for a couple of days trying to get a restoration estimate. Help me experienced masters of z-car restoration, you're my only hope.
- 2 replies
-
- interior
- body panels
-
(and 4 more)
Tagged with:
-
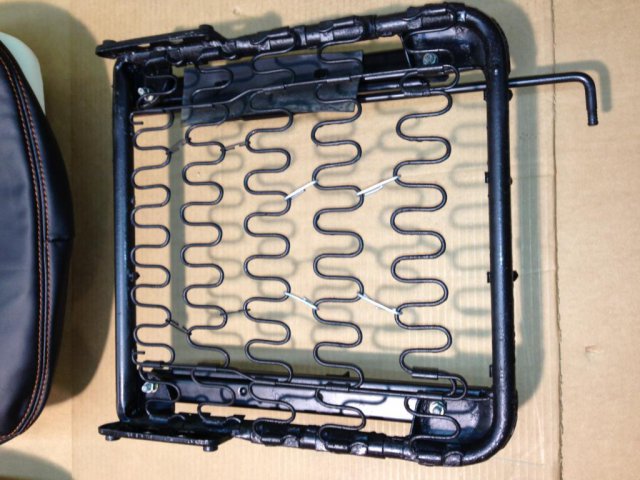
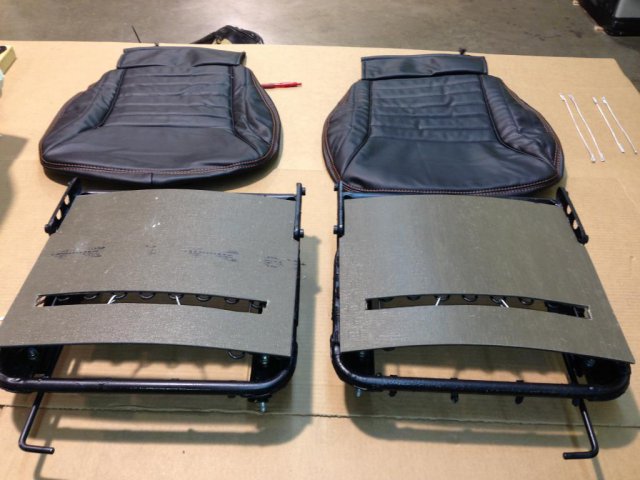
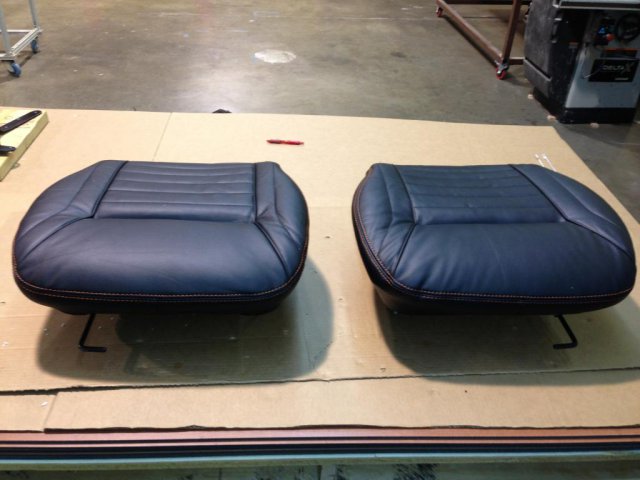
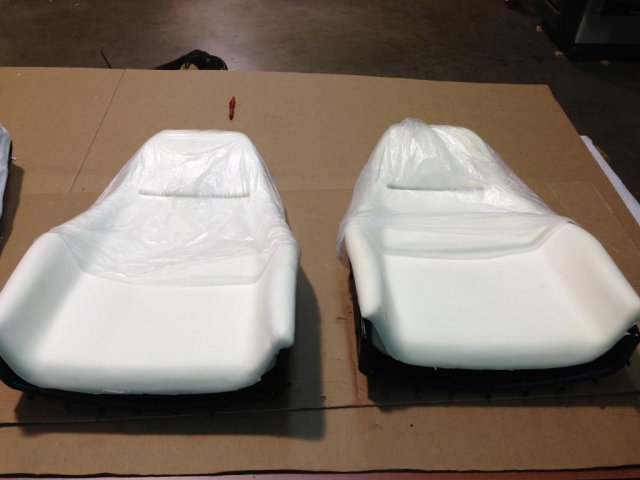
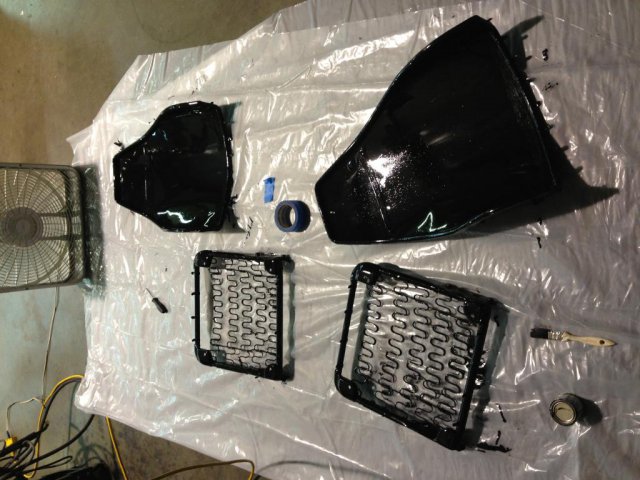
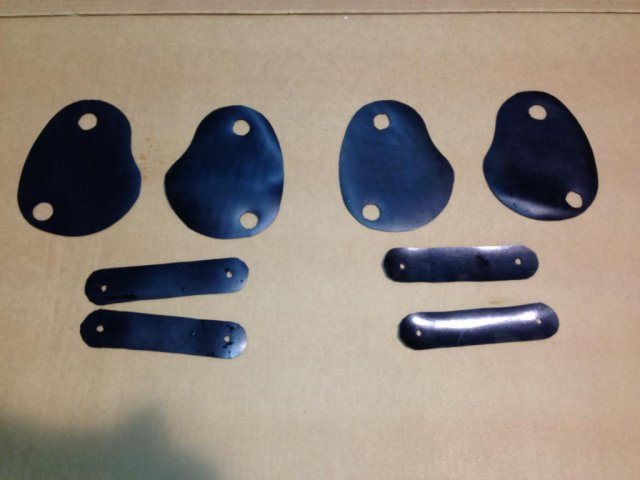
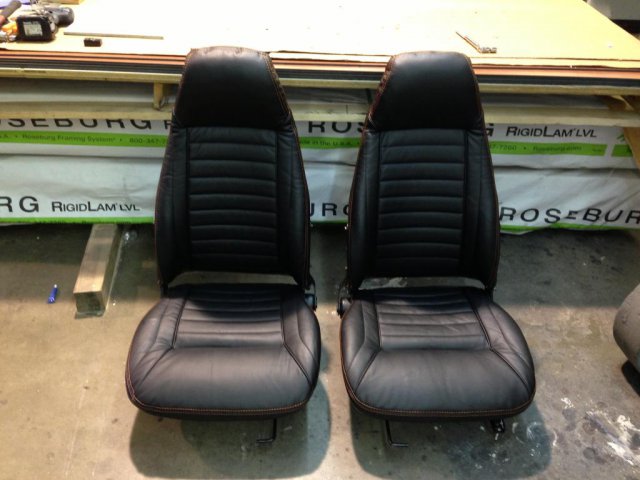
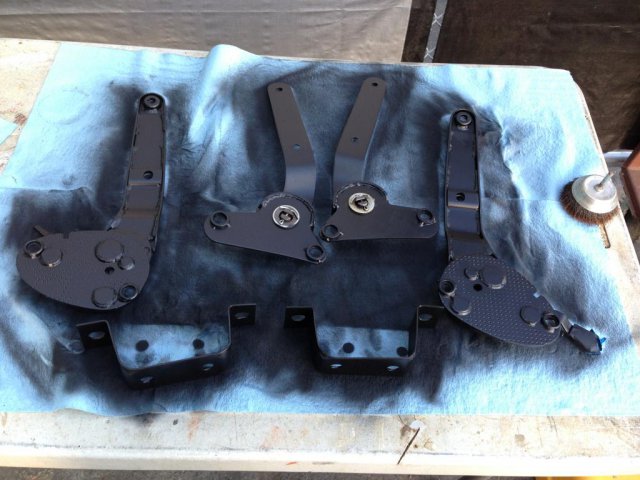
Here is how I refinished my seats: I stripped the paint off the frames, used the POR marine cleaner, then used the POR metal etcher, then painted with POR-15 I used metal wire to tie the seat springs back together I used thin carpet squares on top of the seat springs to protect the foam I recovered the lower parts, clamping the inner wire with hog rings to the frame underneath. Tip: heat up the covers in the sun first I made new wires to hold the upper portion to the seat back, and fastened with hog rings. I placed a plastic bag on top to make fitting the cover easier. I pulled the vinyl covers onto the top. I got these covers from Ebay for $200 and was very happy with the quality. I requested this design, with the vent grommets eliminated and orange stitching. I cut out new rubber guards. I repainted and greased the mechanisms, then reattached them to the seats. Tip: use an impact driver, not a regular screw gun, or drill. Elapsed time: 1 weekend. So after all that, I installed them to discover that with the new seat foam, the seats are too high, and I preferred my old seats. haha. At least they look good.
- 9 replies
-
- seats
- upholstery
-
(and 3 more)
Tagged with:
-
Alright guys, It is time for me to think about the aesthetic qualities of my '73 240z since I have finished the L28 swap. My car has the original paint, Yellow, and color code of 112 on the radiator support. These cars came with black vinyl interior, which is KILLING ME. I cannot drive in the summer without showing up to my destination drenched in sweat (I live in St. Louis, MO). I want to go to a white interior: White seats, white vinyl, possibly a white headliner, white door panels (just the nice looking white interiors like the Blue and Orange Z's had an option for). This will clash so bad with the Yellow that the car will look disgusting, I'm colorblind and just picturing that still looks ugly to me. I want to know whether anybody has done the white interior with the metallic grey, metallic black, or the white exterior Z paint? I love monochromatic color schemes since it is all I can see so I don't really want to paint it blue or orange. I also plan on going ZG style with this car down the road with the fender flares, fender mirrors and g-nose kit, so I'm taking that into consideration as well. Thanks for the help (and for the moderators if this borders more on exterior section then feel free to move it).
-
Hello everyone, I bought my Z in 2007 in New Mexico for 600 bucks with what appeared to be not much rust ( and it still is a fairly rust free car). It ran when I put a little fuel in the lines and I did a bit of work to drive it back to houston. Got it back to town and funds dried up after I couldn't get it to pass the state safety inspection. Fast forward to now and things and great I got most of the parts on the surface that I thought I would need. Today the brakes were bled, the back were easy but when I got to the front the front brakes wouldn't bleed. The brakes now have pressure, they didn't have pressure till I bled the back brakes and this was one of the reasons why it didn't pass inspection on top of the wind shield wipers not working. Any hints or tips I was thinking of running air through the lines to clear a possible blockage. Tomorrow I am doing a radiator flush, and sunday I am doing the popular windshield wiper motor replacement with a acura integra motor. Mondays plan is to start her up and get her to pass inspection( then it will be body work and interior ) The brakes were also stuck when I tried to move the car, a little work with a rubber hammer soon had them free, pictures will be up as soon as I can find the folder I put them in. Please people enjoy the thread as I refresh my 240z
