Miles
-
Posts
2394 -
Joined
-
Last visited
-
Days Won
37
Content Type
Profiles
Forums
Blogs
Events
Gallery
Downloads
Store
Everything posted by Miles
-
Details? Year, make and model of car plus pictures of exterior, interior and rough spots would be helpful. If it is not running you will lose money. Based on your post, it looks like a parts car.
-

Clutch master cylinder and slave cylinder setup T5
Miles replied to JoshCarz's topic in Gen I & II Chevy V8 Tech Board
Sorry about the part number typo in the thread I listed above. Here is the Earls p/n for the -3 clutch hose: Earls Speed-Flex Line Part #: 63011732ERL -
Clutch master cylinder and slave cylinder setup T5
Miles replied to JoshCarz's topic in Gen I & II Chevy V8 Tech Board
Did the hose shop install a roll pin connector on the hose? That was my first choice, but I couldn't find a shop that could install the rollpin connector. -
Clutch master cylinder and slave cylinder setup T5
Miles replied to JoshCarz's topic in Gen I & II Chevy V8 Tech Board
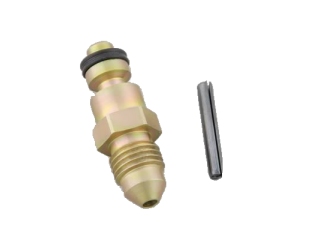
Go here: post #7: http://forums.hybrid...__1#entry920425 Do a search in the Drivetrain section. Lots of options there. See picture of the McLeod roll-pin adaptor.
-
If you are going to own a 240Z you might as well buy a couple of T/S Headlight combo switches, learn how to repair them (search), and have them on-the-shelf because this is a common/recurring problem. I have a set of repaired spares handy so I can just swap them out when the T/S stops working. My turn signals have stopped working multiple times over ten years and it has always been the T/S-Headlight combo switch. Usually, the contacts inside the switch need to have the carbon/corrosion cleaned off. Also, the copper contact cradle part of the T/S switch becomes slightly bent from pushing on the T/S lever over time. That copper cradle sometimes just needs to be tweaked slightly to get theT/S lights to work. The headlight switch has similar problems. Also, a member here at HybridZ named Dave provides a T/S Headlight switch repair service. He also sells a headlight relay harness that takes the load off of the headlight switch and provides brighter headlights. Takes about 20 minutes to install and your electrical system will thank you. Motor Sports Auto (MSA) sells Dave's harness or you can order it from him. Do a search as there are some good tutorials on T/S switch repair.
-
It is an 18 ga. yellow and white wire. It is in the harness that runs from the passenger side of the engine comapartment, then crosses in front of the radiator, then to the driver's side fender then to the temp sensor.
-
The long stud that fits into the floor bracket is just spinning when you try to put a nut on it. Correct?
-
I don't recall if the 280Z used the same sliders as the 240. But, on the 240Z seat sliders, the studs have a "captive" head rather than a nut. You may have to replace the slider.
-
What type of car? Stock seat sliders?
-
Black Dragon http://www.blackdrag.../t.aspx?Page=18 I bought a hood and left front fendor from Black Dragon. No fitment problems. Motor Sports Auto (MSA) http://www.thezstore.com/page/TZS/CTGY/SBC1A06
-
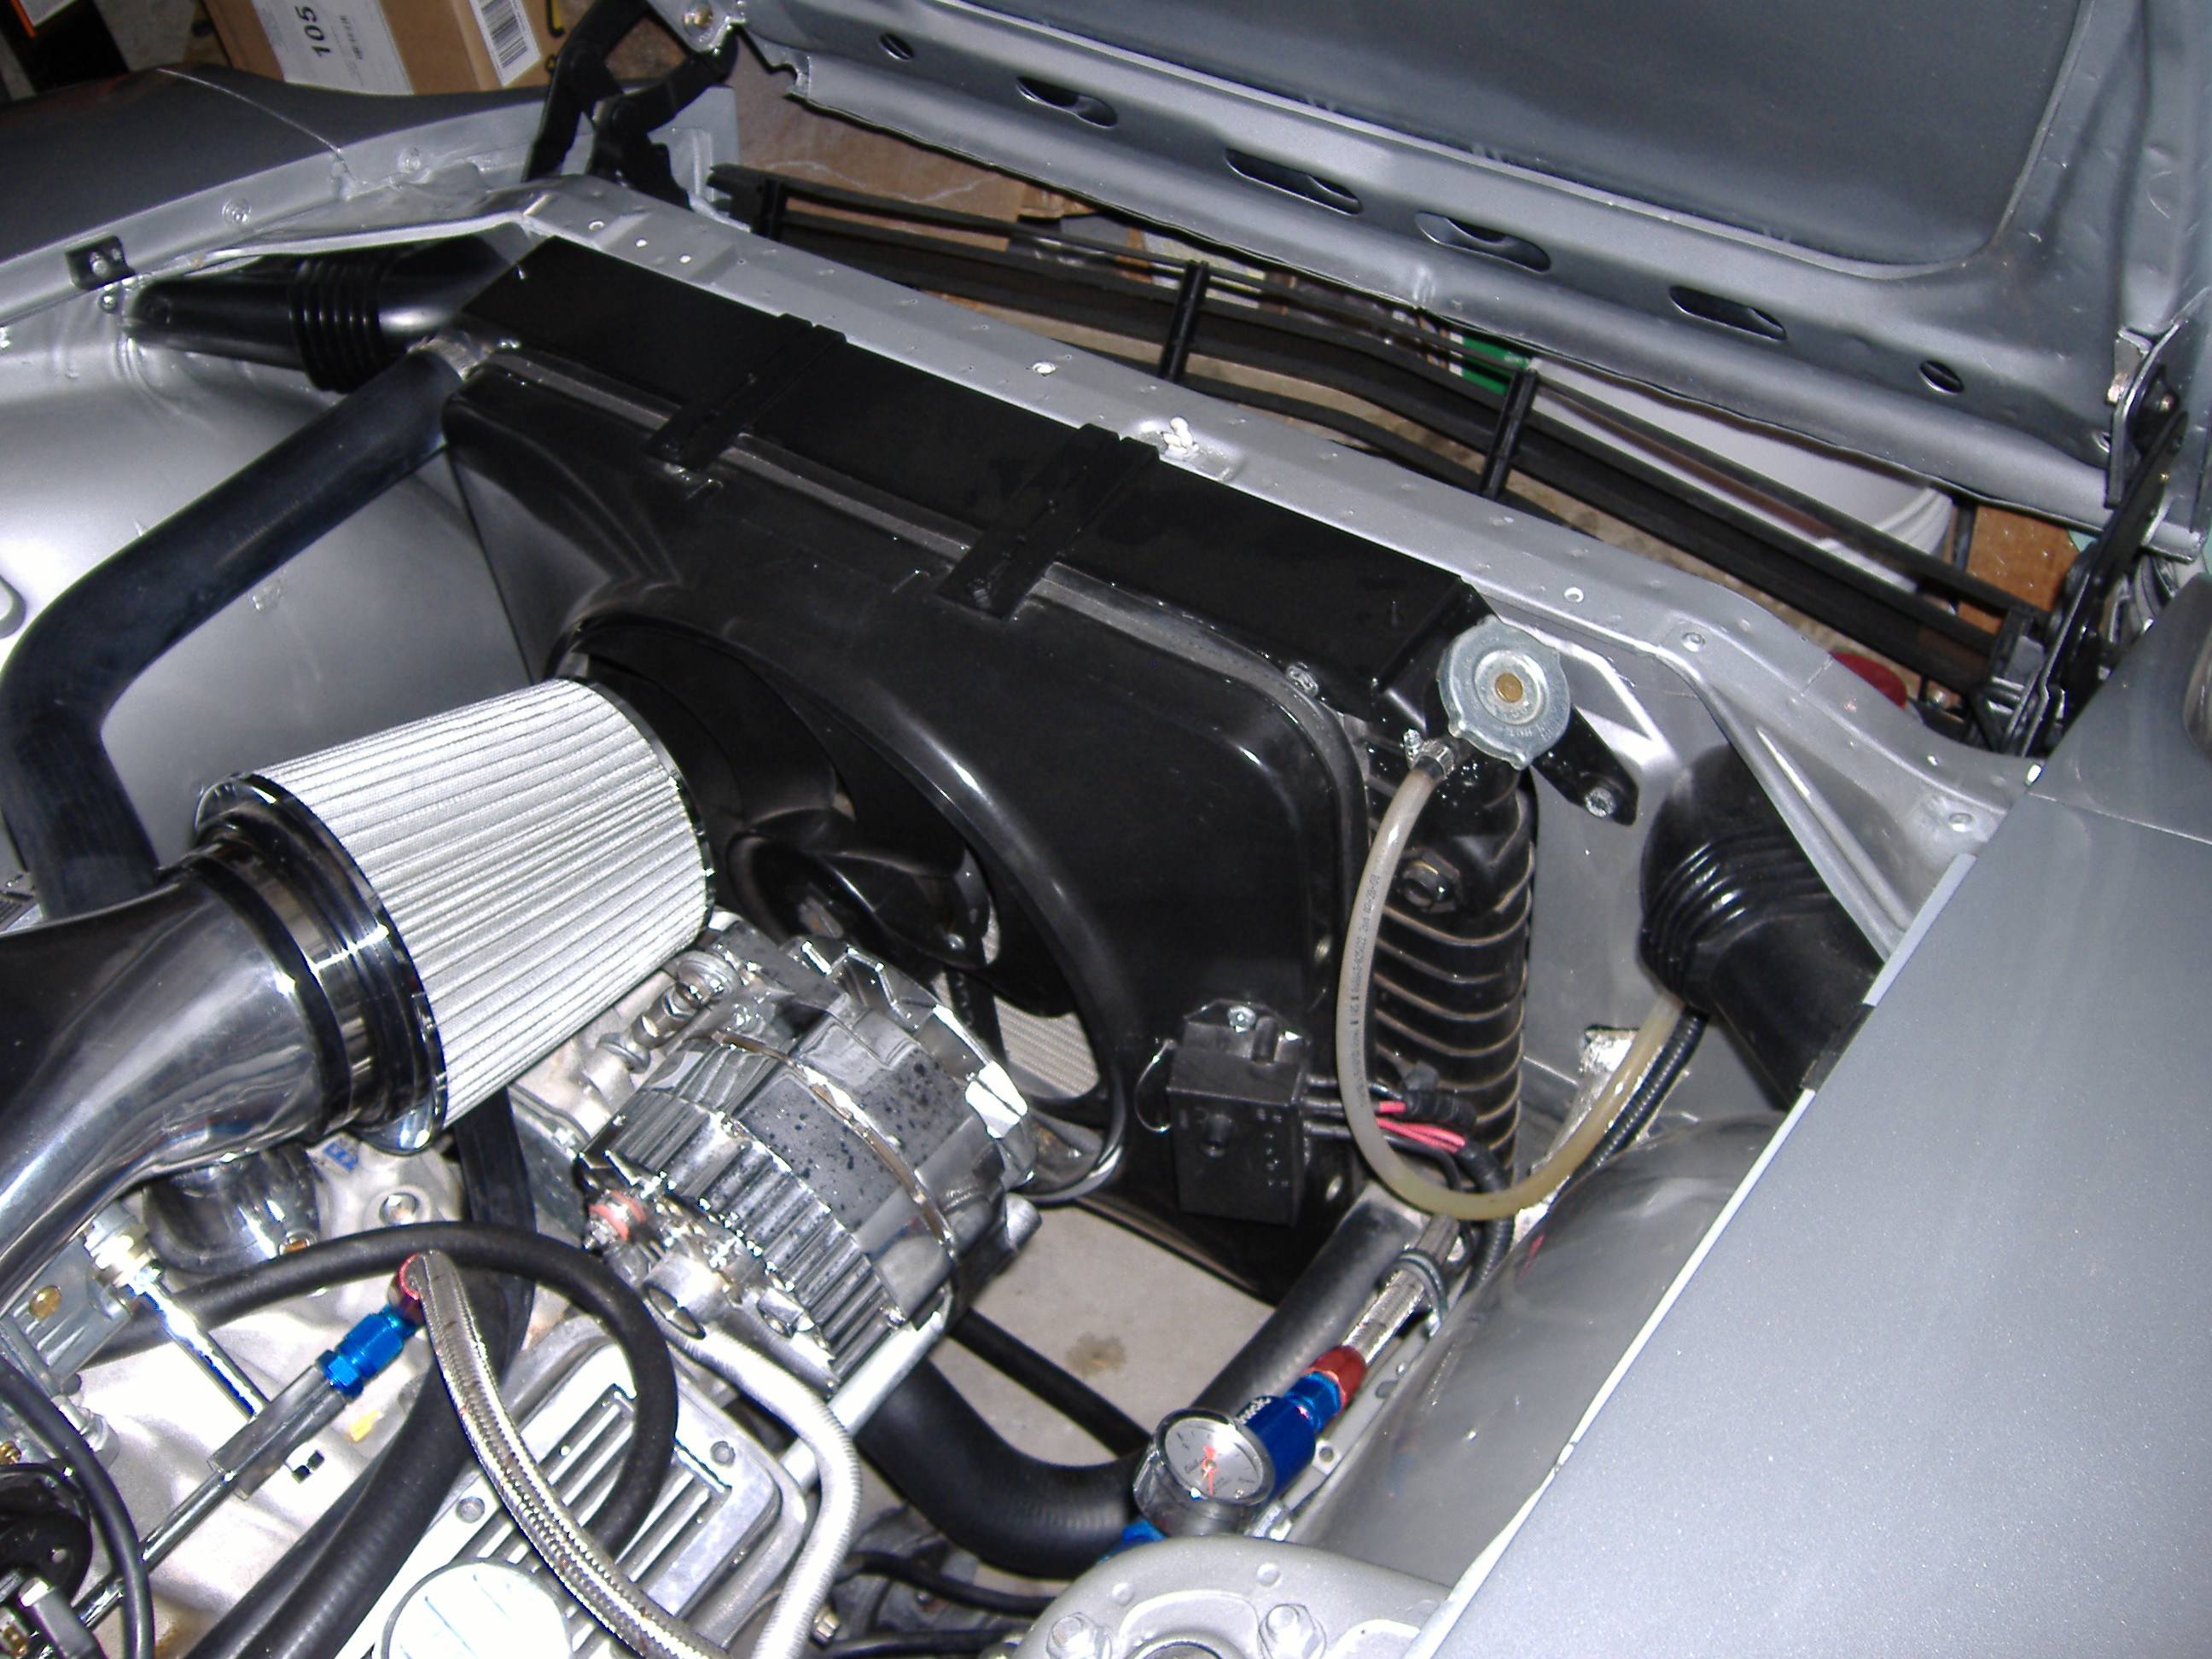
I have run JTR radiators on two V8 240Zs and one stock 240Z. No problems and the JTR radiator bolts right in. The radiator in the picture was in my stock 240Z for five years before I did the V8 conversion and has been cooling the V8 now for two years. JTR also sells the hose kits for stock and V8 engines.
-
Before you get too far into your build be sure to buy and study the JTR 240Z engine swap manual. It will save you time and money. Go here: http://www.jagsthatrun.com/Pages/Datsun_Z_V-8.html
-
This has been covered hundreds of times here. What are your plans? 300HP? 400HP? over 400HP?
-
Motor Sports Auto (MSA) and JTR sell the adaptor so you can use the Datsun temp sensor with the SBC engine. You should go to the JTR website and buy the JTR 240Z V8 engine swap manual as it explains exactly how to install a V8 in a 240Z. MSA sells the Datsun oil and temp sensors.
-
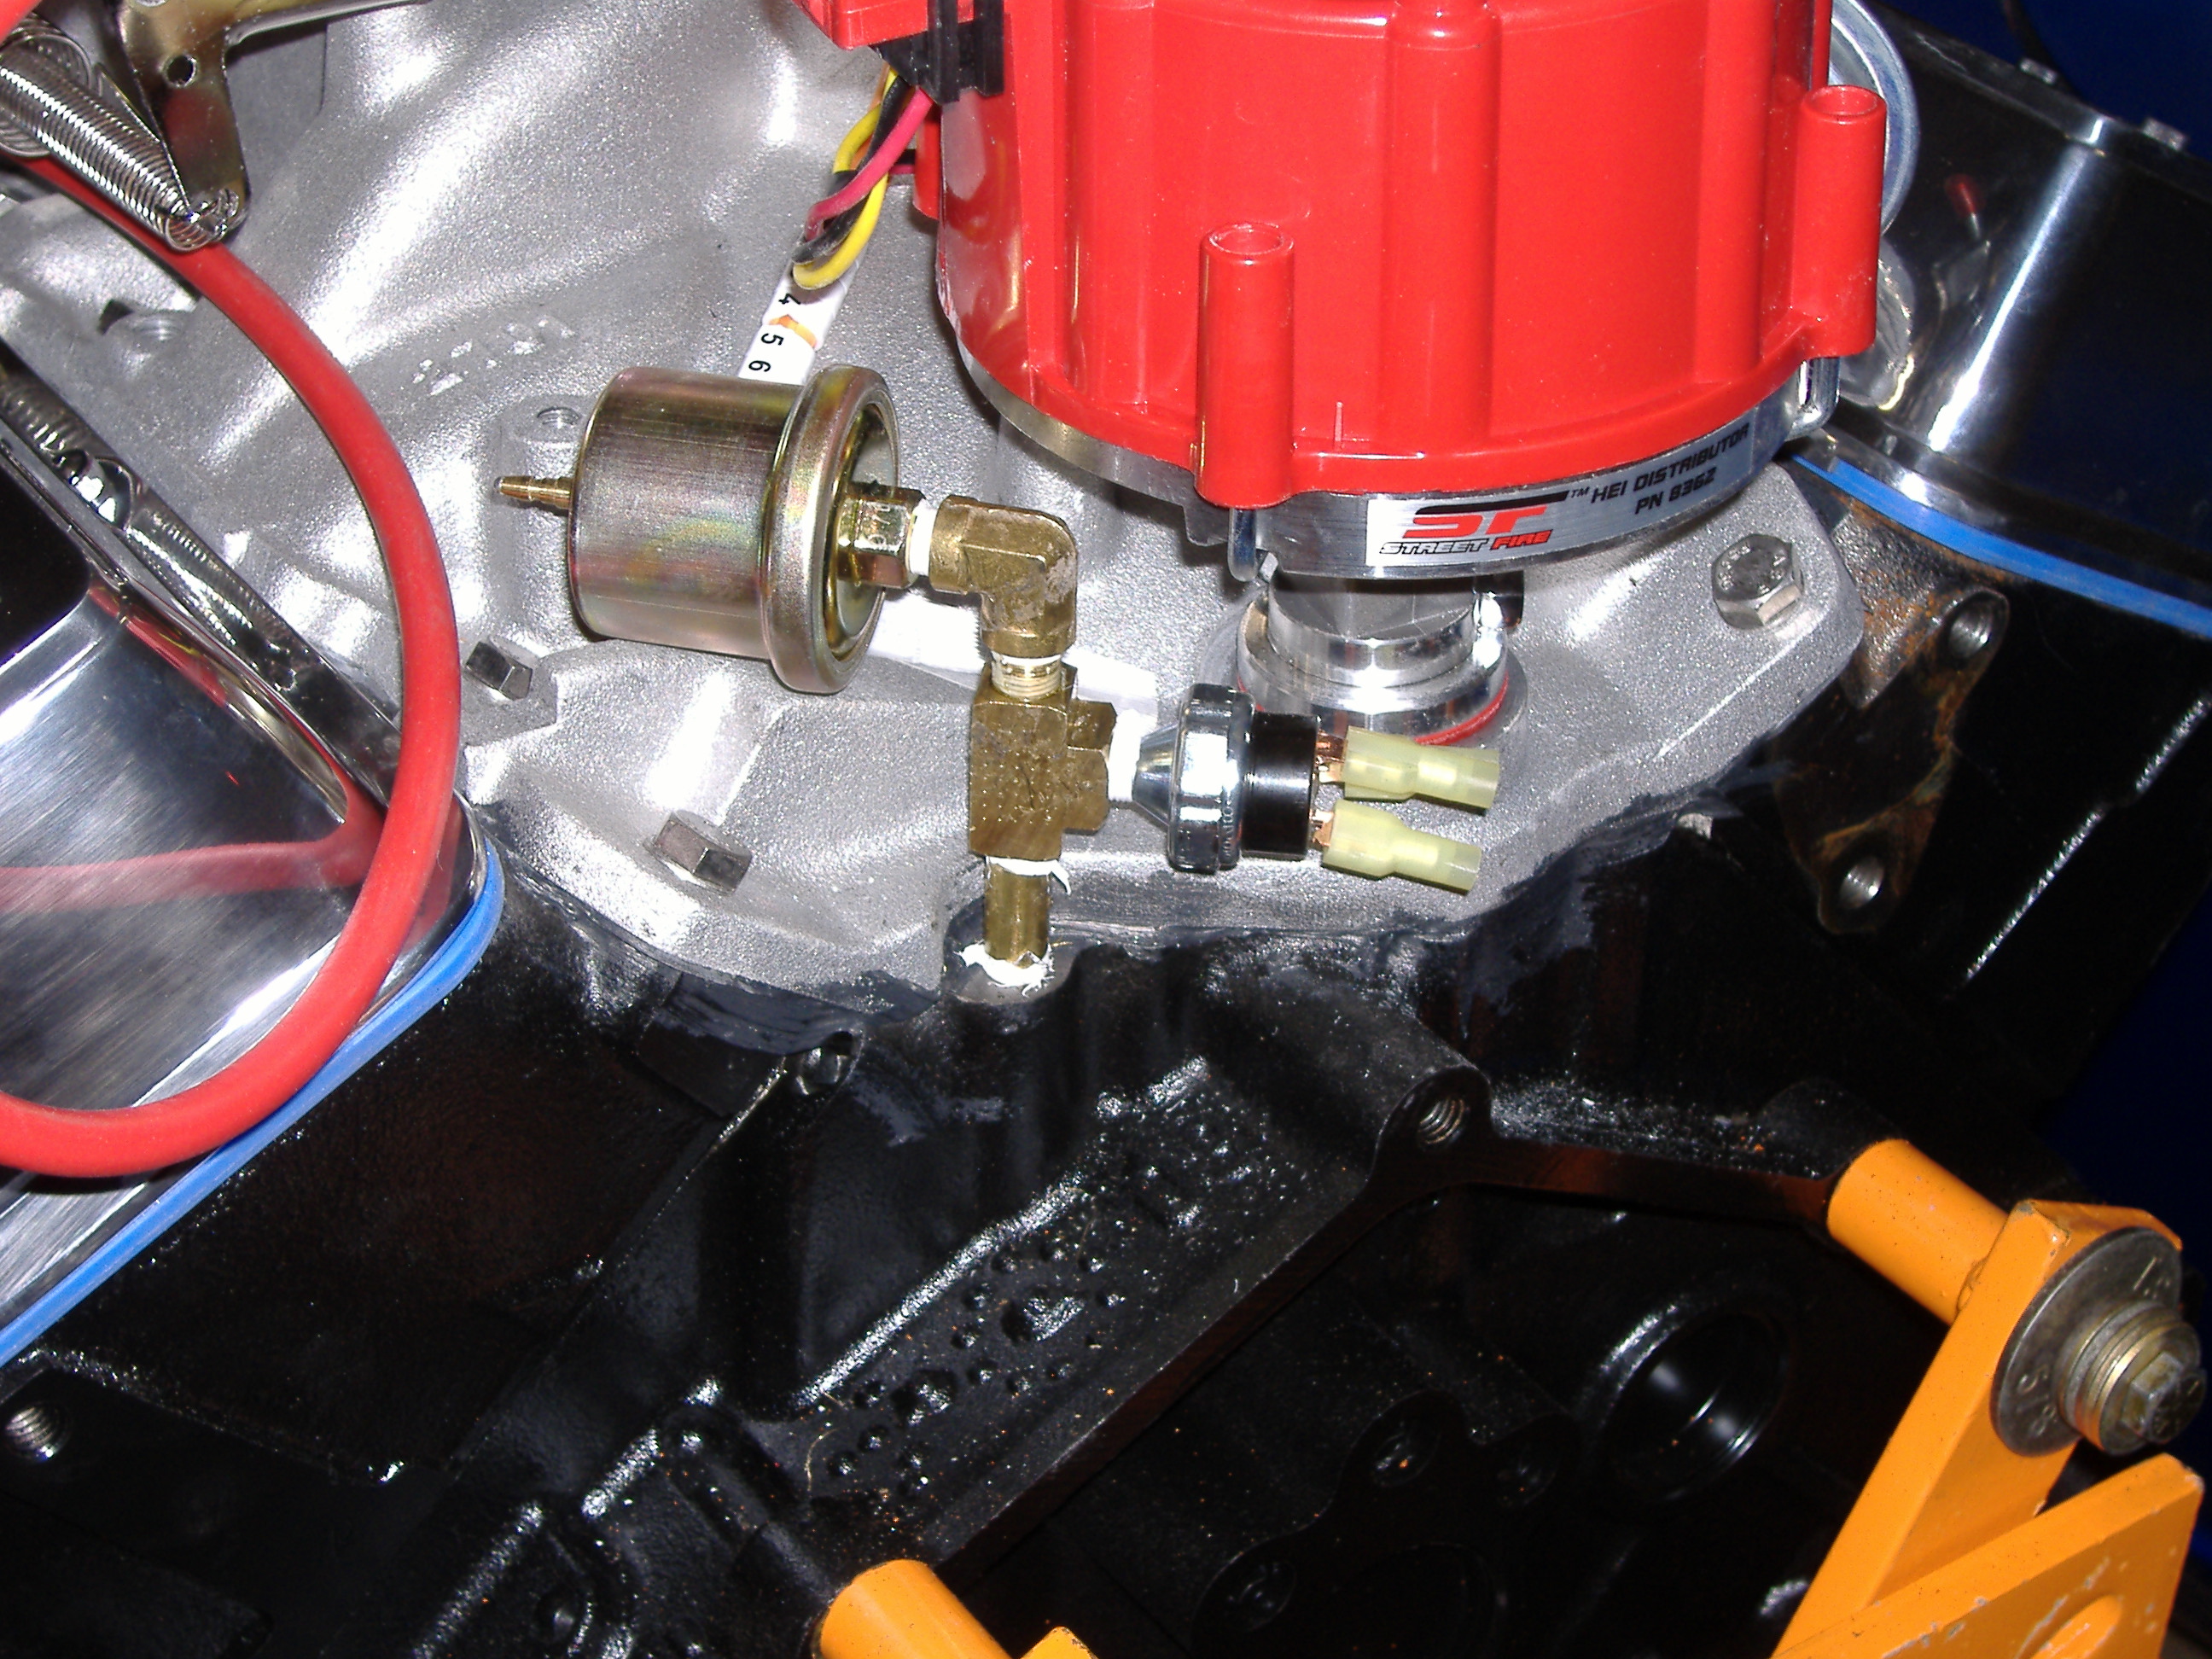
The JTR book explains how to adapt the datsun sending unit to the Chevy block. A 1/8" NPT nipple and right angle adaptor is all that is needed. The Datsun threads are close enough that it can be screwed into the 1/8" NPT right angle adaptor using some teflon thread tape. Go here for more info: http://www.jagsthatrun.com/Pages/Datsun_Z_V-8.html
-
Rear 240sx conversion clearance
Miles replied to arthur65's topic in Brakes, Wheels, Suspension and Chassis
It will be a few weeks before I can get to it. Do a search in the brake FAQ and brake sections as this topic has come up many times. Also look at this: http://www.zhome.com/ZCMnL/tech/Calipers/zbrakeupgrade.htm -
Rear 240sx conversion clearance
Miles replied to arthur65's topic in Brakes, Wheels, Suspension and Chassis
15 inch wheels work for sure.
-
Yes
-
Installing a new master cylinder 260z
Miles replied to David GArcia's topic in Brakes, Wheels, Suspension and Chassis
Yes, there is a gasket. You can buy gasket material from a parts store. Use the flange of the MC as a template to outline the gasket and then cut it out with a razor. I use a piece of tubing as a punch to cut out the bolt holes. Sharpen the end of the tubing with a file. Place the gasket on a hard surface and then punch out the bolt holes. -
This swap has ben performed 1000's of times and there are about that many posts on R200 swaps in the Drive Train section. I have been running an R200 with stock half shafts in my 240Zs for over ten years and never had a problem.
-
SBC 350 mated to a WC T5 going to a 4.11 R200 open diff
Miles replied to logan1's topic in Drivetrain
I have built two 240Z street cars using the 350 SBC WC T5 3.54 R200 combination. Very happy with the 3.54 R200 plus they are in great supply. -
Go back and read all of the posts in the brake section concerning brake booster swaps for compatability with your Z. Booster diameters, clevis details, mounting bolt patterns etc. changed from year to year. Also, the push rod that goes between the booster and MC has to be carefully adjusted. There are many posts explaining how to adjust the push rod and select the correct boosters for your Z.
-
Toyota Brake Swap Help needed!
Miles replied to docaam's topic in Brakes, Wheels, Suspension and Chassis
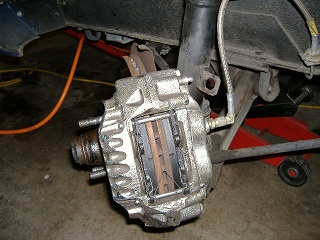
Picture of 4/89-7/91 S12-W Toyota caliper with correct pads.
-
240z Master Cylinder and Brake Booster
Miles replied to Sanchez's topic in Brakes, Wheels, Suspension and Chassis
The 79 - 83 280ZX MC is no longer available. -
No. Do not connect the starter wire to the oil pressure switch. The purpose of the Green-White wire is to provide power while cranking. Actually, the wire is energized as you turn the key just before the switch hits the strarting position in the ignition switch. You can test this by connecting a test light to the green-white wire and turn the the ignition switch to start. You will see the light come on before the starter engages. As I recall the original purpose of the green-white wire was to provide direct voltage to the coil while cranking. I use this feature to fill the carb bowls if the car has sat too long. In the JTR Fuel System chapter:" If you are using the HEI distributor, the easiest way to wire the fuel pump for cranking conditions is to connect the green-white wire to the fuel pump wiring." This is the "by-pass" wire number 1 on the JTR electrical diagram on page 9-6. In the book you have to flip between page 9-6 and page 13-2. I tested the oil pressure switch before installing the engine. Using a drill to turn the oil pump drive and connecting a volt meter to the oil pressure switch, the oil pressure switch closed almost instantly. The switch is on a hair trigger and closes with very little pressure.