Miles
-
Posts
2391 -
Joined
-
Last visited
-
Days Won
35
Content Type
Profiles
Forums
Blogs
Events
Gallery
Downloads
Store
Everything posted by Miles
-
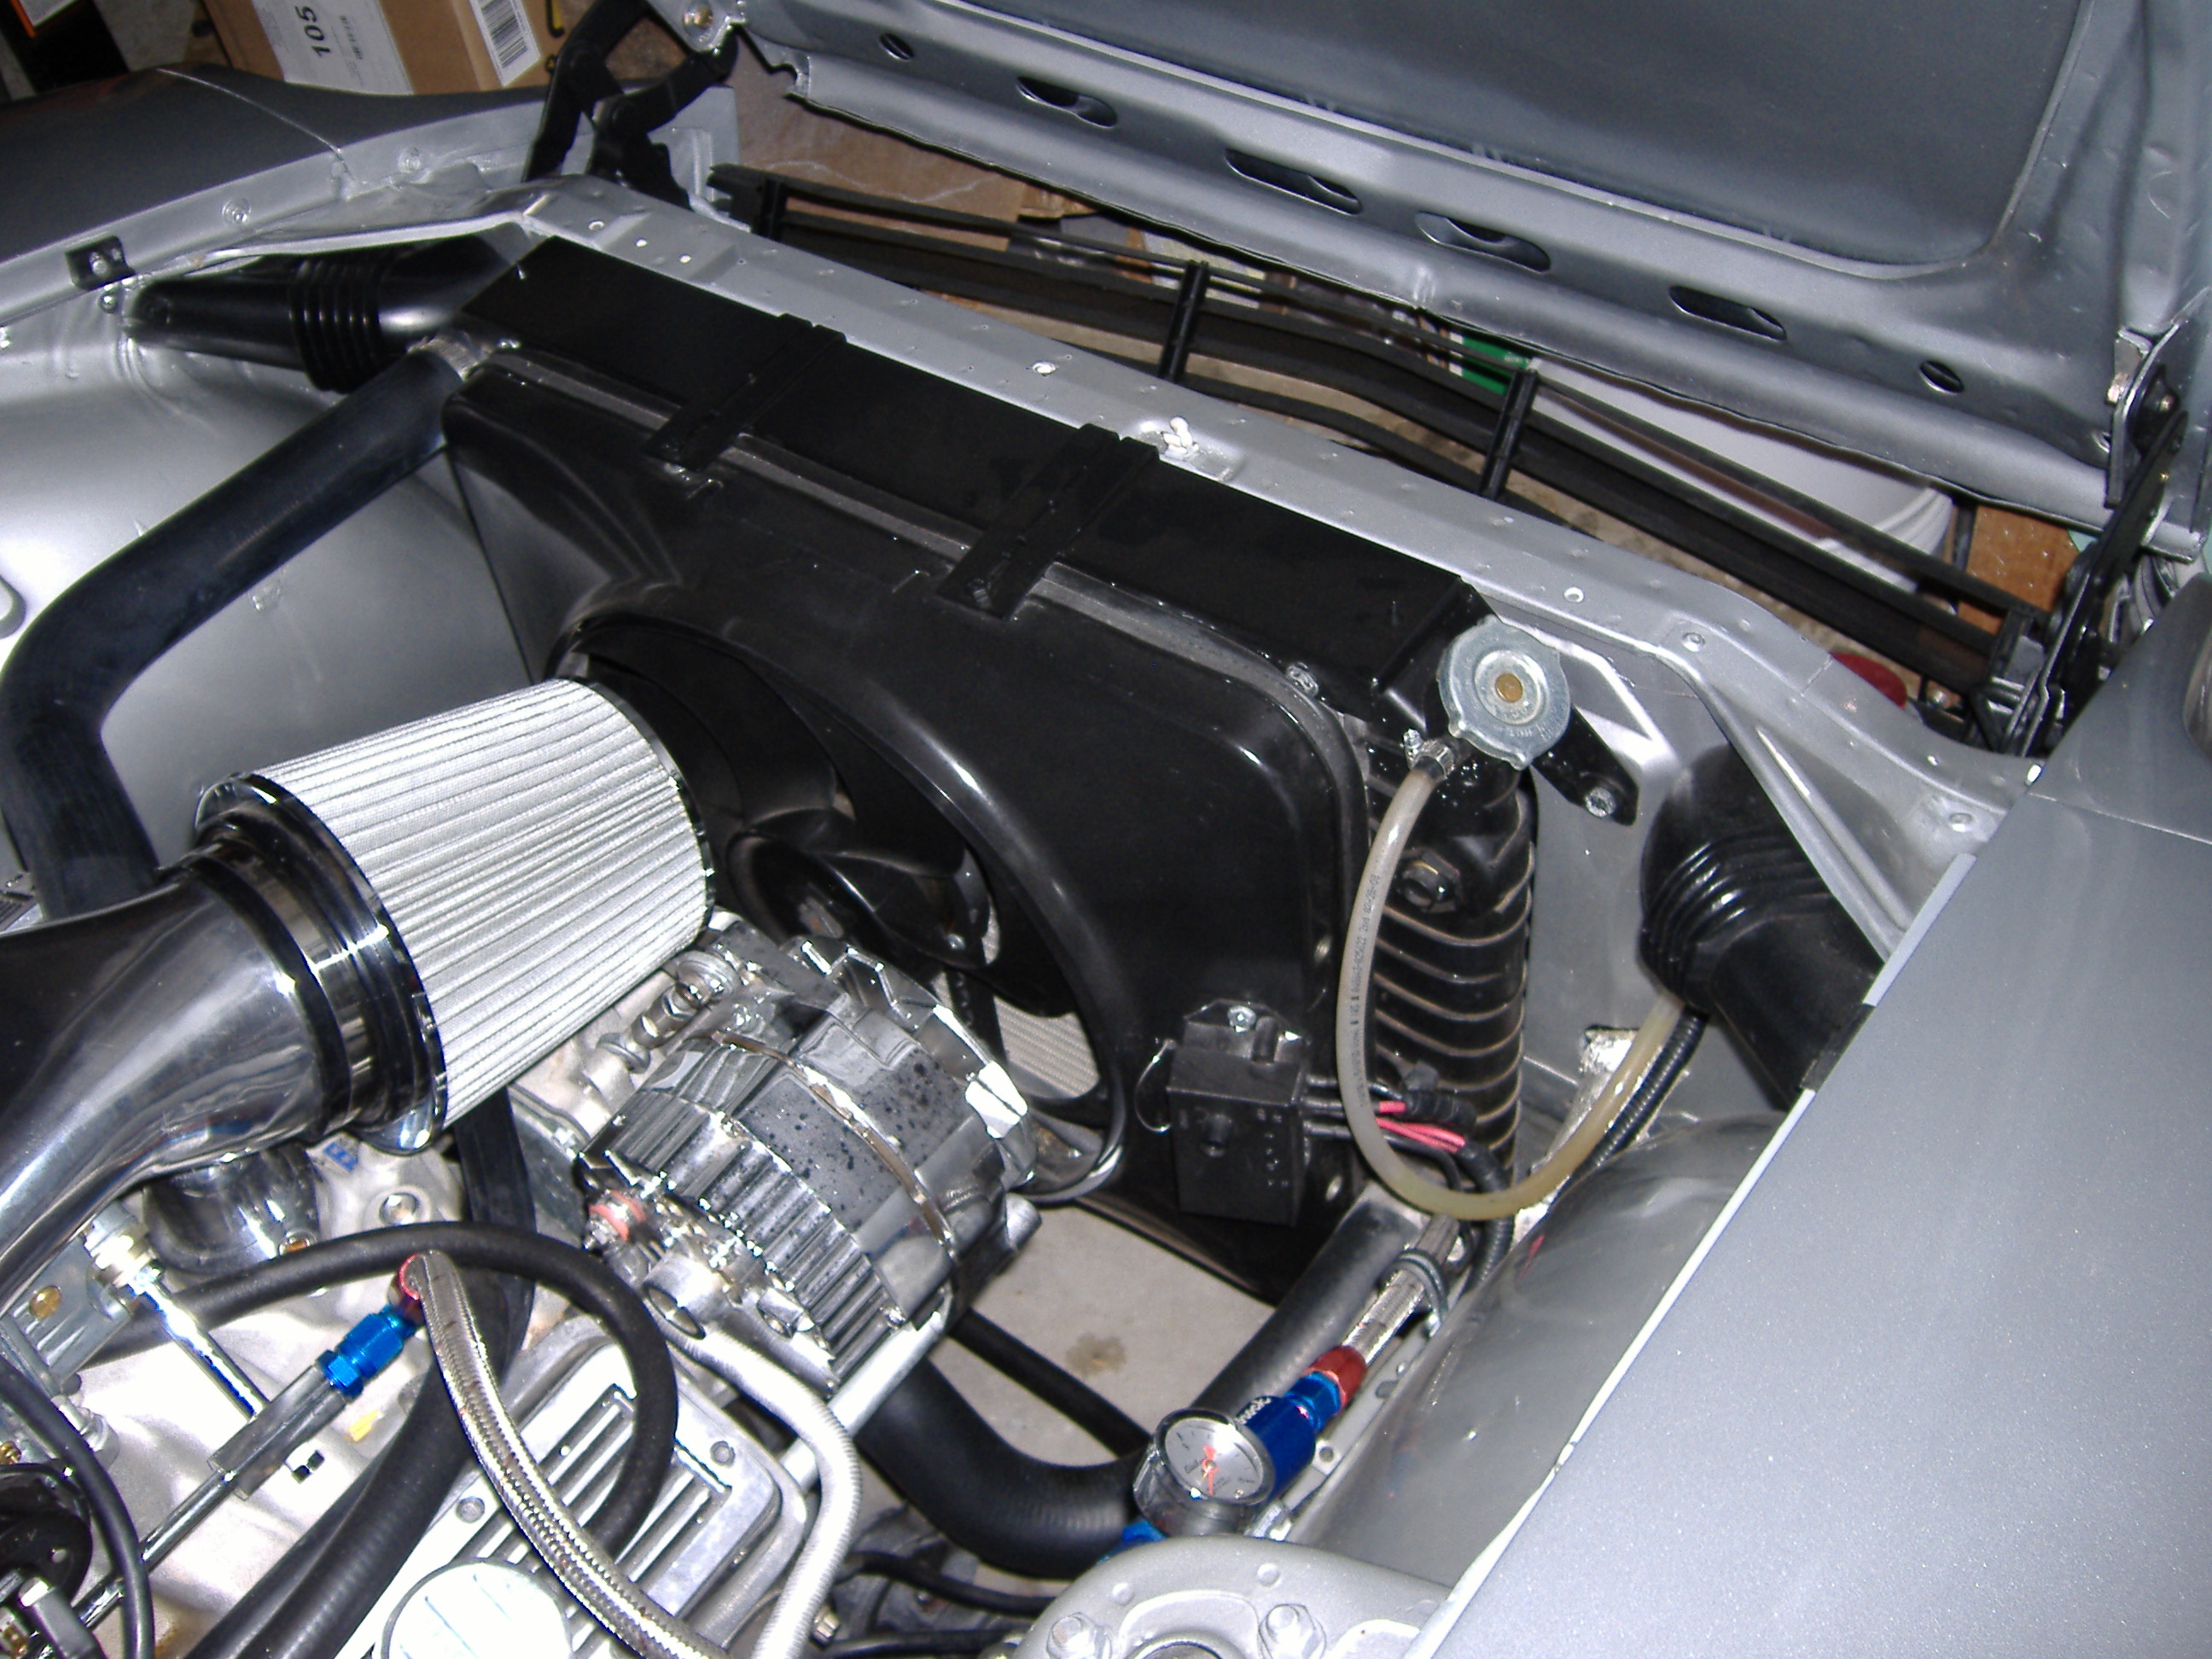
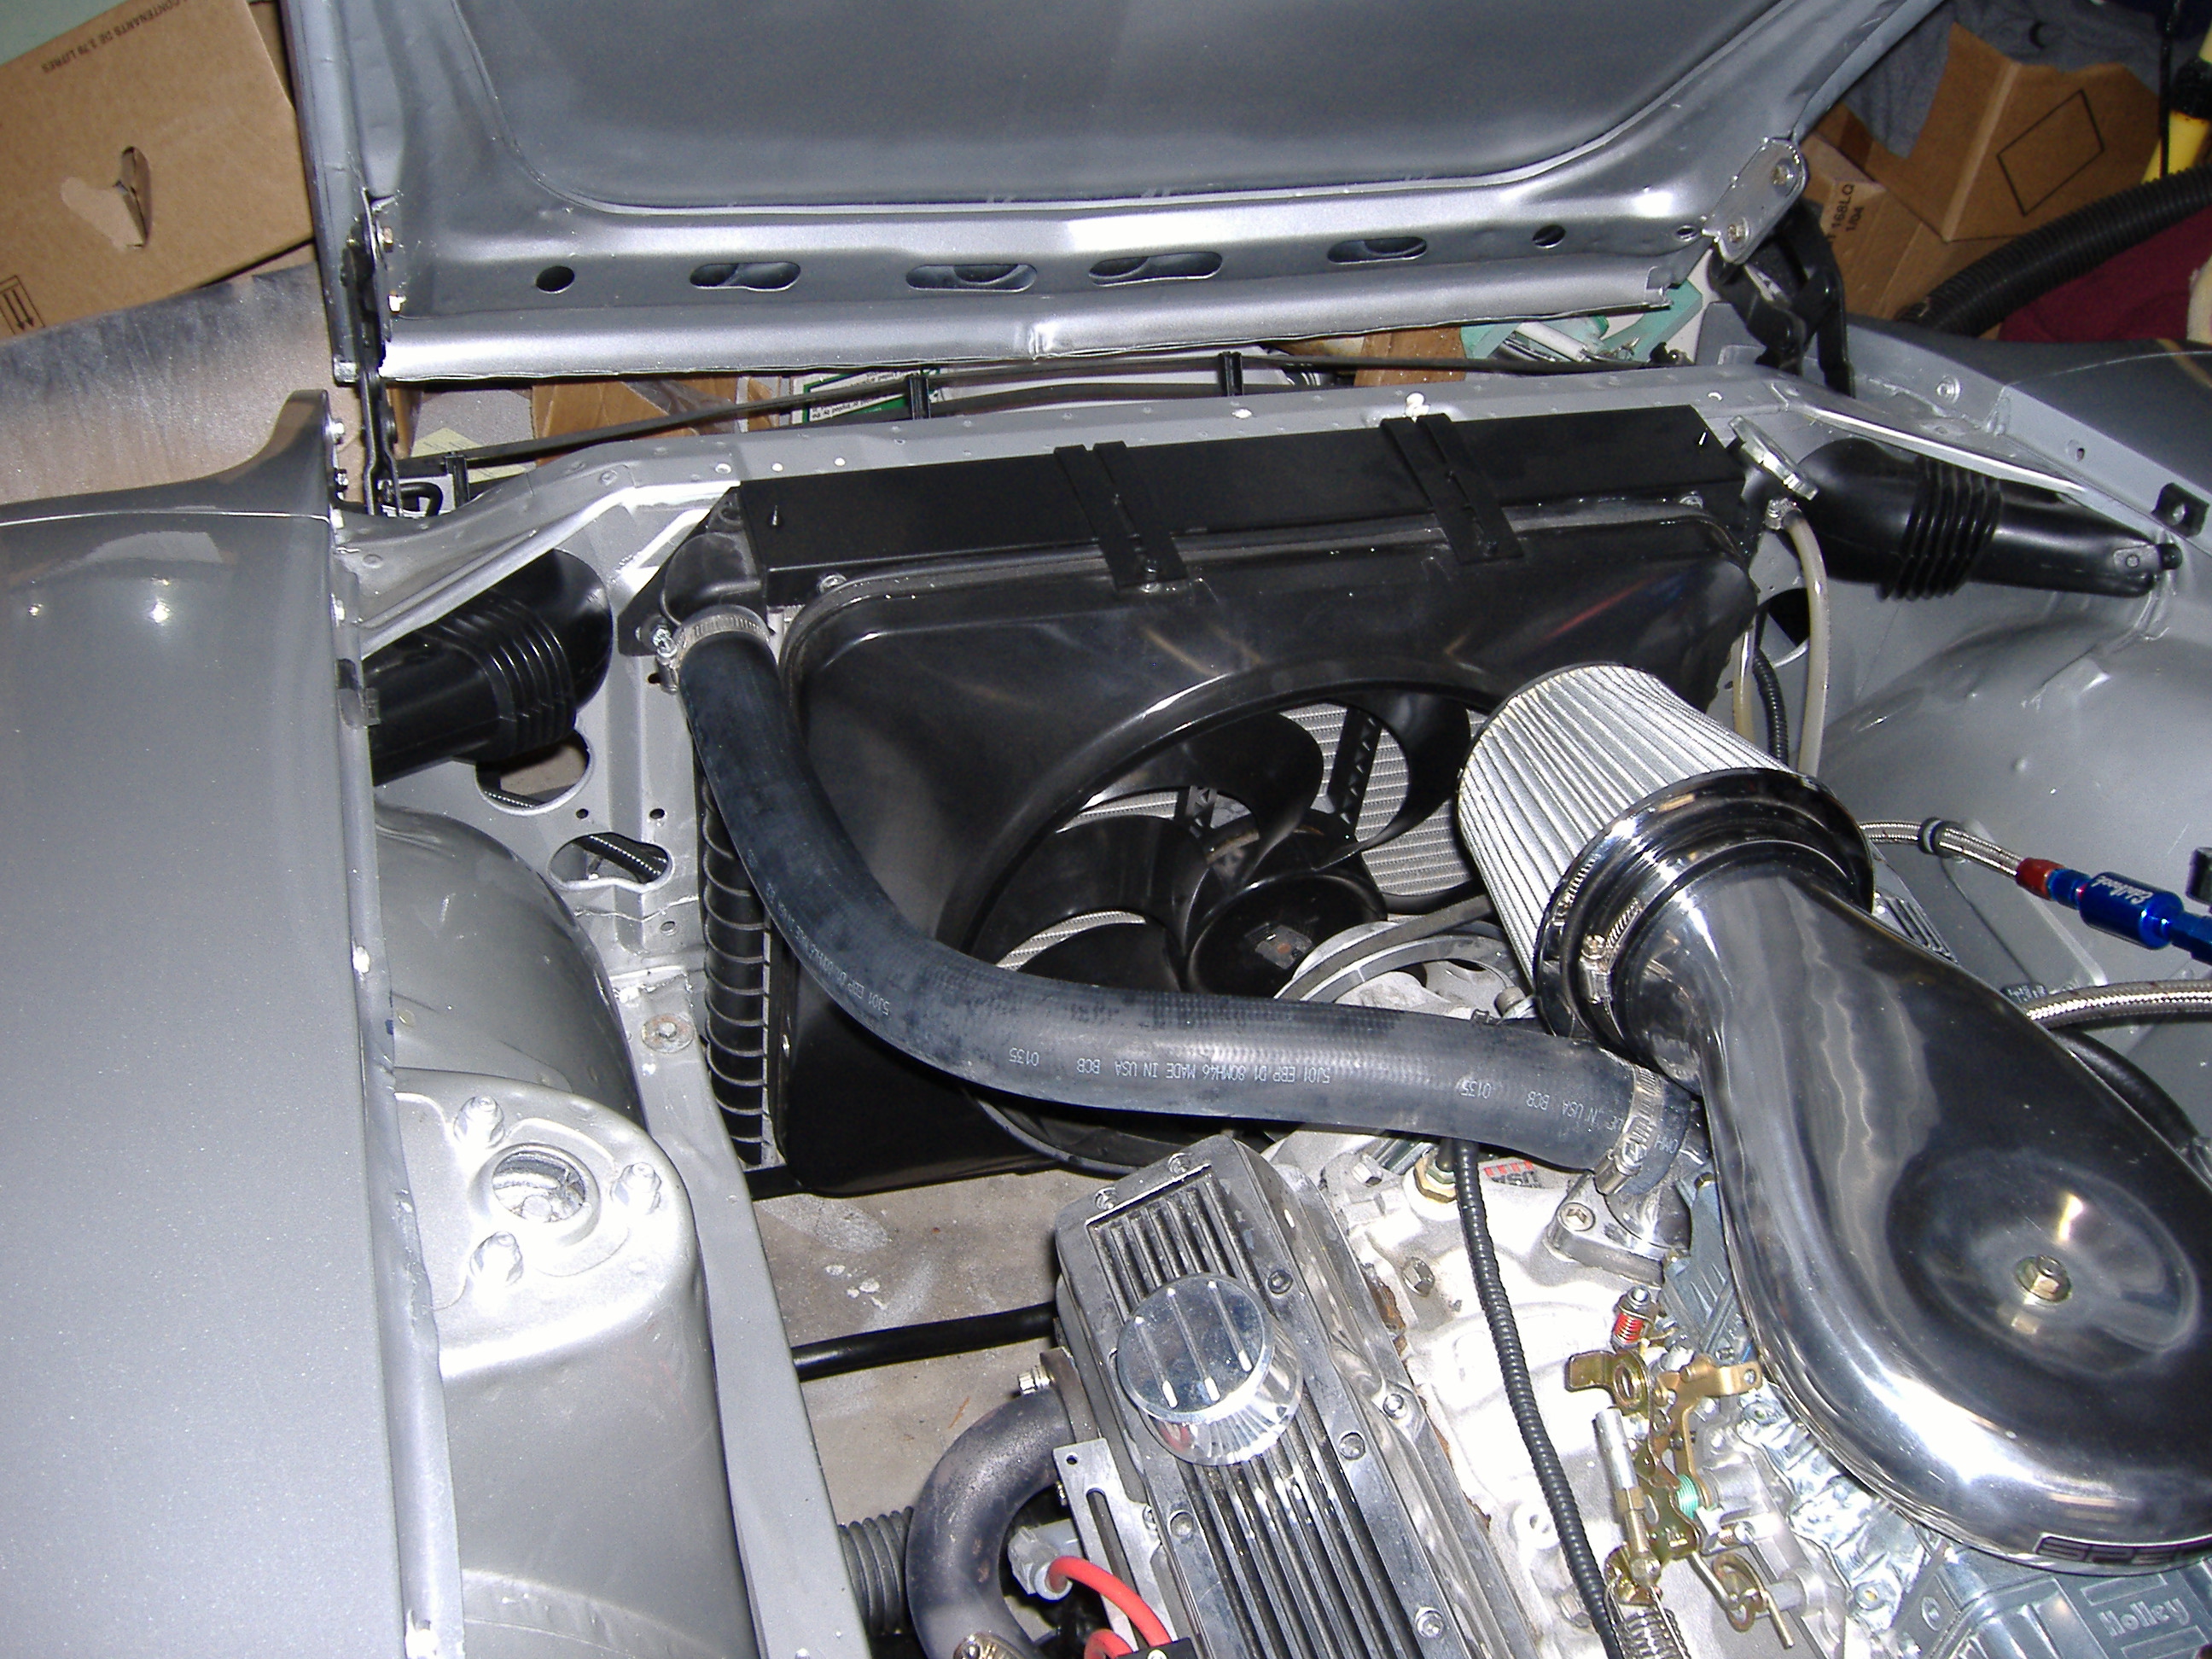
Bob's Z Twins The Summit radiator may be too wide to fit between the frame rails as it has a core width of 26.25 inches. The JTR radiator is 25.25 inches tank to tank which allows 1/8 inch clearance between the tanks and the frame rails on each side. I am using the JTR radiator with a Flex-A-Lite 180 3300 CFM fan, Edelbrock high flow water pump and a 3/4 inch flow restrictor in place of a thermostat. This confguration has worked through two summers. Most of the time I see temperatures around 180 -200 deg with my set up. See pictures below. Also, Motor sports Auto (MSA) claims that thier 240Z aluminum radiator will work with a V8 install, but the inlet and outlet appear to be configured for a 240Z so hosing may be a problem. Not sure who makes the MSA radiator, but it would be worth contacting them to see if they could custom build the 240Z radiator with the inlet and outlet configured for a SBC. Another possibility would be a Ron Davis custom radiator.

-
Tony Can you post some pictures of your dual fan set up?
-
I just finished cleaning up my heater, but I am now missing the cable retaining clip that goes on the short cable on the left side of the box. See picture. Are these clips available?
-
Try a Flex-A-Lite 180 fan. It fits the JTR radiator pefectly. 3300 CFM. Draws 18 amps. http://www.summitracing.com/parts/FLX-180/
-
I used ARP bolts and torqued them to spec. Thanks Miles
-

Engine back plate needed! 1989 Firebird T5 trans,
Miles replied to JDM's topic in Gen I & II Chevy V8 Tech Board
TheSBC dust shields have been NLA for some time. I couldn't find a JY dust shield so I made one by tracing the Bell Housing outline onto a sheet of aluminium and marking the bolt hole locations. -
Application: 240Z sbc Camaro T5 transmision The clutch set up (flywheel and clutch pack) I bought did not come with clutch pack dowel pins. Do I need to install the dowel pins in the flywheel for the clutch pack? Is there a problem if they are not installed?
-
aftermarket radio that fits into console without cutting?
Miles replied to greghassen's topic in Interior
Check out the Retrosound website. They have tech data etc for the model one kit that fits the Z. The radio has a lead that controls the antenna. For the best sound I ran the output through an amplifier mounted ubder the passenger seat. -
aftermarket radio that fits into console without cutting?
Miles replied to greghassen's topic in Interior
The radio face dimensions are 3.5"w x 1.5"H x 1.05"d. I bought mine from Retrosound as they had the latest model ready to ship. http://www.retrosoundusa.com/
-
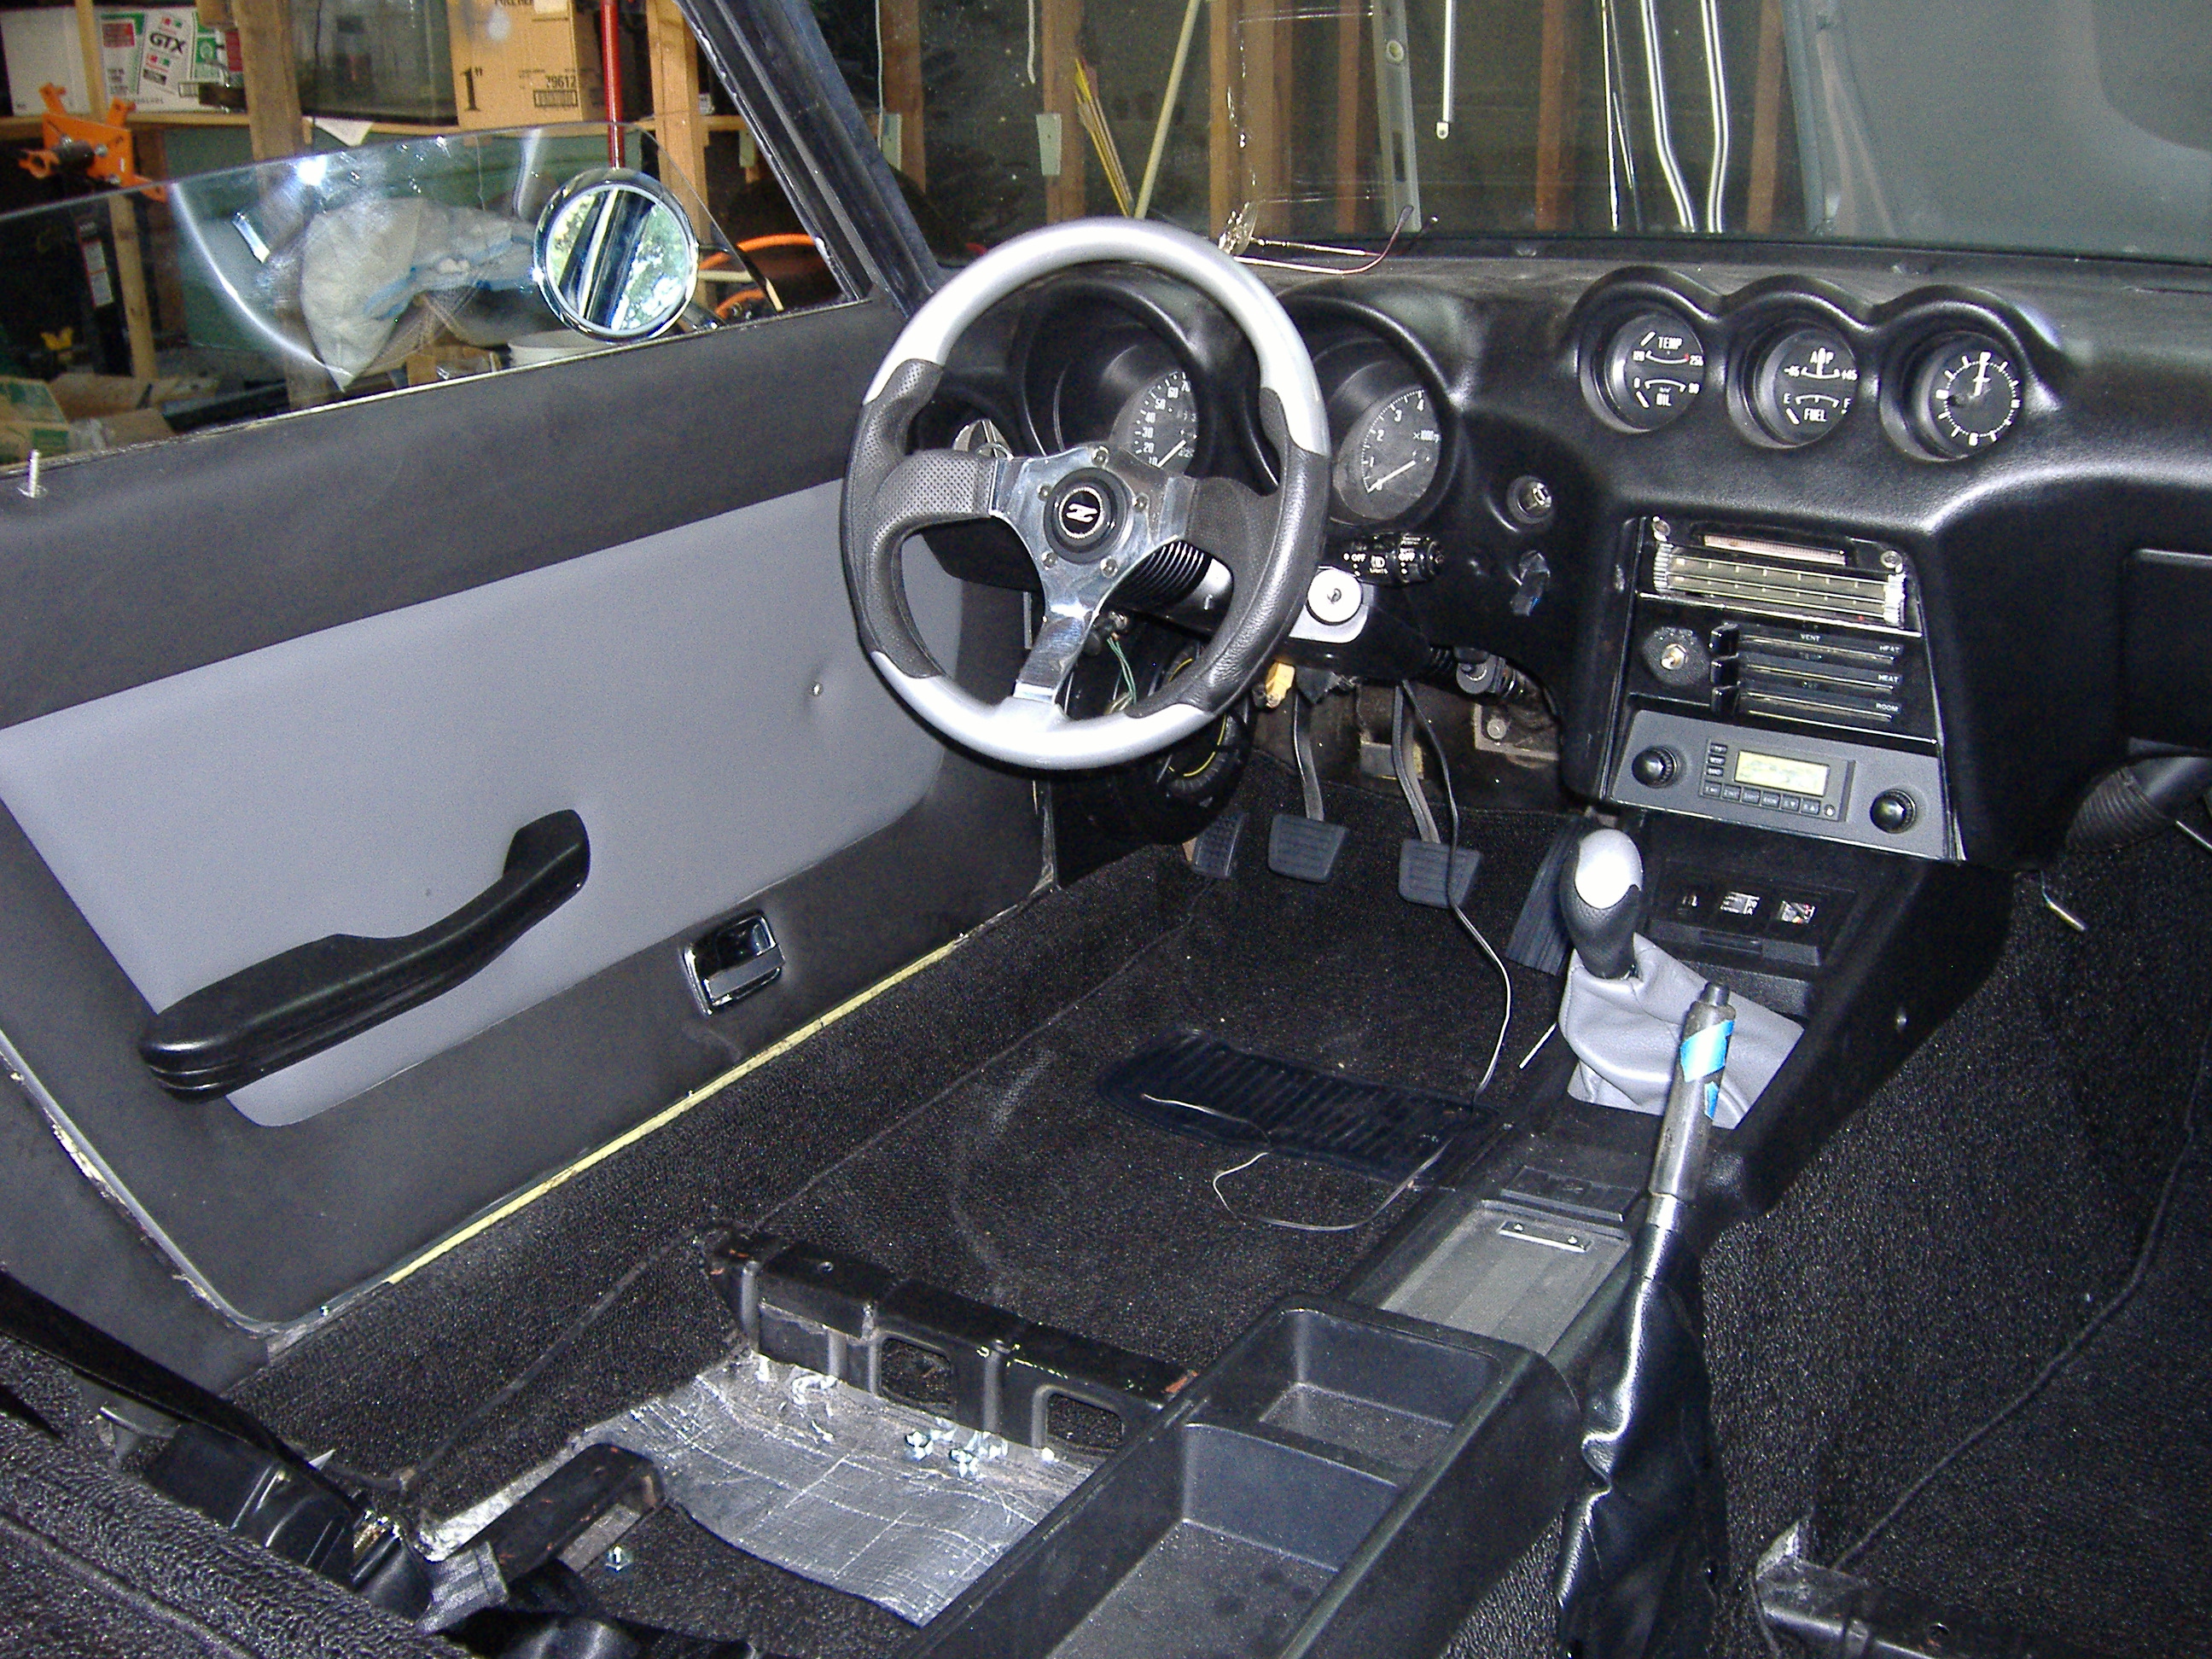
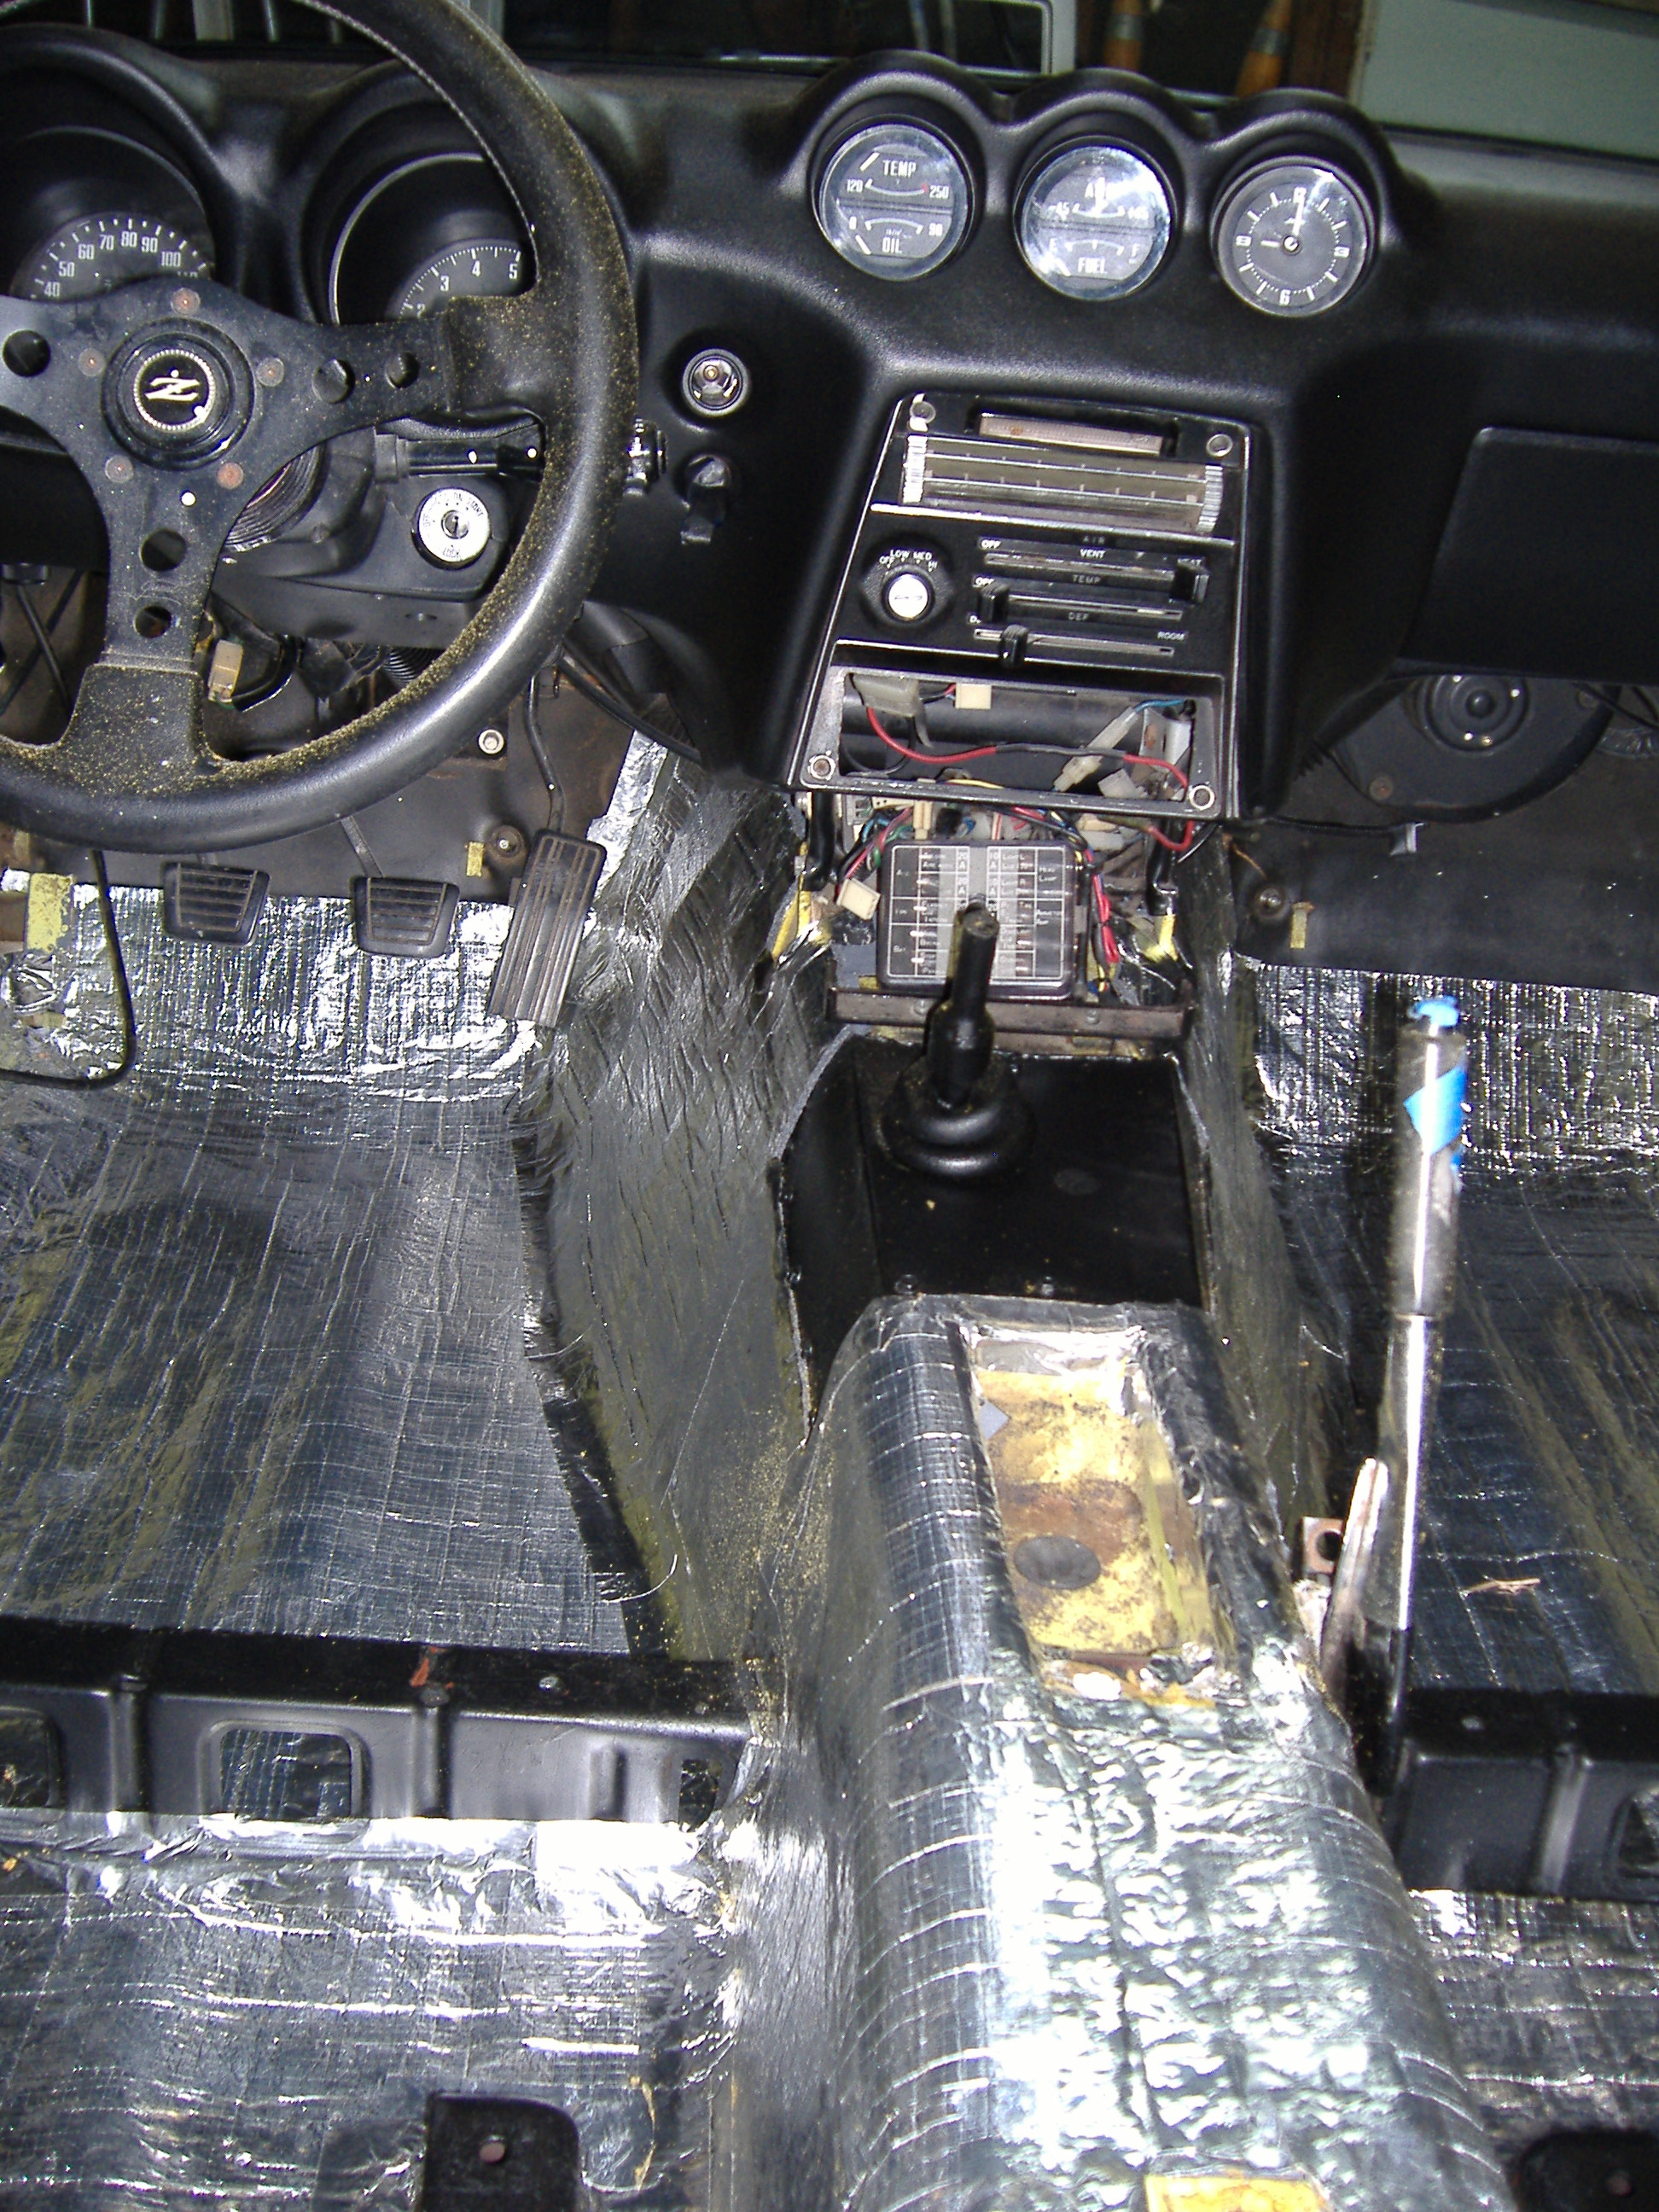
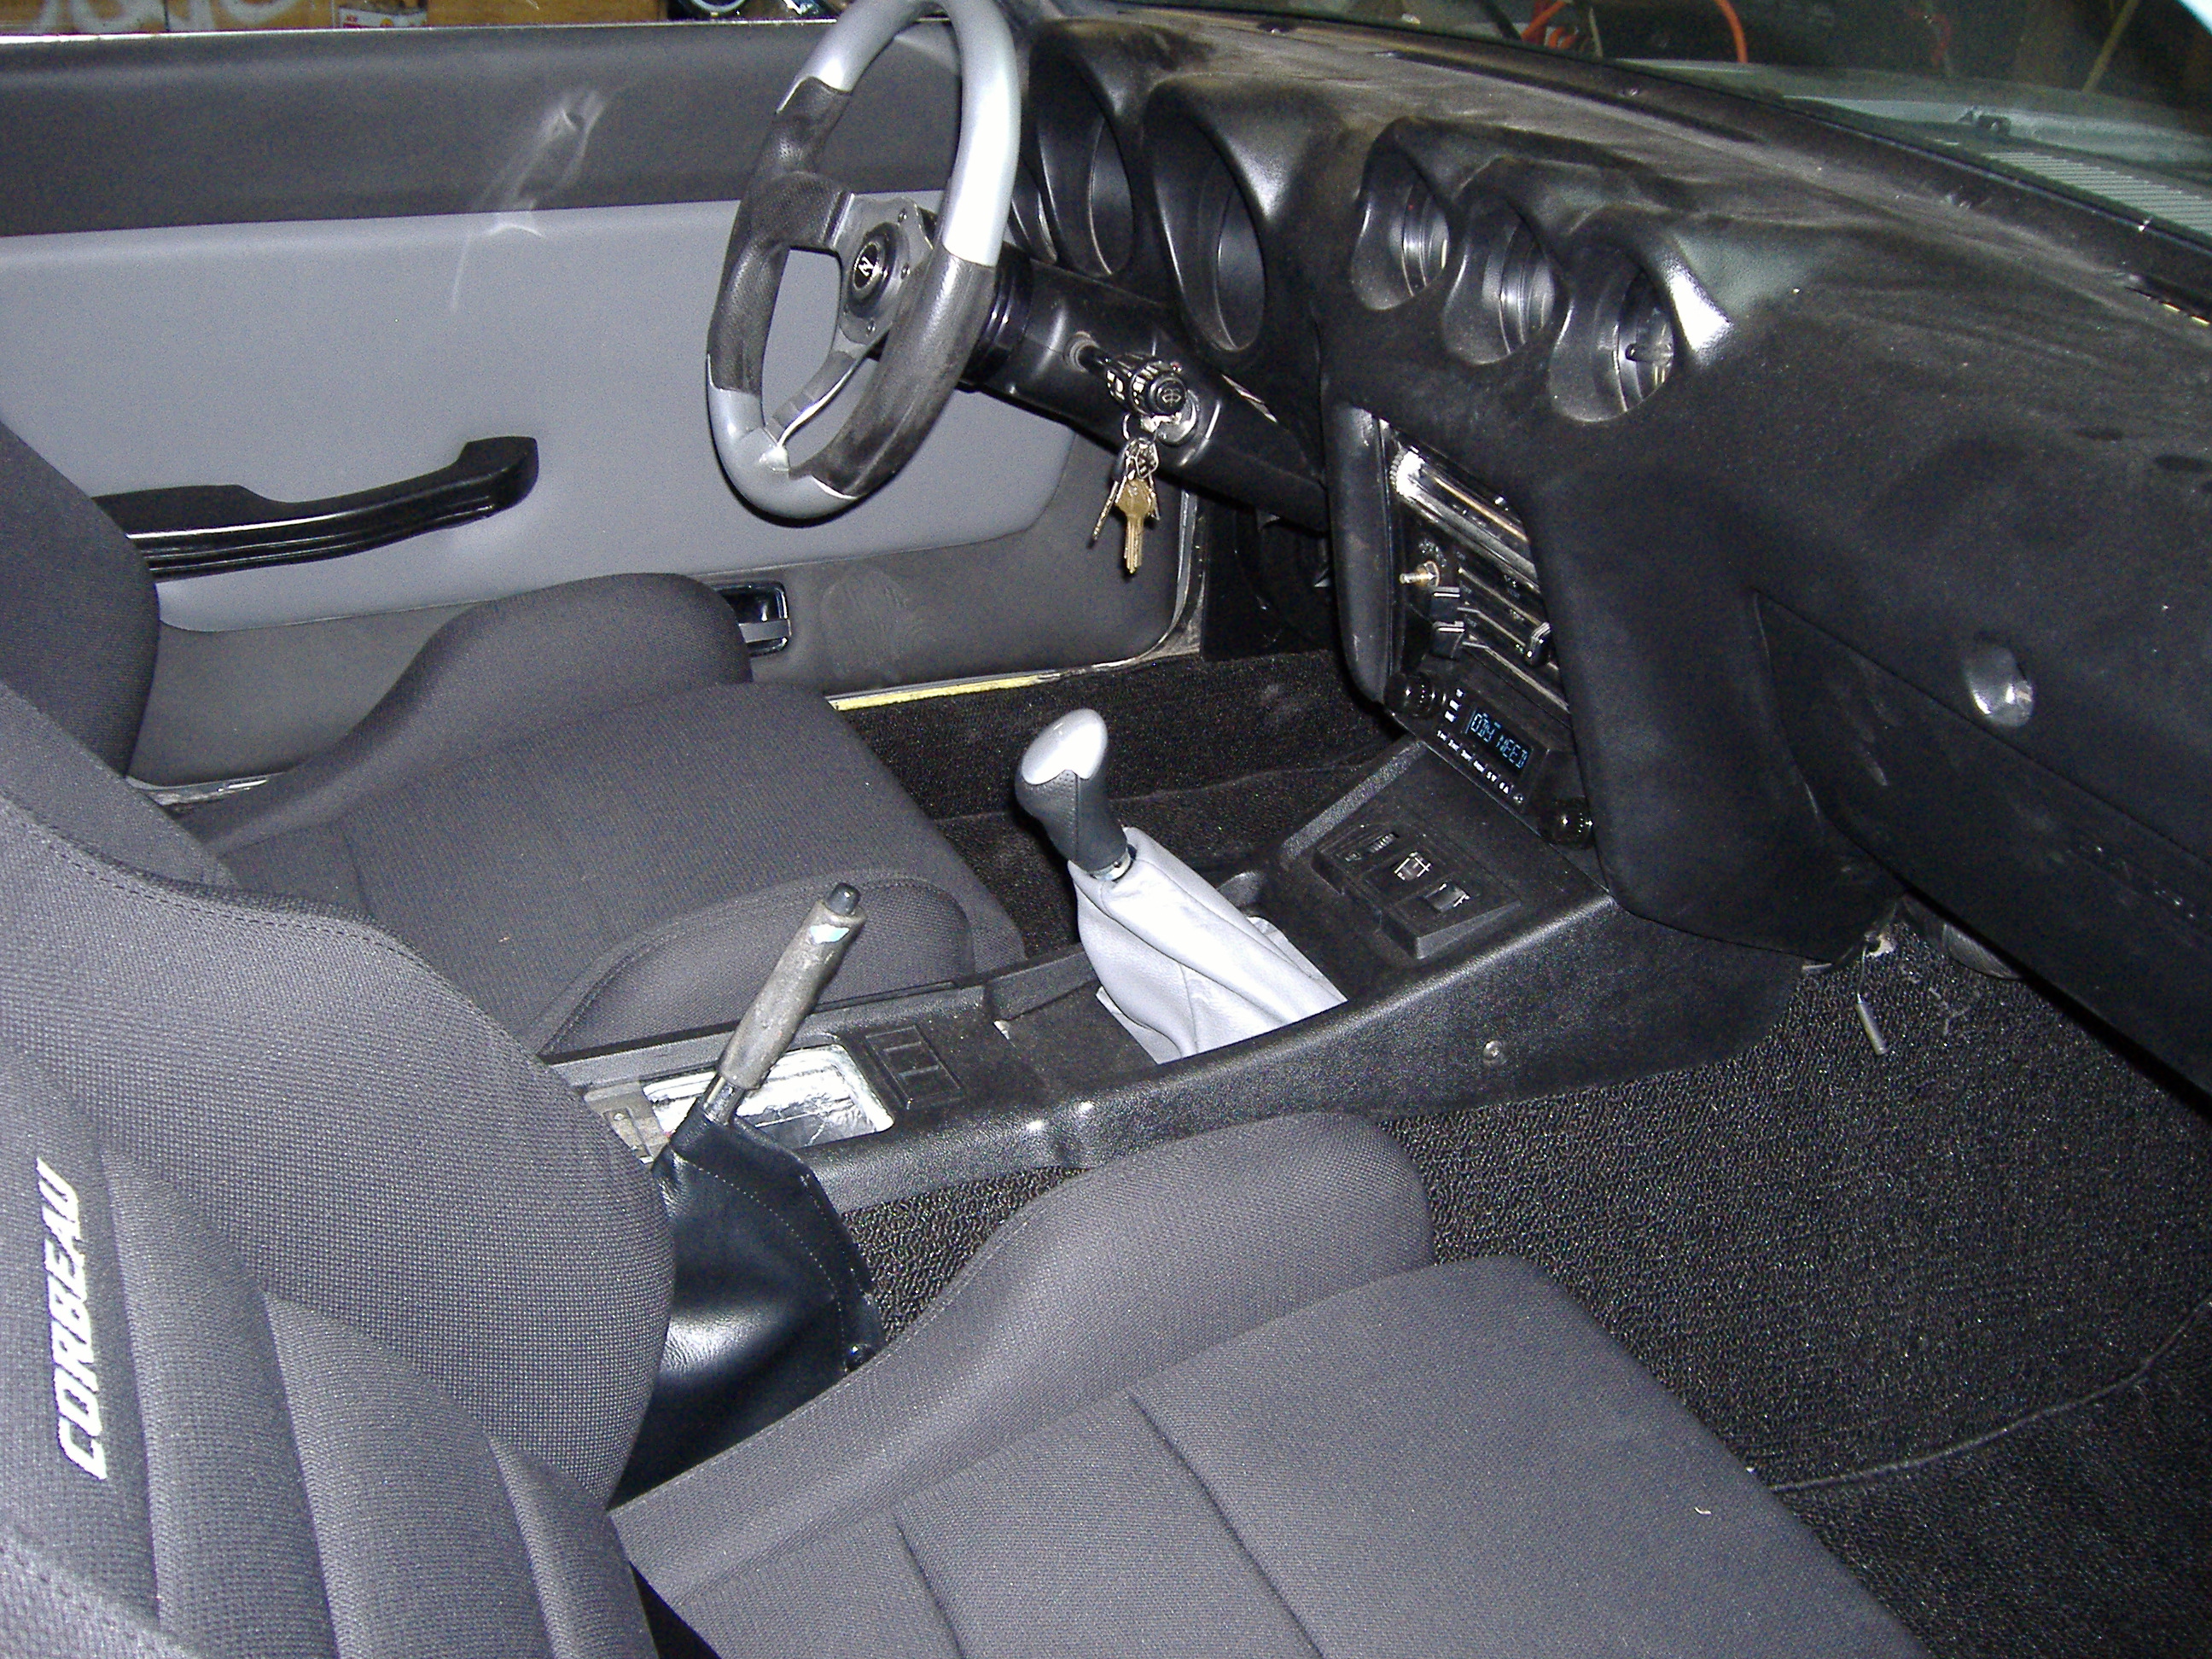
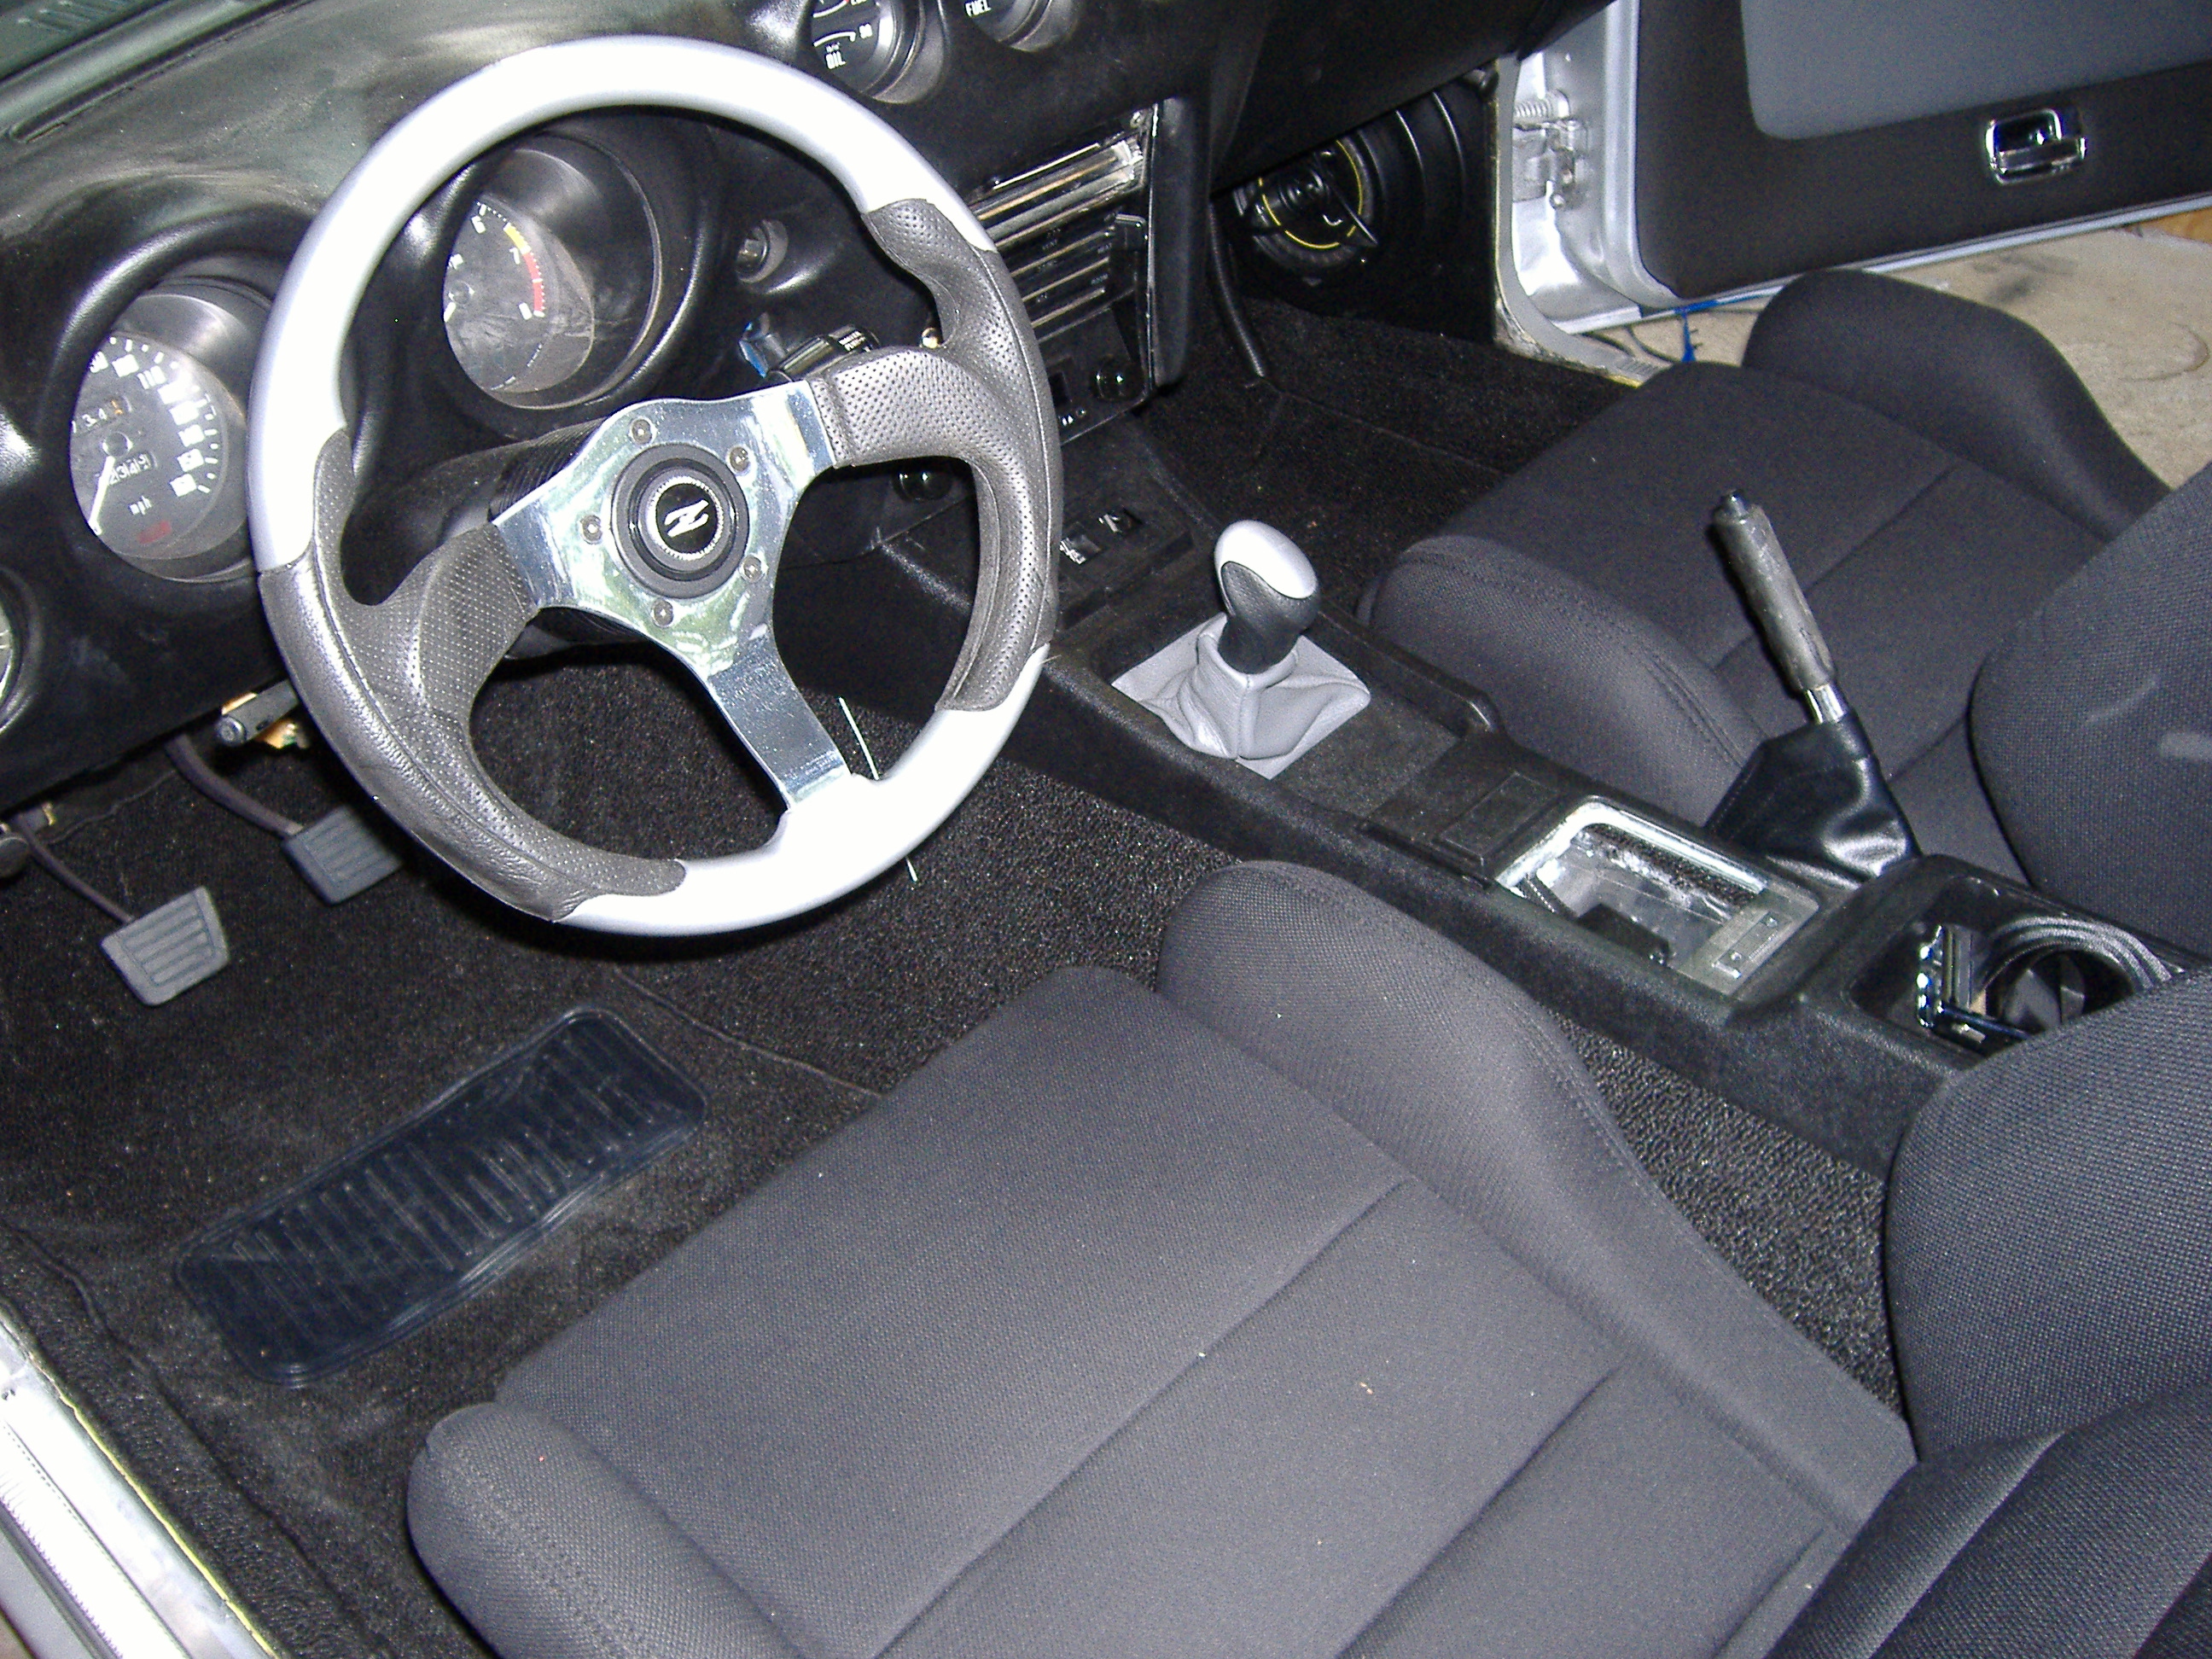
I did the whole floor, trans tunnel, riser, rear deck, wheel wells and quarter panels with a product like Dynamat and then covered that with 3/8" two sided aluminum insulating mat and finally carpet. Major reduction in heat and noise. See pics.
-
I just installed a Holley 570 Avenger on my 350 SBC in my 240Z. The exhaust pops at idle and cruise. Has a little sag just before the secondaries kick in. Off idle response is good.
-
Try Magic Mounts weather strip from Pep boys p/n 3554. It has a pinch strip that holds well and is flexible enough to fit the 90 deg corner without cutting. You will need three packages as the strip is about 10 inches short. So the third package is to cut in a 10 inch splice for each side. I placed the splice on the forward door jam. Doors close easy and there are no leaks. You can see this at http://www.magicmounts.com/products/3554.htm
-
Below is a list of wires you need from JTR wiring figure pg 9-6. Wire #1 is the green/white wire originally used to provide power to the coil when starting the L6 engine. Now it provides power to the fuel pump while cranking. Wire #2 is the wire from the pressure switch to the fuel pump. I used a Painless fuel pump relay kit so my #2 wire is the Painless yellow/white wire. But you could run your #2 wire inside and connect it to the stock green wire. You will find the stock fuel pump green wire between the glove box and the side of the car. There is a bullet connector there that you can open and use for your #2 wire from the pressure switch. The other end of the green wire is located near the fuel level sending unit. I mounted the Painless relay on a L bracket in the passenger footwell next to the heater blower and connected the relay output to the stock green wire as noted above. Wire #5 is the black/white ignition wire with the protective sleeve. This wire goes to the positive terminal of the HEI. You will tap off of this wire to the input side of the pressure switch as shown as a splice by JTR. This tap powers the fuel pump or triggers the Painless relay when the pressure switch closes. If you use the stock ignition switch and the JTR wiring configuration the fuel pump will come on just before the starter turns on. You can hold the key in this position to run the fuel pump to fill the fuel bowels.
-
I may have missed it, but have you guys checked for slop between the stub axle flange and the stub axle? On my stock 240Z the passenger's side flange splines had become worn and sloppy. I replaced the flange and the "loose flange" noise went away.Also, check the torque on the stub axle bolt. I have had both problems. On this same stock 240Z the passenger side stub axle broke at the flange and the car contiued to clunk as I drove home the same as before it broke. The stub axle broke making a normal tak- off from a stop sign making a noise like the car had been hit hard. I replaced both stub axles with new OEM parts. The clunk has never gone away. I had clunks in my stock 240Z and replaced every component new (swapped in1978 3.54 R200) in the rear and still had a clunk. I just finished a 350 SBC swap with a t5 and r200 in my stock 240z. I replaced all of the bushings and front diff mount with a solid mount and it still clunks. My first 240Z v8/T5/R200 swap for my son was the same story-complete new drive train including a R200 with solid front diff mount and all bushings replaced and it clunked on the passenger side. He drove the car hard for four years and nothing ever broke. My clunk always seems to be on the passenger's side. I don't worry about it anymore after 12 years of stock and hybrid 240Zs clunking. I just shift smooth. I have a stoage shed full of R180s, R200s and side shafts that I changed out chasing the clunk. I have had Nissan mechanics, Japanese car mechanics and race car mechanics diagnose the clunk. From what I have read, new 240Zs clunked. Personally I would like to see at least three Z owners who have actually solved the clunk problem to speak up and document exactly how they diagnosed and solved the problem. Perhaps it is just the stack up of all of the tolerences in the differential. Miles
-
Solved the problem. There was no power at the red and white wire on the TS switch. So I took the switch apart and cleaned all of the contacts. Both rear TS now work. For the right front I knew I had power at the turn signal switch. So I pulled the RF TS/Parking light harness connector apart and pushed it back together firmly. The RF TS now works.
-
I am reassembling my 72 240Z after a SBC swap and disassembly for paint. I have no right turn signals. Right front and right rear turn signals (TS) do not come on. Right front TS does not flash when hazard switch is on. All other lights flash. Green turn indicators on tach flash for right and left turns and when the hazard switch is on. Right indicator is brighter than the left indicator-always been that way. Brake lights work. Oposite brake lights come on appropriately when the TS switch is engaged for right or left turns. So the TS switch is working as for brake function. Questions about TS switch check out: -Should there be voltage at Green/Black wire (R. Front TS) when TS switch is in right turn mode? -Should there be voltage at White/Black wire (R.Rear TS) when TS switch is in right turn mode? Thanks Miles
-
Are you using an after market T5 shifter? I initially used a Hurst T5 shifter on a new rebuilt T5 and no matter how I adjusted the Hurst shifter it would lock up my transmission. My rebuild shop told me to get rid of the Hurst shifter and re-install the stock shifter. It now works perfect with 500 miles on it so far. My set up: Tilton 7/8" MC, braided -3 line, McLeod -3 to roll-pin adaptor (Summit) connects the line to a stock Camaro slave. Works good. Also, if you have air in the line I found the best way to bleed is to open the bleed valave on the slave and let the fluid run out by gravity while carefully toping off the MC with fresh fluid. I did this for about 15 minutes, closed the bleed valve and gave the pedal two pumps and had perfect clutch engagement.
-
I am replacing the stainless steel strip that has the side window squeege on it. It slipped on ok untill the last 5 inches towards the front of the door. The last 5 inchs of the strip acts like there is something preventing it from slipping all the way down on the lip. I looked under the strip with a flashlight and can't see anything in the way. The strip went over the barrel shaped roller bracket ok. Its just the last section between the roller bracket and the front of the door that wont slip into place. Thanks Miles
-
Solid Reaction Disk?
Miles replied to Cannonball89's topic in Brakes, Wheels, Suspension and Chassis
The booster will come with the push rod. The push rod in the new booster will be secured so that it will not fall out while you install it. BTW you do not have to remove the MC completely to replace the booster. There is enough flex in the hard lines that you can push ithe MC out of the way. That way you will not have to rebleed the MC and brake system. I bought my last booster from Autozone. MSA and Black Dragon have them too. Nissan units are NLA. -
Solid Reaction Disk?
Miles replied to Cannonball89's topic in Brakes, Wheels, Suspension and Chassis
Did you bench bleed the MC, adjust the rear shoes, break in the new pads/shoes, adjust the bake peddle travel under the dash? There is a thread in the brake section that deals specifically with the reaction disk. -
Napa sells them with the brackets, but they also want complete caliper cores with the brackets. I picked up a set of used 240SX calipers for $20.00 to use as cores. I modified my brackets by cutting of the ends and welding the 240z e-brake cable attachments on so the cables would fit properly. Somewhere in the brake section I posted some pictures.
-
In a 72 240Z can the headliner be installed without removing the windshield and side header parts? My headliner has to be replaced, but my headers are in good shape and I want to avoid destroying them to get them off the car. Thanks Miles
-
Be careful not to dent the strut tube where the threads are or you will not be able to insert a new gland nut.
-
I had the same problem with new door seals. Go to pep boys. They sell generic door seals that grasp the body attachment point (no adhesive required) and allow the door to close properly. You will have to cut a 45 deg in the weather strip where it makes the 90 deg corner. One pakage is not enough to do one door. It took two packages of door seals per side. If you lay it out right you can hide the joints. No leaks for 8 years.
-
Often times I couldn't get a wrench of any kind to grasp the gland nut. If you have the strut off the car you can place the gland nut in a vise which will grip the gland nut better than a wrench and then turn the strut until the nut breaks loose. In one case I had to use a breaker bar to turn the strut to get the gland nut loose. Snap-on sells a spanner for the gland nut. Miles