Search the Community
Showing results for tags 'rust'.
-
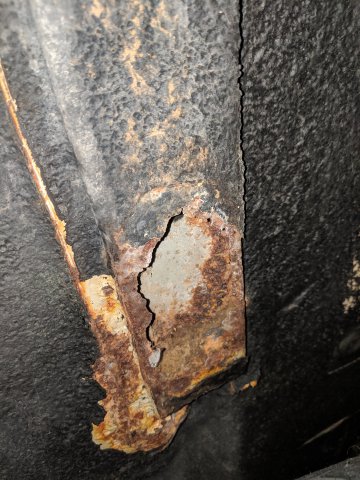
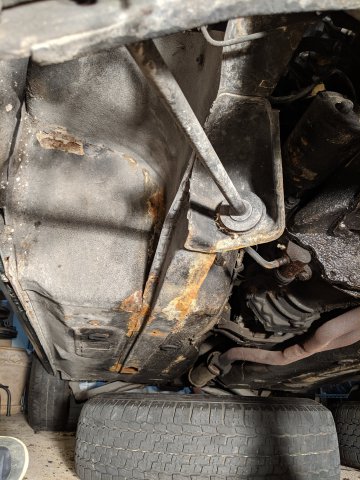
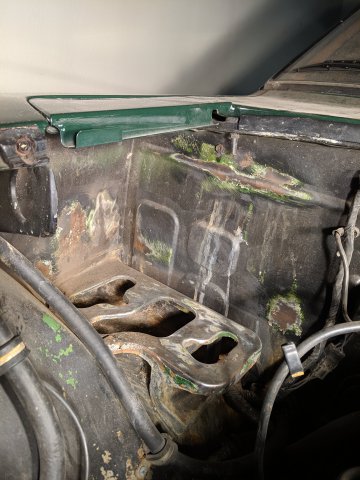
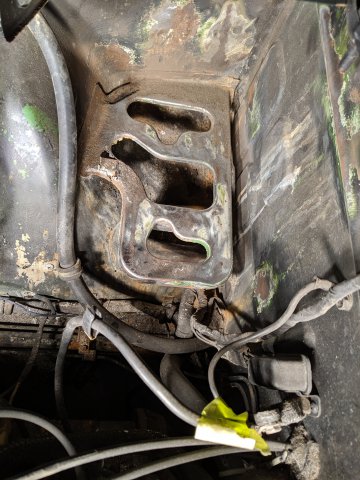
Relatively new to thinking about owning a car of this age but, currently live in Japan and have been looking for an older car that will eventually come back to the States with me (i wont have to pay to ship 1 vehicle but still needs to be 25 yo to avoid other things). I fell in love with the Fairlady Z at first sight. I went and looked at/drove one for the first time just this weekend. A 79' 5-speed MT with an L28 that is not original to the car so it has some very low mileage (14k Km). Runs great but has some other issues. it needs a lot of exhaust work as the muffler and most of the ducts are very rusted (I probably would just look to replace it all even though I could probably keep the exhaust manifold.) lots of smaller replacements (wiring, hoses, rubber odds and ends) questionable rust on the undercarriage with a questionable coating to cover it up which is my main concern and why I'm posting. I took quite a few pictures of what i saw and I'm trying to get an idea of how bad the rust may be, how much work it will be to fix up the rust, or if there is anything anyone can gleam from seeing these pictures that i might of missed (still new to this) I appreciate any help anyone can give Thanks all
- 2 replies
-
- rusted floor panel
- rust fix
-
(and 6 more)
Tagged with:
-
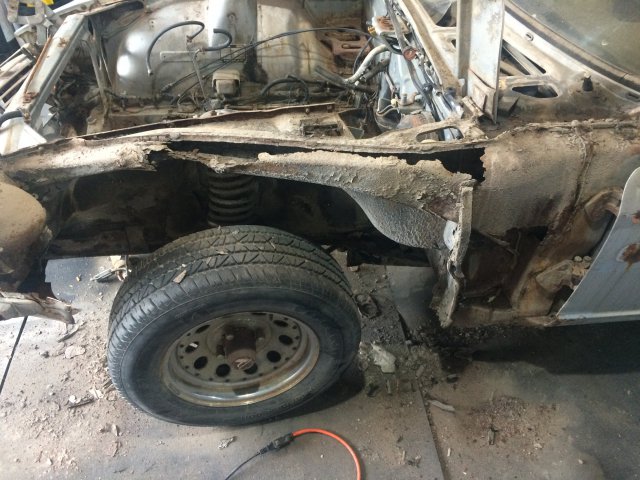
Currently upgrading my suspension and brakes. Remove the from tow brackets and found a good amount of rust on bothsides. Located just above the front sway bar location. I searched the forums and didn't find anything showing how this part tackled. I know 12 guage replacement pieces are sold for the sway bar location but haven't found any for the rest of this section. Ill eventually need to address rust on the radiator support. Pointers are appreciated
-
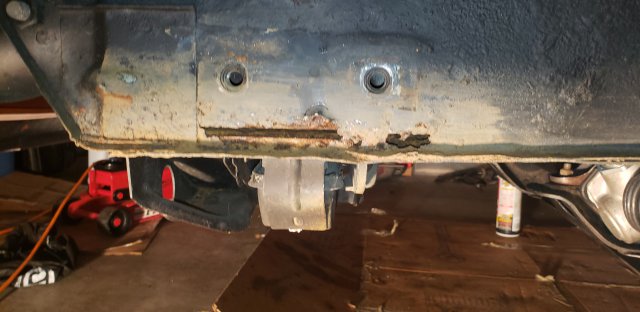
Cross-post from Fabrication/Welding. I'm looking at buying this '75 280z. The biggest downside is one of the frame rails has abut an 18" stretch of chewed out metal. Here's what it looks like https://imgur.com/a/TkbKOEo. Are the rails too banged up and rusted to be repaired? And would repairing them bee too costly? Currently the owner is asking 8500 for the car. The only other rust is a little bit in the upper part of the passenger footwell/firewall
- 11 replies
-
- rust
- frame rail
-
(and 1 more)
Tagged with:
-
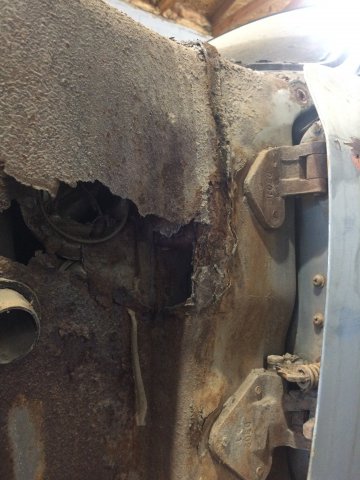
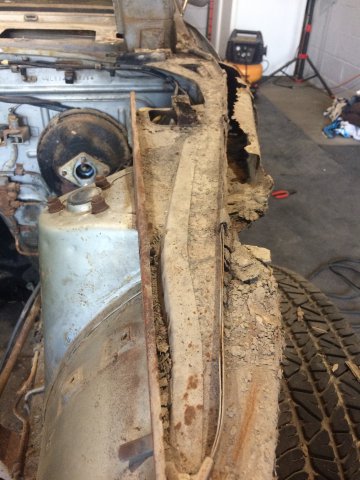
Hello forums, first post here. I’ve been sifting through these forums for awhile and cannot seem to find the answer to my question. A friend and I are restoring/making a track car of a ‘73 240z I picked up recently. We’re currently stripping it down to a bare shell to mount on a rotisserie for sand blasting, but ran into an area of bad rot on the air duct under the front fender. Is this area highly structural? Im wondering if anyone has tackled replacing metal in this spot or cutting it all out and replacing it with tubes? Any suggestions? Thank you! Here’s the goals with this car by the way: -streetable track car, will be driven only now and then, not a daily or a dedicated track only car -plans are to drop an RB in it, not sure which one yet, and have it built to around 350-450whp -would like to keep the stock locations of the suspension components as i do not want to mess with the geometry -will have a full roll cage p.s. moderators I did not mean to post this multiple times, it was giving me an error and I didn’t think it posted. Was also told my previous posts weren’t working because of the apostrophe in the title. Sorry!
-
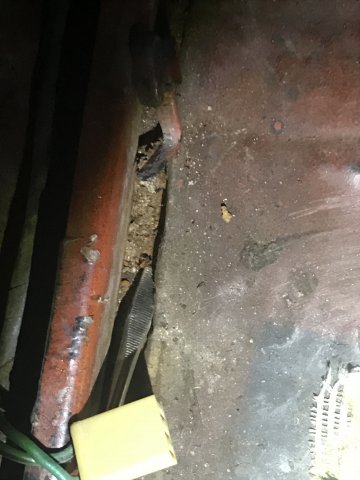
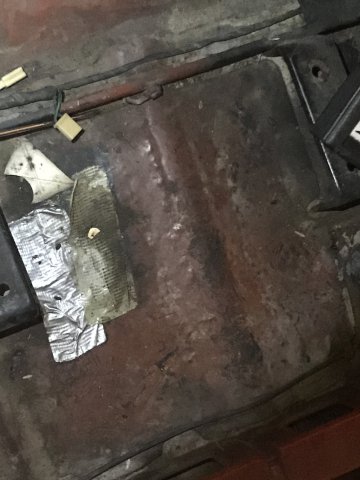
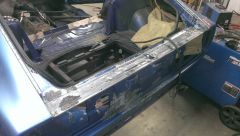
So I finally got my '73 240Z back from my dads who stored it for me and into my garage. I wasn't able to do much with the car while it was at my dads since hes got his garage packed with his own stuff, so I was anxious to get it up on stands to see if there was any rust in the hard to see places. Like a lot of the 240Z's you see on craigslist for more than $400, the exterior looked great. Interior looked pretty good (there were 3 layers of carpet for some reason but the seller was older, maybe he just wanted plush carpet like he had in his house?) and there wasn't much that I could see rust wise lying on my back in the sellers driveway with a flashlight. Welp.....I shoulda brought a jack and stands (probably an angle grinder w/ wire wheel too) The close up pic is of the passenger side frame rail towards the rear. It was originally covered with undercoating but when I was tapping around it just crumbled and opened up that hole. I picked off the undercoating that gave way easily with a screwdriver, the rest seemed to be secured to sturdy metal. The pic including the tie rod is the extent of the damage on the pass side frame rail / floor pan. Looks like someone did a crummy job of replacing some previous rust spots in the floor as well. Last 2 pics are of the battery tray area which seem to have contributed the most to the rot on the rail. Drivers side frame rail is pretty clean, except for some light surface rust and a bit of denting on the floor pan. Nothing compared to pass side. My intent was to just give it a light refresh (fuel lines, suspension, bushings, etc) and drive it until there was a major problem or I got bored with ~130HP and swapped in a RB. My main question: How serious is this rust? Can I wire brush, weld in patches and POR15 it for now or is it to the point of stripping the car and getting new floor pans and frame rails welded in? I'm a newbie to the forum officially, but I have been soaking up as much information as possible over the past few years getting ready for my first project car. Any and all feedback is GREATLY appreciated.
-
So after searching for a 72' 240Z for about 6 months I finally bought one in Stockton, California. It has rusty floor pans and the support rails are almost as rusty as the floor pans. First my body shop guy said to patch them up, but now we decided that it is better to replace the whole pans and rails on both sides. I've been looking everywhere but have no idea on prices or places to purchase them. EBay has them up for around $500 with shipping. I'm a newbie to the forum officially and new to dealing with rust. Any and all websites and feedback is GREATLY appreciated.
- 3 replies
-
- rust
- floor pans
-
(and 2 more)
Tagged with:
-
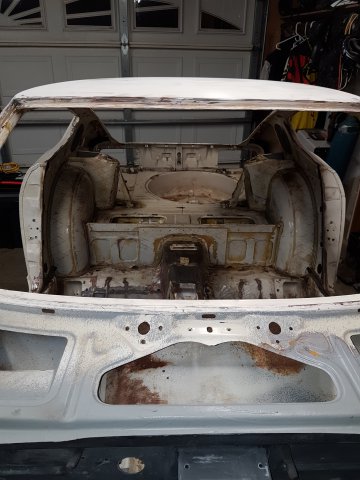
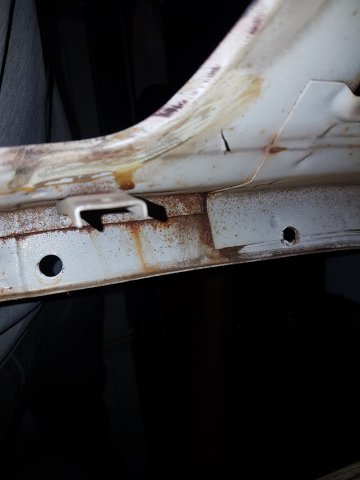
Hey guys I recently bought a Honda Civic 2006 the car is an alright car for what I paid but iv run into a bit of rust in the boot of the car where the spare sits... it looks like water has been down there for ages and I’m wondering what the best thing would be to do to fix it.. I attacked it with a metal wire brush but it seems to be too deep and don’t want to risk putting holes in it. What’s the best option for fixing it here? I’m open to rust converter, bondo ect I’m just wondering what would be the best way to go about it. Thanks in advance
-
i bought my zx a couple years ago now my goal is partially a restomod but also creating a racecar setup. at the moment im finsihing up with my engine work including intake with pallnet rail and new injectors and the works and a header thats all fine and dandy but my big issue is the body! originally the only rust i found was the spare wheel well but that turned into small patches on all for quarters and passenger floor pan and rails, battery box, to my current discovery the windshield area both on the roof and the wiper cowl. with my lack of experience in body work i cut out the passenger floor and welded in some new steel not have bad for a rookie. i already planned on buying new fibergalss fenders for the front so no need to fix the fenders and i think i can handle the rear quarters but don't know how to work with the windshield trim areas. unlike the s30 the cowl doesn't unbolt so obviously i have to drill out tack welds. and i dont even know what im going to do with roof at the moment but im looking for advice from someone thats had to repair these particular areas before and i know i should have bought a new shell long ago but im in this one deep plus this has been the greatest learning project possible.
-
I was cleaning out the inside of my car took off the seats checking for rust and as I was doing so I found on top of the floor pans there was hard rubber that seems to be stuck on top of my floor pans and in certain spots at the edges you could see small rust spots. My question is should I rip off this rubber to get to the floor pans to see if there’s any more damage? I posted soon pics and I put a screwdriver parsley underneath the rubber to show what I’m talking about — At first I thought it was the metal until I found out that it’s molded on top off the floor pan kind of like a sticker
-
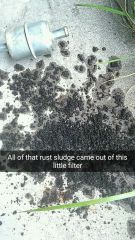
Greetings from Montana. This is my first post so let me know if it's helpful. So my '75 Z has been sitting in a garage since 2013 on account of the clutch pedal lost its pressure and the fuel system was all gunked up with rust. I went off to school so I had no time to work on it. I came home this summer and have been working on it for a month or so now when I can afford it and have the time and finally this weekend it should drive once again! I came to the conclusion that the priority would be the gas tank and fuel system. So I dove right into draining the gas and stripping the tank from the car. What I had found next was a nightmare. Layers upon layers of rust in the gas tank! First thing I did was sloshed around quite a few nuts and bolts with some old gas and banged on it very carefully with a hammer to break some of those rust chips up. I drained what I could of the broken rust pieces and began my search for a cheap alternative for a rust removing chemical. Come to find out, white vinegar works wonders if you submerge and soak rusted metal for a couple days. I got 17 gallons of the stuff for 2$ a gallon at costco because you will want to fill the entire tank to prevent flash rusting on exposed metal. I filled the tank and sealed it all off with duct tape except for the small tube at the very top of the tank so it could breathe the fumes. I let it soak for 3 days like this and I would suggest placing whatever you are going to drain the vinegar into underneath the drain plug BEFORE you fill it because you won't be able to lift it yourself after it is full of 17 gallons, unless you are Hulk Hogan. Once you are satisfied with the amount of time it has soaked(anywhere from 24 hours for minor rust to 3-4 days for caked on rust), unscrew the drain plug and commence draining. After all but about a gallon or so has drained, grab hold of the tank and start rocking it back and forth and 360 degrees, slowly to get all the flakes to drain. You could bang on it with a rubber mallet or hammer again as well. Once it's all drained, take your phone camera and put it on video with the flash on and poke it inside the sending unit hole. You will be amazed looking around at how well the vinegar works. You will see mostly bare metal. Unplug all the holes and allow it to dry for a day or so. I taped an air compressor blower to one of the holes to give it a blow dry for about an hour right after I drained the vinegar. There will be flash rusting and there is nothing you can do to avoid that unless you wipe it clean with a rag right after it has drained, which is impossible with a gas tank. But don't worry the next step will cover that. Now go to your local car parts store and ask for a liquid gas tank liner, any brand will do. Make sure you read the directions and get enough, especially if you want to do 2 coats. They usually come in 1 quart cans that will usually only cover about 12 gallons. The brand I got was this way. For my '75 280z the gas tank is 17.2 gallons so I had to get 2 quarts. Once you are satisfied that your tank has dried completely, it is time to put your first coat on. Look inside your tank and you will see that it has a divider to the skinny part of the tank. For this reason, I plug all the holes except for the sending unit hole on the tall part of the tank and the gas outlet hole on the narrow part of the tank. This allows you to fill both halves without worry of missing a spot with the coat. You need a good funnel for this stuff. Fill the narrow half with one quart first because it takes longer. Then fill the sending unit half with the remaining quart. Plug the remaining holes. Very slowly roll the gas tank around in your arms 360 degrees on all planes for about 15 minutes or until you think every spot has been touched by the good stuff. It's kinda like the consistency of molasses and it dries like a rubber glove so be thorough. After rocking it around on all planes I would let it sit on it's bottom for 5 minutes then on it's side for 5 minutes then on it's top for 5 minutes then on the other side for 5 minutes and back again on the bottom. I did this for an hour or so while I was changing the oil. I wanted to make sure that bare metal would not show. Once you are satisfied, place it on top of some saw horses or an old cooler or something and place one of the liner cans under the drain plug and unscrew it. Remove all plugs so it can dry evenly. On all the small openings, I took my air blower and blew a small amount of air through to make sure the liner didn't plug them. I would highly recommend this. Let it dry for a day. Come back and check to see if it dried evenly. If there are bare spots, do a second coat, if you have enough left over liner. I did anyway. Let it dry for a day and a half just to be safe. This next step isn't necessary but I recommend doing it since you already have the hunk of junk out. Get a can of rust proof spray enamel from your hardware or car parts store. You could get any color you want. I just got black cause I don't know what the paint job will be on the car yet. Tape all the holes, Air blow it free of debris and sand the rusty spots, air blow again, then commence spraying the enamel. Let it dry. Now that the gas tank is complete, check all your filters. My Z had a small filter between the outlet and the fuel pump. When I took it out, it was pack full of rust to the brim. I have looked all over the market and can not find a part to replace this filter. I tapped all of it out and submerged it in vinegar as well. There is a strainer between the fuel pump and the fuel line to the block. I removed that and soaked it in vinegar. I installed a new fuel pump while I had the gas tank out. And there is another larger fuel filter by the engine block under the hood. I just got a new one of those for 20$ and installed it. Once your tank is completely dry, put it all back together. I suppose you could seafoam the system and bleed it if you want to go a step farther. I probably won't since I know the gas tank is good and that is the source of bad gas. I figure any bad stuff that remains will get washed out and burned off in a day of driving. Thanks for reading my first post! Hope it helped!
-
The slippery slope, or, "while I'm in there". I think that accurately describes how i approach most projects. I begin with one intention, over think it, and something entirely different, overly complicated and overly priced is spit out the other end. Oh well, schedule and budget be damned, here we go. Not a lot of clean, rust-free (a lie if anyone ever claims this) S30's up in the PNW. Rust doesn't scare me. Complete rot does. I needed a solid base to start off on. I like finding complete, or near complete cars to base off of. Half torn apart cars with mismatched everything, half-bodged up jobs, and monkey wiring drive me nuts. I hate un-funking some others misguided efforts. I laugh while i type this, as you'll see from the body work I started to uncover when i brought this 1977 home. I went to check out this 2 owner local datsun. It's a complete car, down to working radio and an uncracked dash. I wouldn't say i was after a 100% original car, because i had plans to butcher it up to make it my own. I just liked seeing all the parts there for me to work with. The previous owner had it repainted this awful color. It didn't turn me away completely, i knew it would need to be painted to my liking, but it's the horrors underneath that began to rear up. Time to get cutting and welding. No metal to be found, and yes, that's just silicone and body filler holding the dogleg together. Making metal where none exists. The worst of the structural. And just minor surface rust, no major rot on the floors or in the frame (so far!) Ok so at this point in the story, time for some claims about where this is going. I document it now because i know i will deviate (already have) from the "plan". Initially i wanted to fix the rust, drive it and enjoy while I upgrade. Eventually swap something healthier in. Part of me really wants to tear it all down and blast it, but then we're looking at a whole different level of project than I initially wanted. That would take it down for long enough that i might lose the passion, and ultimately abandoned in a corner of a shop. I've seen so many craigslist projects that end up with that sad fate. Well, the rust repair is underway, and I'm already considering how much effort i want to put in to tackle the rust I can find, only to throw a half assed paint job over the top of it. I have to convince myself to work in phases. And since it's winter, it's unlikely i'll be driving it a whole lot anyways. A project keeps me busy, and out of trouble. More updates to follow.
-
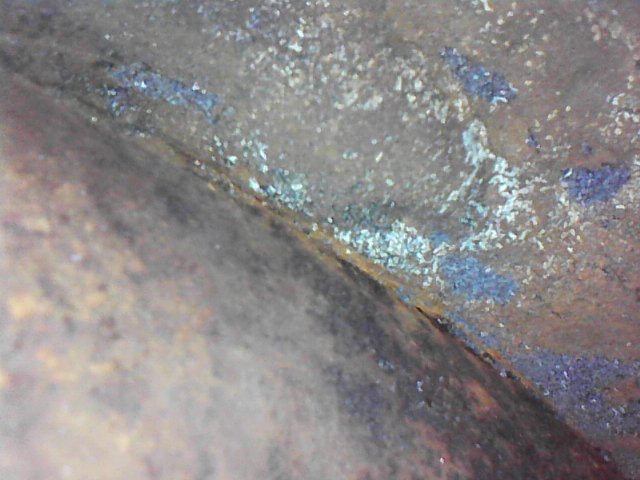
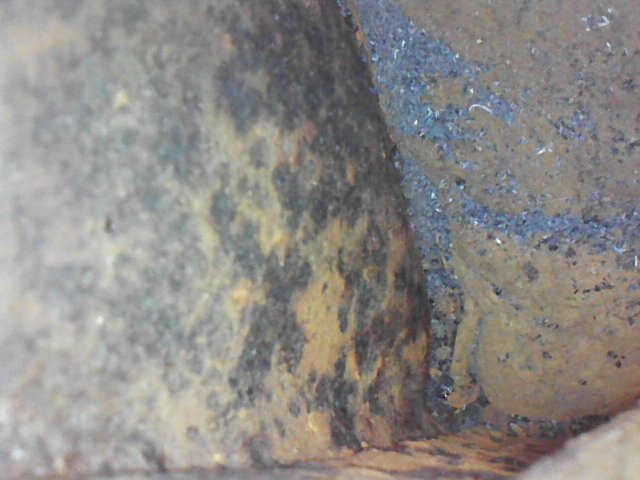
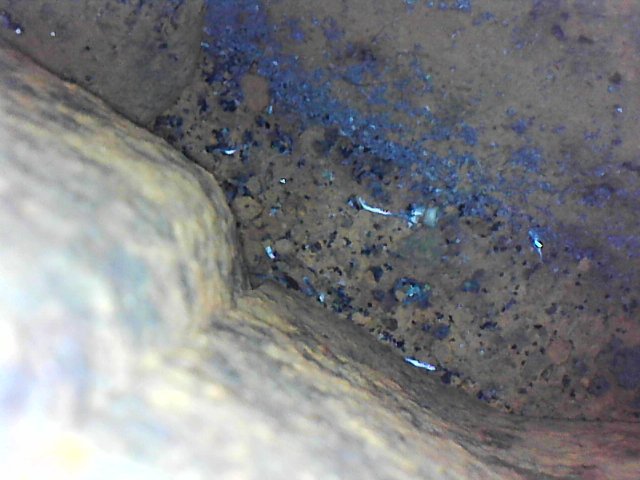
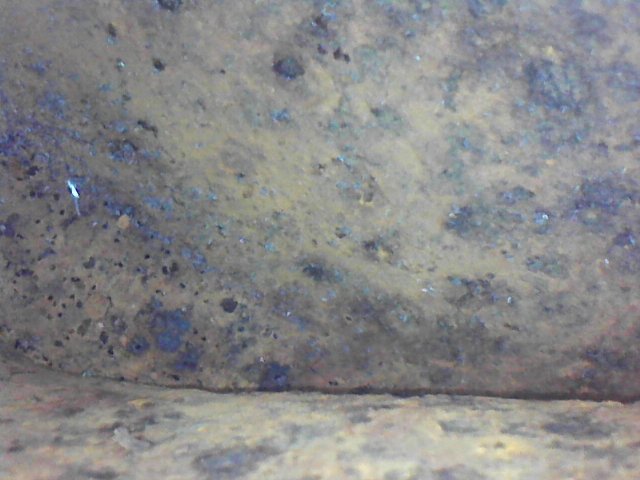
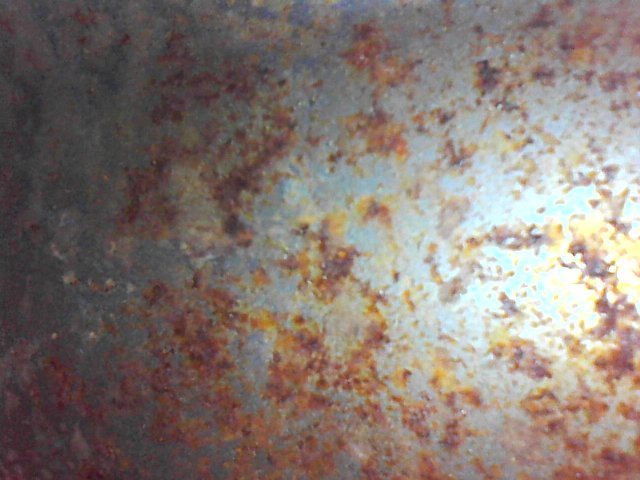
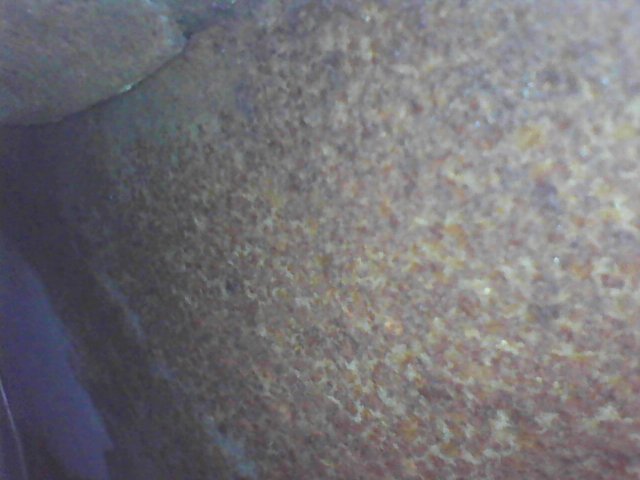
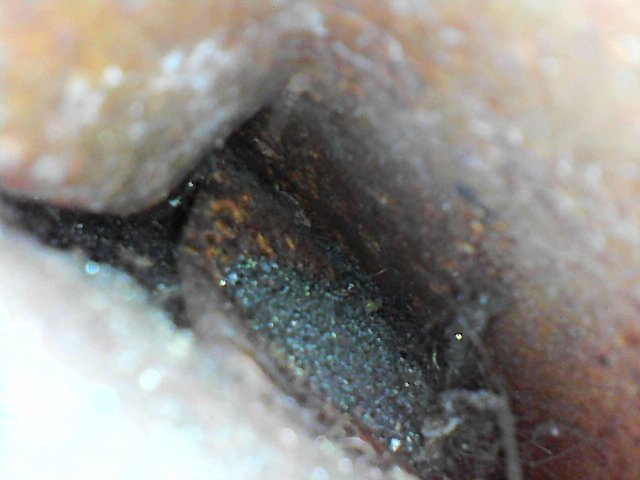
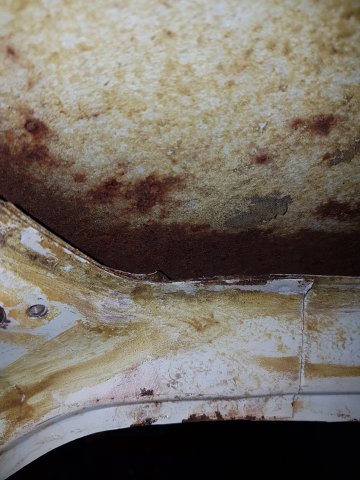
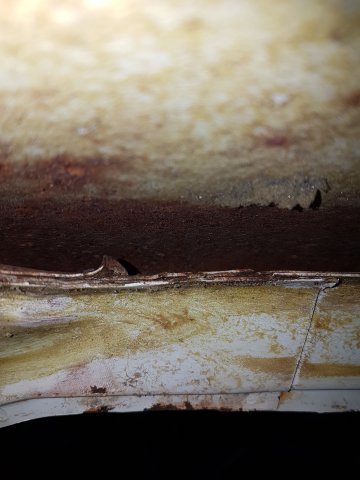
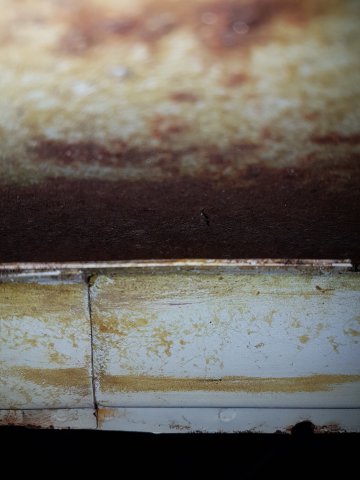
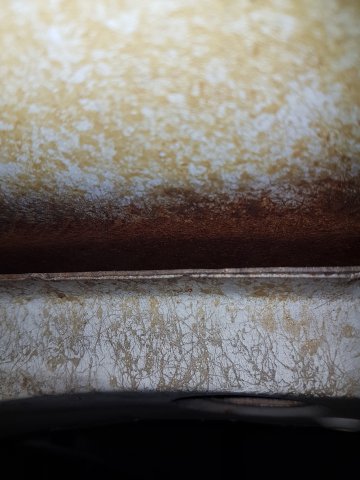
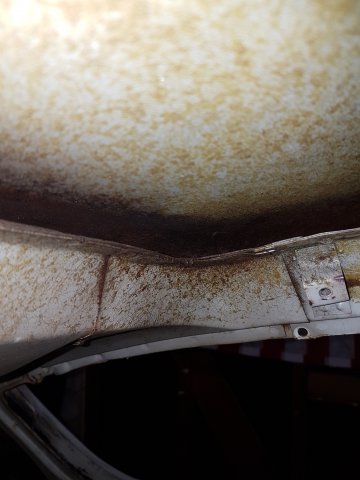
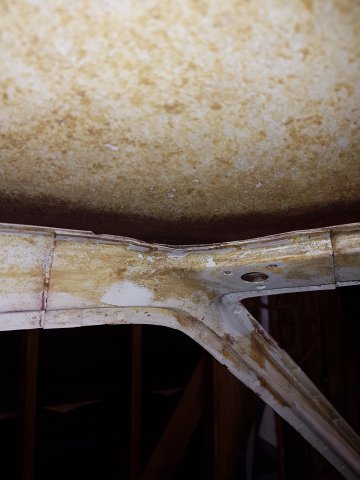
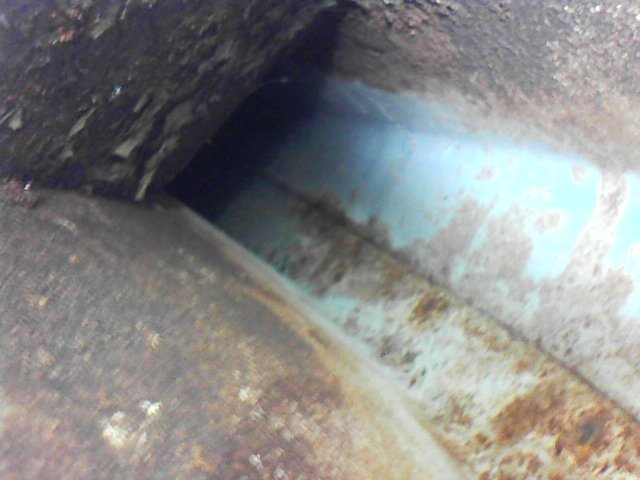
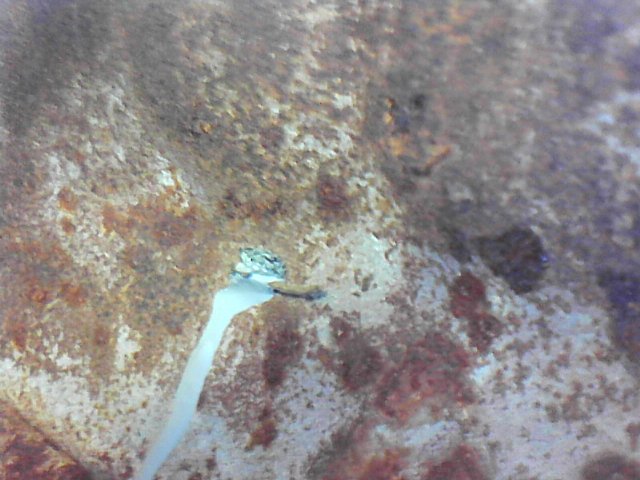
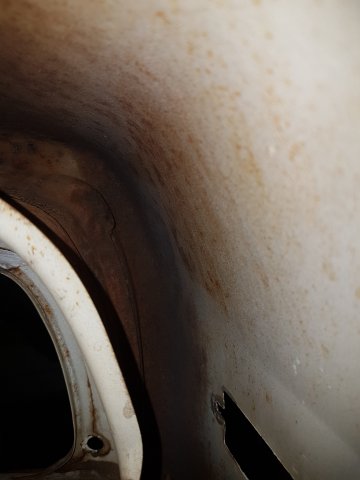
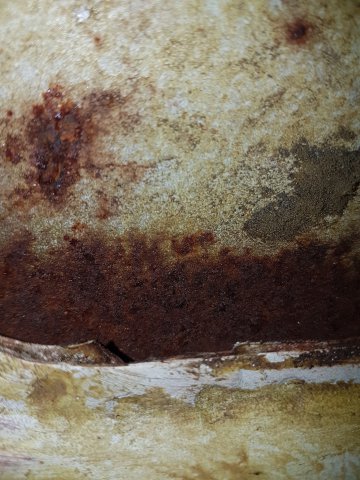
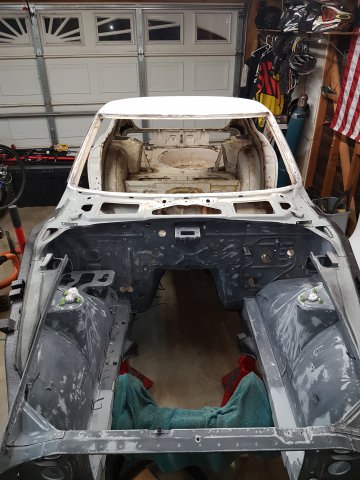
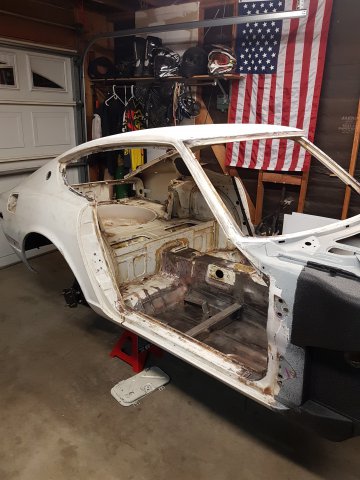
Hey guys, I'm looking for some advice on what to do for the next step of my 240z project. I have the car stripped down to a rolling shell with the engine bay primered and the underside undercoated already. I'm debating between sanding down the exterior and interior to factory primer, repairing any trouble spots in the process, and then shooting paint OR having the interior and exterior media blasting with fine crushed glass (hopefully less likely to warp) and then shooting paint. The factory paint looks okay. There are few spots that have cracked and are peeling but overall it's not bad. Some spots will have to come down to bare metal anyway for repairing. Which route do you guys think I should take? I have a large compressor and the tools to do the sanding. Media blasting would make the following easier, though: One big issue is rust. There are several rust spots that I'm concerned about and am not sure what to do about. There's rust around the inside perimeter of the roof. There's rust inside the passenger and driver side vent plenums that run to the engine bay. There's rust inside the cowl area. There's some rust in the rockers (not too bad) and the dog legs are pretty rusty. I boroscoped most of these places and have some pictures below. The worst of it all is in the dog legs. In the other spots there rest seems to be bubbling a little but mostly on the surface -- some pitting. I'lllet the pictures do the talking. The car: Dog legs: I will most likely be replacing these. Inside the rear wheel-well area above the dog legs: Around the the inner perimeter of the roof: It's rusted most of the way around and the rust goes into the recessed area all the way around. This is perhaps only surface rust and would come off with a wire wheel, but the issue is accessing this area. This is where blasting would be nice and this is one of my biggest concern areas. Inside the driver and passenger vent air plenums: Some other rust around the hatch sill: What do you guys think I should do about the rust areas? Should I get everything blasted as best they can do then seal it? Should I sand/wire brush everything I can and treat it with some ospho or other converter then seal it and use cavity wax? I have these products on hand. I've already put a lot of money into this project so I'm all in and want this to be near show quality and last a long time. I don't know if it's worth it to split the seams on some of that rust or not. How hard is it to remove the roof? I did my own floor pans, battery box, and frame rails.
-
From the album: The Restoration
-
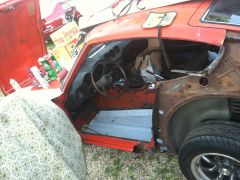
Hello everyone on HybridZ! First a quick introduction, as this is my first post here on the forums. About a year ago, I bought a 1971 240Z which I bought from a gentleman Tecumseh, Oklahoma (right outside of Oklahoma City). I don't know much about the car's history aside from the fact that it sat at the gentleman's house since about 2008 because he thought that the engine was blown. Well long story short, the carbs were way out of tune and the distributor was turned about 180 degrees. Now a year or so later I haven't been able to get much work done, however I am in the process of stripping down the whole car, bagging and tagging everything. Being that the car will hopefully be completely stripped of all of its parts soon, I am looking into fixing the rust that exists on the car. The floor pans are long gone as well as the entirety of the passenger footwell all the way up under the cowl, just on the passenger side fortunately. The other hotspots per se are the driver's side a pillar which has a large rust hole, and a few other spots here and there. I am wanting to remove all of the rust that I can in order to ensure that my long-neglected Z doesn't have rust issues in the future. I plan on having it media blasted and epoxy primered (to prevent rust until I can have it painted), I was quoted about $1500 for the media blasting and primer work. I plan on replacing the floor pans, the frame rails, the rust hole on the a pillar, battery tray, etc. Now for my actual question, thank you for staying by the way. My main question is, in what order should I go upon repairing the rust and body flaws? Before or after the media blasting and primer? I've got a lot of work on my hands and I appreciate any advice that you've got. Thanks!
-
From the album: 2015 winter project
Just a little rust stopping measures -
From the album: WILMAAAAAA!!!!!!!
-
- S30
- Datsun 240z
-
(and 4 more)
Tagged with:
-
We found today that the frame is pretty rusty on the drivers side and the problems are starting to pile up. It's getting down to some serious decision making time. We don't want to spend anymore on swapping it or fixing it up anymore only to end up not being able to drive it. Luckily I've located a Toyota cressida. Sorry Datsun guys but a rowdy ass JZ X chassis will always have a place in my heart. (First turbo car I ever rode in was one) Anywho I guess if we decide to cut our losses I will likely part it out. Just gotta make a donation so I can sell on here. I'd really like to save this car but this damn South East rust has just gotten to it. Sorry Z didn't even get to drive it
-
So on my 260Z the floor pans are shot. No nice way to put it. And the Dingus that Owned it prior to me I guess was just trying to make it driveable and he just riveted in a little piece of sheet metal in the drivers floor board. Well anyway it has led to a huGe mess in the floor pans and the bottom of the sEat rails look like they have a little structural rust on them. My plan is to get a recaro or some kind of after market seat with the avaliability of a harness to be installed. So my question is would it be worth trying to salvage the front seat rail or just cut the thing out with no discretion? Not to mention does anyone have a few pictures of where they installed the new floor pans and support rails from http://www.thezstore.com/page/TZS/PROD/30-7317. I really want to know how far back im gonna have to cut and also how far up the trans tunnel I need to tear the fabric. Thanks guys!
-
Hi all, this is my first posting on this site and I've come here in search of some help with my 280z. I bought my 1977 Datsun 280z a few months ago for $2k. I bought it not running, since I'm more of an engine guy I was able to get her started and running in about two weeks after digging through the wiring and figuring out it was a bad ECU. Through further inspection of the chassis of the car, I found some rust. I know rust is typical on Datsun's, but I have a lot of people telling me its a lost cause and the frame repair will be too costly and dangerous to attempt. I've been told to use my 280z as a parts car, and get a rust free chassis to rebuild using the engine and parts from my current car. Here's a few photos of what I'm dealing with Take a look and see what you think. I don't know what I would need to fix severe rust like this. I found front frame rails online for $450, but I'm wary about them because there's no photos. Has anyone here ever used the front frame rail kit from "The Z Store"? If so, what did you have to do to put them in? I'm still considering my options with this, I really don't want to sell the car and I really don't want to have to part it out. However I don't have access to a garage, I don't own a welder (besides a little 90 amp flux core MIG, which I know I can't use for this) and I've really never welded before but it's never too late to learn. What's your opinion?
- 3 replies
-
- frame rails
- welding
-
(and 3 more)
Tagged with:
-
I had a heater core hose leak. After removing the old carpet, this is what it did: Do I just grind away the paint around the affected areas and prime? I won't be repainting the car for a while.
-
Hiya guys (and girls!) Recently spotted a rather nice 260z, thing is, it's a 2+2 which doesn't bother me since I love the looks and the performance doesn't really suffer hardly. However, the listing says it's had a new stainless steel exhaust (how far through I'm not sure), new door sills, new headlamp cowls and something else that I forgot. Thing is, all the equipment looks to be original (and in just the kinda state you'd probably expect from interior that old) except for the carbs which are the round-tops from the 240z. On closer inspection of the engine bay photo from the listing it looks like there's a fair amount of rust. What I need advice on is how far you guys reckon it looks like its gone, if it's possible to salvage (and bets on if/how well it might run when I try it before buying) and how to set about treating this if I buy the car. I'm not entirely sure what details are wanted so for now I'll post the photos and if anyone wants any more details just holler (though I'll probably add some more myself anyway). For reference the guy wants £2k but I'm thinking of just offering him about £800 based on the state of the engine/engine bay (which almost has something that looks like bondo on the far side...) http://db.tt/zLgRsiQh http://db.tt/1gKwuRRh http://db.tt/RfN1Wzuv http://db.tt/g9GVuxg4 http://db.tt/bVIavZSx Many thanks for the advice/input guys! Jakk
- 5 replies
-
- datsun 260z
- 2+2
-
(and 1 more)
Tagged with:
