A to Z
-
Posts
1108 -
Joined
-
Last visited
-
Days Won
42
Content Type
Profiles
Forums
Blogs
Events
Gallery
Downloads
Store
Everything posted by A to Z
-
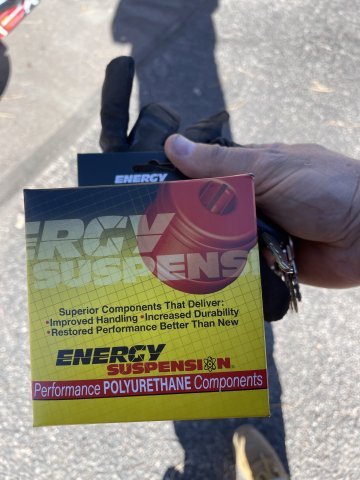
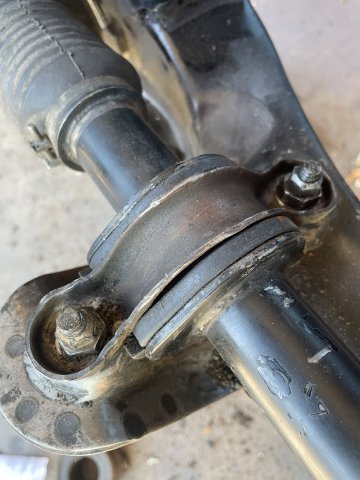
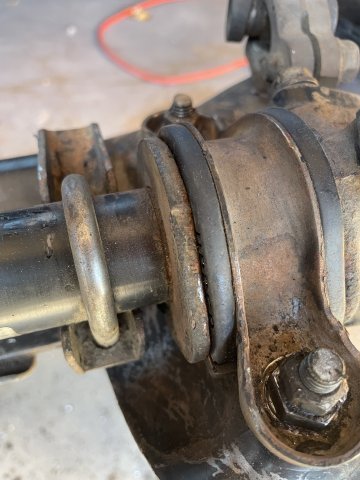
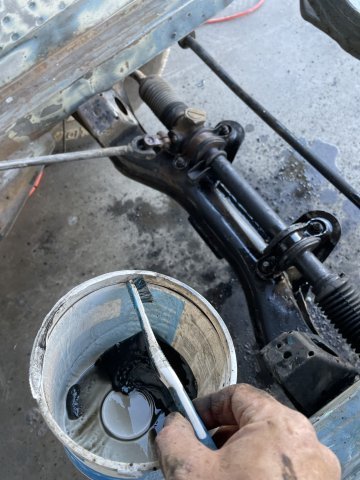
Got out there this morning to gather some stuff to take to the powder coaters. It was also a good time to clean up the front suspension bits so I can put the front end back together. It was a dirt/oil glob on both sides, so with cleaner (g@s) and a toothbrush, a rag, a screwdriver, and a wire wheel attachment in my drill I got everything cleaned up enough to put together in my effort to get this hulk to the body shop for some block sanding and a coat of blue and clear, color sanded and buffed.

-
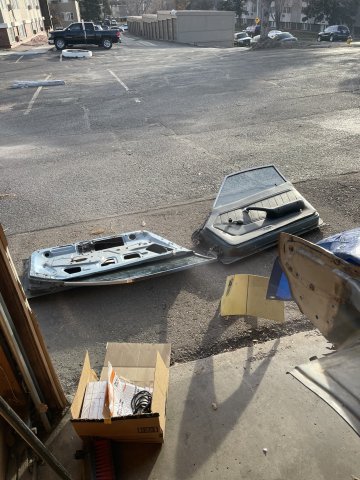
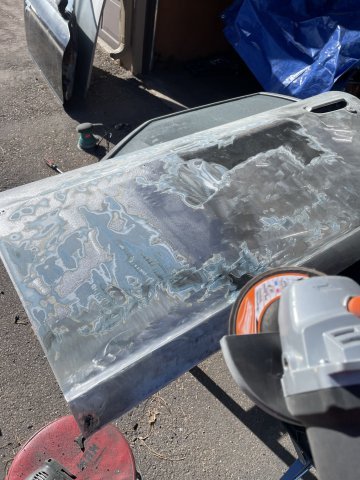
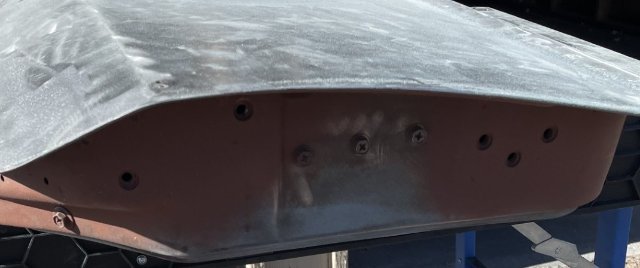
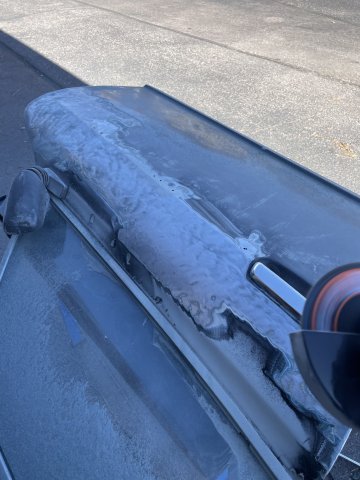
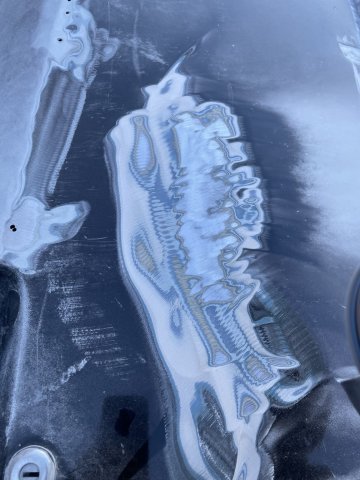
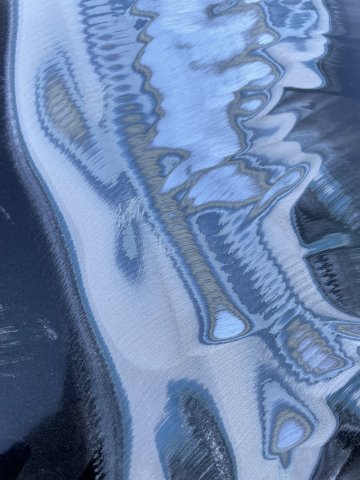
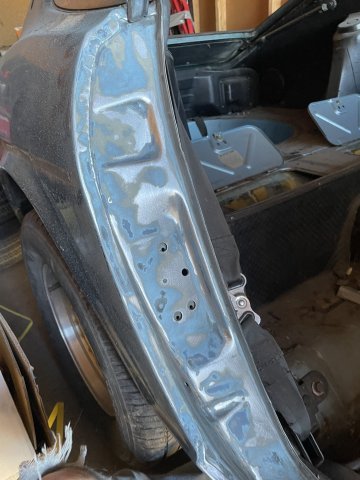
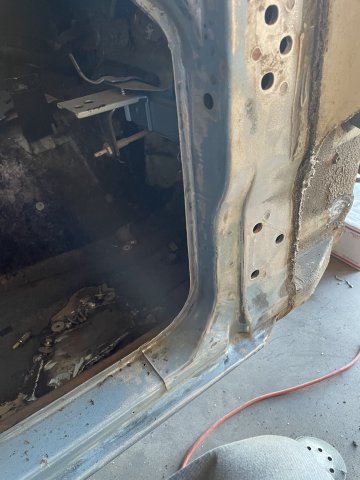
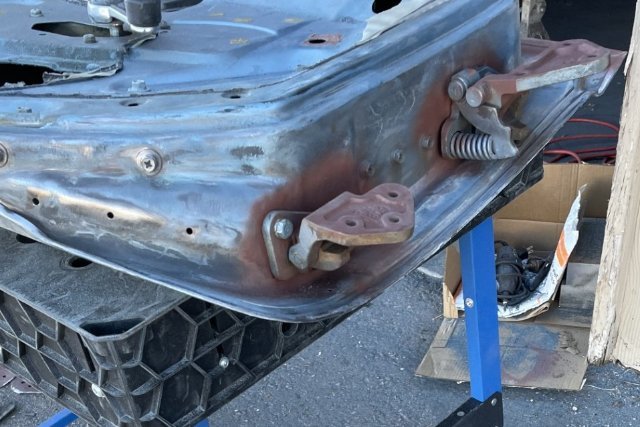
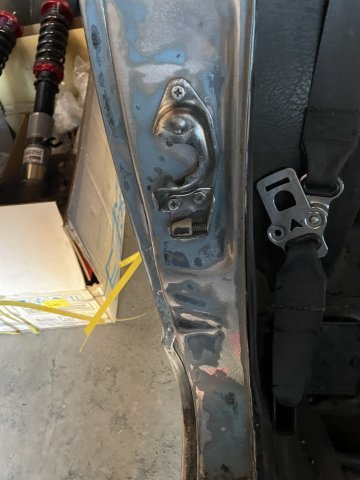
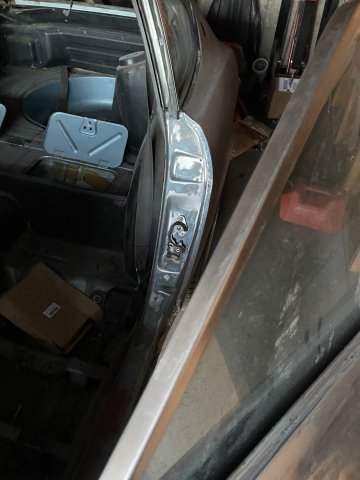
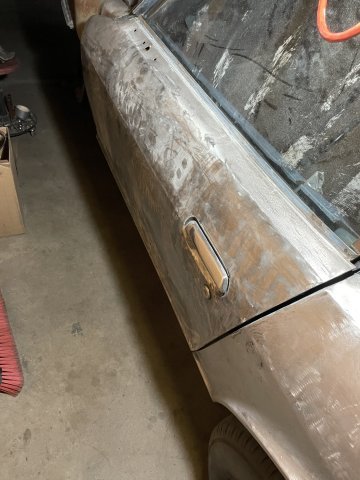
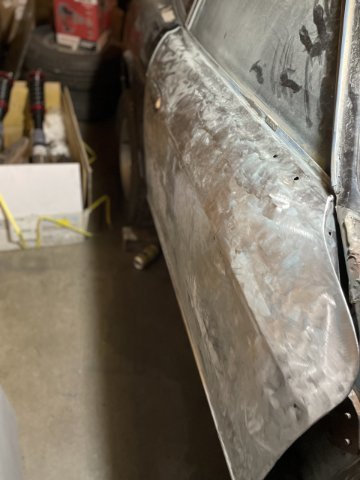
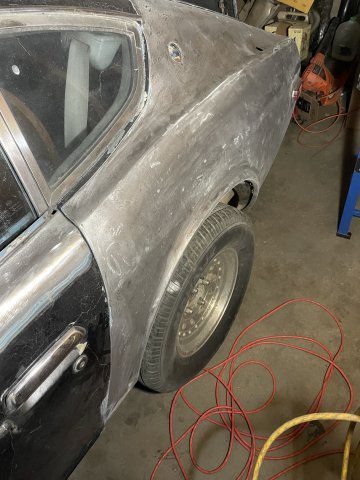
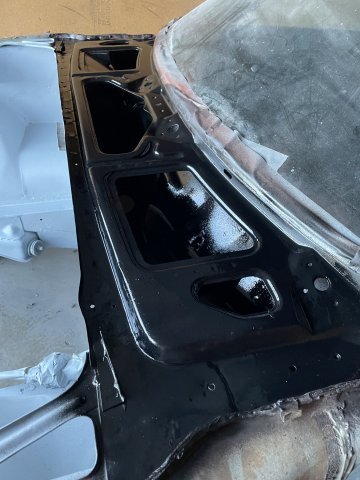
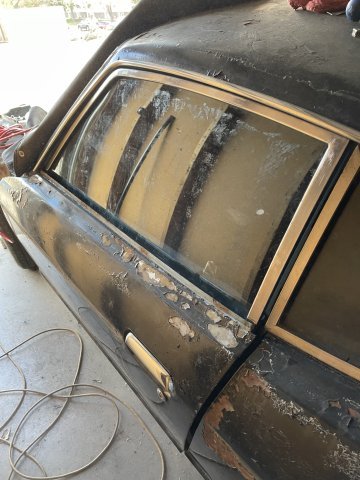
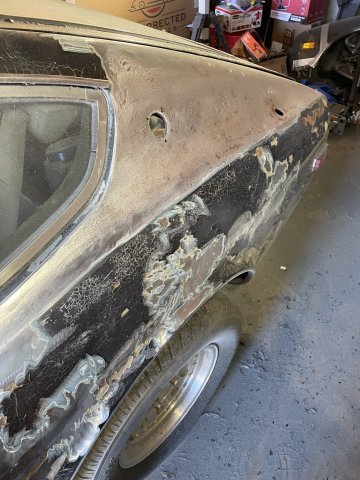
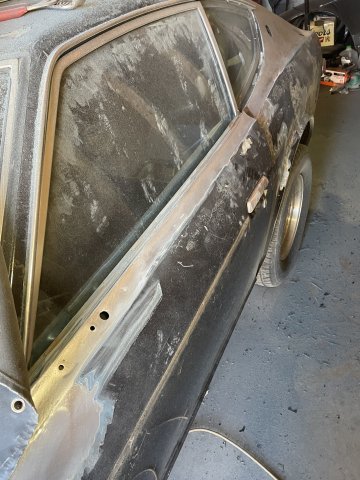
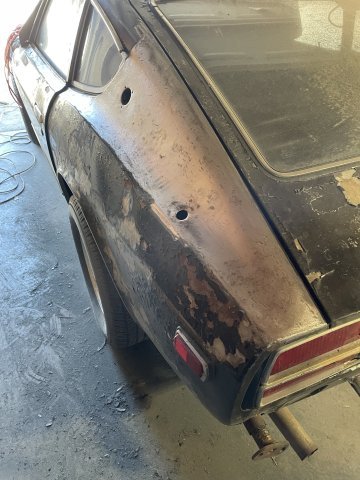
Well, it took all day, but I got the door jambs and inner doors all done and ready for the body shop. The paint on this car is incredible. I have never seen anything like it, it only comes off with a flapper wheel on an angle grinder....I tried 40 grit on my orbital sander, didn't touch it. So, I have continued to use a flapper wheel, and will then go over each panel with finer and finer sandpaper to get it all smooth before handing it over to bodywork and paint. I am finding areas that were slicked with filler and sanded out, with THICK layers of paint and all. I remvoed the hinges and coated both sides with rustoleum and re-assembled. Man, It really worked me today! Pics.
-
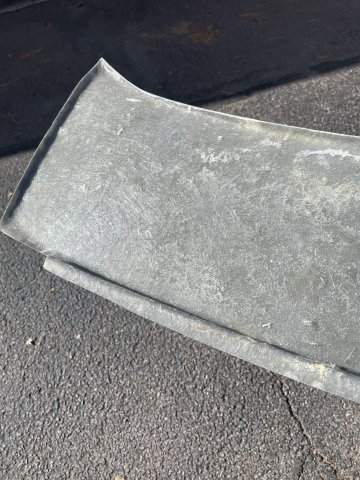
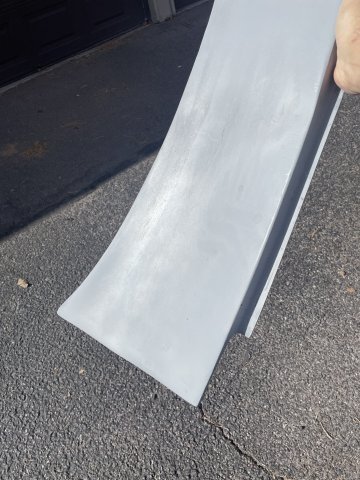
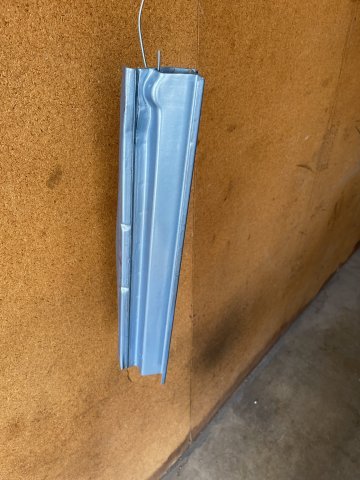
My rollpan is almost ready to ship as well. I got it from Chop Suey Hot Rod Shop, he is filling in the exhaust cut out for me. It bolts on to the rear.
-
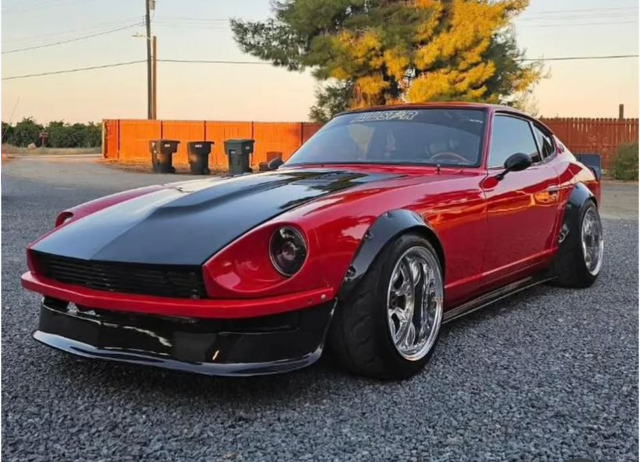
dropped off my new hatch from resurrected classics, my grille, and my 240 taillight outer panels at R&S Powdercoating for a coat of gloss black powdercoat. I had the hood sandblasted and found damage, so I ordered a new hood for Resurrect Classics, and will make my cut out and then have it powder coated gloss black as well. The car will be light metallic blue, with black hood, hatch, flares and rear spoiler/Air Dam. here is the inspiration for my change in direction: (Just picture the light metallic blue instead of red)
-
Yep that is there forever home. I can cover them if needed, but this is an around town hotrod only. no wipers, my version of a cooler AC Cobra.
-
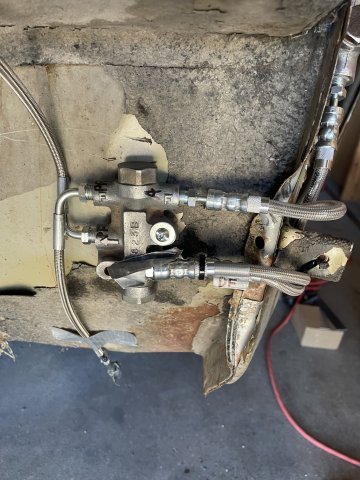
stock brakes Sir. of the two "blocks" I assume you are talking about the one with the electrical probe on there. Rather than try to figure it out, I knew I was going to run stock brakes so just copied how Nissan built it. (shrug)
-
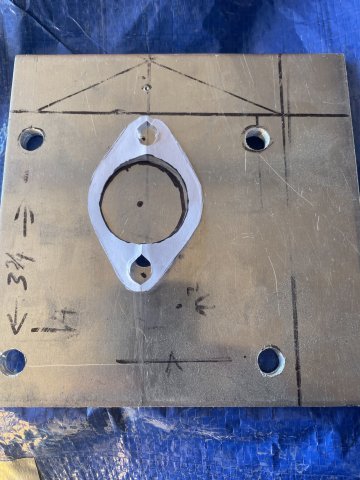
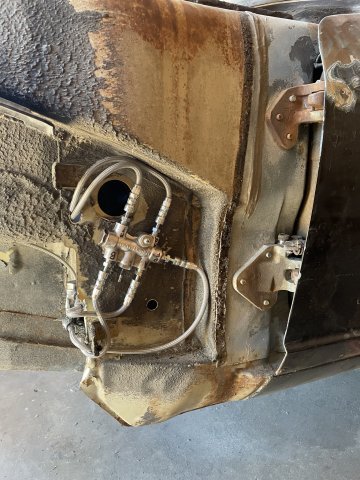
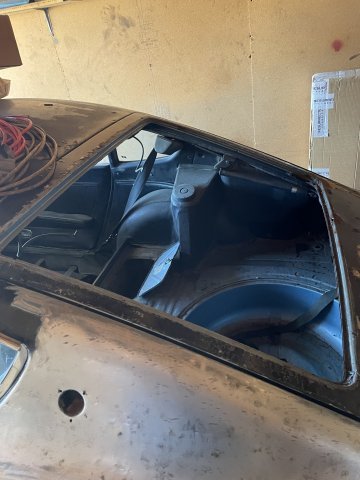
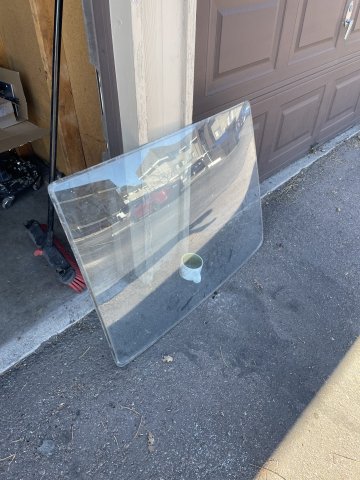
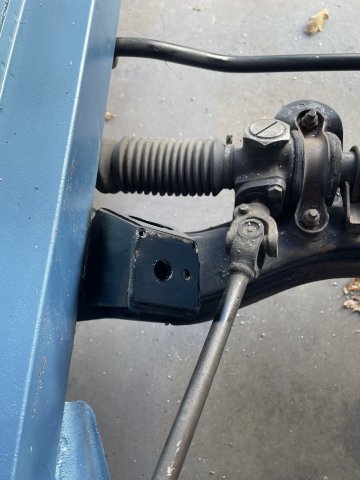
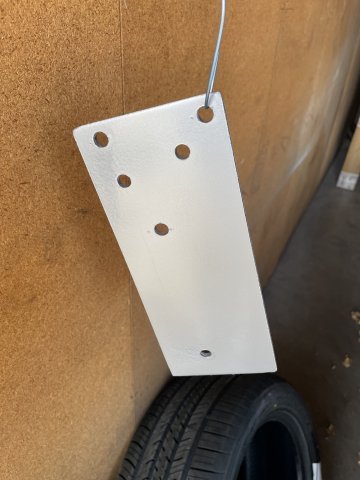
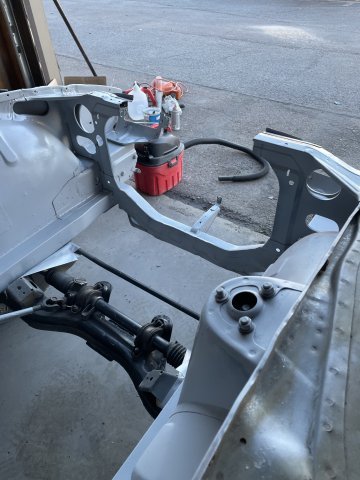
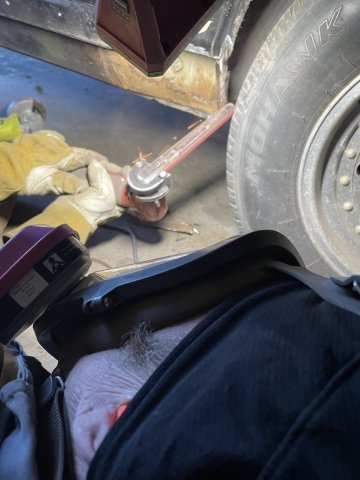
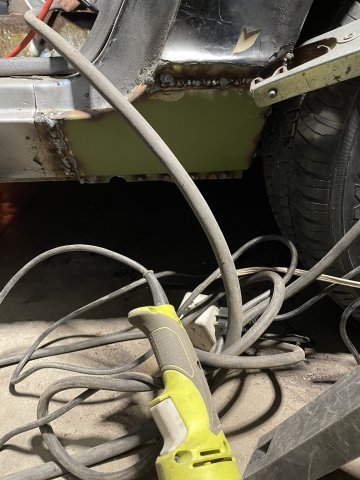
I had a couple hours this morning, so I went ahead and worked some more on the layout for my brake master cylinder backing plate, and then installed my brake "parts", that divert fluid to all 4 wheels (I don't know what to call them). I used Finishing Lines for the hoses. These hoses are the new PFTE hoses that do not swell, etc. Guys are completely running brake lines in whole cars with these and they work great! I will be doing a combo of hard lines and this. Everything past the firewall back is the stock stuff. www.finishing-lines.com. They advertise a lot of Honda stuff, but they DO have our 10mm fittings etc. Great people to work with. I then went ahead and pulled the back window as part of gutting the rusty hatch out and then installing my new hatch I got form Resurrected Classics. My hood is at the sandblasters right now, should pick it up tomorrow, and then I can cut the hole and repair the spear with all metal filler a tad, as I can see some mud in it. Seriously thinking about having the hood and the deck lid powder coated gloss black to contrast the light blue metallic. Black spoiler and air dam also (they are already black, I can put a coat or two of 2K clear on them), I have glossy black flares........I will attach a pic that a guy did this with..... but the car is red.....it is giving me these ideas. Pics follow, Cheers!
-
just barely screwed them on and took a pic.
-
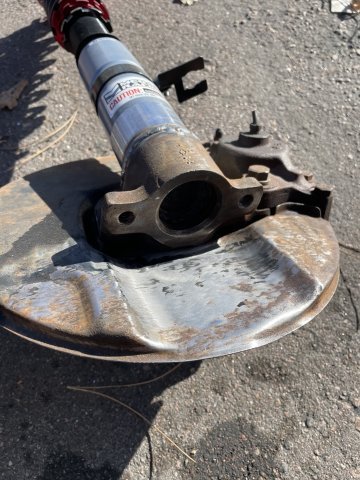
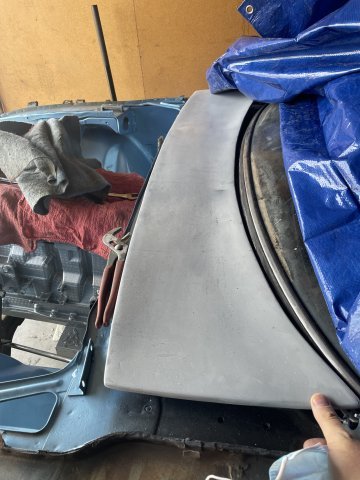
Today my fiberglass smooth cowl I bought from Jhousa Ramos arrived and I got my caliper / lower strut assemblies back from welding. The cowl is really a nice clean part. JP Fiber Shop – The world of your car
-
It is as firm as a rock.
-
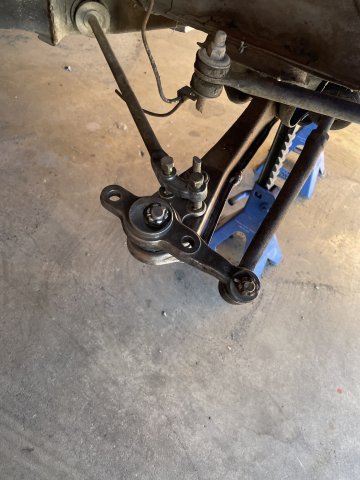
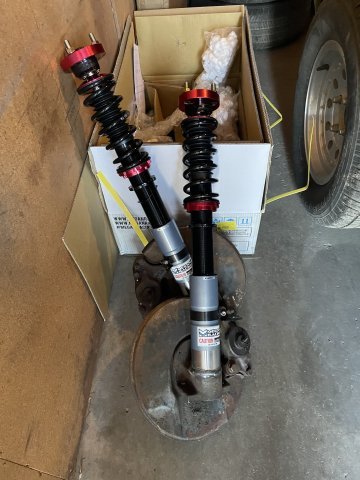
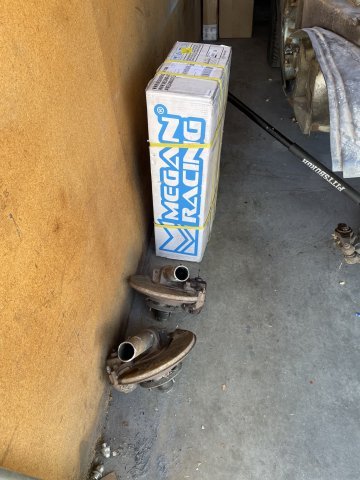
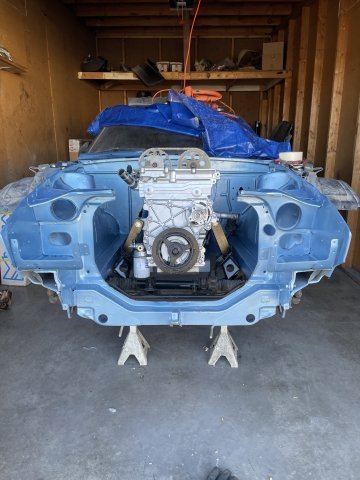
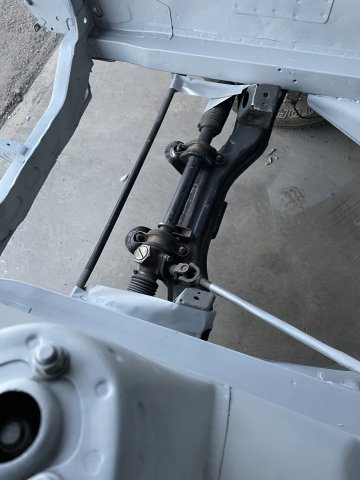
 How many of you have played around with Crossmember plates/shims, hammering a trans tunnel in a bit, engine height, trans height and driveshaft angle? I am now stepping into this new realm. I have my Vortec 4200 in, now for the trans. If you plate the crossmember you give up ground clearance, and the more you plate the more fender wheel well gap you will have, so you raise one, then adjust the coilovers to take it out, but coilovers only have so much adjustment......using aluminum plates, I can get it to where I may have to actually take the plates in to a machine shop to mill them to a precise measurement. I have some megan racing coilovers being welded on to my spindles right now. Not interested in messing with the motor mounts and like my engine riding high, so I guess we shall see!
-
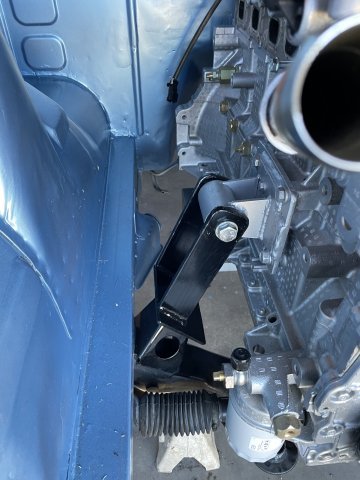
it is the angle of the pic. Look at the one right above this. It is clear of any obstruction.
-
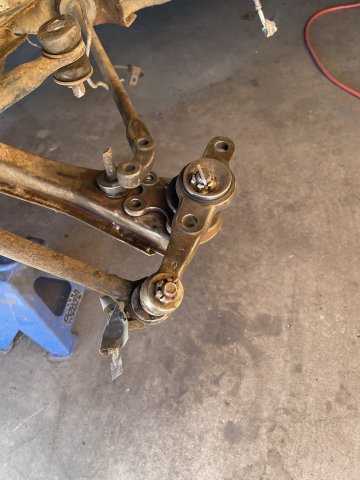
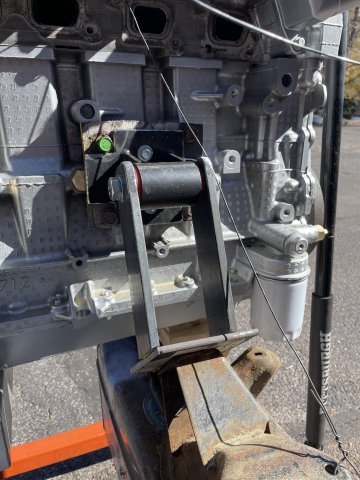
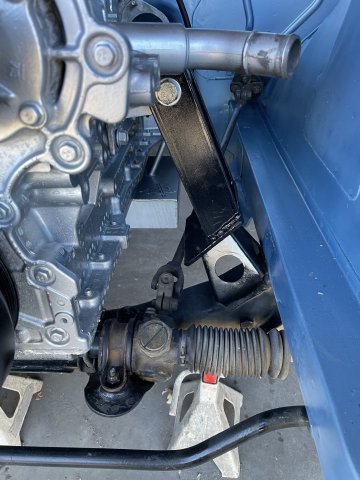
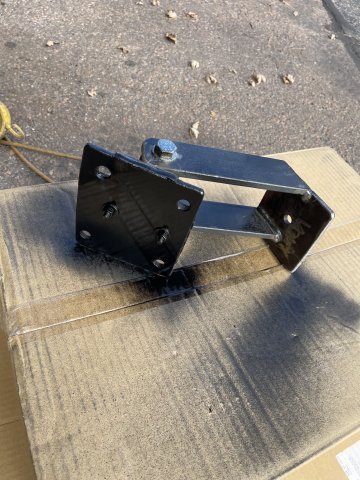
well, the factory motor mount for the L series six is a solid design with a rubber pad on the bottom. I have poly bushings where the engine mounts attach to the arms coming from the crossmember. The arms are made of 3/16" steel, very thick and heavy and professionally welded. In short they won't break, and they won't bend. Twisting forces, I guess that could be an issue down the road, but if it is present, then regardless of what style is used it would be present. the style used is one that is currently used by a ton of guys running LS powered cars. If you can grab this engine at the top and pull on it, and bend those 3/16" steel plates you have balls of cast iron. In fact I would be seriously willing to wager $1,000 that you could not do so. You could take these out, put one of them on its side and stand on it and it wouldn't bend. I will allow that something could go wrong.....I'll address it when it does. I appreciate the points to ponder though. Cheers.
-
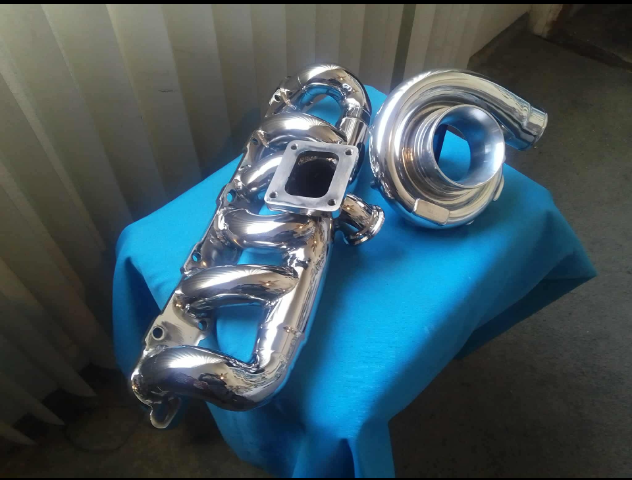
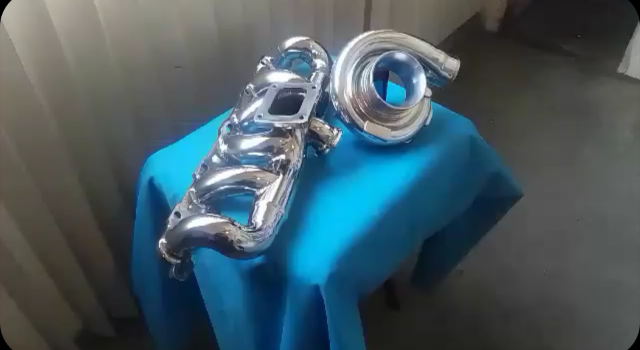
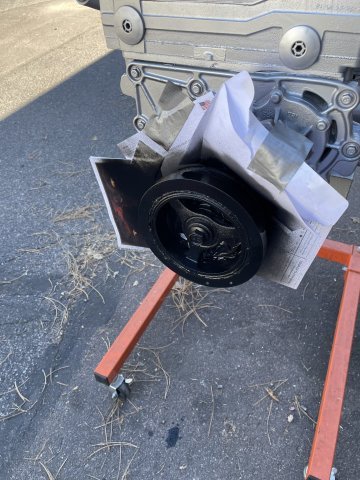
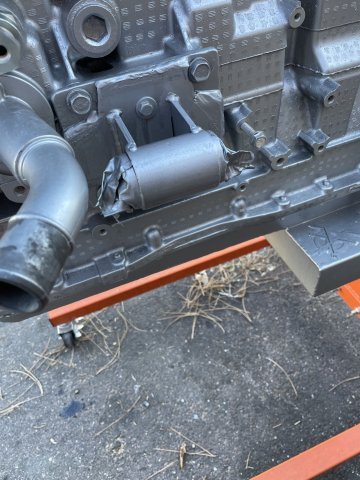
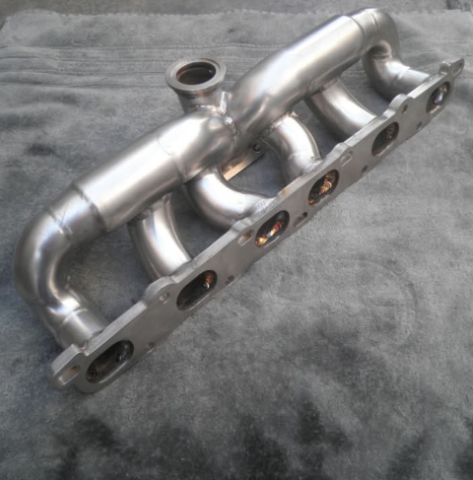
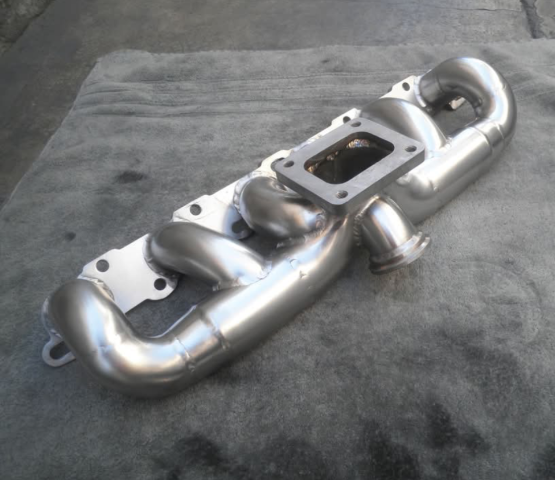
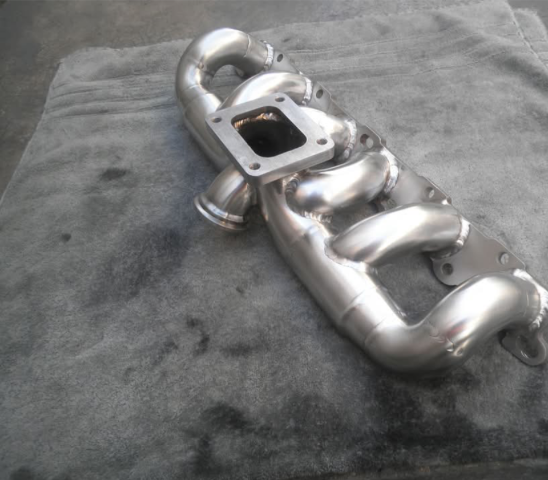
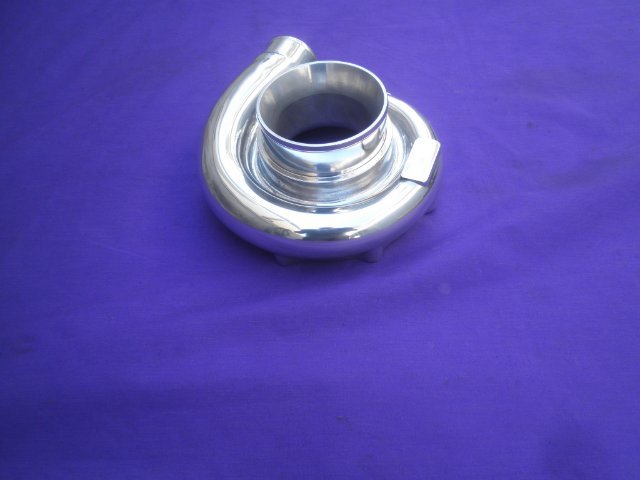
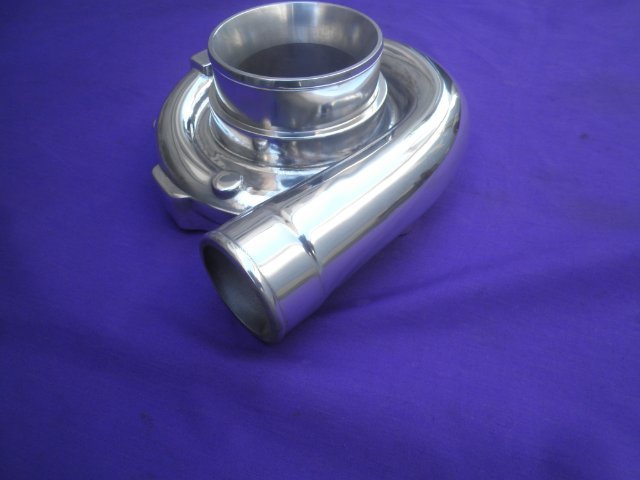
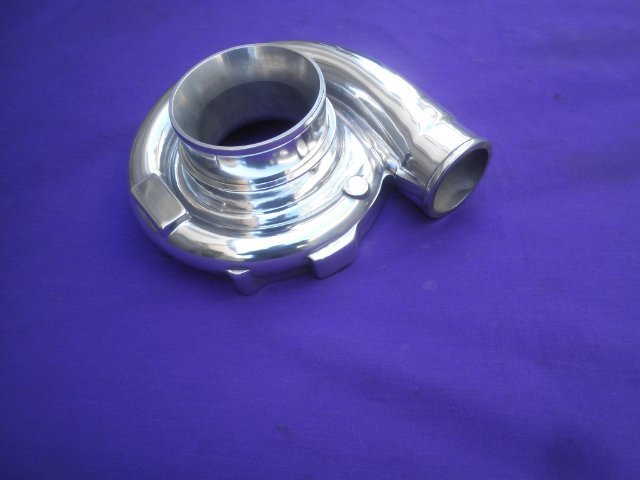
4200 parts being finished at Ortiz Metal Polishing
-
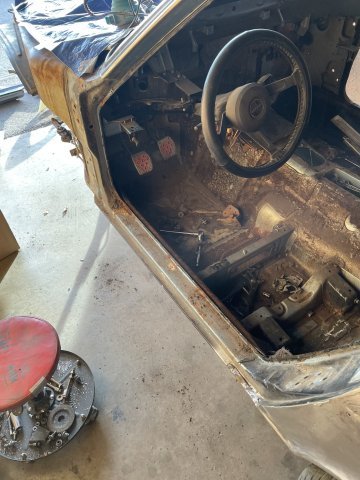
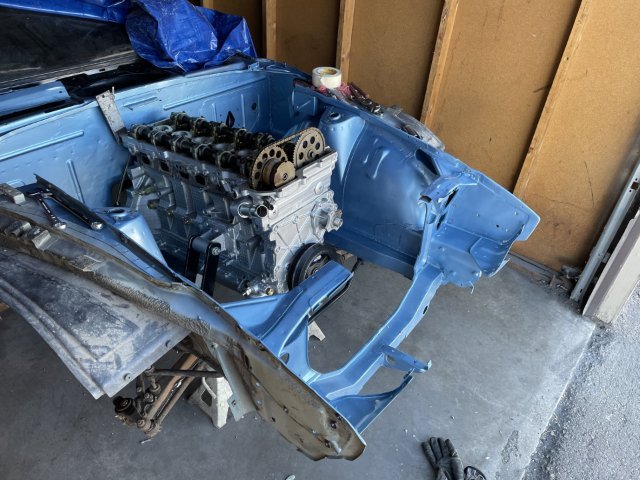
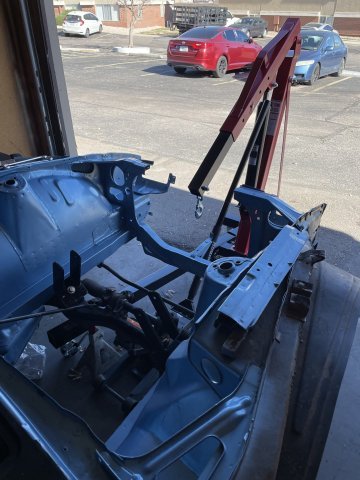
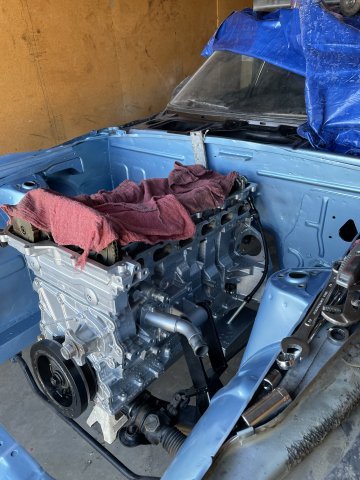
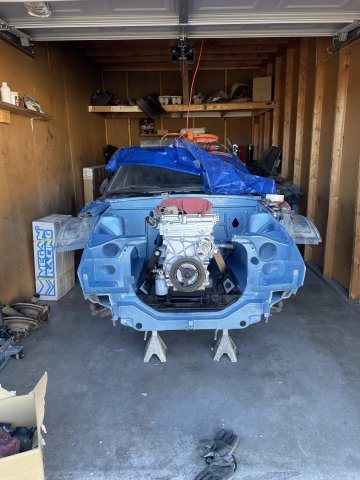
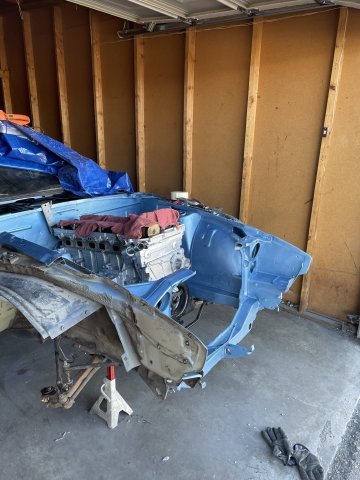
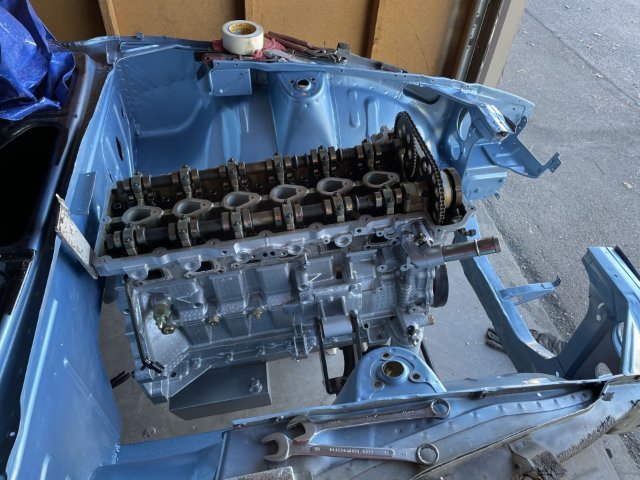
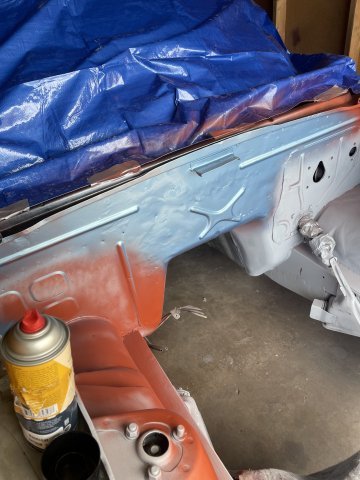
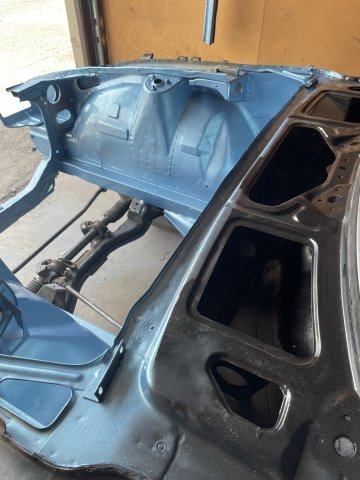
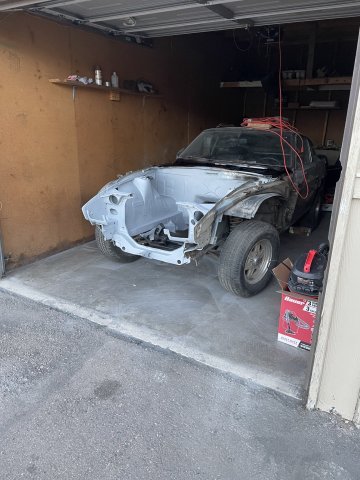
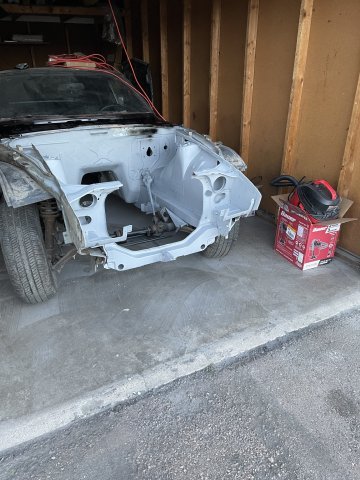
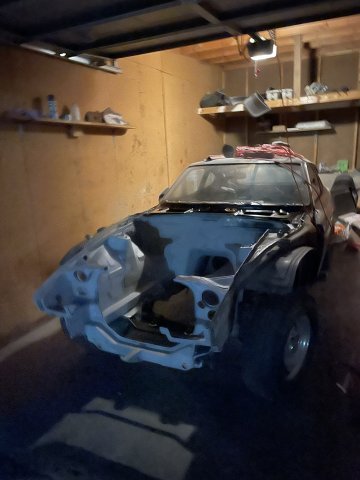
11-08-2025. VERY busy day. running around trying to finish all the little things keeping me from being able to drop the 4.2 into the Z. Then I dropped it in. Feels great to have gotten it done, at least this far. I also was able to do some old paint removal.....the paint on this car is SO THICK.........anyway, pics.
-
Some of my stuff at Ortiz Aluminum Polish Specialist. Still in the process of being finished:
-
THANKS! Well, that is my intent. as it is hollow, I will fit a spacer inside for the grade 8 bolt to go through on both sides, so 4 total. I may have to get inventive as far as a strut tower brace, the 4200 doesn't leave room for that!I I am planning on making a thick aluminum plate that goes across the top of the entire radiator support and have it polished for looks.
-
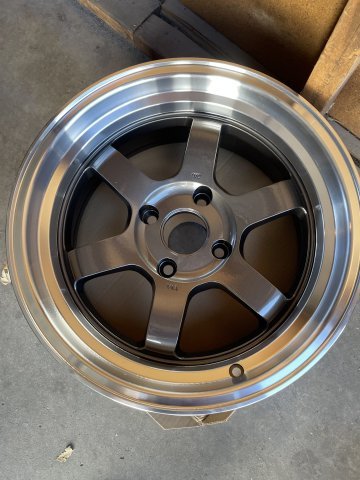
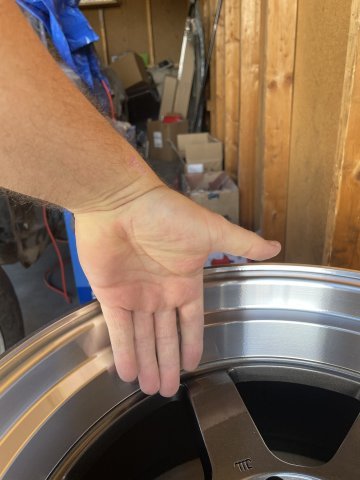
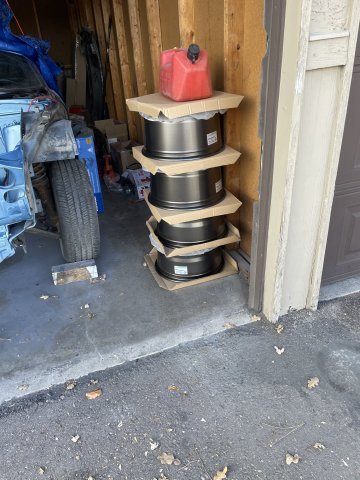
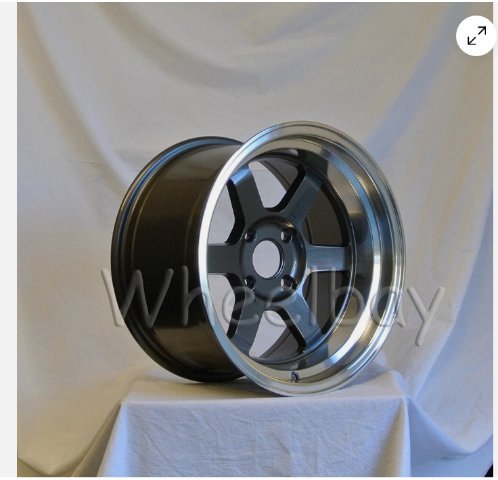
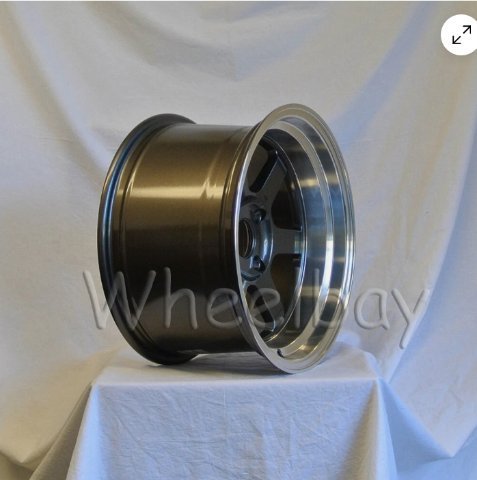
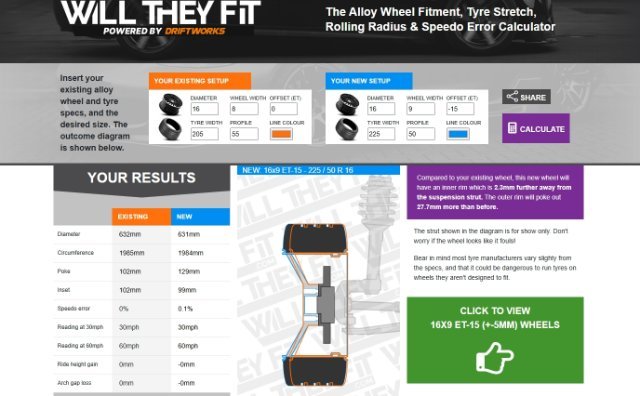
Today I cleaned up the motor mounts and alternator bracket and gave them a coat of paint. I also drilled out the holes in the motor mount pads on the crossmember and painted the visible spots. Lastly the wheels came in....16x8 in the front, 16X9 -15 in the rear. Tires are 205/55R16 and 225/50R16. have to slot a couple holes ont he alternator bracket still and a couple holes on the motor mounts needs some time with a burr bit but almost ready to drop the engine into the Z.
-
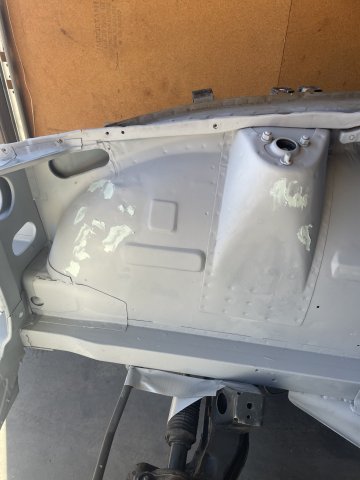
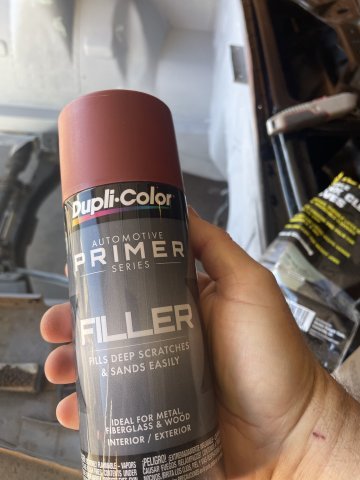
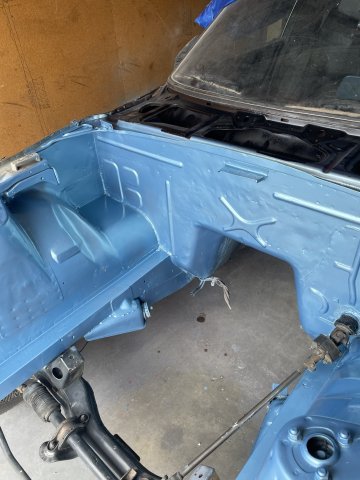
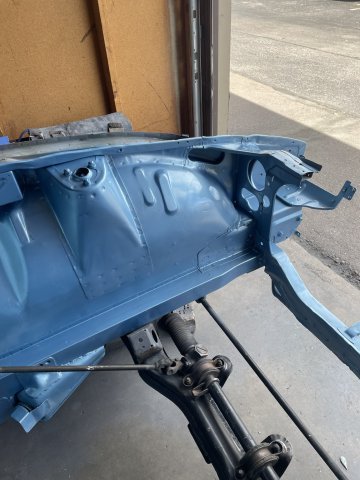
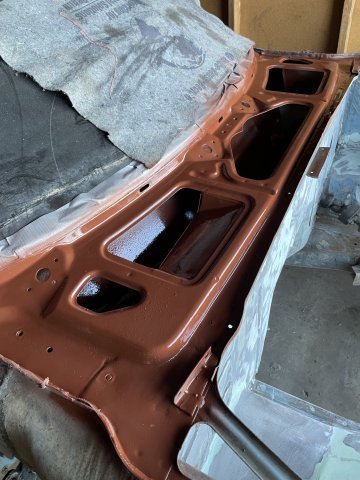
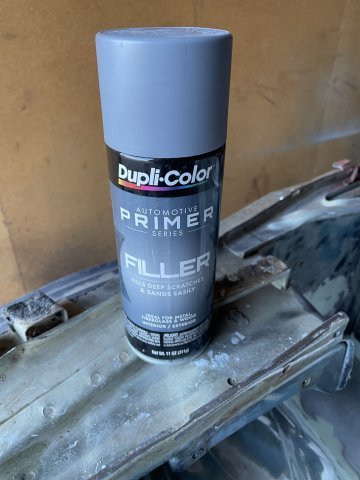
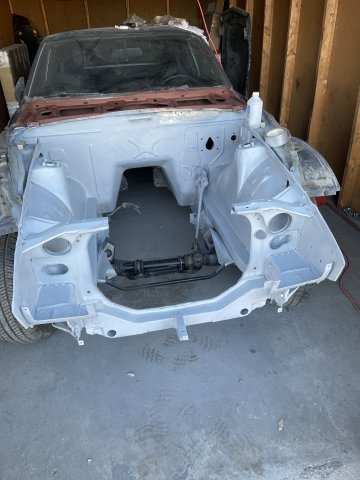
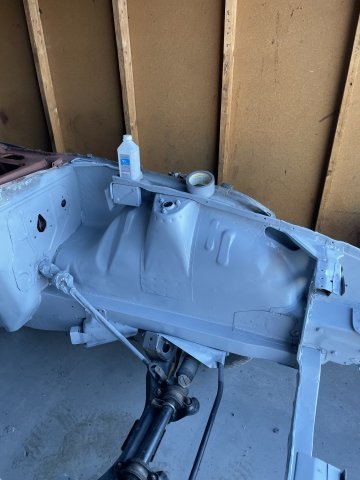
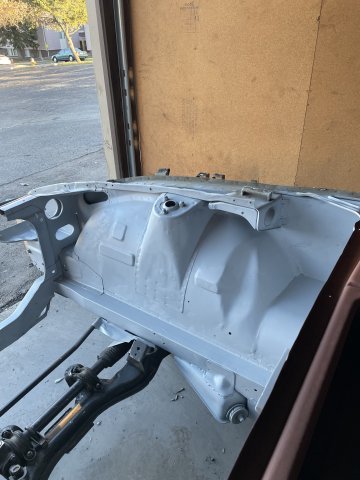
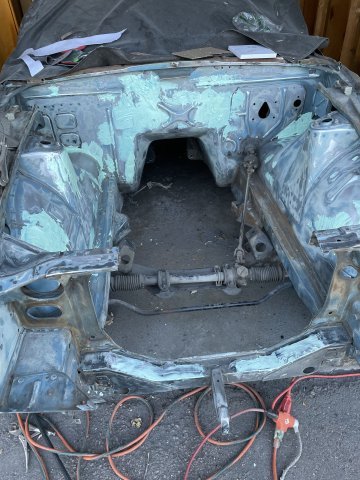
11-04-2025. I did a little bit of spot putty work this morning, have a few spots a couple thick coats of filler primer then went ahead and painted the engine compartment and cleared it. Yep, the work isn't very good.......I did what I could. PICS.
-
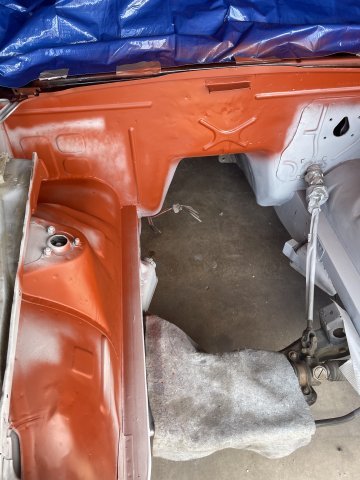
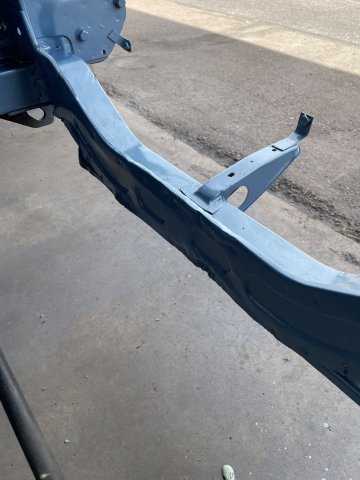
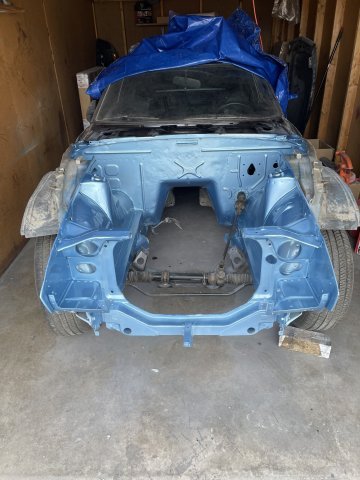
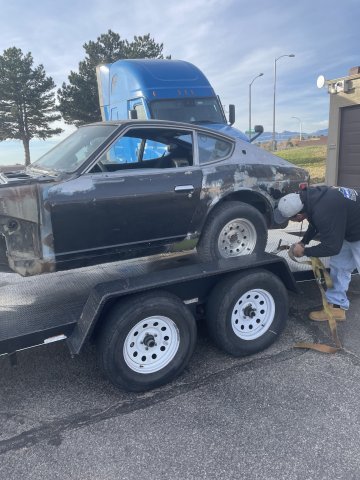
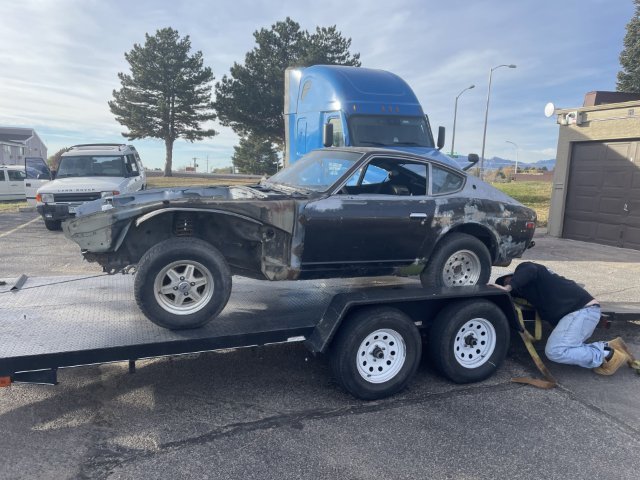
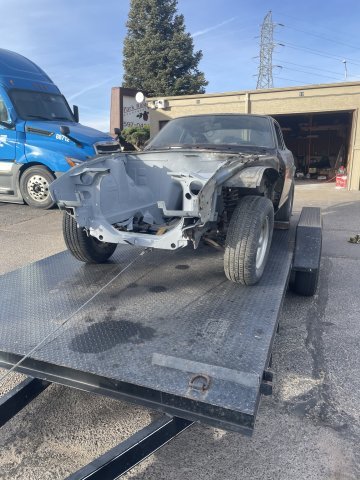
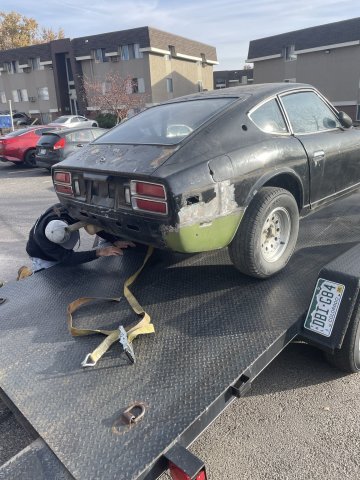
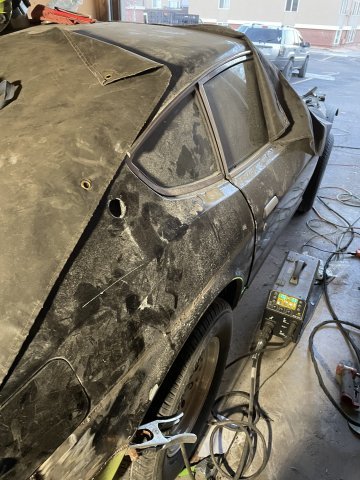
11-03-2025- VIN verification day. Trailered it to the dealer to get the VIN verification done. You can see some of the work that has been done, as far as rust repair.
-
Got the title transferred. all legit now
-
thanks. God willing I will continue to. I got very lucky, buying a car looked over due to the rough paint, but clean....rails, doors everything clean no rust. 2 spots int he floors and a couple other spots, that's it. Still love my 240Z best, but this is a nice home for my ATLAS engine.
-
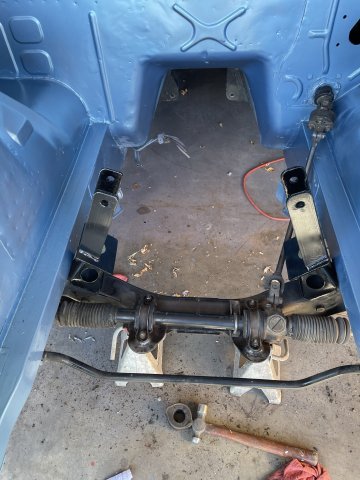
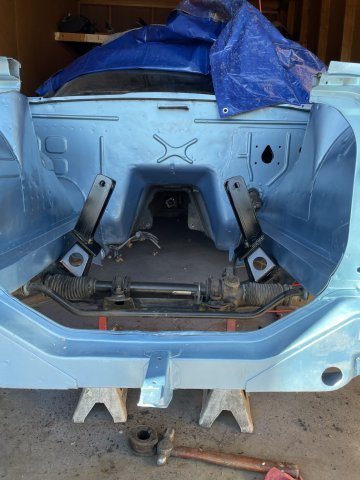
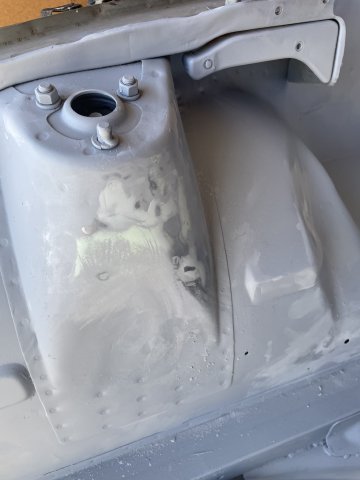
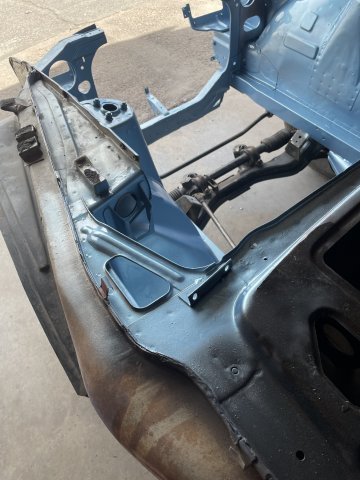
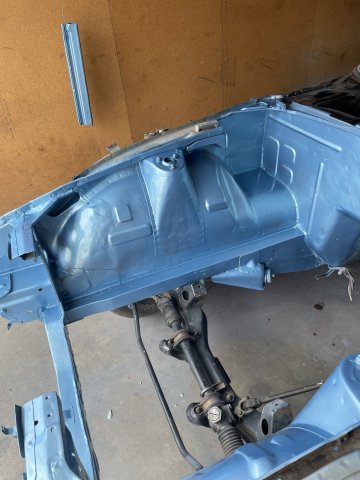
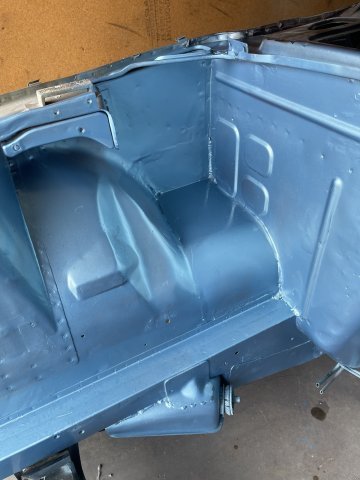
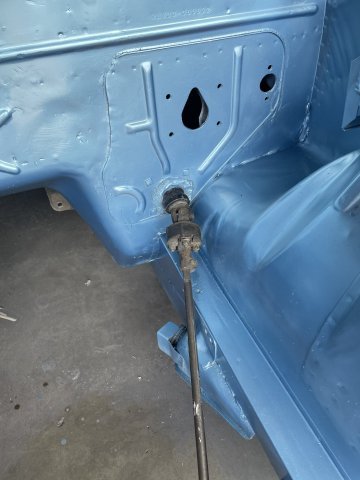
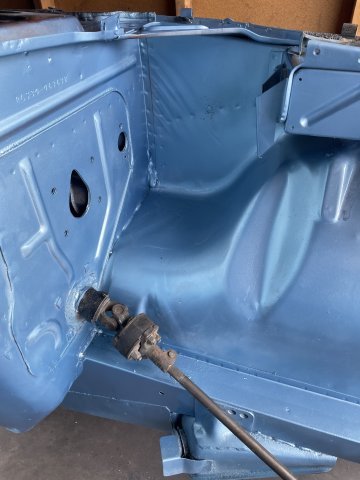
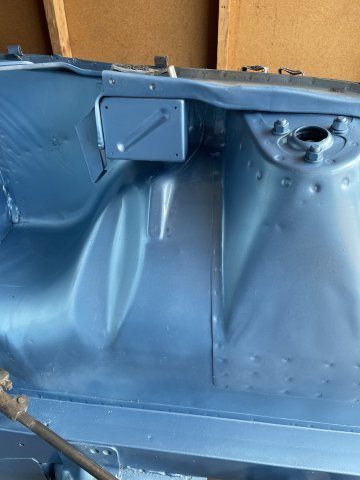
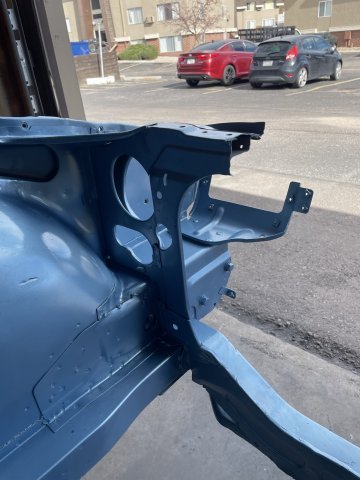
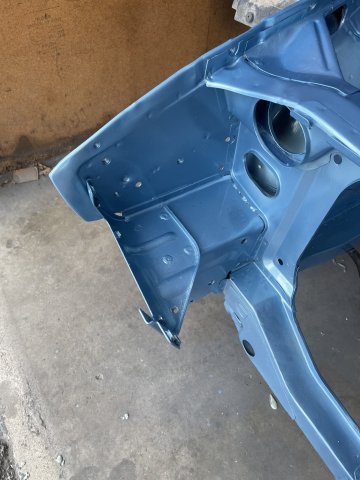
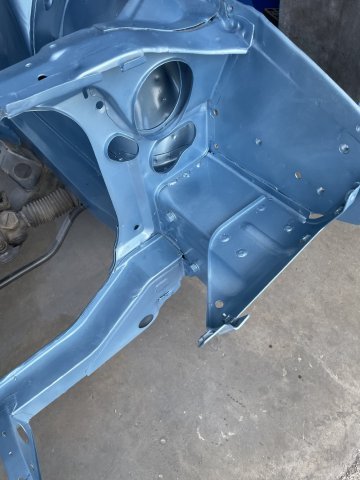
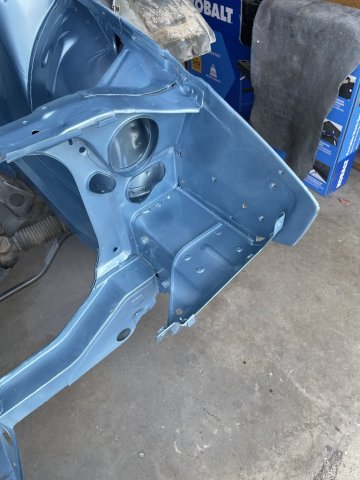
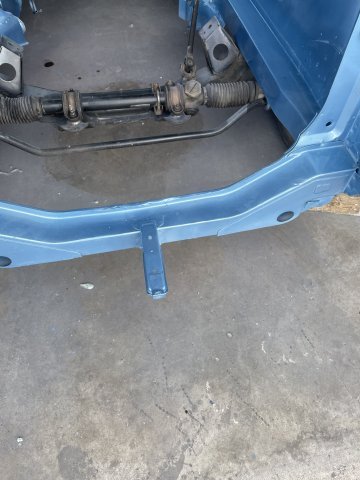
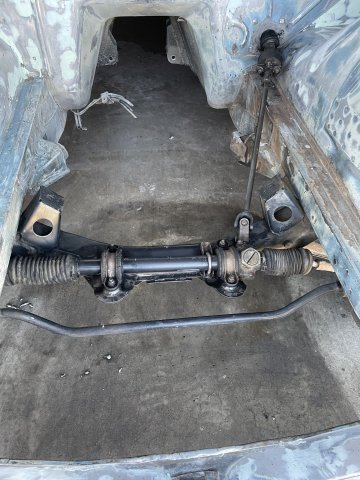
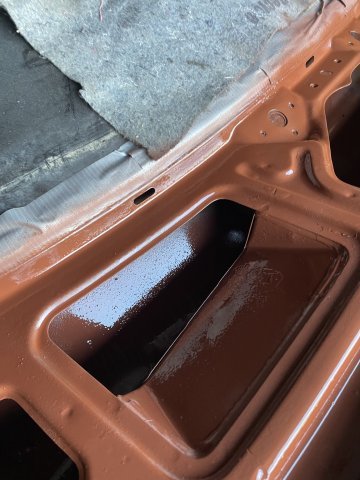
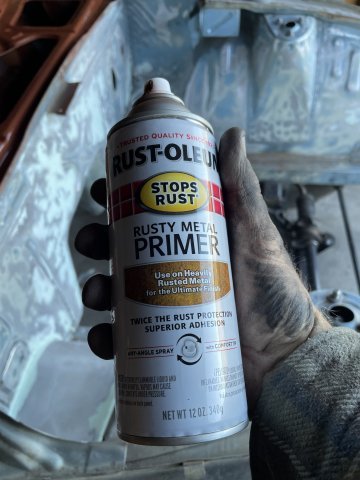
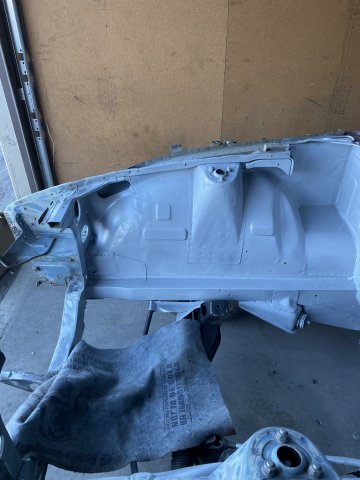
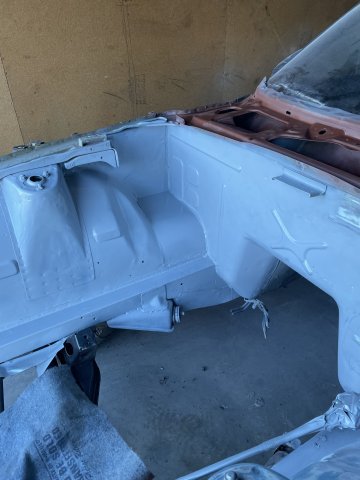
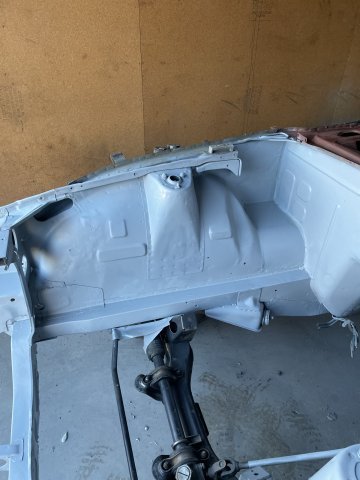
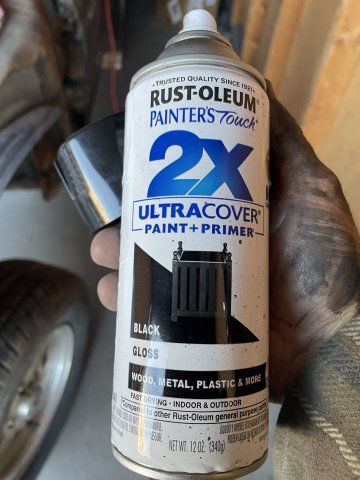
11-01-2025. 260Z work. I got the engine compartment sanded down after the glaze and then cleaned up the crossmember and rack with cleaning solution "g@s" and a toothbrush, and then steel wool, etc. Then I vacuumed out the cowl and primed it with rustoleum rust primerand top coated it with gloss black paint, then painted the engine bay with filler primer. Once dry I will use some spot putty I picked up on the areas that need it, hand sand it smooth and filler primer over that. Once it is good, then I will progress to color and then clear. Busy day! Pics:
-
I went ahead and snagged the wheels I really wanted for my 260Z. I will make the factory flares work, mod a tad in the rear but I decided instead of making the wheels fit the car, get what I want and then mod the car a tad to make them work. 18X8 0 offset for the front, and 16X9 -15 offset for the rear. Tires will be 205/55R16 in the front, and 225/50R16 in the rear. So, Gunmetal grey ROTA V's.
-
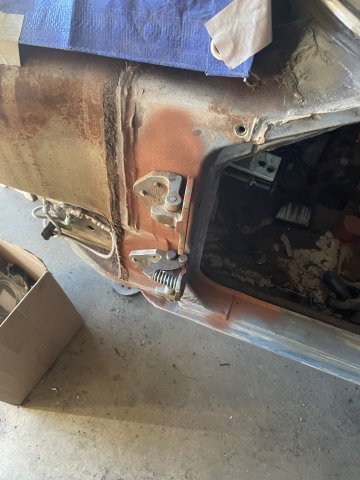
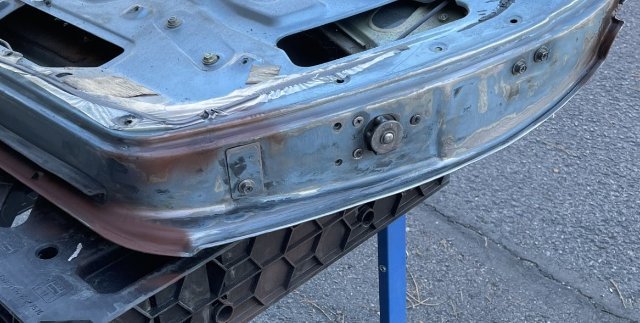
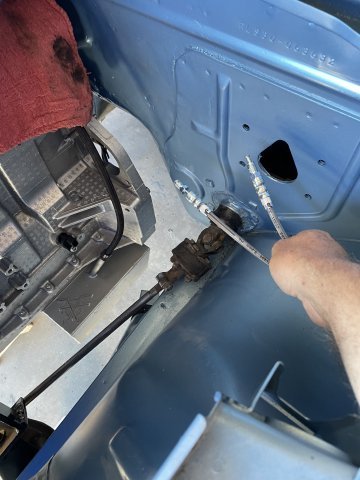
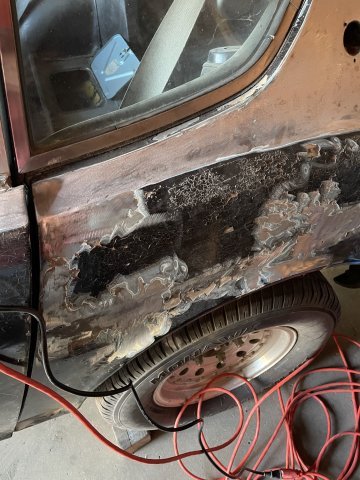
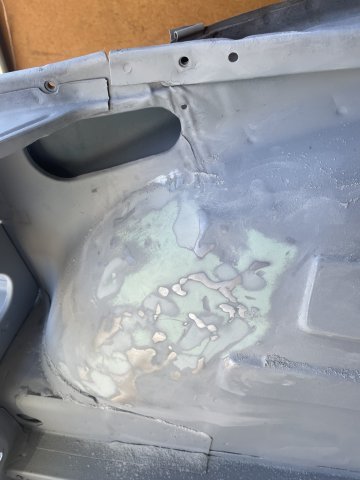
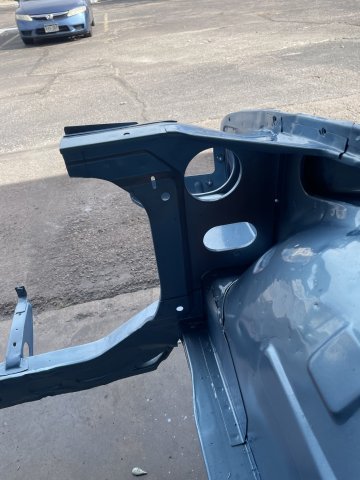
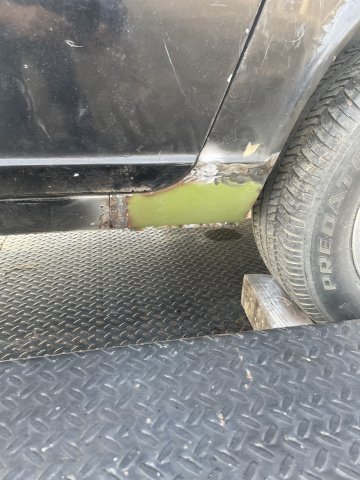
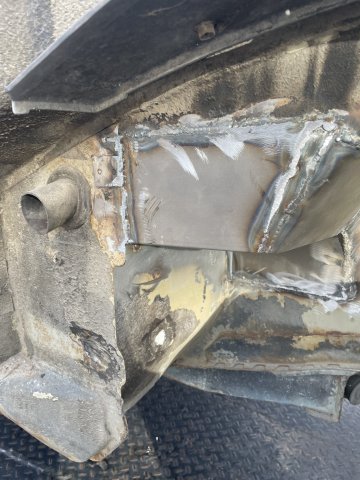
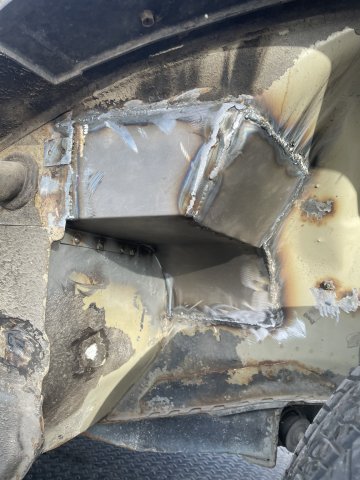
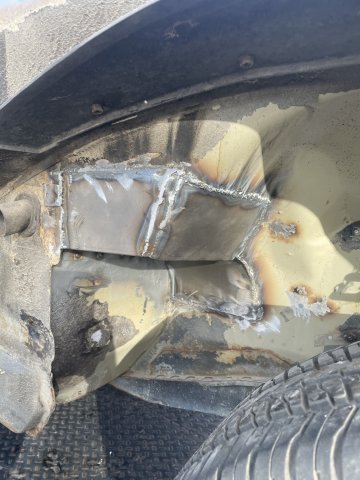
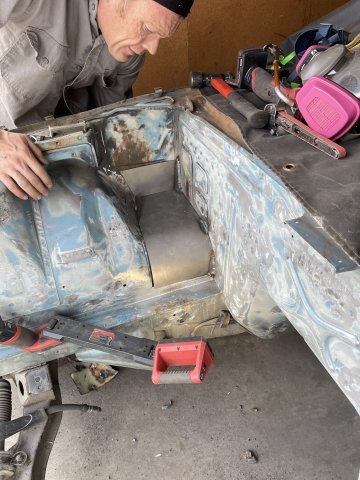
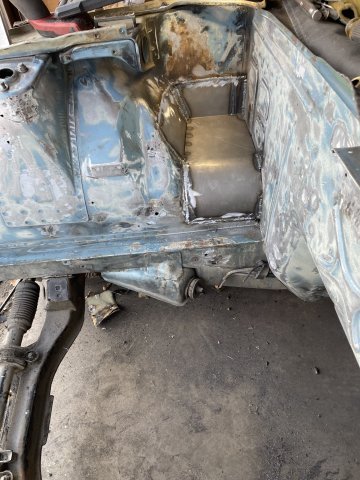
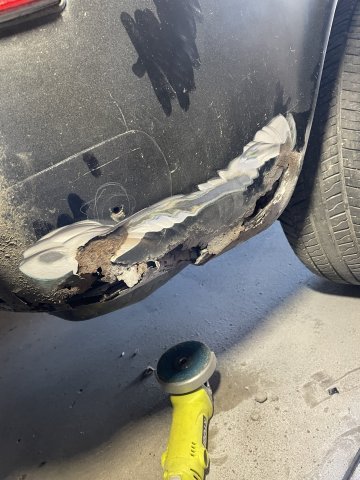
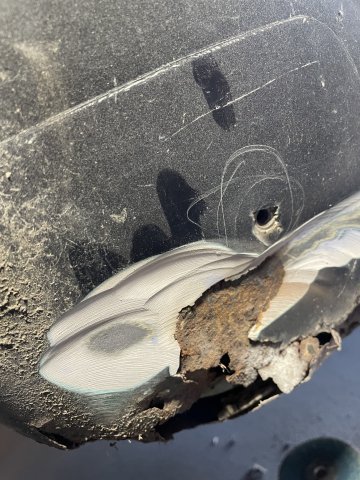
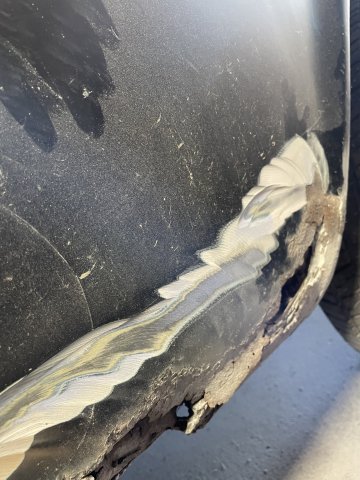
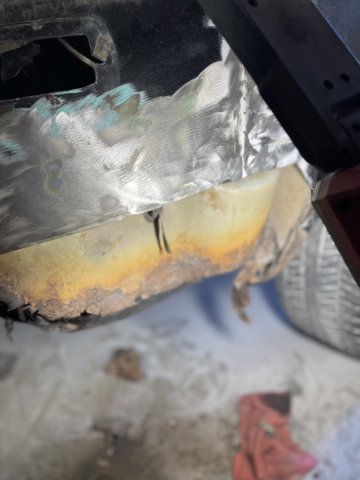
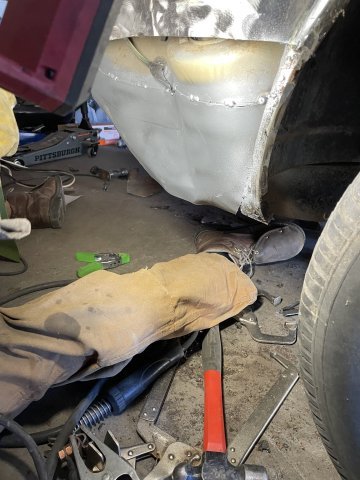
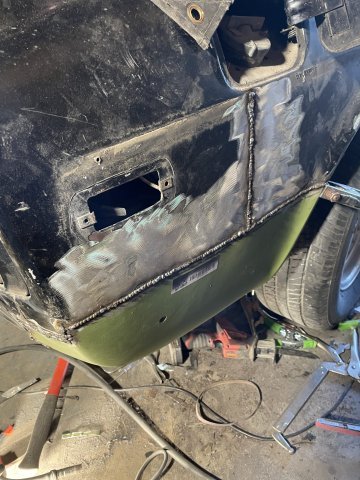
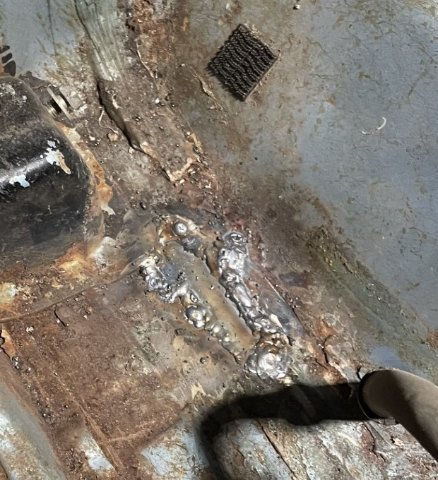
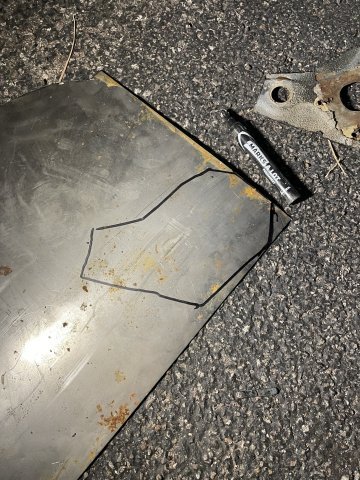
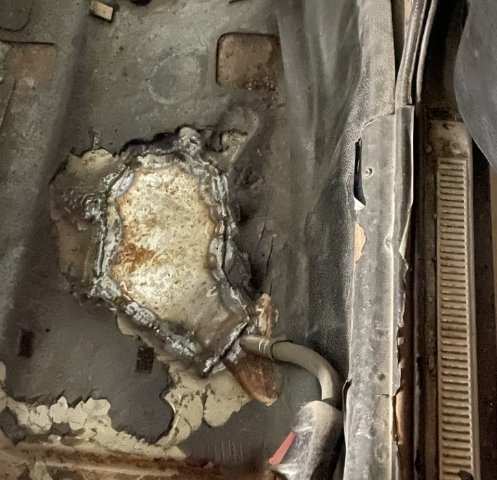
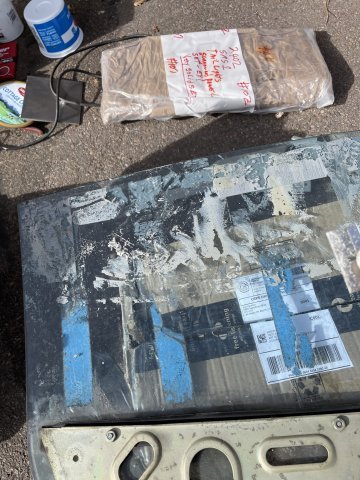
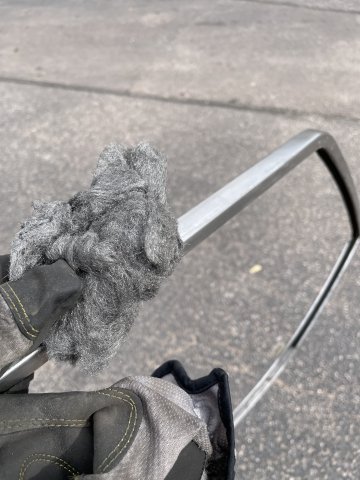
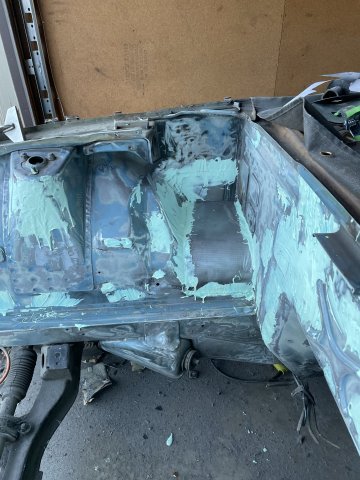
260Z Rust Repair Day. I had "The Floor Pan Man" from Denver come over and got all the rust cut out and welded up. In the process of doing that we found damage and THICK Bondo in the rusty area behind the passenger rear wheel. Through sheer luck the Klassic Fab Vintage JDM patch panel was high.....high enough to remove all the thick bondo, and the rust. Once removed, we found a vertical welded section that the original body man had made to straighten everything out. So, Corey was able to cut that open again, and get it all straightened out correctly AND replace the inner panel that was rotted away also. While he was doing that I tore drivers door window and mechanism out, and replaced it with a refurbished part from Adam Sylvester at Datsun Rescue. The window had been held up with duct tape for over 10 years, and getting that "goo" off the window frame took quite a long time with steel wool....the glass I was able to use a razor blade to get it 90% done.....more will have to be done later.....but the PITA job I was dreading is now finished. When the bondo was found, I took my angle grinder and flap wheel and started looking for other areas it might be hiding.....luckily their isn't any.....but the thick paint on the car is in such a condition, that I need to use the flap wheel to remove it all, and then step it out with finer and finer paper to remedy it. I also put the glaze on the places needed in the engine compartment....doesn't look good. Why? Because the Dolphin Glaze I decided to use is "self leveling"....on vertical surfaces it "self levels" it's self down the panels! Not a biggie, it will sand smooth, but I don't want any more self leveling glaze! LONG DAY! Pics.