-
Posts
729 -
Joined
-
Last visited
-
Days Won
30
Content Type
Profiles
Forums
Blogs
Events
Gallery
Downloads
Store
Everything posted by grannyknot
-
whatnow123, still 4 days to go, your serious bidders are biding their time, it's a solid well sorted car. If there is any justice in the world you should see some good cash for it.
-
Thanks, no not too bad, I did need to notch out the passenger floor a bit on the corner where it flows into the trans tunnel.
-
Well maybe a few years from now I'll put my Z on BaT and then the purists will have something to whine about
-
Will be interesting to see where the price goes, is this being sold by a Hybridz member? http://bringatrailer.com/listing/1978-datsun-280z-17/
-
In fact I believe one of the members here (disepyon) is reproducing very accurate copies of the inner rocker panels, http://forums.hybridz.org/topic/125888-prospect-d-replacement-panels/?hl=disepyon&do=findComment&comment=1179650
-
Those all look like good products but just one of them is not going to do the job of the original tar mats and the felt insulation. They both do different jobs, the tar mat keeps the large areas of sheet metal from resonating and vibrating, the insulation muffles sound and insulates from the heat of the engine and exhaust system. You should use a sticky tar or butyl mat on the metal just the way Nissan did then one of those insulations glued on top of the mat. That thin insulation that comes on the bottom of the carpet kits doesn't do much of anything, these are rattlely old cars and can use some extra help to keep the sqeaks down.
-
switched power source for an AEM wideband?
grannyknot replied to thedarkie's topic in Ignition and Electrical
power from the ignition switch and ground go to 85 and 86, power from battery and O2 go to 30 and 87 on the relay, if there is a 87a don't use it at all. -

switched power source for an AEM wideband?
grannyknot replied to thedarkie's topic in Ignition and Electrical
I had a AEM wideband running on my last Z, I just T'ed it into a switched power wire and it worked fine. I can't remember if the O2 sensor was heated or not but if yours is you will want switched power as well or the heater will drain the battery. -

Heavy Duty frame rails and connectors
grannyknot replied to toolman's topic in Gen III & IV Chevy V8Z Tech Board
What tool are you using to get your flange? Very nice. -
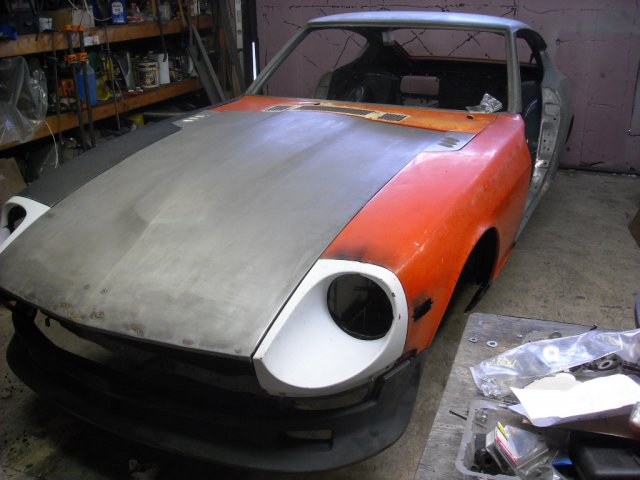
Well, that's quite... unique, kinda reminds me of Fred Flintsone's ride. Are you going to sand it down to shape and cover or spray it?
-
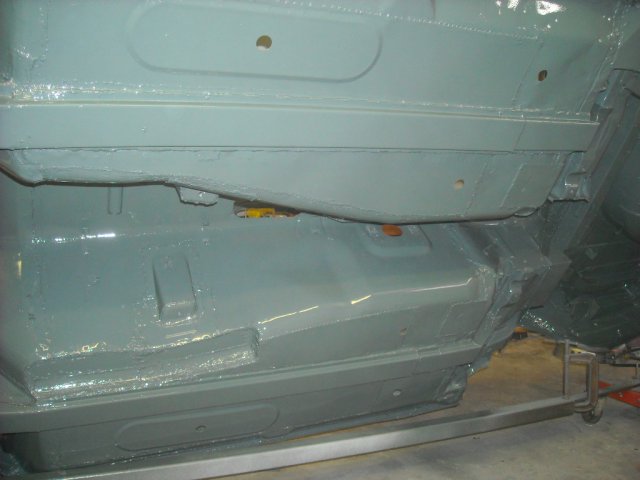
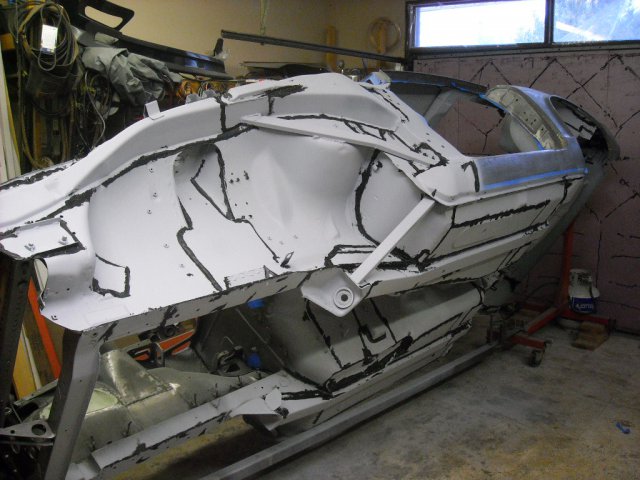
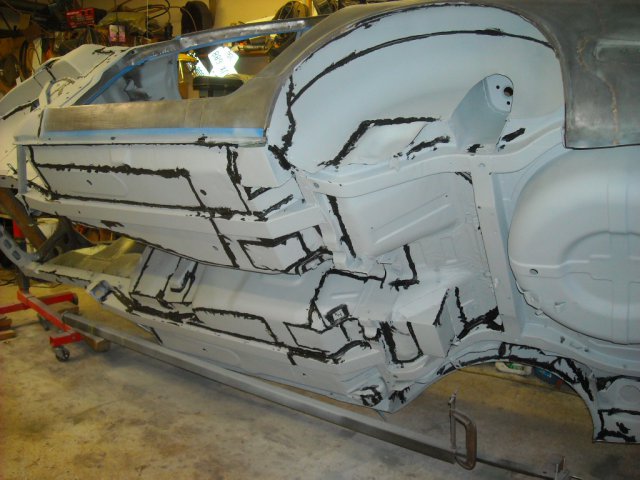
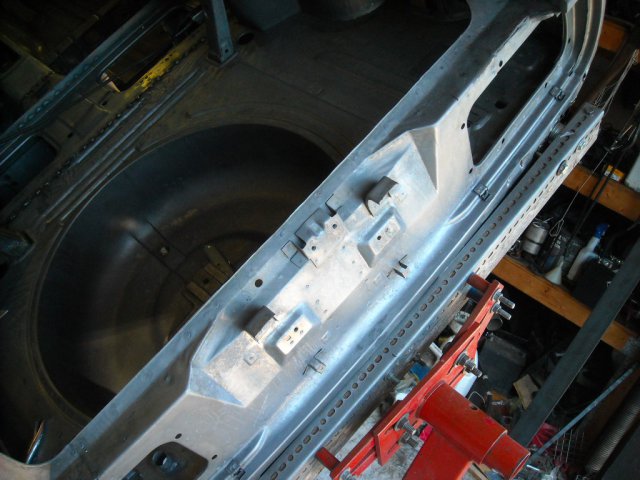
So I got all the patching done, finished the reinforcements, cleaned and sanded and shot two coats of 2 part epoxy primer and 2 coats of single stage urethane paint on the bottom of the car and inside the cab. The car is now up at the paint shop and he says it will take one month to block it out, do a couple of guide coats then 2 coats of colour and 4 of clear. Should only be 3 weeks now before I start re assembly. The first 2 pics are after the epoxy primer, adding the seamsealer and before paint.
-
"A fool and his money is easily parted" as the saying goes. I really do hope the buyer is happy with his purchase, it's his money after all and a lot of guys just don't how to or can't build their own car. But I think he is going to find out pretty quickly that the car he bought is just a collection of mostly lower end bolt on goodies.
-

Heavy Duty frame rails and connectors
grannyknot replied to toolman's topic in Gen III & IV Chevy V8Z Tech Board
I guess shipping is the real killer when bringing in stuff to the islands? I would just warn you to only do one side at a time then just do the floor pan then when that is completed do the rocker, you could also bolt up the transmission mount to add a bit more stability. Are you going to extend the floor pan rail so that it connects up with the sub frame in the back? Like the rail extensions that BadDog sells. -

Triple carb throttle linkage firewall ball end mounts
grannyknot replied to Rob L's topic in Parts Wanted
If Ryan doesn't I have one kicking around. -
Those 2 pics in post #14 are just more evidence of a rear ender, easy enough to figure out, when you get the car torn down measure the dimensional reference points and compare them to the diagrams in the factory service manual in the body section. Even if it is off a bit probably won't affect the handling of the car too much. It is always fun to try and figure out the history of your car by reading and interpreting the scars that it has picked up along way.
-
Have a look at this, http://www.classiczcars.com/topic/57004-early-2400-valve-cover/#comment-511995
-
I'm with rturbo930, it looks like the car was rear ended and has been straightened, that is when the joints on the C pillars/roof would have flexed and cracked the paint. You will have to dig into the P/S dog leg and probably the D/S too to cut the rust out, sorry for dumping the bad news on you but it's much better to know what you are getting into before the strip down. Nothing can suck the enthusiasm out of you faster than striping off paint to find major rust. It's a project but it is all do able, one of the best ways to keep the project rolling is to update this thread often, everyone here loves a good project.
-
He's nuts or he's just fishing, the car is not far from me and I was going to have a look at it but there is a big snow storm coming right now so I'll pass. From his pics it looks like a $5-6000 car, 3,900 original miles... yeah sure
-
What RB26 said, your car being built in April 71 would be registered as a 71. You have one of the early steering wheels which is worth a bit more than the later ones, your floor pans are shot and will need replacing so you might as well replace the rails while you are at it. Zedd Findings is the best place to buy your pans and rails as he is the guy that makes them. Check the dog leg area just behind the doors, with rust that bad in the rear floor pans you probably have some rust in the dogleg area as well. It's all repairable but to do the pans you will have to strip the car down. Lots of great threads in the archives about floor pan replacement.
-
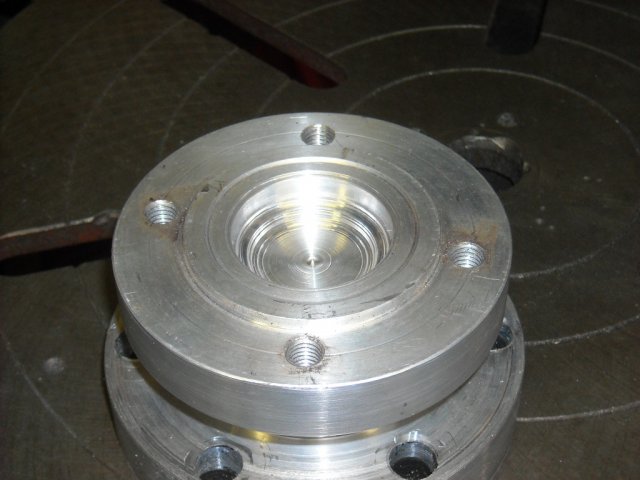
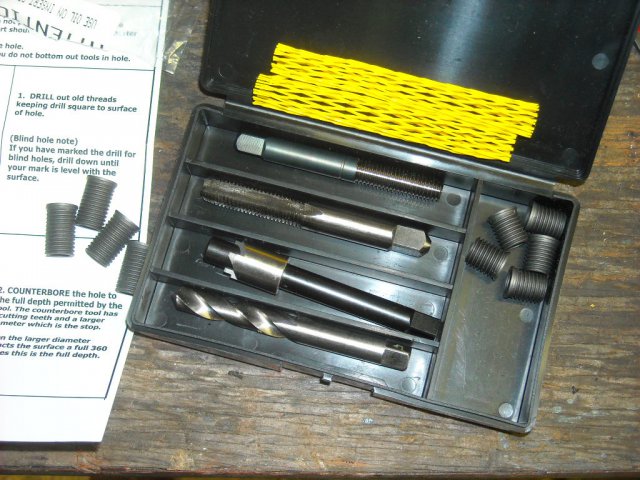
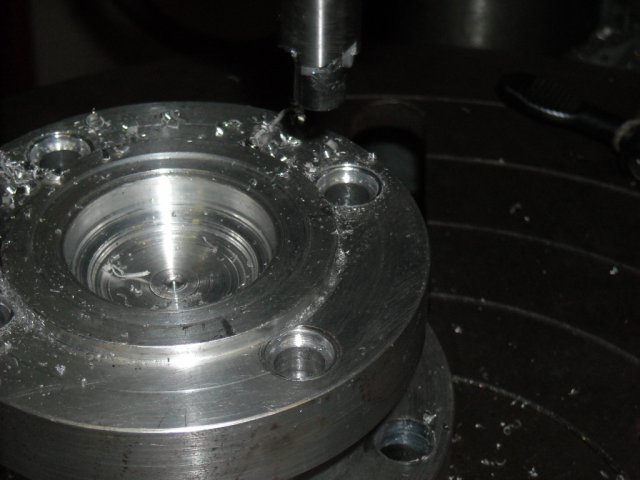
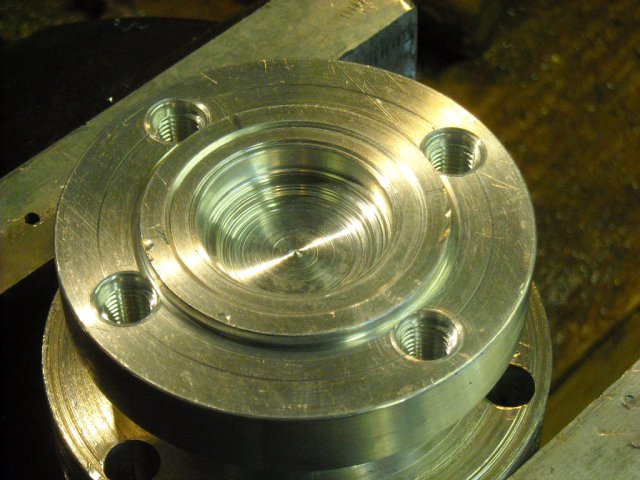
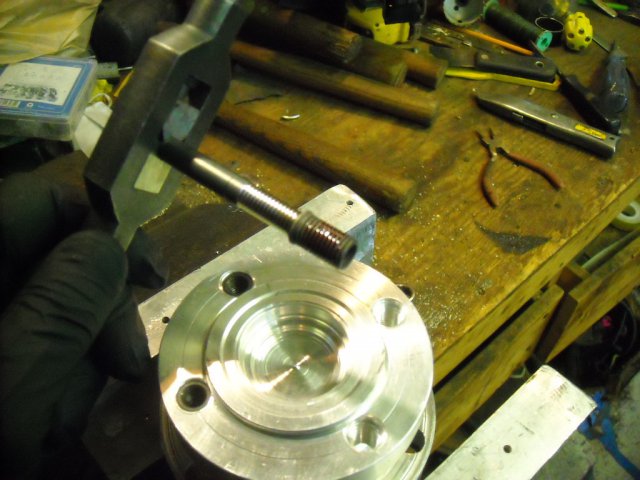
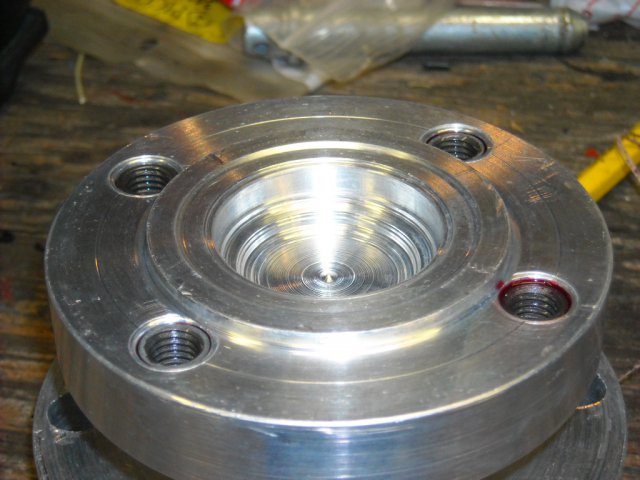
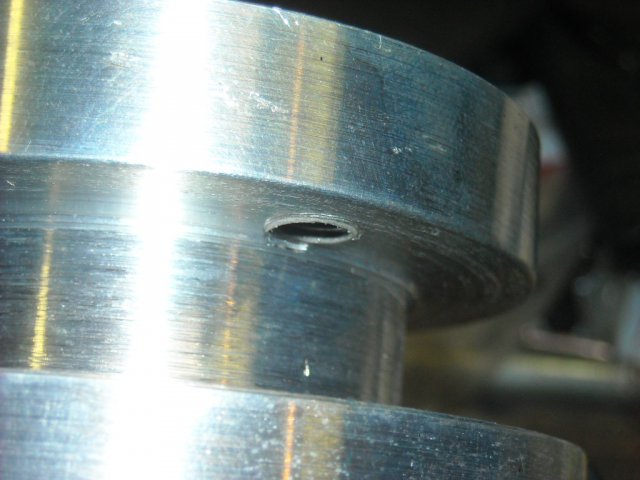
Timesert kit arrived, very impressed, well thought out. I think it is going to do the trick. before, After drilling out the threads and counterboreing, re threaded, cleaned and ready for the insert, Loctite on the outside threads of the insert, I ordered the 16.2mm long inserts so I could use the full thickness of the flange
-

DZ-Start Push button Ignition Kits F/S again
grannyknot replied to HLS30-08077's topic in Vendor's Forum
I asked the same question, apparently you have to donate first before you can "like" anything.- 26 replies
-
- 1
-

-
- DZ-Start
- Push button
-
(and 1 more)
Tagged with:
-
Me too, I imagined there was going to be rivets and wood screws holding it together, I was very pleased.
-

Datsun 240z Rear Hatch Sill Rust Repair
grannyknot replied to 240zethan's topic in Fabrication / Welding
Well, if you have never done anything like this before you should really practice before you start cutting into your car. Hit you tube and watch some vids, It is probably just your sill plate that needs replacing so you have get yourself a spot weld drill and separate the sill plate from the rest and the same on your replacement piece. Once you get the rusty sill plate off you car it will look something like this, You will need to grind down any rust that remains under the sill plate so that both the car and the replacement are clean bare steel. It's not that this can't be a DIY job but if you want quality result this can't be the first project that you start with. -

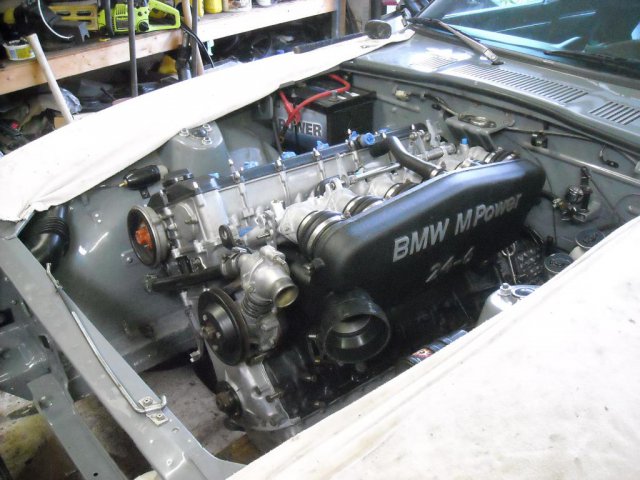
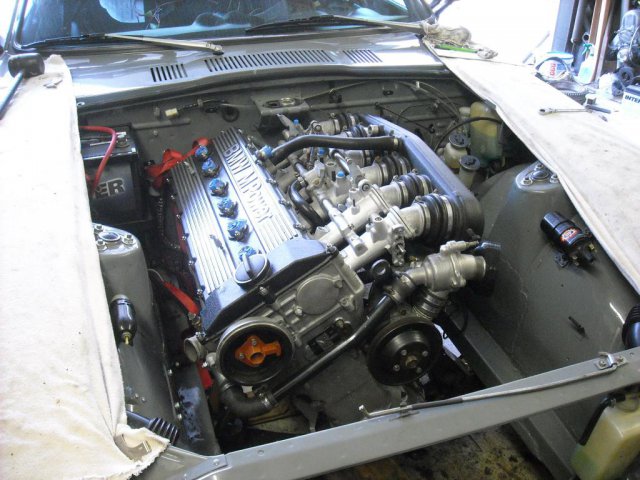
My 240Z with supercharged BMW engine
grannyknot replied to TeemuM's topic in S30 Series - 240z, 260z, 280z
The fan shroud looks great, the front spoiler looks like the original Euro spoiler only wider, was it designed for the Z?- 77 replies
-
- bc-racing coilovers
- m50b25
-
(and 3 more)
Tagged with:

