Exposed
-
Posts
344 -
Joined
-
Last visited
-
Days Won
14
Content Type
Profiles
Forums
Blogs
Events
Gallery
Downloads
Store
Everything posted by Exposed
-
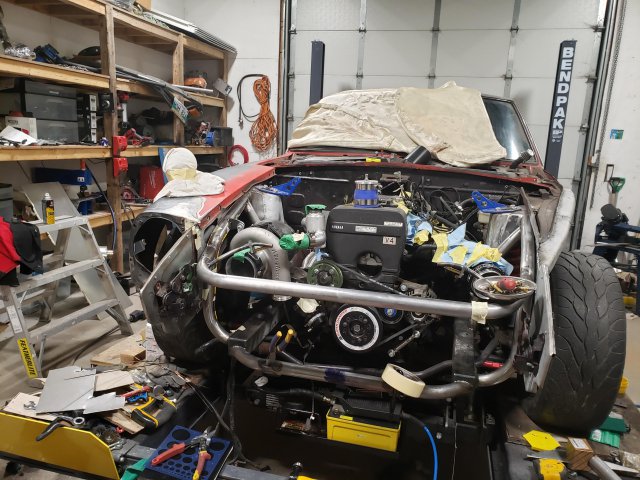
got around to removing the sheet metal around the battery and replaced the rusted sections. Ended up lowering the battery a bit as well. Stripped a bunch of paint and still need to strip abunch more. I gave the interior passenger side a coat of primer and assembled it. Its good to see things coming together I need to keep myself motivated to finish sooner than later.

-
@ZHoob2004 great source of pictures.
-
Jboogsthethug's 1971 240z build
Exposed replied to Jboogsthethug's topic in S30 Series - 240z, 260z, 280z
the fuel system looks good! I was planning on running something similar, I have two bosch 044 pumps but I had been planning on putting the surge tank beside the oem tank. Do you think fumes will be a problem? -
Thanks! Still need to hammer out the welds and grind them down a bit more, but for now it's smooth enough.
-
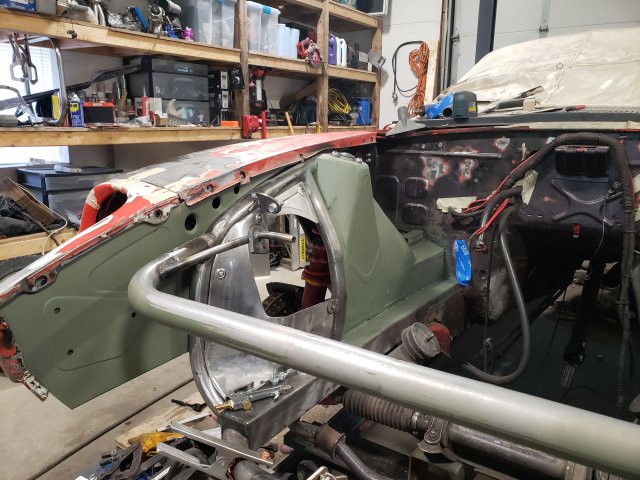
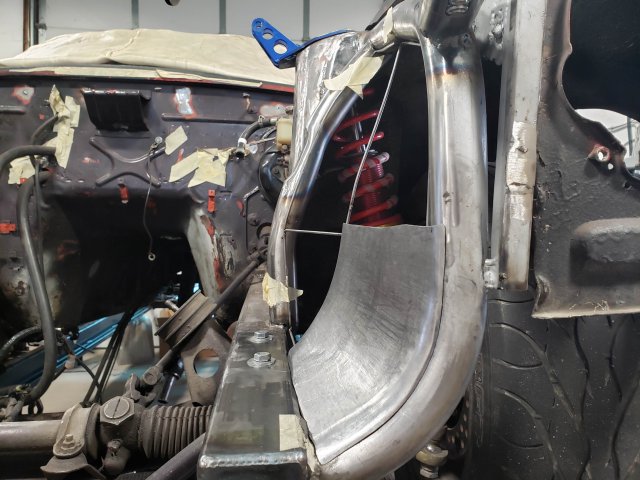
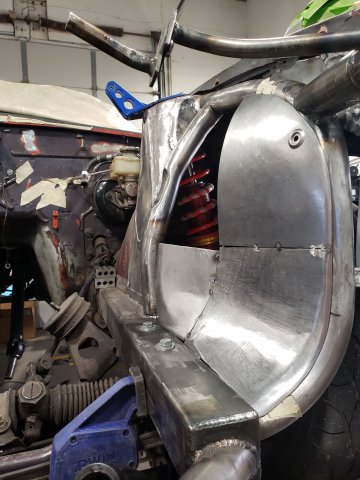
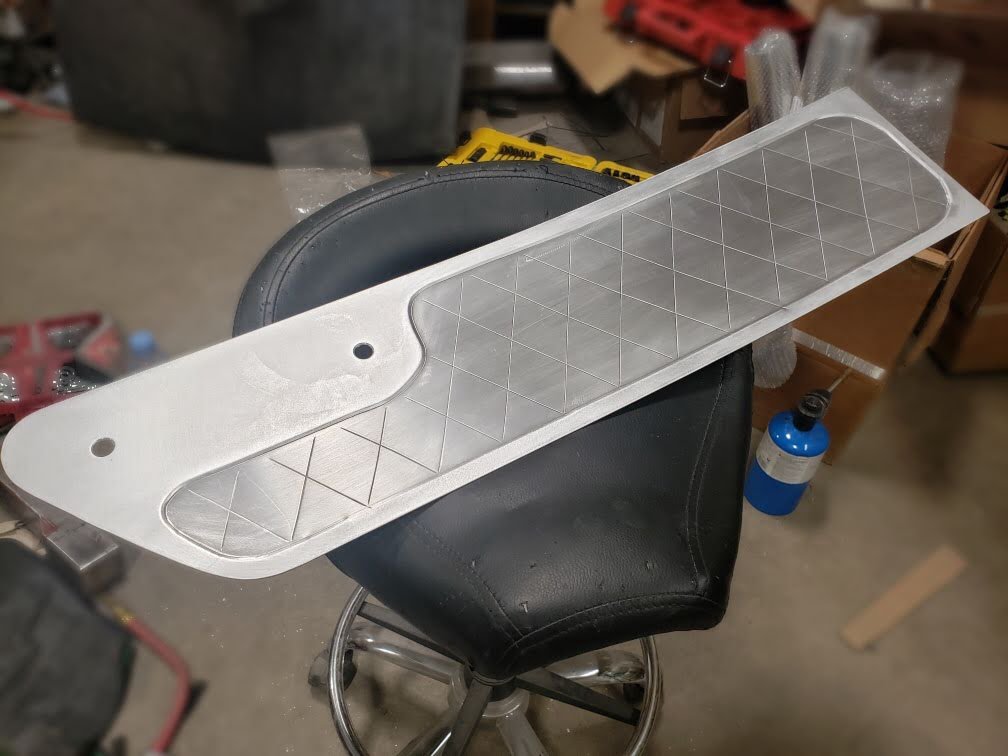
started knocking out the driver side front wheel well. I wanted to try this peice as one entire sheet of steel I quickly learned Im a jabroni when it comes to sheet metal shaping 😅. I ended up dividing the peice into four smaller squares and shaping them like that. Everything was started as a paper template, I typically use ram board. It can be sourced locally and is affordable for the amount of material you get. From there everything was transfered over to sheet metal and was snipped with hand shears to its rough shape. I cut off more than I required when cutting the sheet metal and then I did final trimming as I required it. Everything was rolled out on a cheap english wheel (princess auto special) than planished by hand.
-
@Jboogsthethug ya, im at this point right now that half of me wants to finish the car properly no matter how long it takes and the other half wants to drive it this summer.
-
@Jboogsthethug I honestly would have left the car as it was if it wasnt for all the rust inside of the frame rails. I cannot wait to have this thing back on the road. As soon as this one is finished Ill start another 😅
-
@Zetsaz your post has so much knowledge, i agree completely. Avoid chasing power and enjoy the car. @Rinna98 Welcome to the forums! look forward to following your build
-
great job on the fabrication! What thickness of aluminum did you end up going with?
-
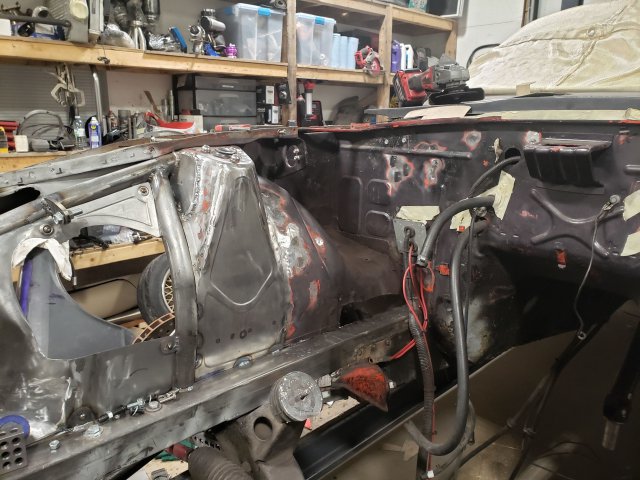
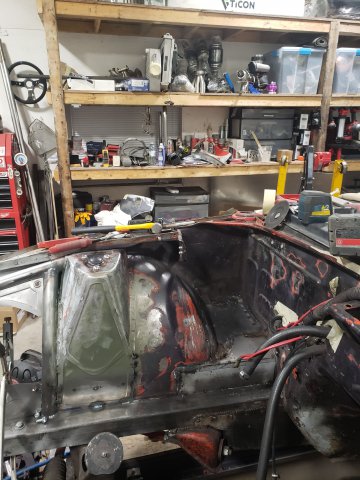
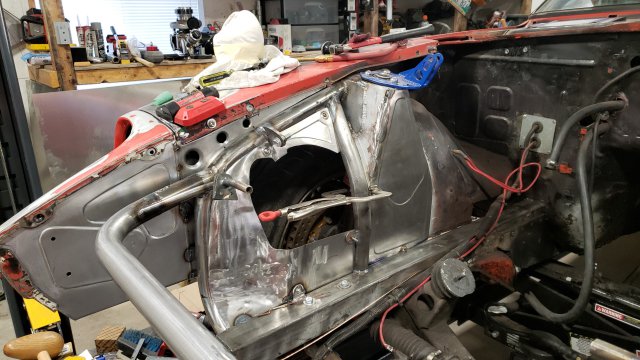
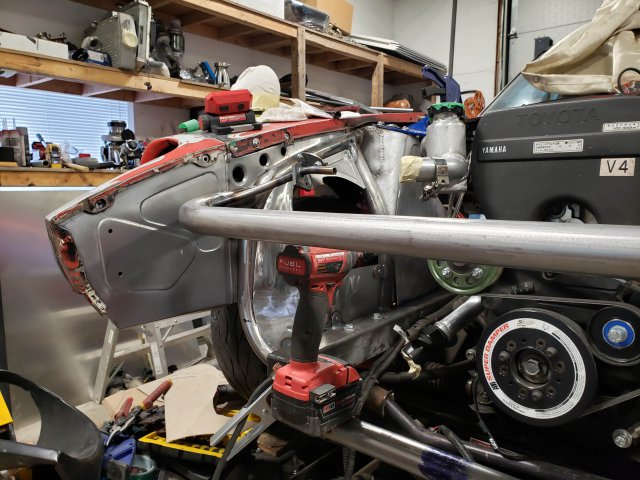
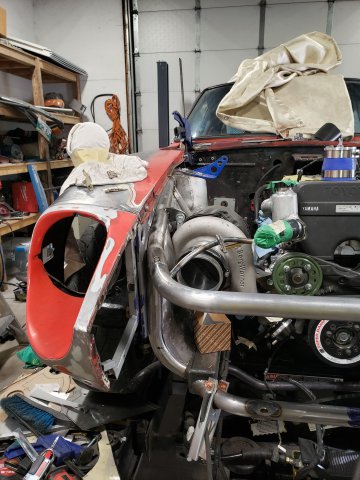
had some time this weekend pulled the engine out hopefully for the last time. With the engine pulled I had alot more space to patch some of the rust. Going to start patching up the firewall covering up some of the holes I wont be needing. Glad with all the progress I've made this far, cannot wait to have it finished!
-
A musician's therapist (The $300 Z)
Exposed replied to Zetsaz's topic in S30 Series - 240z, 260z, 280z
Looking for help isnt always the easiest thing to do, good job on seaking some! What pump are you going to be running? I'm looking at redoing my fuel system as well this winter/spring but still in the planning stages. I had picked up a Bosch 044 and didnt really want to swap it out for something else. Are you going to be running the stock fuel level unit? -
Welcome to the forums! @Huntziilla -Was the engines compression checked? Youll need a rear sump because of the front cross member. Are you dead set on going with the R154? Have you considered any other transmissions that may be cheaper? -When I swapped my 1jz into my 72 the only specialty tool I used was an engine hoist. -Are you planning on making your own engine mount? Up in Canada you can find an almost identical Jaguar mount at princess auto, which I beleive is similar to habour freight, and they sell for about $10.00 CAD for two. -Looking at the link it looks like the engine wiring harness is there. Cannot see if its cut anywhere though. Hopefully someone can correct me if im wrong here but I would look at getting the ignitor and Map sensor included with the engine. I know when I purchased my 1jz it wasnt included and I did require it. -While the engine is out depending on mileage, I would probably open up the valve covers and look inside of the oil pan just to see how everything is looking. I'd change the belts and potentially do the water pump at the same time. Still waiting on picture of your car!!
-
@HuD 91gt I'm glad to hear that Im not the only one in this boat.
-
@walkerbk 👍 thanks for the link, Ill check them out. Im dreading the wiring again 😅, wishing I had done it well enough the first time.
-
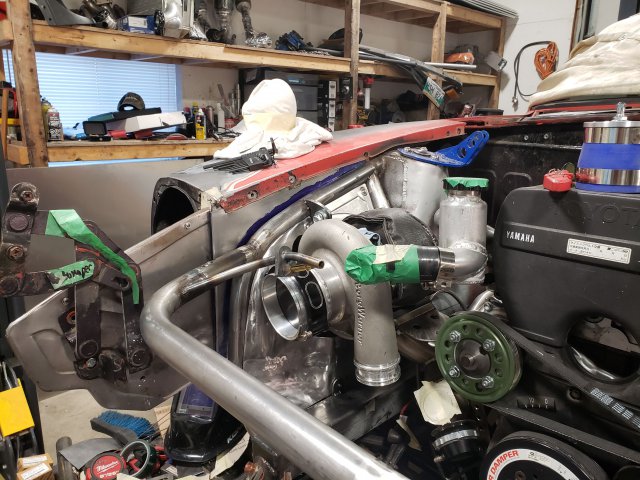
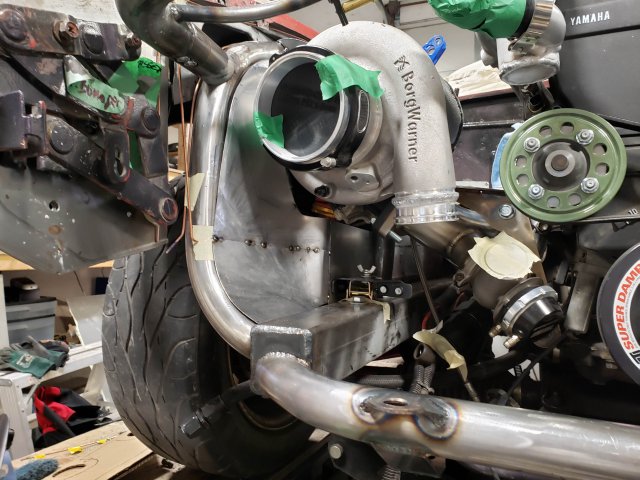
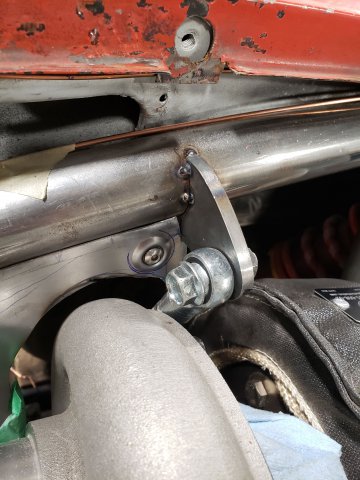
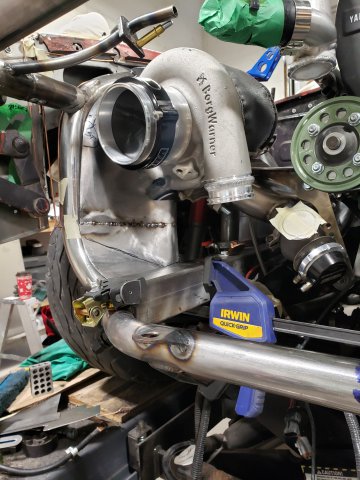
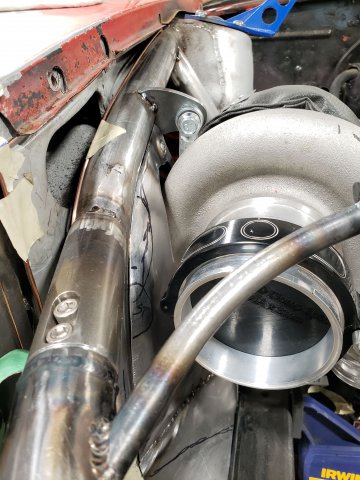
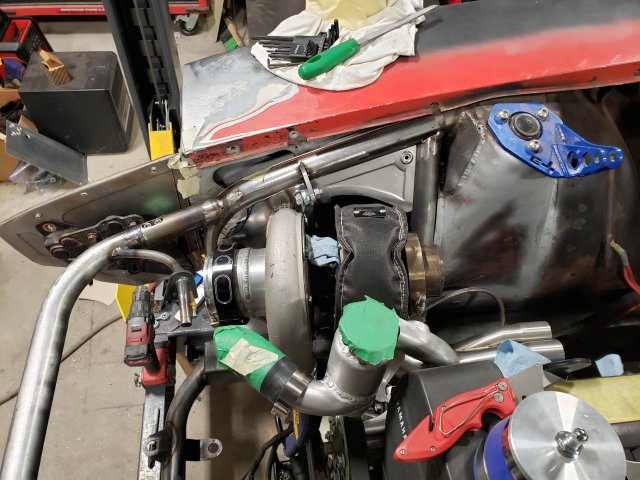
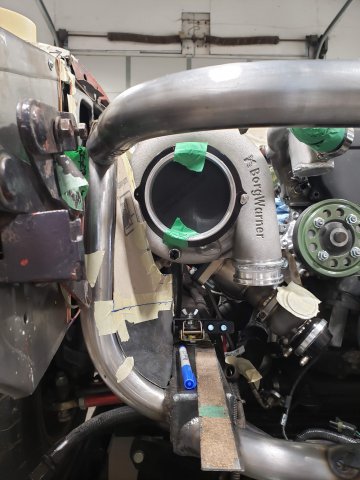
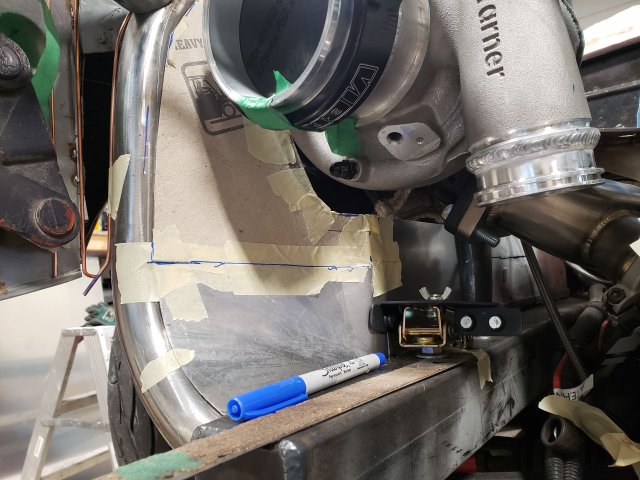
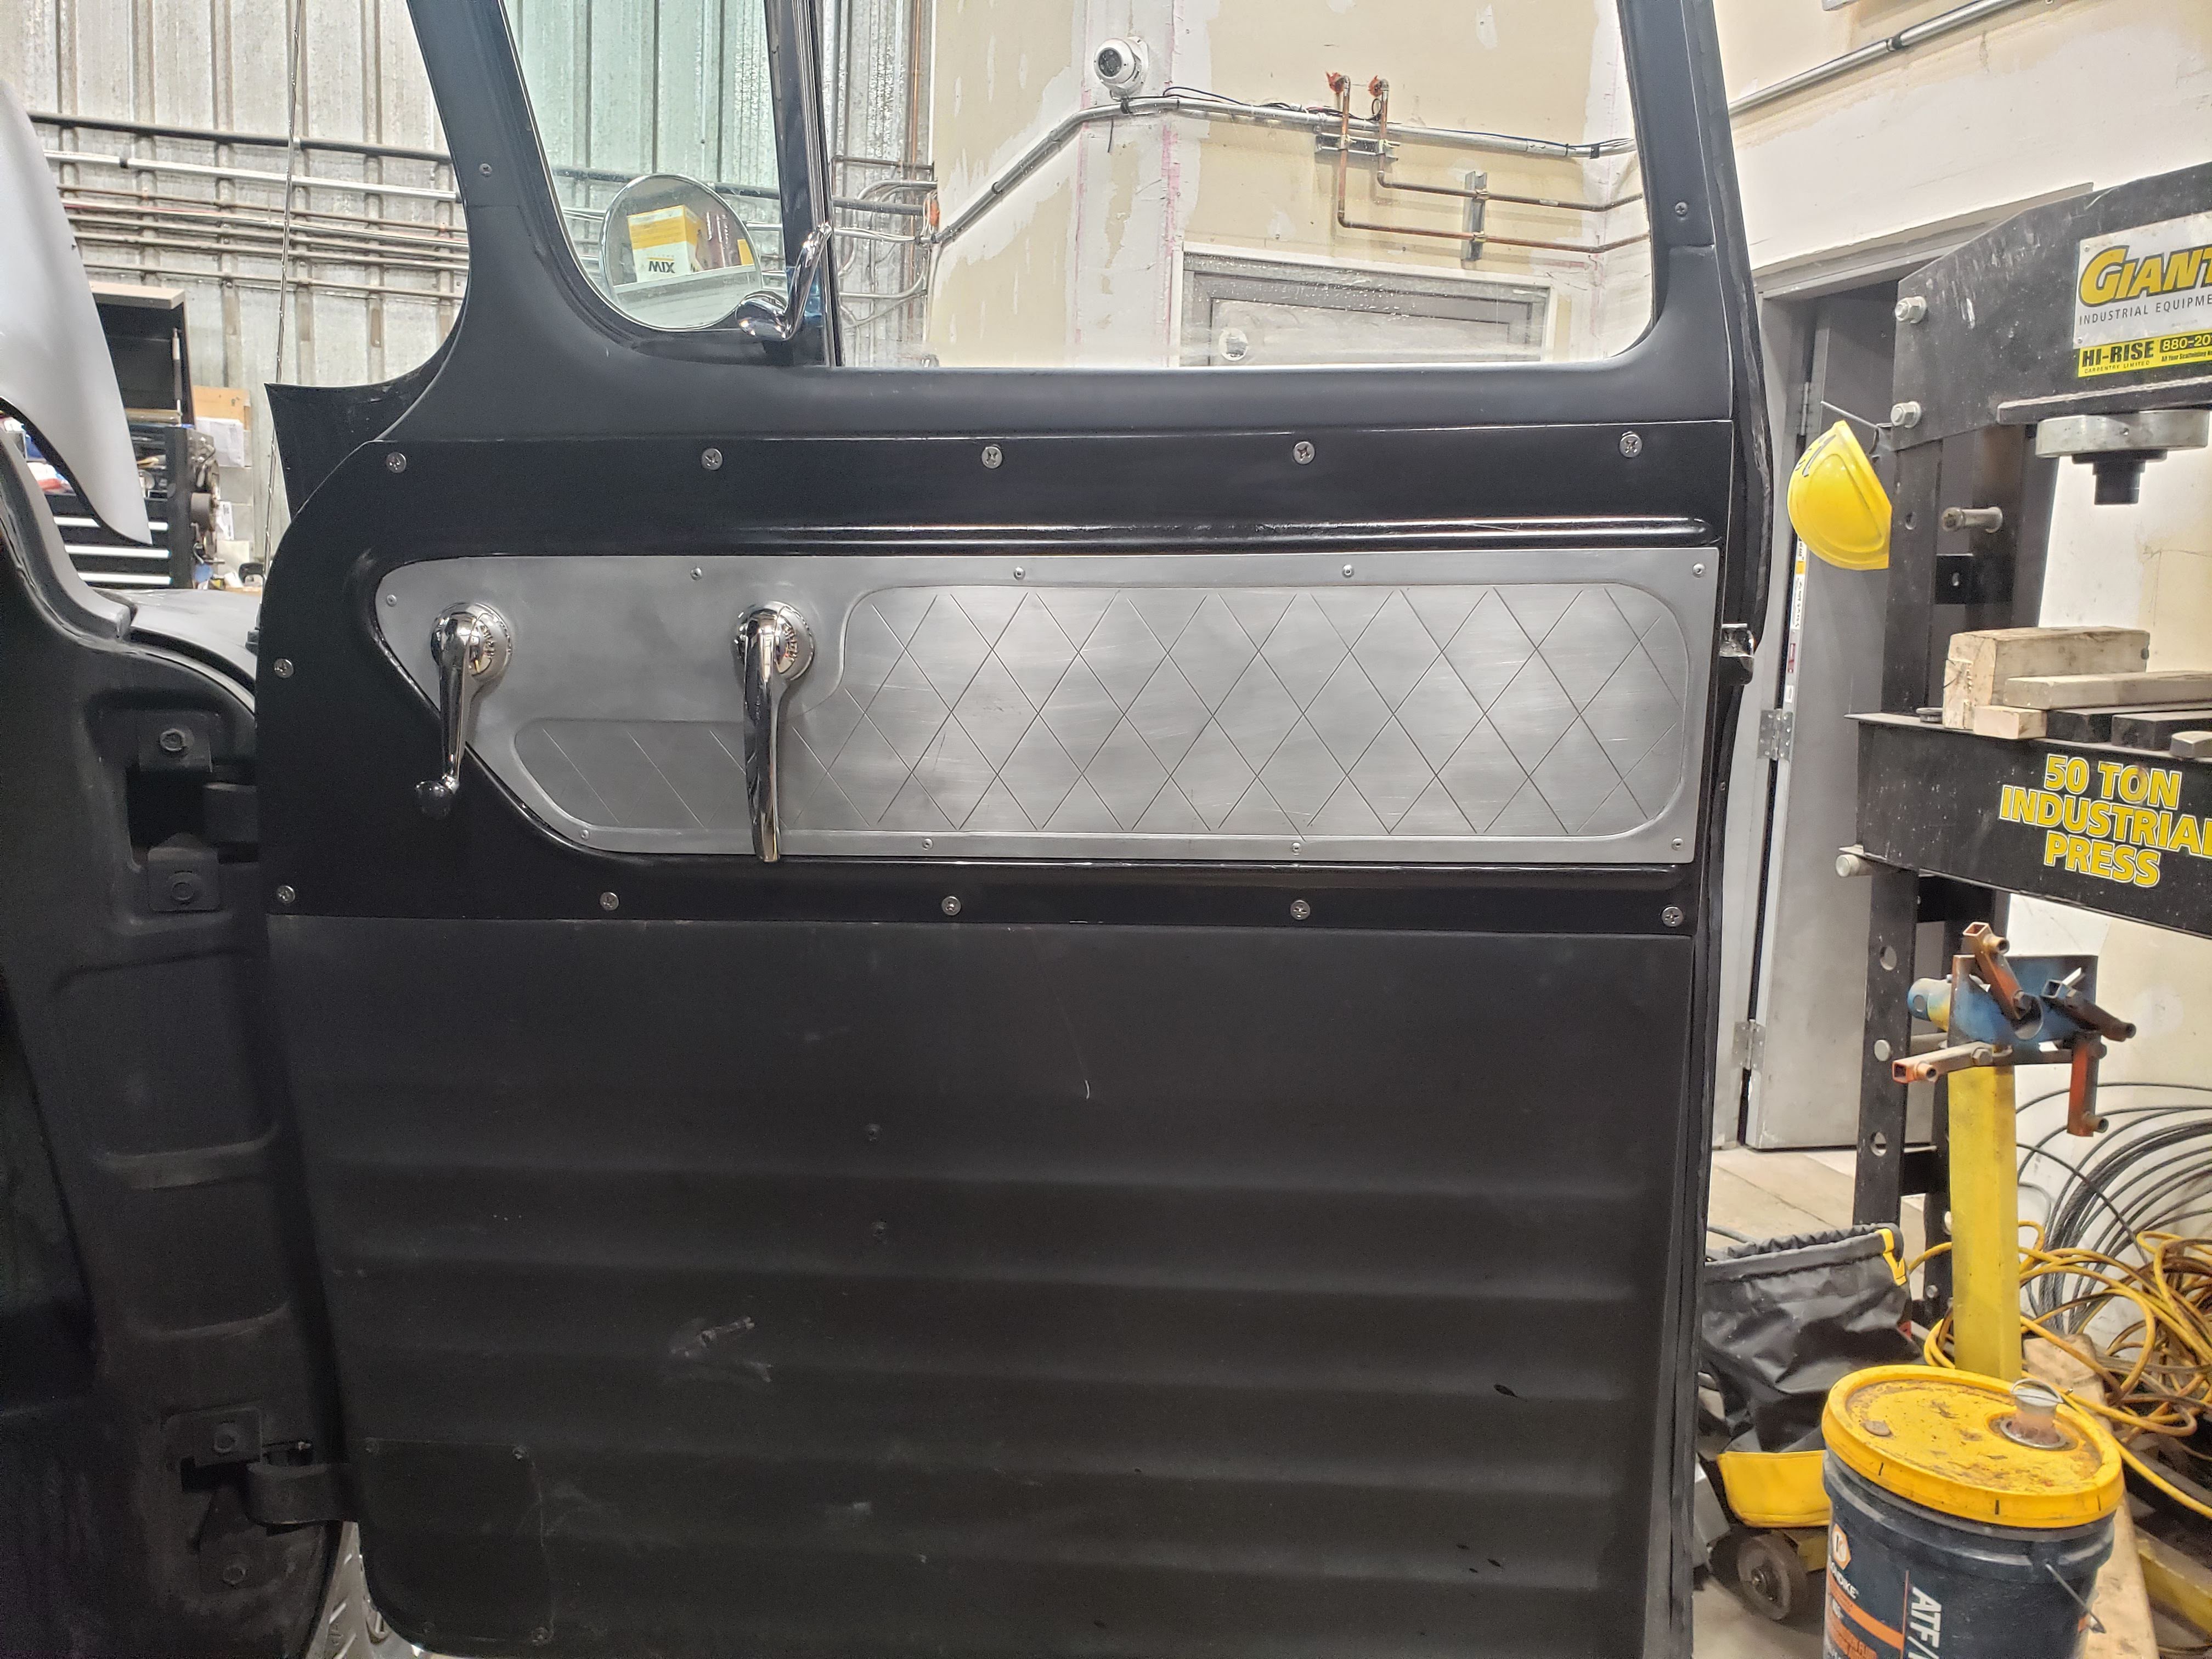
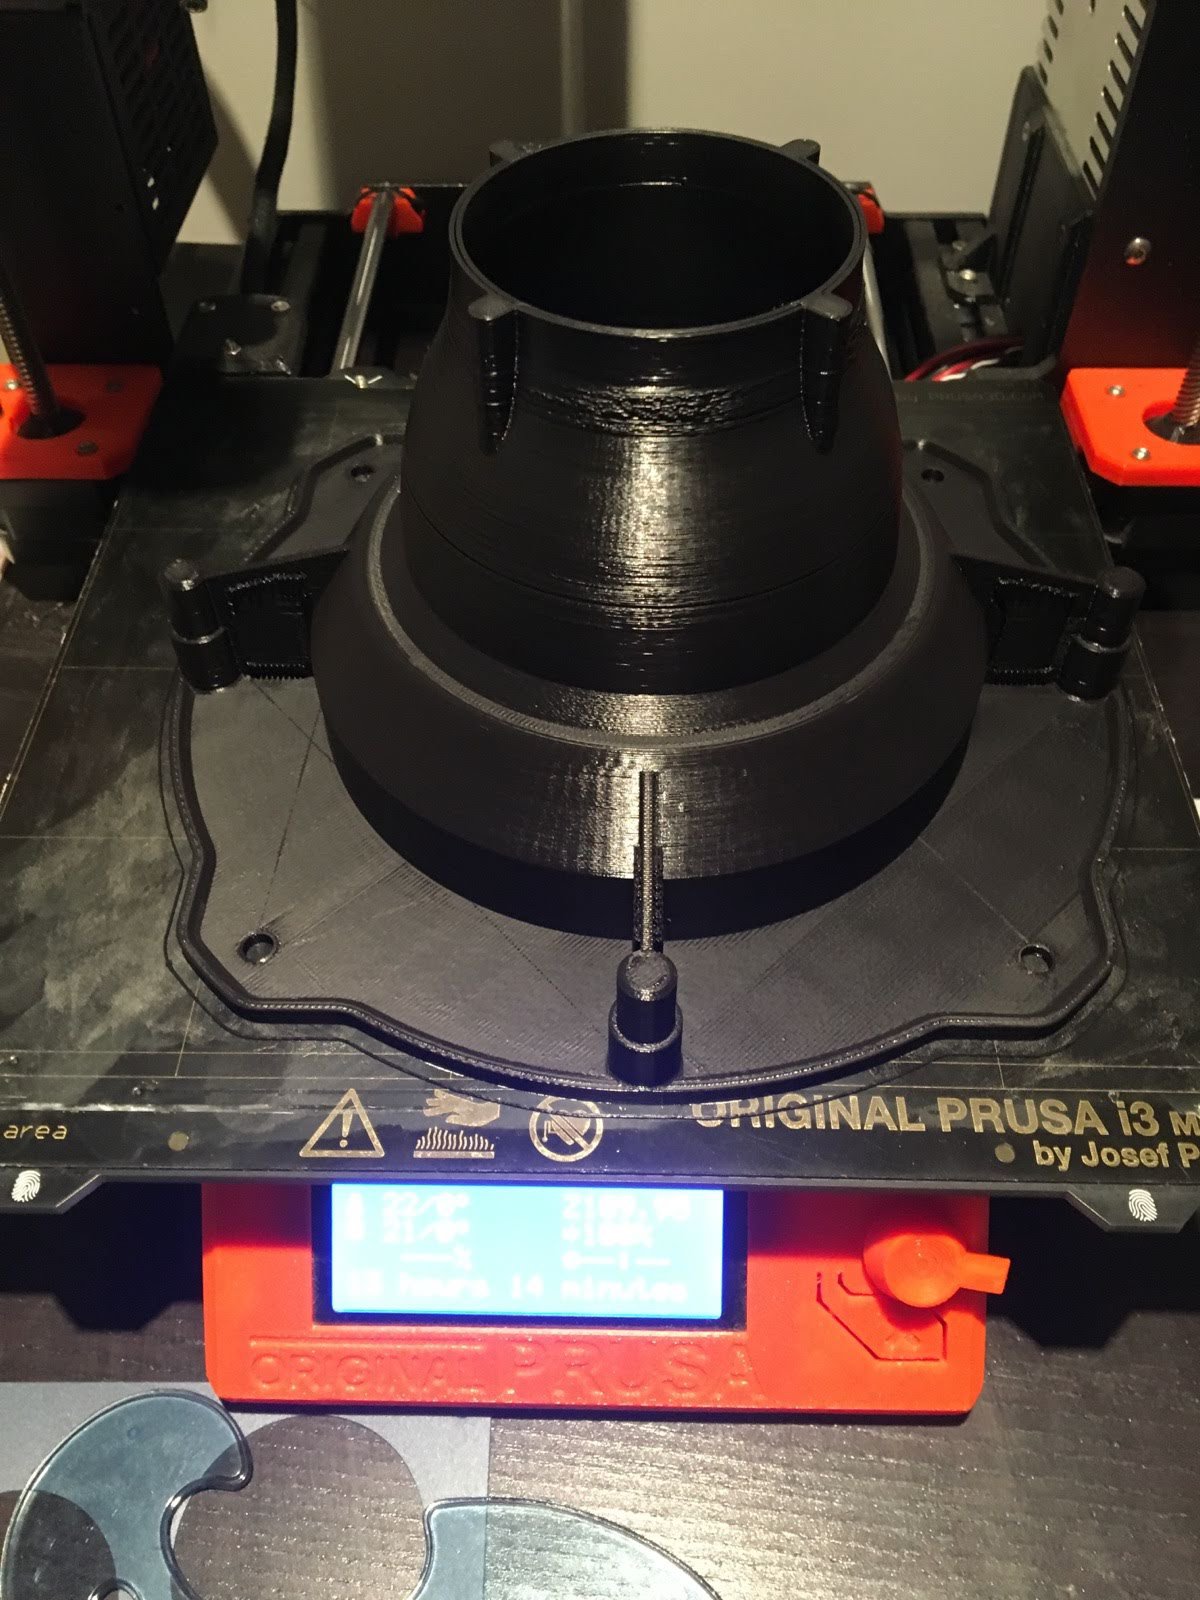
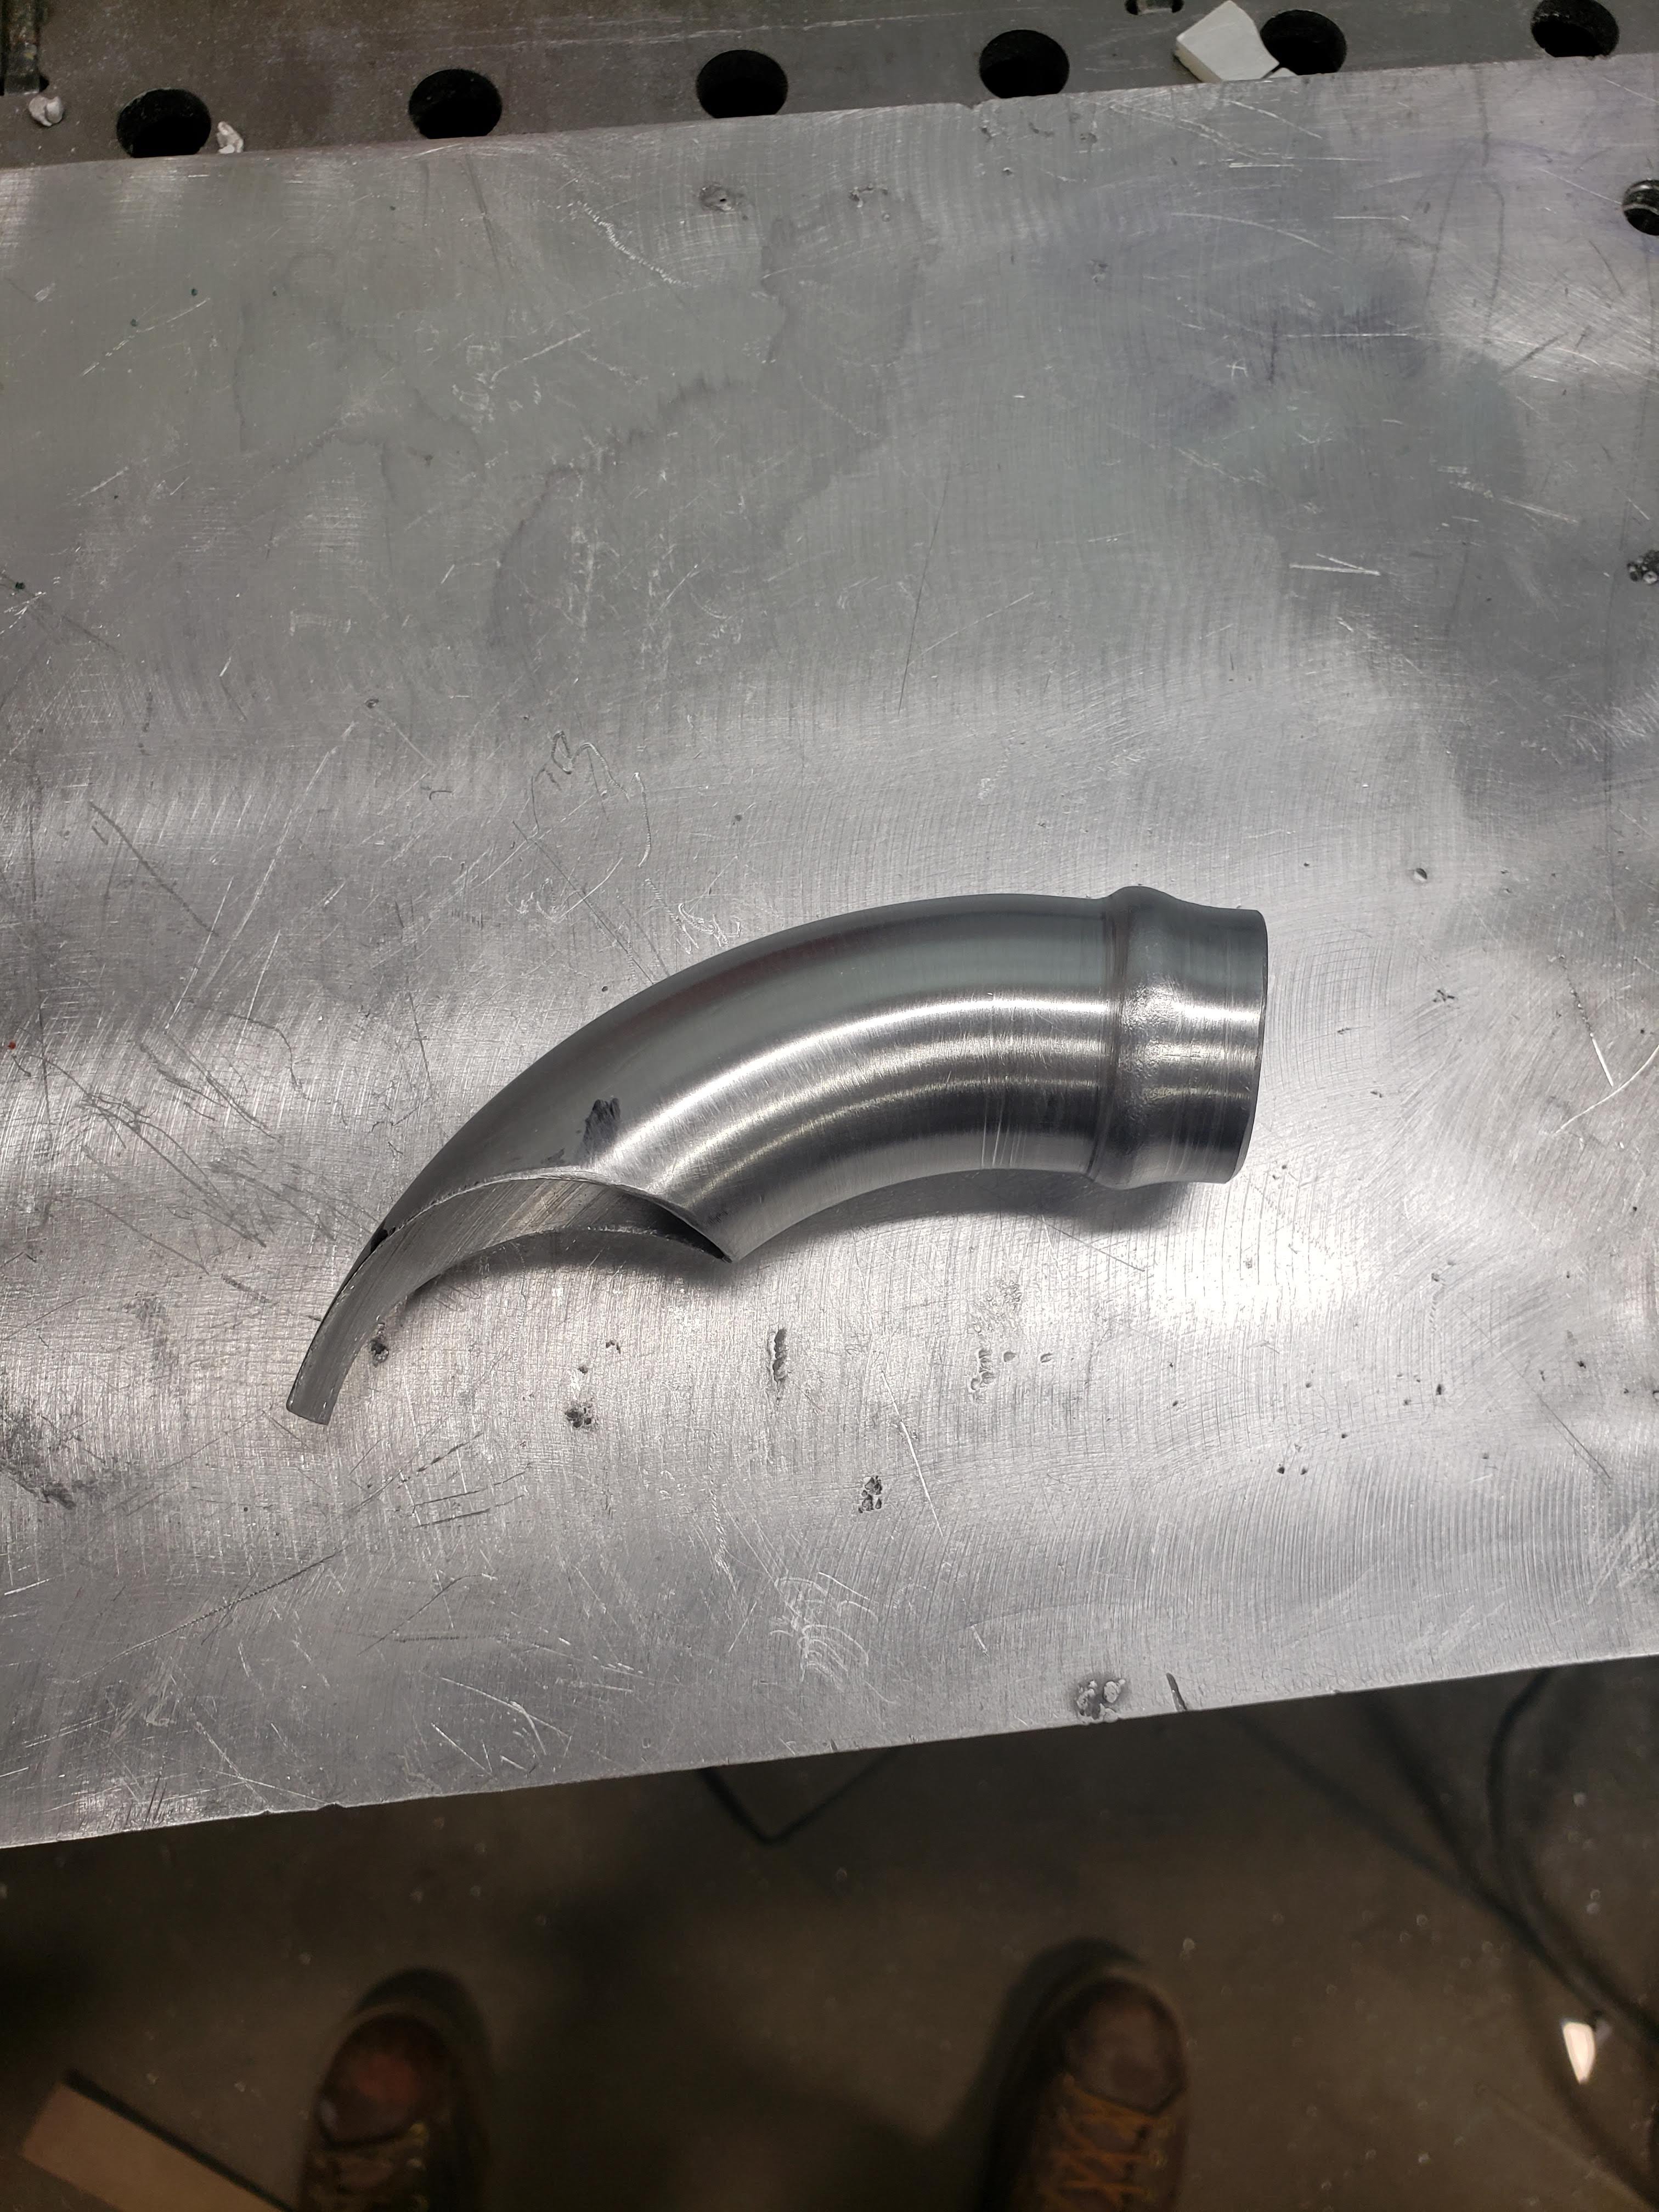
Awhile back I made the panels that attached to the hood hinge, when I bead rolled them I didnt account for the shape of the hinges so when I mounted the hood hinge it over top of part of the bead roll design. Normally I would just leave it but for some reason its been bugging...the old lady says im crazy. Ended up make "version 2" of that patch panel and I think Im happy enough with how it came out. Started working on the cold side piping for the intercooler as well. I ended up printing out some pie cuts to see what type of centerline radius would fit best, ended up using a CL radius of 3.5". If anyone needs any STL or gcodes on pie cuts let me know! Been looking at electrical connectors and I've seen people using Mil Spec, does anyone have any other recommendations?
-
Heavy Duty frame rails and connectors
Exposed replied to toolman's topic in Gen III & IV Chevy V8Z Tech Board
great job! really enjoying this build -
Frame rails too far gone to repair?
Exposed replied to ZigzagZ's topic in S30 Series - 240z, 260z, 280z
I have to agree with idahoskiguy, for the pictures posted I cannot see the car being worth 8500. I can only imagine what is under the paint. -
@LLave 😂 its funny how that always seems to be the case
-
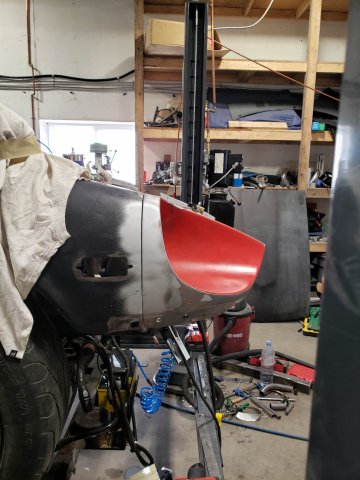
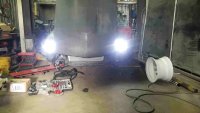
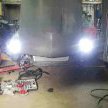
starting to come together again! After this past week I've been motivated to get it finishe d, still plugging away on some filler panels. Lined up the fender and headlight bucket, needs a bit of fine tuning but luckily I'm not the pickiest person in the world. Would be nice to have it on the road by spring.
-
Made a mistake on the bead roll 😅, Ill need to remake that panel if I cant correct it.
-
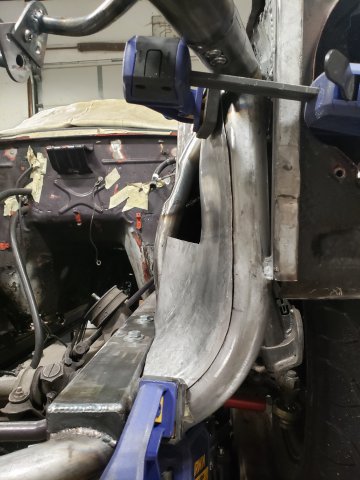
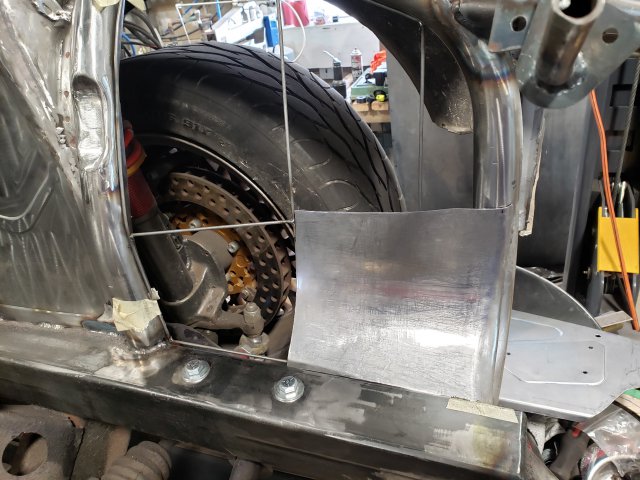
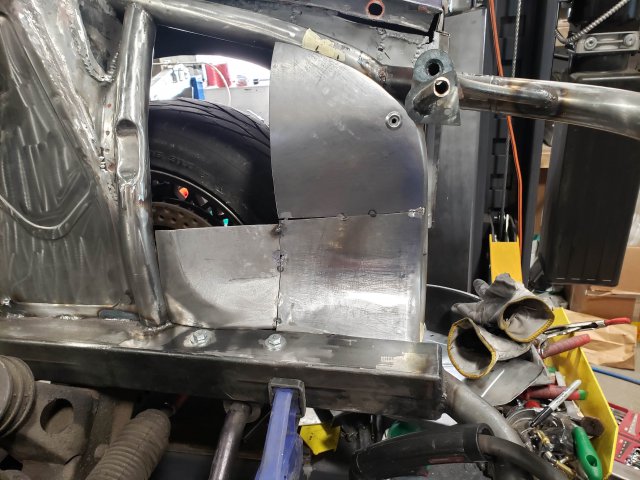
Started forming the sheet metal to cover the wheel on the passenger side.
-
looking good, great use of the 3d printer.
-
-
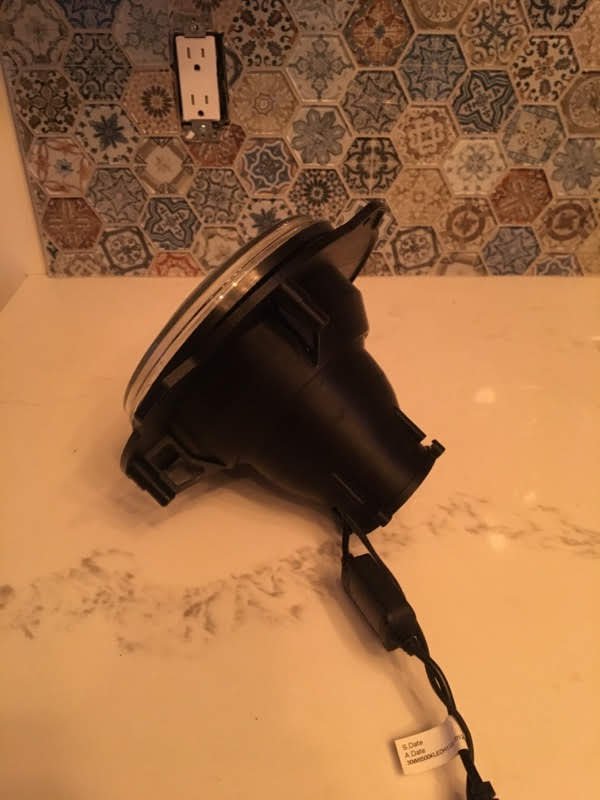
Had a bit of time on my hands two weeks ago, had been waiting on the old ladies water to break. I have a headlight bucket that has seen better days, decided to try something different out, I couldn't source anything newer. Current prototype print is PLA settings are 210 at the nozzle and 60 at the bed. 20191125_235035.mp4 also got a bit more practice laying some beads as well, this is for a 59 chevy.
-
finished up the passenger side end tank and also finished the upper radiator hose connection. I 3d printed a couple dies for my bead roller and put a bead on a piece of 1.5" dia. tube, tube was cut from 90.