Leaderboard
Popular Content
Showing content with the highest reputation since 11/21/24 in all areas
-
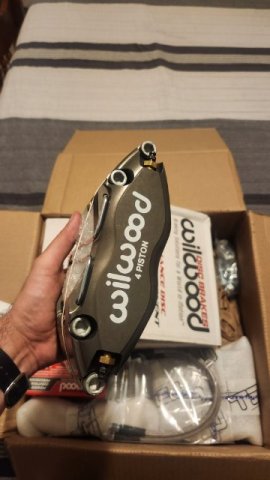
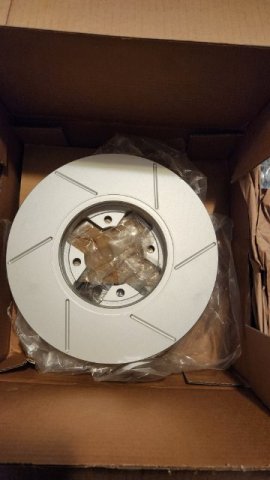
Three weeks until I'm home and properly working on the car before a long road trip. I've been creating a detailed list on some Google notes of everything I hope to accomplish. I'll update once I truly get to it, but for now just wanted to share my excitement for my new brakes. Was in Utah about two weeks ago for a handful of days for a music conference and my brother was kind enough to let me borrow his truck to drive up to Logan just for one evening to have a quick dinner with the siblings up there and I took a quick trip to my folks' place late in the evening and opened up some of the parts to keep my motivation haha. Also had a big box of new seals from Resurrected Classics. They were kind enough to give me a steep discount on their weatherstripping kit when I asked if I could get it without the door seals since I had already purchased the S30 world seals before they released their kit. Looks like they were kind enough to give me the discount and kept the door seals anyway! I'll be making a thorough comparison of it against the Precision kit I have, mostly to see if it's truly far better for some of the worst fitting parts.5 points
-
I have two heads in stock as I type this so the head can actually be purchased. I can't help that you can't afford it. That's a feature not a bug. For the very beginning my goal was to provide the components so that talented engine builders could make the decisions on the types of components they wanted to use. Based on what I've seen and taking the pricing of the relatively simple L6 head as the baseline I highly doubt it. I'm not really sure what I did to put a burr under your saddle but you remind me of the guy that starts a fight in the line to get into the club because he can't afford the cover charge. Just get out of line and go somewhere else.5 points
-
4 points
-
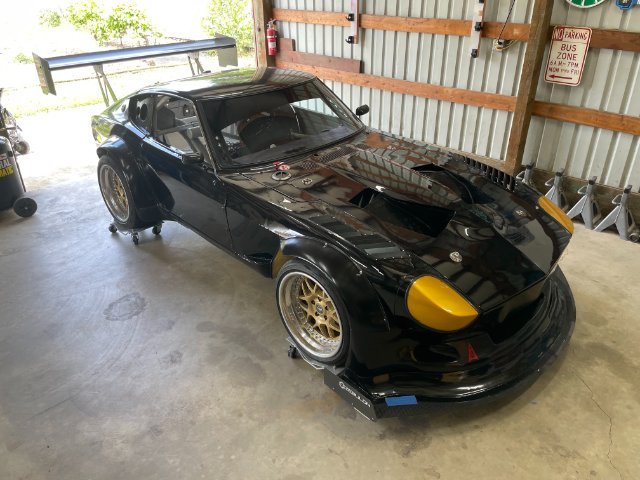
Went out for some Auto-x this weekend, and had a proper blast. Highly recommended for anyone here who still hasn't gone to try it. Enjoy a slow lap, some V8 noises and straight cut gearbox whine. I have a handful of things to think about and address moving forward, but overall I'm very happy with where this sits. Next up is OnGrid at the Ridge in late July for more testing, and maybe, just maaaaybe a little redemption.4 points
-
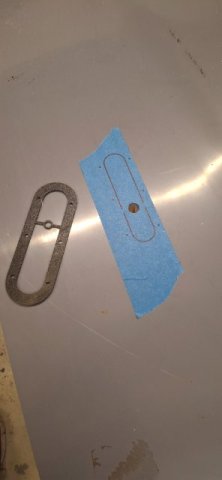
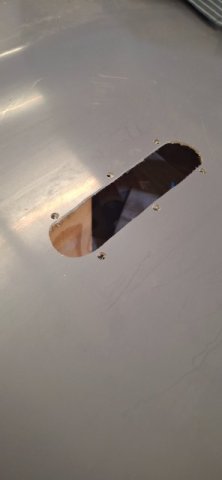
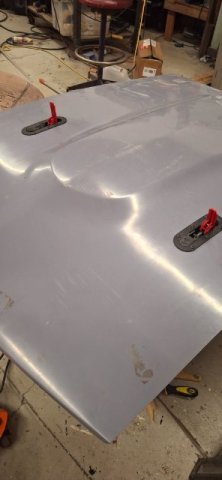
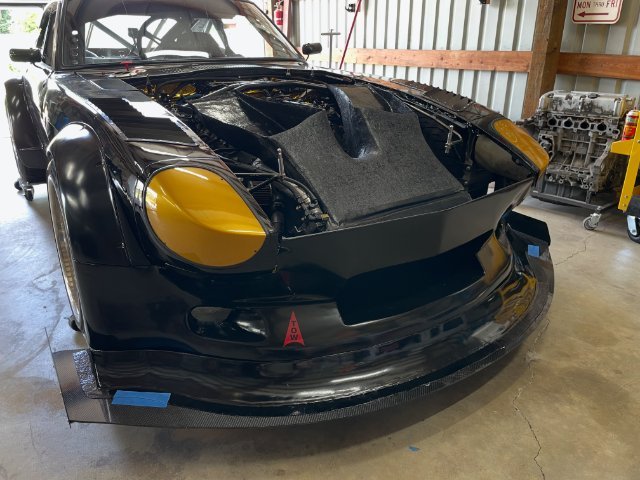
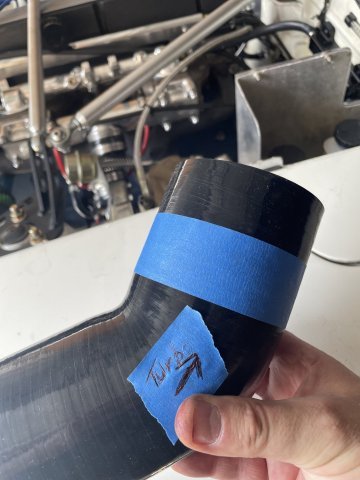
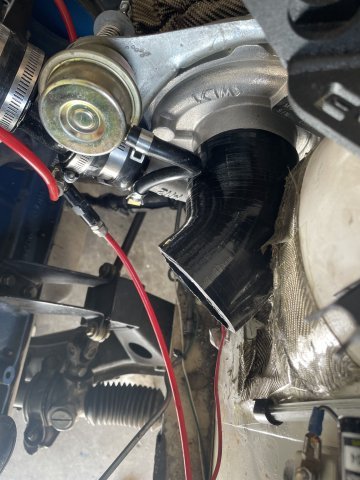
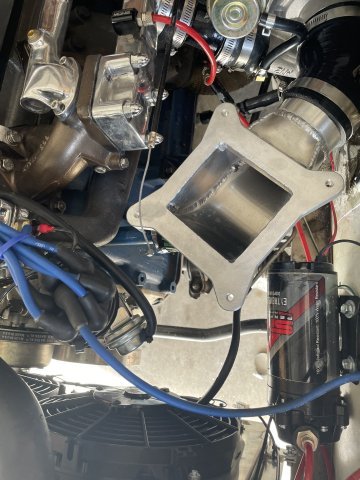
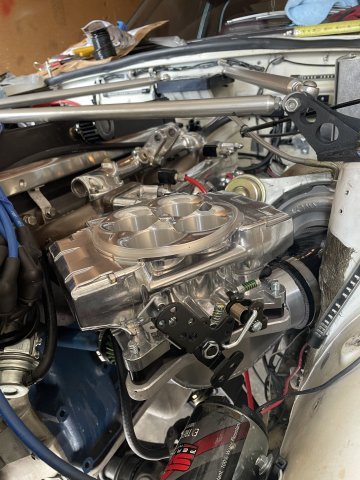
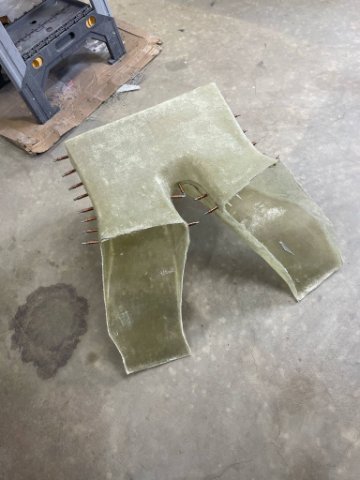
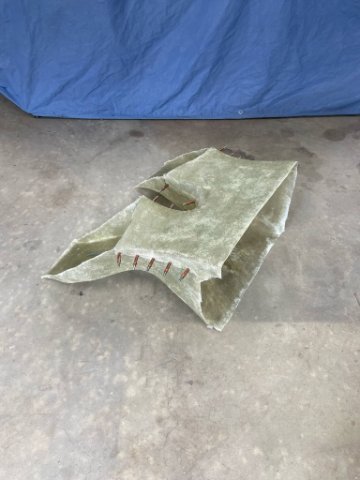
Good progress over the long weekend. Paint, bondo and fiberglass is mostly a waiting game which is pretty annoying. Got the duct glued together and painted so it looks like something. Trimmed it up a little and we are in great shape! The holes in the hood are a little bit large, but that's ok, and will likely get solved with a new hood (fiberglass) or something on top. Also got the transition piece painted which is exciting! This will help blend the splitter into the air dam, and will get taped onto the splitter once I put some trim on top of it. Need to get to work on the new intake pipe as well, going to put the filter over near the wheel for now. In the future, I'll flip the manifold and pull air from the cowl/wiper box area, but that's a bigger lift in terms of fabrication. Can't tell you how excited I am to have a metal fabrication project after 10 months of composites.4 points
-
Meh, he's a paid supporter of the site. I figured I'll give him his moneys worth4 points
-
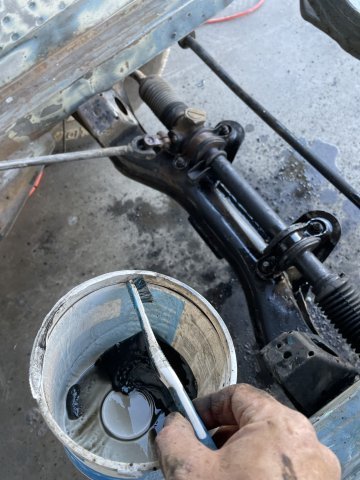
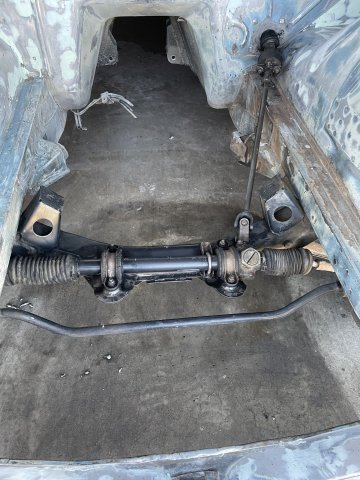
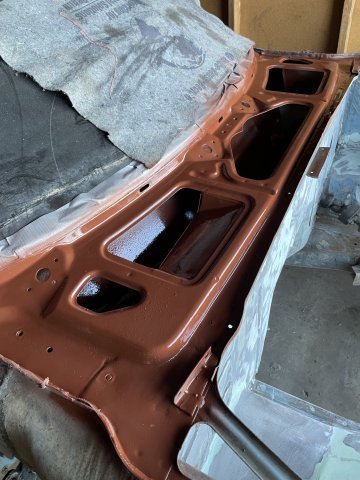
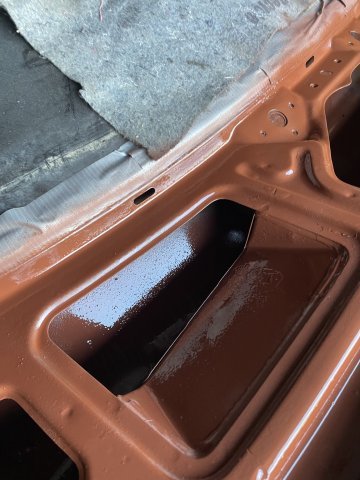
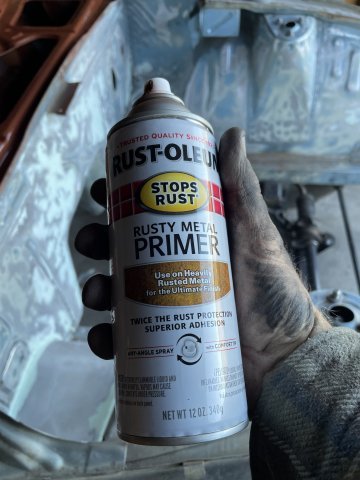
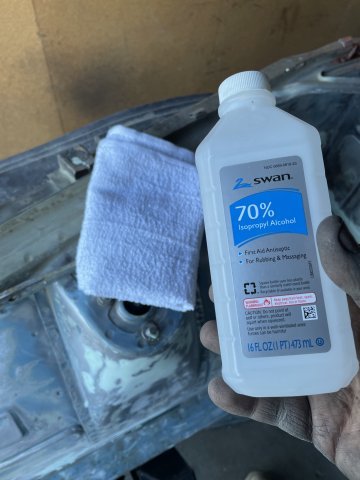
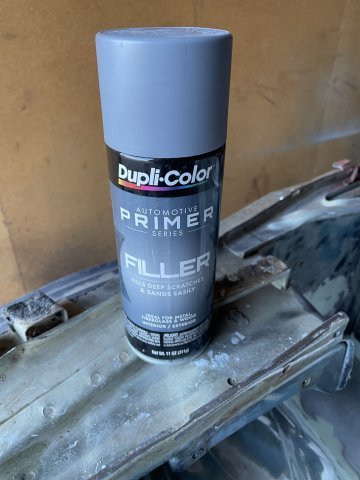
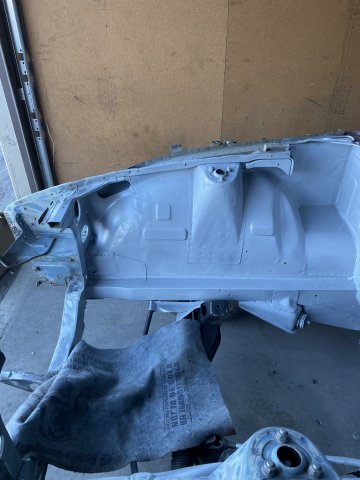
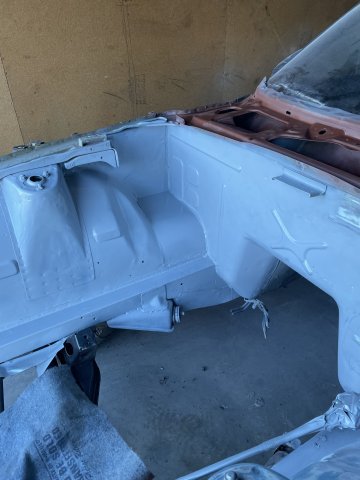
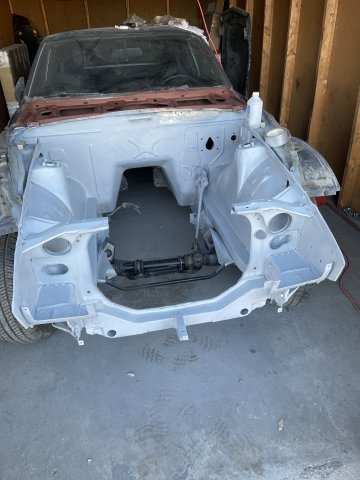
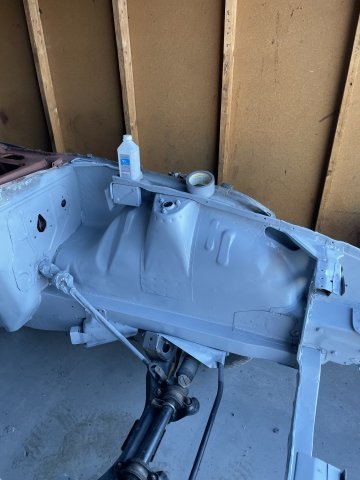
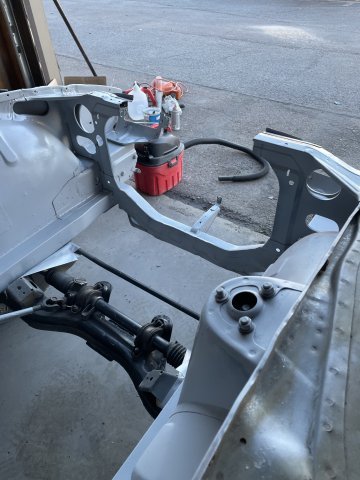
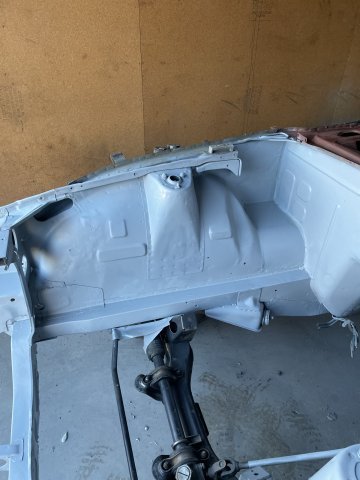
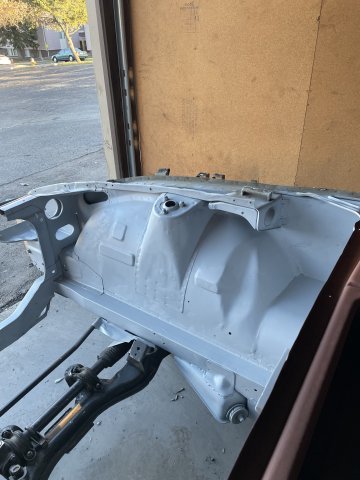
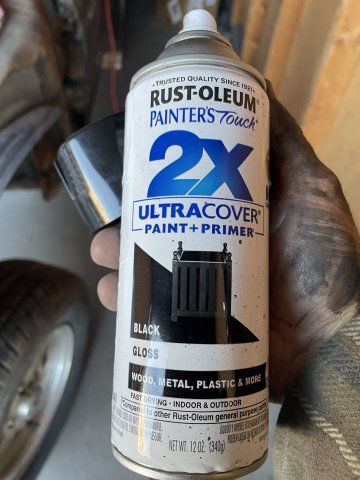
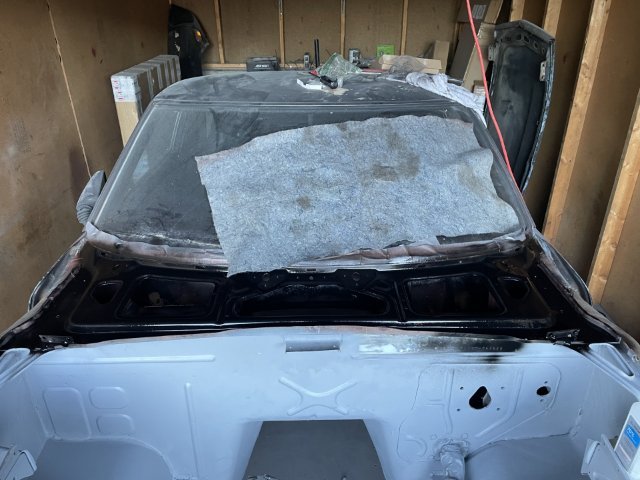
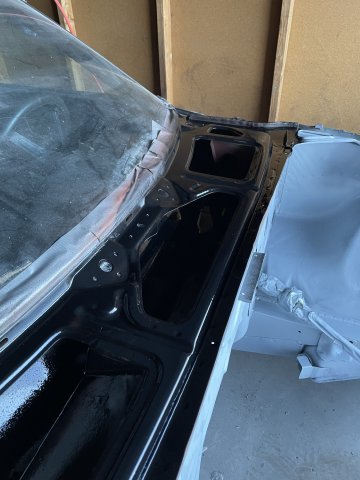
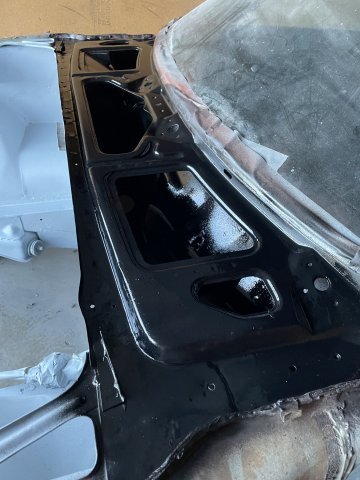
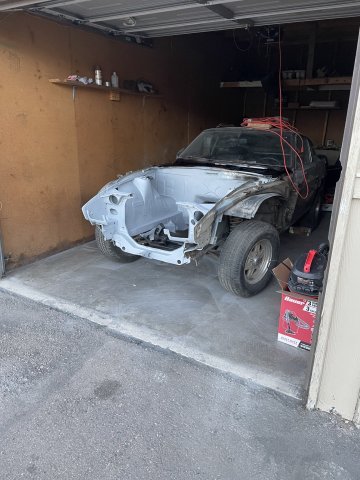
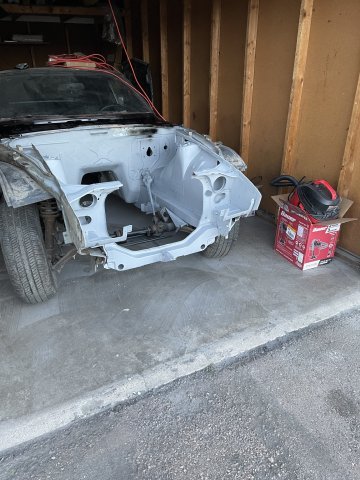
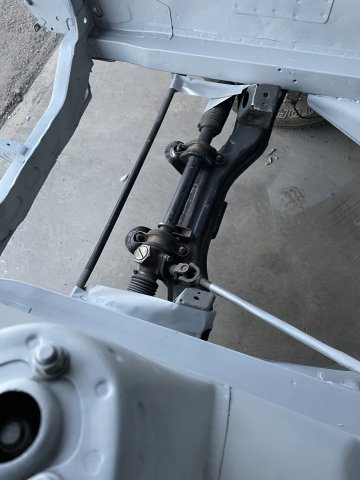
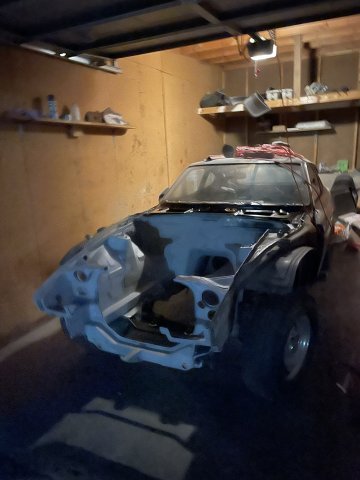
11-01-2025. 260Z work. I got the engine compartment sanded down after the glaze and then cleaned up the crossmember and rack with cleaning solution "g@s" and a toothbrush, and then steel wool, etc. Then I vacuumed out the cowl and primed it with rustoleum rust primerand top coated it with gloss black paint, then painted the engine bay with filler primer. Once dry I will use some spot putty I picked up on the areas that need it, hand sand it smooth and filler primer over that. Once it is good, then I will progress to color and then clear. Busy day! Pics:3 points
-
Yes, still working on then, just have not posted anything. Bought some expensive components that take time to recover from. A blank PAMS head, that I then designed and has DelWest make me titanium intake valves, Inconel mnemonic stainless steel exhaust valves, also MoldStar 90 seats and guides. Had it assembled, and ports cleaned up for some nice flow numbers. Also purchased a Nismo 6 Speed Trans that was also strengthened and modified by HPI in Japan. I take some progress pics soon.3 points
-
3 points
-
Got the sensor figured out. It is idling around 130-140 F. Should be OK. I have to post a video. Sorry but I think this thing sounds bad ass. I have an insert in the exhaust so I dont need earplugs.3 points
-
Update: after speaking to Cortex and getting some spindle dimensions from them for CAD mockup, looks like I’ll be using their Radial X spindles. Very exciting stuff, I am a bit weary about using aluminum spindles but the car is a track car and last weighed at ~600# over each front wheel so I think I’ll be alright. Thanks! Excited to share my progress with you guys. I’d eventually like to make my work/design open source and see what more talented suspension engineers can do with it. If I didn’t just buy one of these yesterday I’d offer to trade you a complete kit for one of them KN20 heads XD. A bummer indeed, just another bump in the road! Funny you mention Stock Car blade-swaybars. It’s basically all I’ve been looking at for switching over to that design. Plus the parts are pretty cheap & standardized. Thanks everyone.3 points
-
This is awesome. We haven't had a good engineering project on here in a while, so this is a good to see.3 points
-
The hairlines weren't that bad, it was the handful that were going through the edge of the rotor that I was worried about. Friday marked my first return to the track in almost 2 years. Knocked off a bunch of rust, the car worked the whole time, and I made a couple changes that were impactful and improved the car. I went pretty slow, so y'all could enjoy some v8 sounds for longer than normal3 points
-
3 points
-
Some of their stuff is good and some is hot garbage. Max the owner doesn't stand behind his product and has a tendency to try and blame "modifications" to your car as the reason. I have a lengthly (4 page) post on classic z car about my problems with his door assemblies. Resurrected Classics door problems I have their door weather strips and their fuel filler neck and the are excellent. My advice is no matter what you buy test fit as soon as it arrives and go from there. The doors were so bad that I ended up not using them. Max refuses to refund my money so I make sure to take the time to tell people about my experience. Do not trust what he says as he says whatever he needs to to get out of doing the right thing. Caveat Emptor with this guy for sure.3 points
-
You should really just post on FB because they love trolls and useless posting there3 points
-
I track my Ford powered 260Z. My personal experience is that transmission gearing is extremely important to getting the most fun on the track. In Florida, you will most likely be doing track days at Daytona and Sebring. Both tracks have very fast sections. Before doing track days, I autocrossed the car. In autocross, you only really need second gear if you have the right differential / tire height. I used Hoosier 275/35-15 tires and have a 3.36 rear end. With a 1.94 second gear in a T-5 and 6,500 rpm, 2nd gear was good for 73 mph. When I started doing track days, I needed all the gears. I had replaced the stock 1st through 4th with G-Force gears and shafts, but fifth gear was still stock. With that set-up, these were my gear ratios. 1st 2.95:1 2nd 1.94:1 3rd 1.33:1 4th 1:1 5th 0.59:1 Worked great until I needed 5th gear. that big a drop absolutely killed the fun (no acceleration in 5th). After my first time a Daytona, I changed 5th gear to 0.81:1. The .81 gear absolutely transformed the car. Now 5th gear is warp drive. The transmission that you show probably doesn't have a good selection of gear ratios, and probably won't hold much power. If it were me, I would get the new TKX with the close ratio rears. That transmission will handle the power and maximize you fun on track. If I didn't already have so much invested in my T5, I would get a TKX. This is the TKX I would get: https://www.speedwaymotors.com/TREMEC-TCET18084-TKX-Close-Ratio-5-Speed-Ford-Manual-Transmission,452007.html?srsltid=AfmBOoq-x1paVSDoNvgI38myLy79UBWXzZFW-QeQ4bK1_vWnSHM7bEEJ Gear Ratios 1st - 2.87, 2nd - 1.89, 3rd - 1.28, 4th - 1.00, 5th - 0.813 points
-
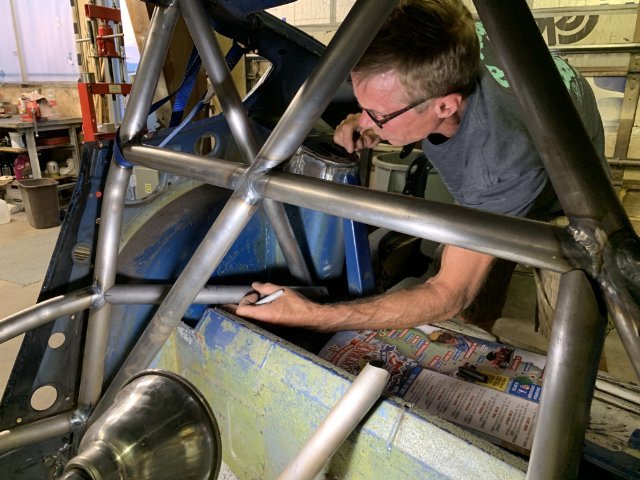
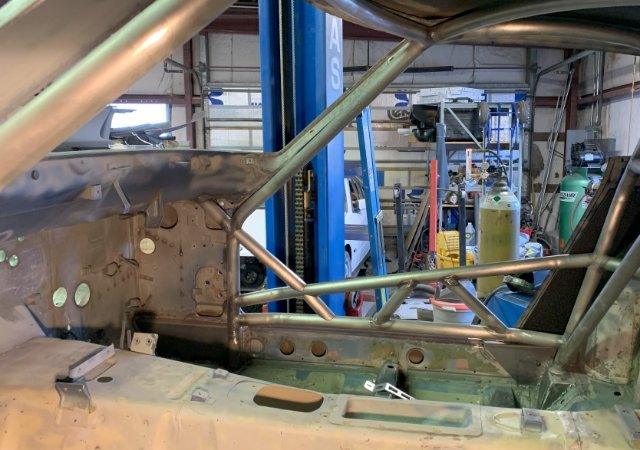
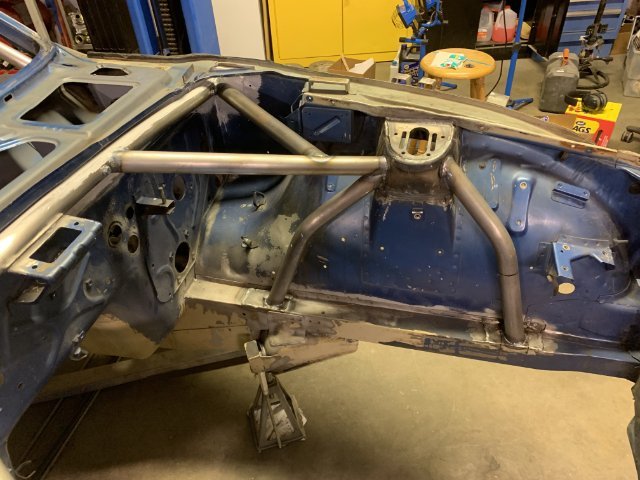
For a street car I think the rails make sense. For a race car that has a cage perhaps not. For a similar amount of weight you can triangulate the cage with tubing on top of the floor that extends to the suspension pickup points.3 points
-
So.......it's been 7 years since my last post. The car basically sat in that drive way for a few years then pushed it in the garage for another4 years where the mice got to it. The gas in the tank and lines went to shit. I replaced the fuel pump and got it kind of running again. Obviously having the car sit outside for so long it pretty much ruined everything in the fuel system. This is where a project goes to die .....you lose interest and end up selling for cheap because it doesn't run. Well ......not this time. Last year the house where I was storing it had to be sold so I needed to find a home for it while getting it road worth again. My best friend who lives in Rochester, NY (I'm in Massachusetts) told me to trailer it to his place and we can work on it together. I know that the carbs need to get rebuilt so I decided to send them to Kyusha House. Here is the before pictures. And after Taka's absolutely amazing work.....3 points
-
Here comes the Project thread that I should've started when I picked up the car in 2021...... Firstly, I'd like to thank the person who has been the biggest help with this car, and who has ended up being one of my best friends, Andrew Mielke (who owns Milkfab Engineering). Without him the car would not be where it is today! His hybridz profile (check out his z) also shameless plug for his business: MilkFab Engineering Z acquisition: I had always wanted an s30 after growing up hearing my dad tell stories about how much he loved the gold 240z he had when him and my mom were dating. Any time we would see them at car shows or out and about i'd be drooling over them. When I started dating my now wife, I noticed a copper colored Z sticking out of a storage building on the road they lived on. Her and her family started jokingly calling it 'my car' due to me staring at it every time we'd drive past. Fast forward 3 years from then, we were married and looking for a house. She gave me a call because as she was driving to her parents house she saw the car outside and they were working on it, asked me if she should stop by and ask about it. I said 'yeah' never expecting it was actually for sale, and when they told her it was and priced it I was super surprised. This was in early 2021 when Z prices were going up dramatically, and she knew that. I told her we shouldn't get it, that it would be unwise since we needed the money for a house down payment, we had no place to put it, etc. BUT, she made me buy it, saying 'You never know if the prices are gonna keep spiking and you never be able to get one....'. So, we bought it, my parents drove over two hours to come pick it up and take it to their house where I could work on it/store it until we had our own place. My wife is a nurse and worked weekends for a while, which meant I spent many a saturday getting up at 5am, heading to my parents, working all day, then driving back in time for dinner. Over the course of 2021 I got the car 'ready' to come home, and we bought a house for it to come home to. The short of it: Where we started (There is probably more than this I'm currently not remembering) L28ET with no E or T round top su carbs lots of electrical gremlins from previous owner cutting random stuff to try and get the car running Radiator support bent from car being wrecked nasty gas tank Where we are now: Frame straightened L28ET with the E and T many fewer electrical gremlins cleaned gas tank coilovers proper race bucket seat (passenger still gets to bounce around in a nb miata seat lol) More posts to come with some build processes, pictures, stories, and more general nonsense.3 points
-
New to the forum but I wanted to make a summary of my build status/plans for my 1982 280zx. I got the car with 150k miles 7 years ago in a straight up trade for a Kawasaki Ninja 250 (crazy, I know). I was in high school/college for most of that time so my major upgrades had to wait until I got my own garage 2 years ago. Overall goal is an aggressive (~350hp) restomod that I can take to the track occasionally. I've been recording my build progress but only recently went back to edit/upload all of the videos. If you're interested in following along, subscribe to my YouTube! I'll be posting videos every 2 weeks until I'm all caught up on footage. https://www.youtube.com/@engiandesign 2018 (One year after I got the car) January 2023 Engine Bay April 2024 Engine Bay Stripped, and Painted May 2024 Engine Rebuilt July 2024 Engine Bay Mostly Complete Current Mods: Fully rebuilt L28ET Rings, bearings, studs Stock internals Valve job with new valves and seals Cometic MLS head gasket Cam sprocket and timing chain Port and polished head High volume oil pump Schneider stage 2 cam regrind with matching springs, retainers, lash pads and resurfaced rockers Ported exhaust manifold with custom external wastegate piping Tial MVS 38mm wastegate Borg warner S257 SX-e T4 7670 CXRacing Intercooler Kit Mishimoto 25 row oil cooler Mishimoto catch can Champion 3 core radiator FF Dynamics dual electric cooling fans 3.5" cold air intake 240sx 50mm throttle body Aeromotive fuel pressure regulator Upgraded 100 Amp alternator Pallnet fuel rail 1000cc Bosch EV6 injectors Megasquirt MS3x kit from Godzilla Raceworks TSP high flow fuel pump All new glowshift gauges (9 total) CXRacing 3" stainless exhaust modified with X-Force Varex valved muffler Front/rear sway bars 280z style aftermarket air dam Louvers New carpet 4 Infinity 6x9 midrange speakers with 10" Pioneer sub Future Mods Multi-spark ignition CD009 transmission swap Wilwood big brake kit Custom front grill Side skirts Rear diffuser Duck bill spoiler Fender flares Coilovers Rims/tires Seats I'm sure I'm forgetting something on this list but that's pretty much everything. I got it running in July and after a few months of dialing everything in, its finally running great! I'm currently running 9lb of boost on a very conservative tune but it still rips. Luckily my work has a chassis dyno and some very experienced tuners which should help unlock a lot more power. This winter I plan to focus on body work/aesthetics along with rims/tires/suspension. This is my first project car so I welcome any feedback or suggestions, especially related to future mods. Make sure to subscribe to my YouTube for more updates!3 points
-
Before removing the diff, I would check the u-joints on your driveshaft as well.3 points
-
My photo album for the build is located here: https://photos.app.goo.gl/FEXaWgYEMedA2FJv9 My first project car is a 1973 Datsun 240Z. Like many cars, it was mostly stock with a lot of rust when I bought it around 5 years ago. I taught myself to weld and did all the rust repair. I replaced floorboards, frame rails, and many small patches in the fender wells. Then, I rebuilt the braking system and replaced numerous broken or rusted-out parts. Next, I re-gasketed the engine, drained the fuel tank, and cleaned the fuel system. I took the car down to bare metal and tried a DIY paint job. After that, I drove the car for about 3,000 miles around town and on a couple of road trips. I had my fair share of trouble. I had to replace a fuel pump, the alternator only puts out about 12.5 volts, and the wiring harness is starting to show its age, and the previous owners that created a rat's nest. Recently, I purchased another project car that came with a lot of parts and swapped them on. I added TTT coilovers all the way around, Arizona Z Car lower control arms front and rear, Arizona Z Car tie rods, upgraded front sway bar, new front valance, fender flares, and trimmed fenders for clearance, Watanabe wheels, and Toyo R888s (215 front and 235 rear.) I also cleaned up the interior a lot with new door cards and interior trim pieces. Recently, I replaced the billet diff mount with a new polyurethane one, fixed a lot of my early welding, did a full engine service, got the door handles working promptly, and modified the exhaust because it hung about four inches too low. After this, I put about another 2,000 miles on the car. All this work has the car in pretty good condition, but there are still a few things left to have a true daily driver quality car: 1.) Fix the exhaust. I got it tucked up nicely, but between my poor welding and previous owners, there are several leaks, and it sounds terrible. 2.) Rewire the car. I have the brake, reverse, and running lights working. However, I have never been able to get the turn signals to work, and the gauges work very seldomly. I have purchased a 21-circuit harness from EZ Wiring and will rewire the whole car in the next month or two. https://www.ezwiring.com/product-page/ez-wiring-21-standard-wiring-harness 3.) New gauges. EZ Wiring sells new gauage kits. I'm not sure if the 50-year-old gauges are broken or if the wiring harness is bad. So, I think I'm just going to replace the gauges with a set I know will work with the new harness. https://www.ezwiring.com/product-page/shark-mechanical-gauges 4.) Re-attach the skid plate. I had cut the plate off because the bolts were rusted and stuck in the car. I fixed the plate by welding some washers on the bolt holes, but I need to drill out all the old bolts and tap for new ones. I don't have the car lowered that much, so I'm not too concerned about it, but it would be a nice piece of mind. 5.) Alternator. Ever since I have owned the car, the alternator has not worked properly. Recently, I had the alternator rebuilt with quality parts and bench tested. I know it works, but the car is only putting out 12.5 volts when running. I have played with the wiring and got the alternator to put out 14 volts, but then you can smell the wires burning from too much juice. Like I said, there is a rat's nest from the previous owners. I am at least the fourth owner, but I don't have a full history of the car. I have an FSM, but the wiring guide no longer matches because of all the other owner's work. This is why I plan to replace the whole harness. I'm hoping the new harness with better relays with fix my charging issue. 6.) Alignment. After I put the new suspension on, I did a garage alignment, and it is pretty good, but I would like a professional to take a look. I have that scheduled for next week. 7.) New Dashboard. My current dashboard is pretty rough. It has several cracks and looks pretty bad. I have a newer, crackless dashboard. When I rewire the car, I'm hoping to swap the new one in and put some sound deadening behind the dash while I'm at it. I'll post my progress if anyone is interested, and I'm sure I will have a couple of questions. I know the last finishing touches take the most amount of time. I'll also answer any questions anyone has, but I'll warn you that I'm a hobbyist. My full-time job is as a lawyer, and I'm by no means the best mechanic in the world. My welding has also gotten a lot better, but it surely isn't that good. Thanks!2 points
-
Just looking at the picture that you posted of your steering shaft, it looks like the u-joints aren't phased correctly. It may be an optical illusion from the angle of the picture.2 points
-
When are you hoping to get this car on track? I'm hoping to do an SCCA track day at Sebring in February. It would be nice to see you guys there.2 points
-
2 points
-
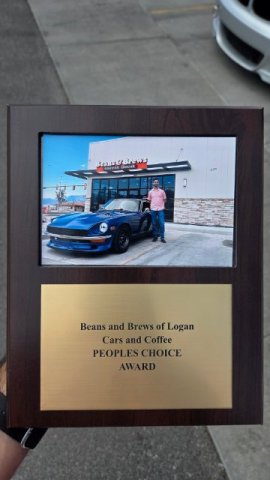
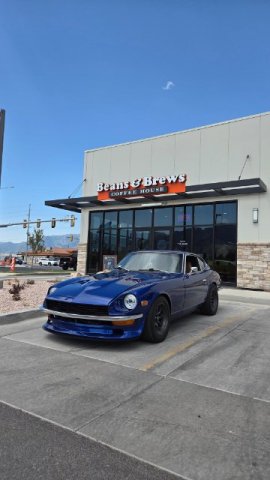
People's Choice at a small cars and coffee in town this weekend. Brakes feel really good. It's weird feeling how firm the pedal is compared to the originals now that it's all stainless hoses and the rear has been upgraded. Even the parking brake is better than I expected! Getting wheels balanced today - I know for a fact one had a couple weights knocked off, I can see where the adhesive was, and I'm still upset about how many weights they used to balance one corner. Someone wasn't doing their job right when they mounted the tires I think, because there's no way you need two long strips on opposite sides to get a wheel balanced.2 points
-
Those hairline rotor cracks are common when running giant rotors. Even though you are getting very little rotor wear due to the size of the brakes, the heat cycling eventually forms the cracks. I've ran them on track probably about twice as bad as your pictures.2 points
-
Good post. I was frustrated for a long time with companies not sharing spring rates on these parts. FWIW, Viking is legit, lots of fast SCCA guys run those things with good results. IF those spring rates were chosen to prevent bottoming out of the shocks, that's pretty poor design. My guess is that the motion ratio of the bellcrank will be the limiting/bottoming out feature here, and that the conversion to pushrods has resulted in some high force multipliers. My guess would be Viking starting point is mounting in a "muscle car" front end, where the motion ratio is fairly low. I'll be interested to hear what the APEX guys say!2 points
-
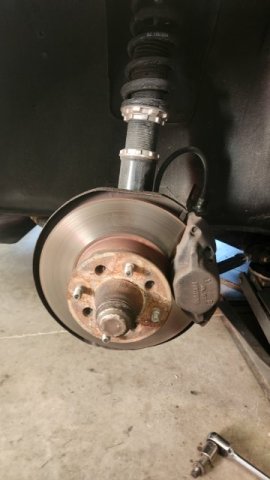
Got the front wildwood brakes installed today! A couple small quirks along the way on my install: First side I installed the rotor on the adapter ring to the hub wrong and the caliper didn't line up. It has two separate mating surfaces, one for a 240z and one for the later 280z hubs. Since I've replaced my 280z hubs with the T3 hubs, I failed to realize they're essentially a universal hub for early and late models which is why they had an extra shim ring of about 10mm to account for where the 280z mounting surface is. I took the ring off, so technically I had to install them where the 240z ones are, unless I wanted to run my rotor ring AND the hub spacer shim that they came with. Avoiding too many unnecessary pieces so I redid that side to mount on the 240z mating surface of the adapter and we were fine. Problem 2 - because I ordered the 280z brake kit, the included hardware also assumes you're still using stock 280z hubs. It's on and worked on my short drive, but I noticed in the picture where they're installed that the bolts don't go all the way out to the mating surface for the wheels. Quite a few threads left unengaged. It's probably safe for the time being, since I thought about the forces on those specific bolts and it's not really in or out since they're perpendicular to the rotational force applied by the brakes. I also didn't feel like I had particularly few threads engaged as I was bolting the rotor to the hub. Probably safe for casual driving, but it's a high priority fix right now to get the correct length bolts from T3 or locally. Better safe than sorry! Other than that I'm really happy. Bled the system with my new Motul brake fluid, which should cope much better with the heat off the turbo vs the cheap generic O'Reilly fluid I had before.2 points
-
it can seem like the page is dying off.....but we actually get new members every day, and if you scroll to the bottom and look at the numbers, we get a lot of visits daily.2 points
-
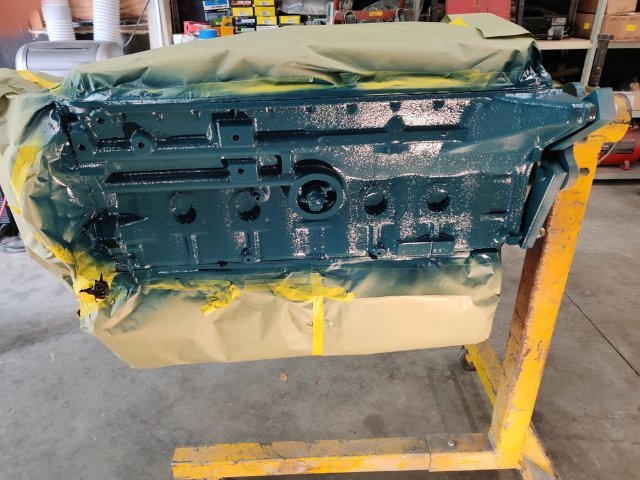
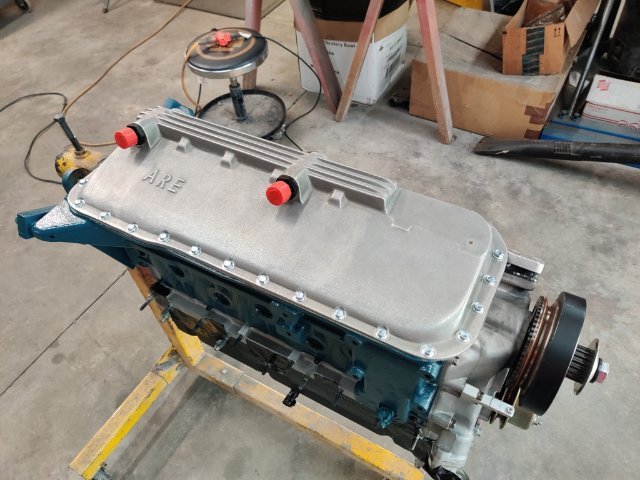
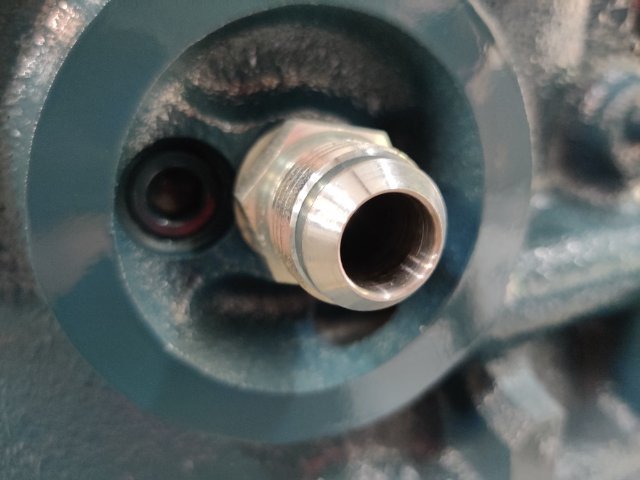
I have finally switched my focus to getting this car running again. This weekend I painted the engine block of the new replacement engine. I was hoping to get it in the car, but various things slowed down my progress. I thought I had a pilot bushing on hand, but couldn't find it. So, a trip to the store for that... Couldn't find the torque spec for the ARP flywheel bolts and wasted time looking for that. Little things like that eat time. Anyway, a few pics: With the back plate, flywheel, disc, and pressure plate now on, I am about ready to put the engine in. I think I will strip and repaint the motor mounts first. Then, I'll put the engine in and start the work to mount the oil tank for the dry sump. I will likely need to cut some of the inner fender well on the right side. I don't like going that route on my "early" Z, but I dislike blown motors more.2 points
-
That is a lot of work. Cool to see this come together and can't wait to see it run on the track.2 points
-
2 points
-
Let that ship sail! Find another decent body for a few grand and save yourself a ton of time and money. I've seen many "resto plans" dye on the vine after the joy has passed, months and years go by and the person doing it burns out. Just my ywo cents!! Good luck.2 points
-
Looking again at the pics.....if you don't want to dip it, no sense in really even trying to restore it. It needs it so desperately, you should do it, or just find another Z car IMHO.2 points
-
Work on this has continued: I went over the whole engine, looks great now: All metal work was finished Most bodywork was finished # Interior Painted Engine Bay Painted Underbody Painted Back on its wheels Full body will soon be in paint.2 points
-
yeah, Bad Dogs I hear are good, and that you can put them over the factory ones, but if the factory ones are rusty, then they need to be repaired/patched first or removed and replaced with these. I I think they way blok did his with thick heavy steel is probably the ultimate (the youtube link I posted earlier).2 points
-
I don't know if you have ridden in modified Z cars, but 240Z's are LIGHT. 320 to the wheels it's basically a widow maker. Overkill on power is overkill on power. You reach a point where more power is useless, as you can't put it down, and the car is already dangerous as-is. It's a street car. With the power level you are talking about, additional bracing is necessary in the subframe and rails. Do you like reliability? Stock=reliability, modifying it for 40-50 horsepower could take away the reliability. stock 370Z engine is fine power wise bone stock for a 240Z. A lot of the modern cars with all the horsepwoer....that's in a car that weights OVER 4000 pounds. 2 tons. Completely different deal. Your weight is about half of those. Be sensible. Live Longer. And this setup....stock brakes are NOT good enough, nor is a stock suspension.2 points
-
2 points
-
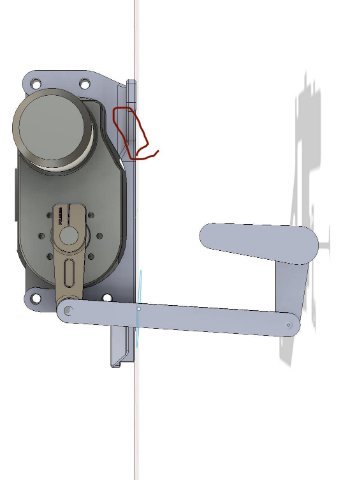
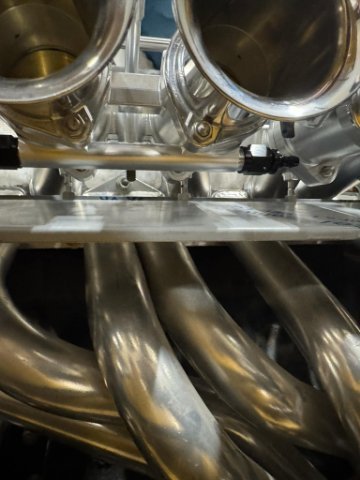
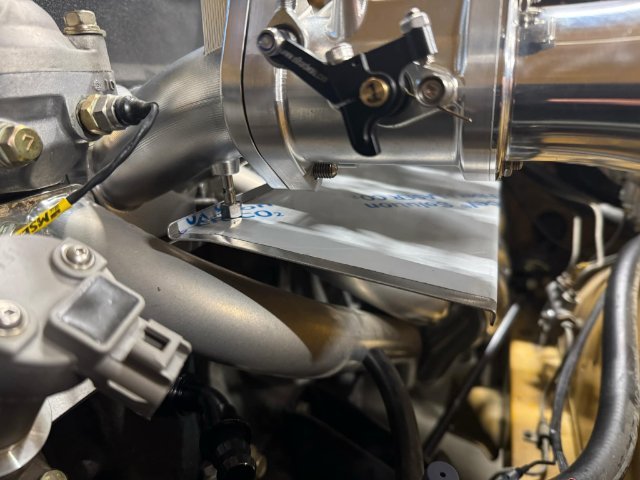
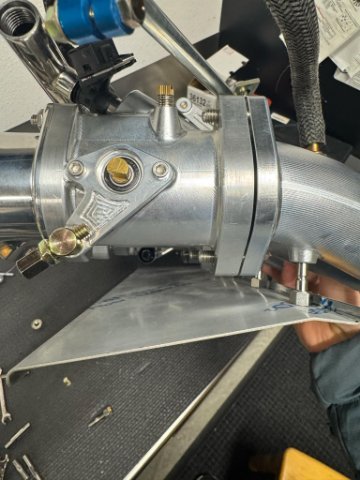
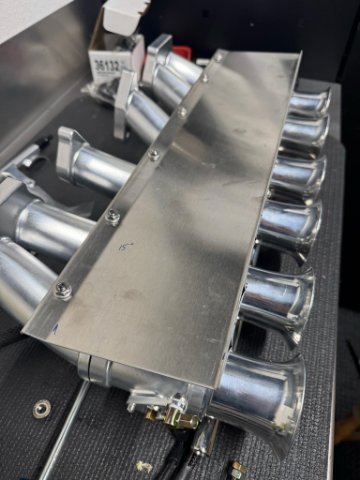
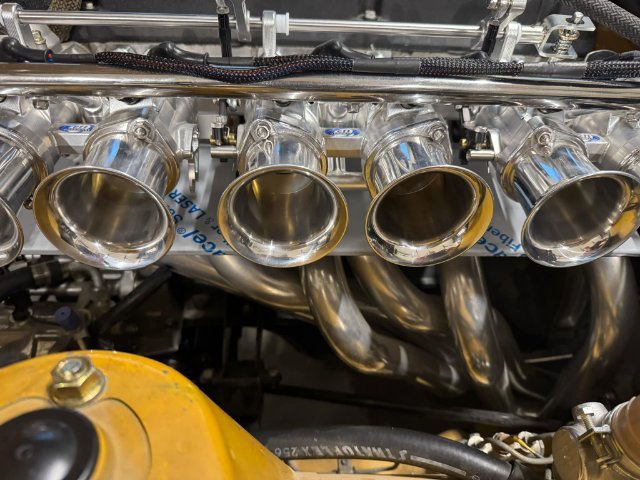
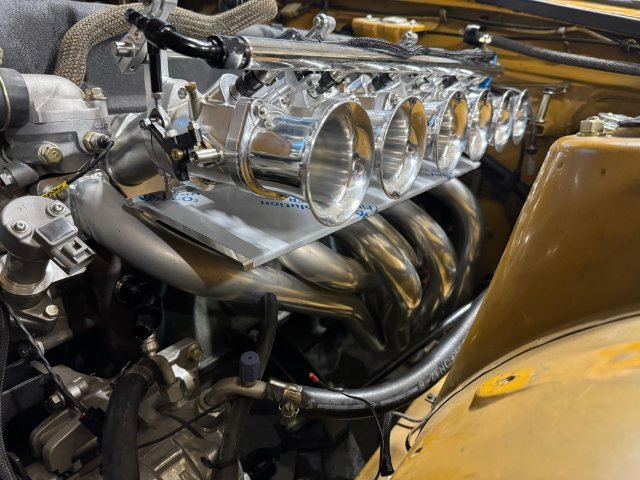
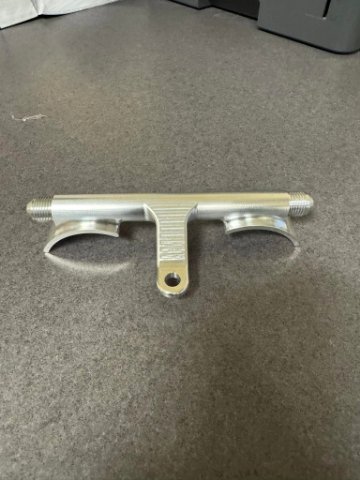
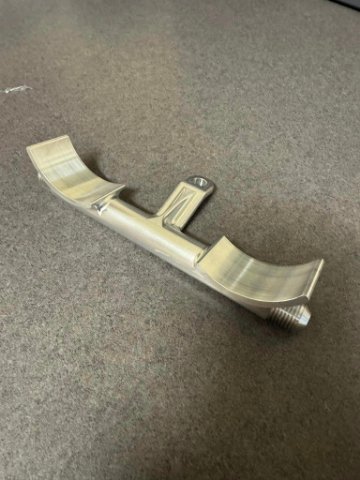
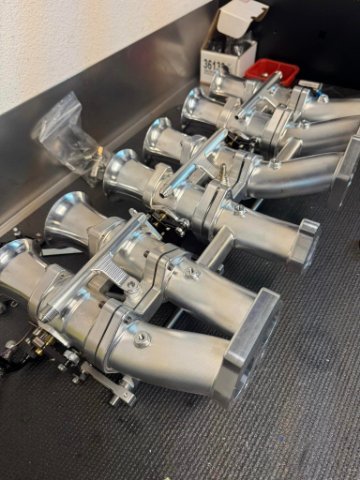
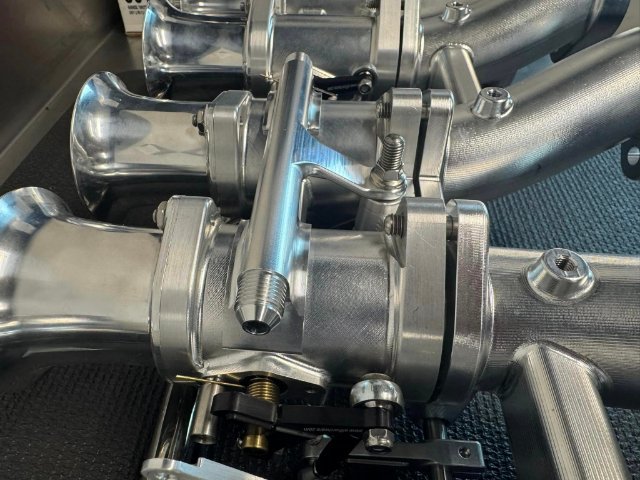
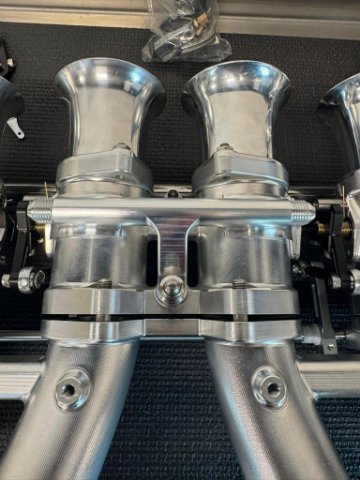
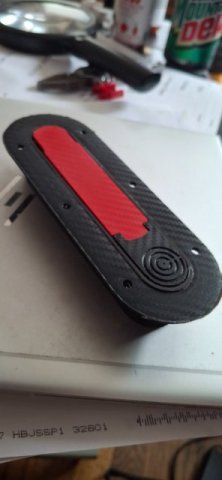
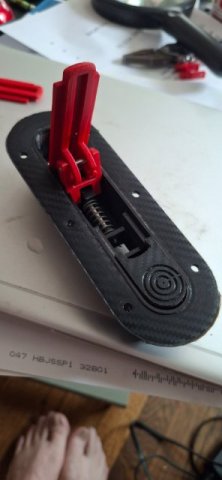
240z hidden drive by wire actuator for my ITB setup. This is design number 4. This plan utilizes a Efi hardware actuator. The goal is the same length arm to the bell crank and distances from shafts and the rod. So the rod passes through the firewall evenly and doesn’t walk from left to right. This will mount to the pedal plate and the steering box mounts. So behind the firewall Prior designs walked too much in the hole and I don’t want that.2 points
-
2 points
-
I think the VQ37VHR is a great swap. Trying to make over 380whp is going to be a nice challenge. I would say possible, but the juice may not be worth the squeeze. 350-380whp is going to be bananas on an s30 chassis that is dialed in right. I would still jump into doing the swap even if 350whp was only decently achievable.2 points
-
2 points
-
Take a really close look at those side seals as well. I did a rear main once on an L then got to do the job all over again along with the pan when I got the car back together realized the side seals were also leaking, masked by all the oil and years of grime on the rear of the block.2 points
-
Hey dude right there with you! I've been working on my z since June 2015. Kids, houses and responsibilities have all pushed it farther and farther back. But I feel like this is the year and I'm hoping you get back in the game too! also, are the Howe Racing TA2 front control arms made for the 240z or do you have a different cross-member up front? They sound enticing for sure!2 points
-
Good update! This right here ^ is why I committed to keeping mine fully a street car and I'm glad I did, but part of me also wishes I could go race occasionally without being scared I'll ruin it haha2 points
-
2 points
-
2 points






















.jpg.52b0501000ce614a9d491b1d8e0e5f17.jpg)
.jpg.1b17221b191c3440fb4c6d16467c844a.jpg)
.jpg.d6399c26bb710b309f63ce249adf3ee6.jpg)
