Leaderboard



Popular Content
Showing content with the highest reputation since 12/10/04 in all areas
-
Don't tell my wife Like I tell other people. some like to fish, some like to bowl, I like to make.8 points
-
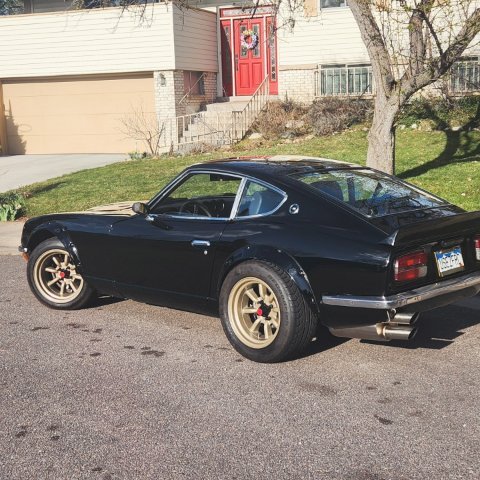
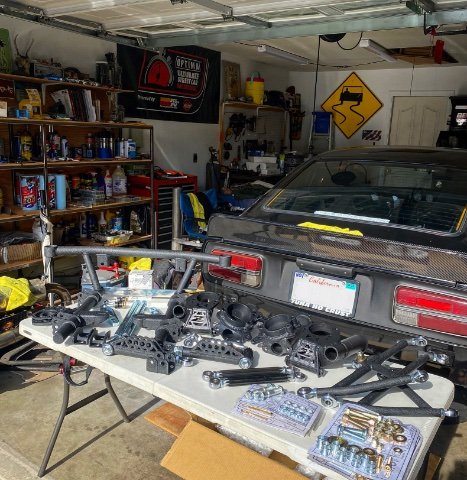
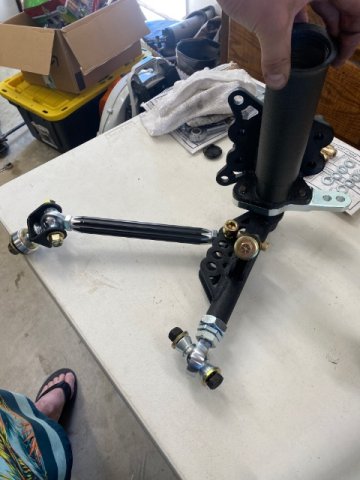
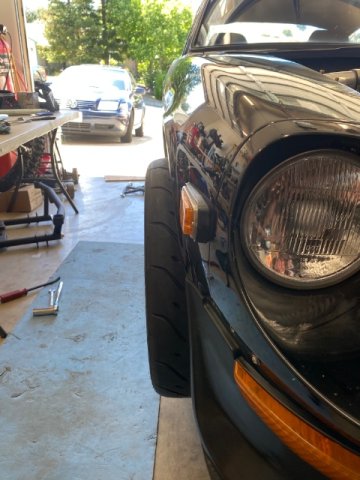
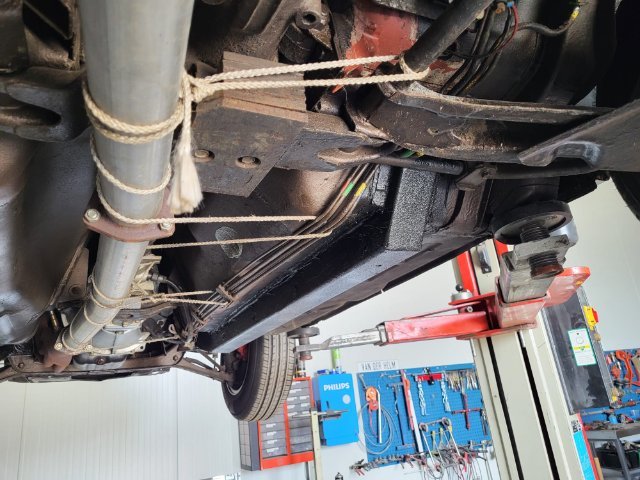
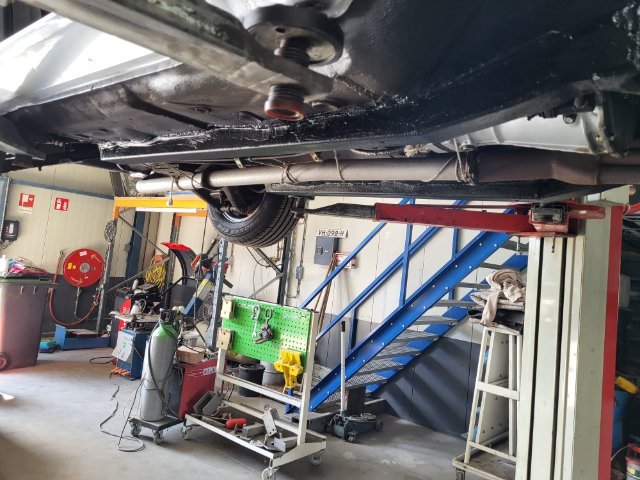
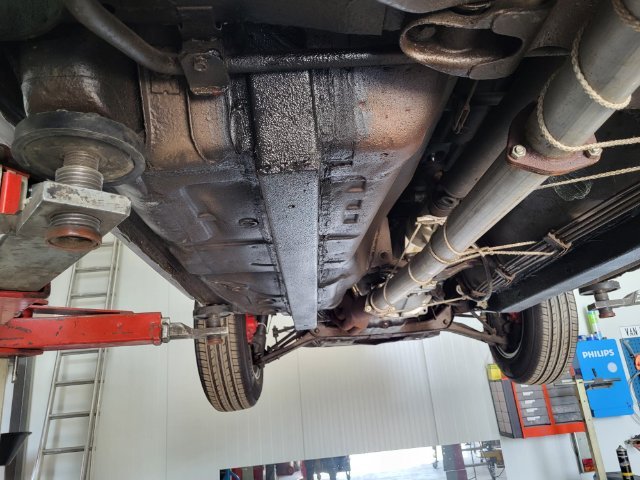
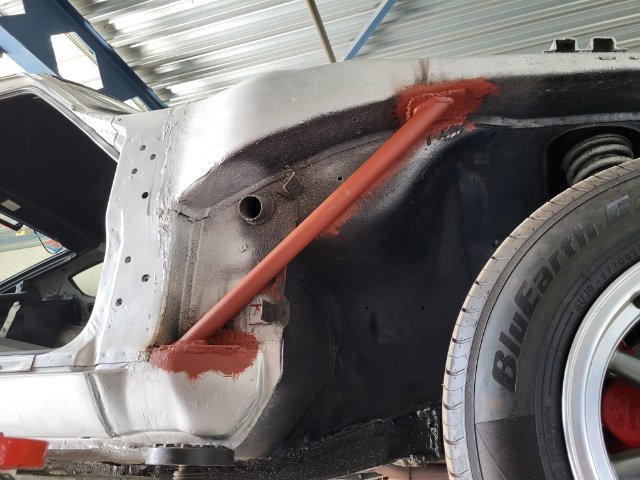
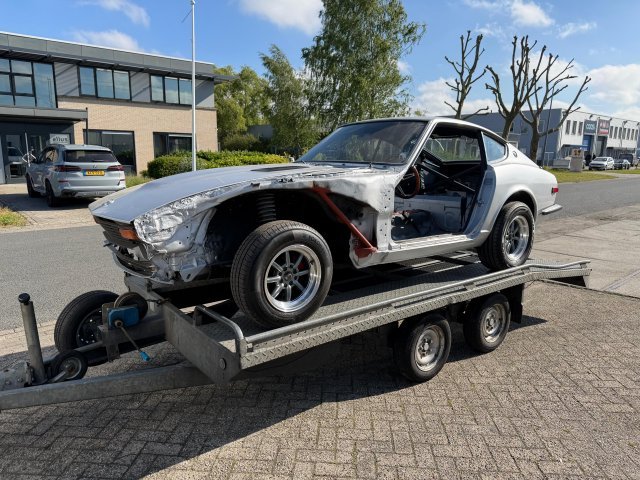
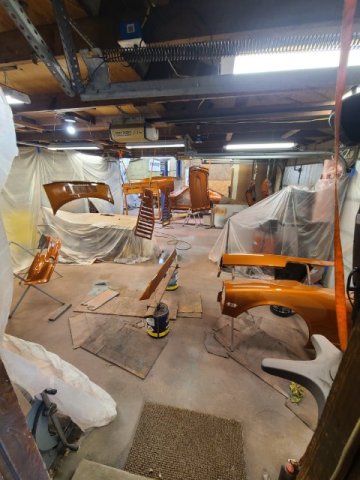
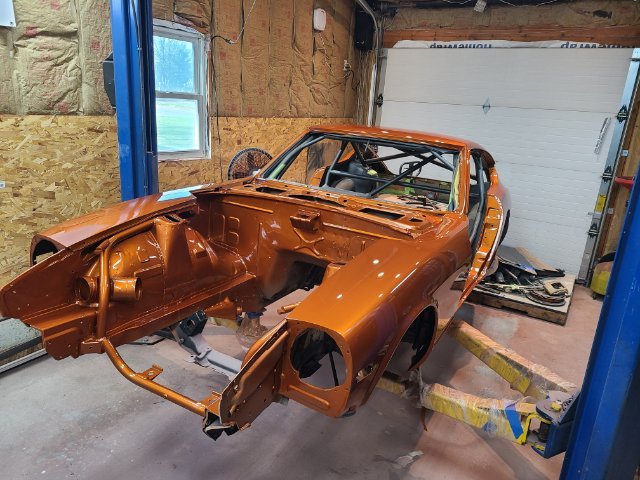
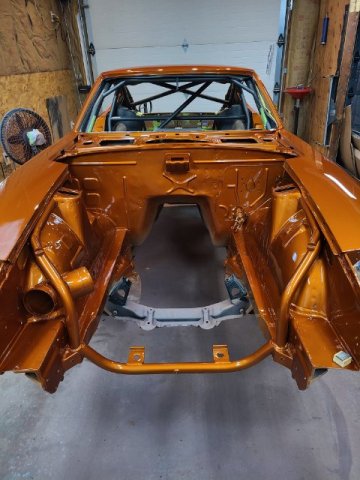
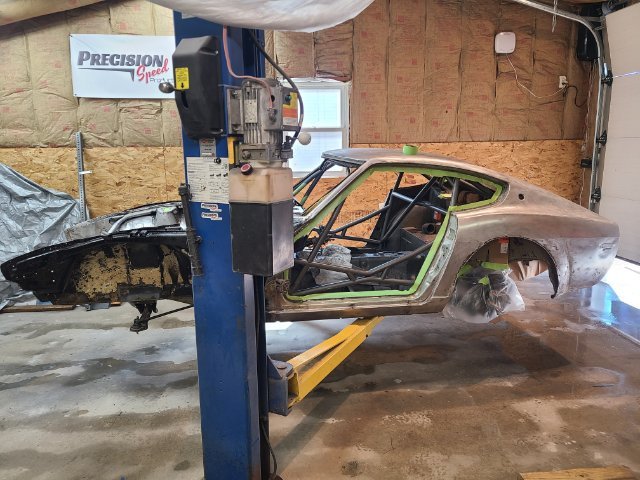
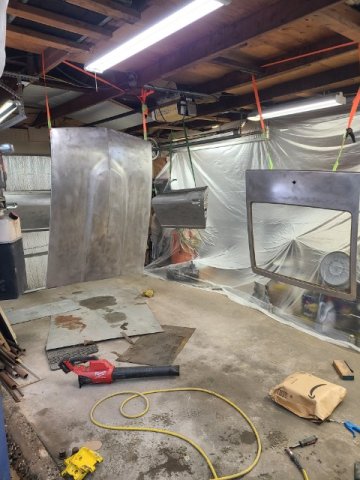
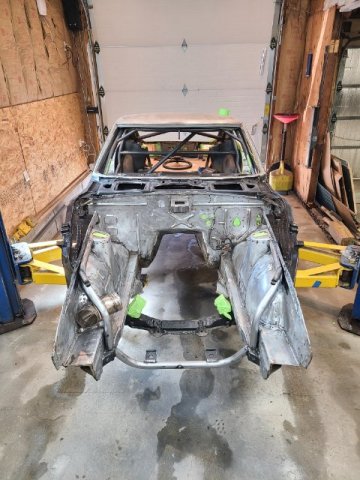
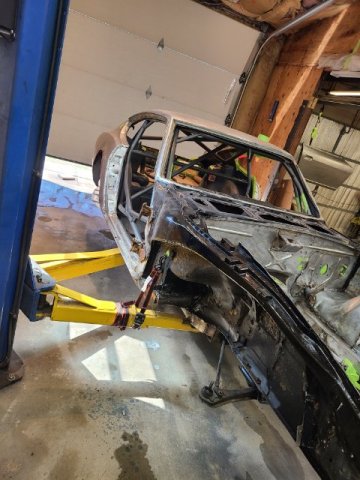
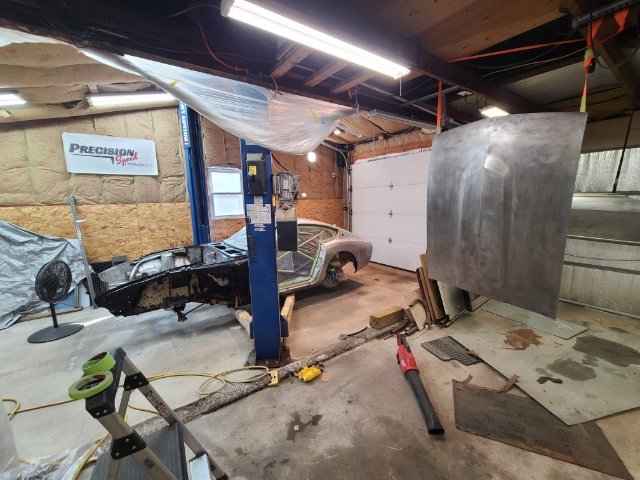
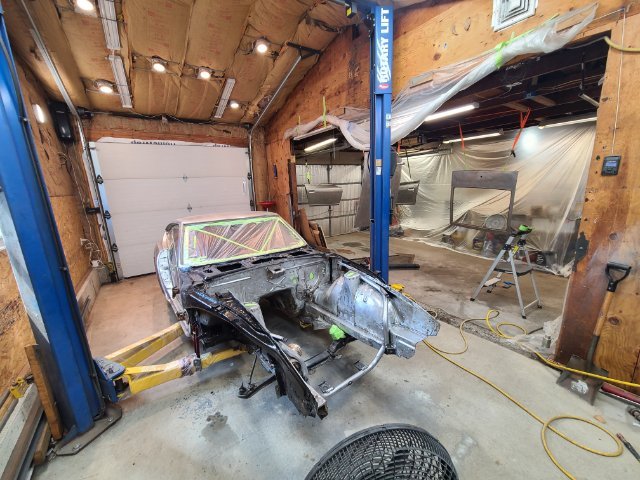
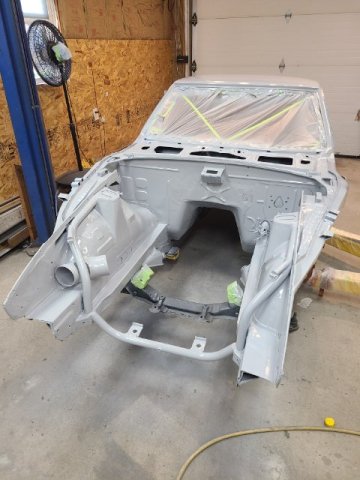
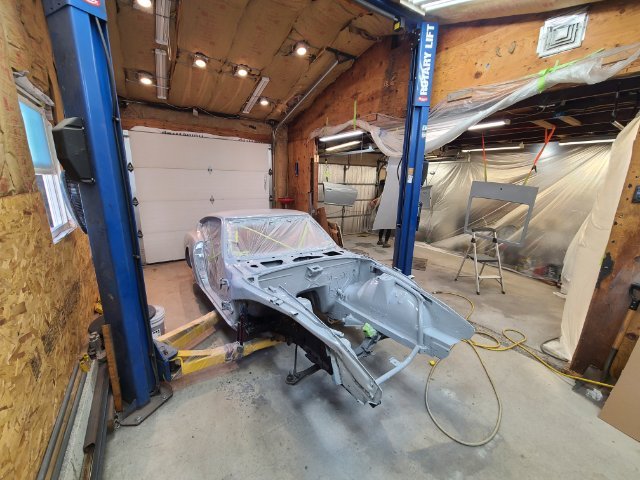
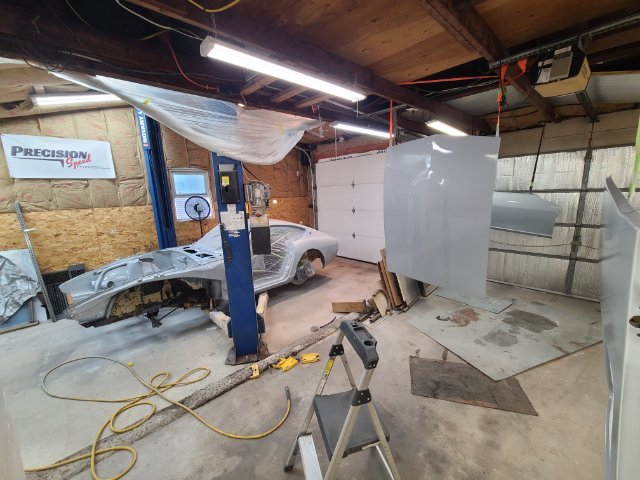
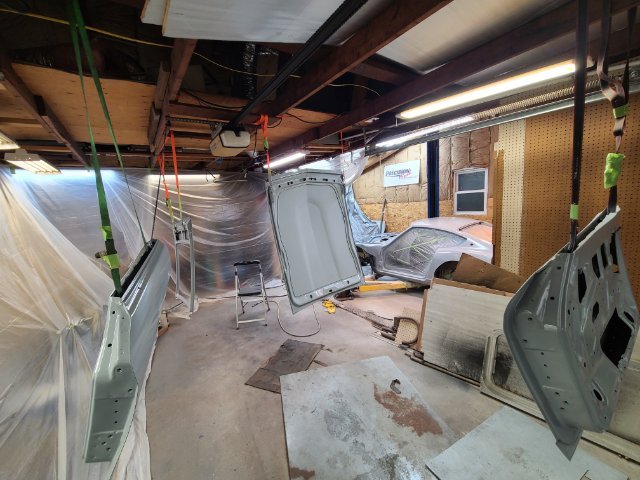
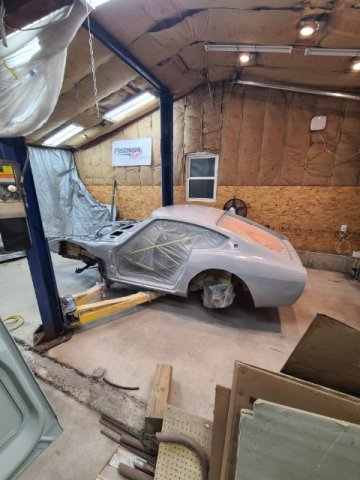
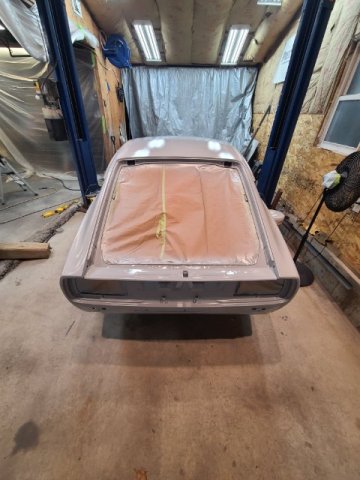
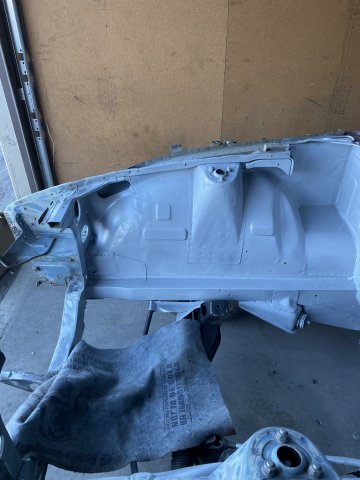
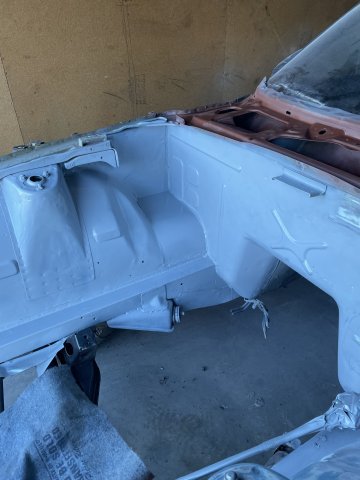
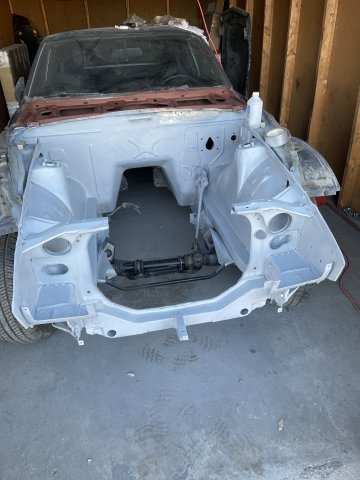
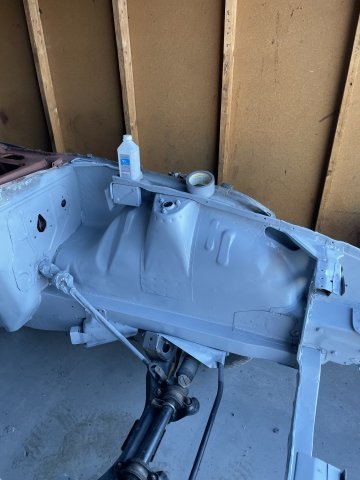
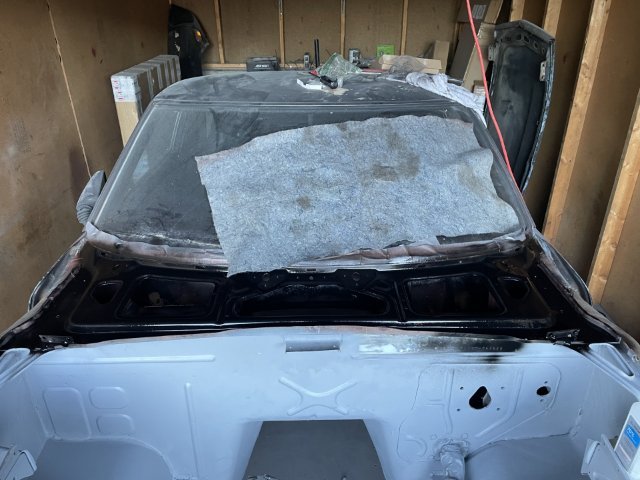
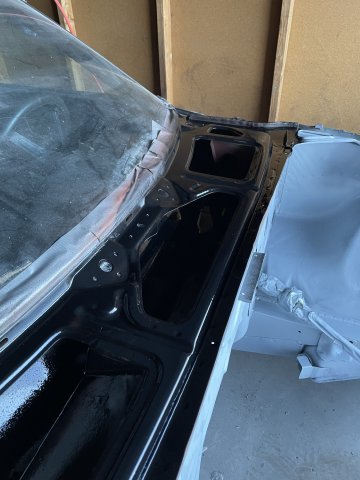
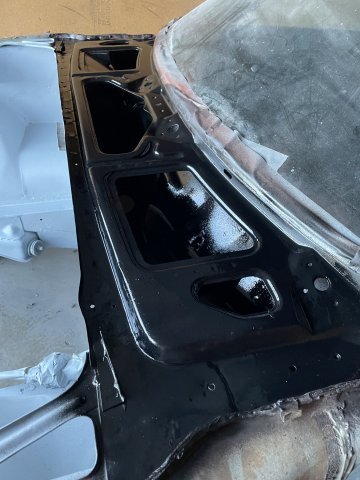
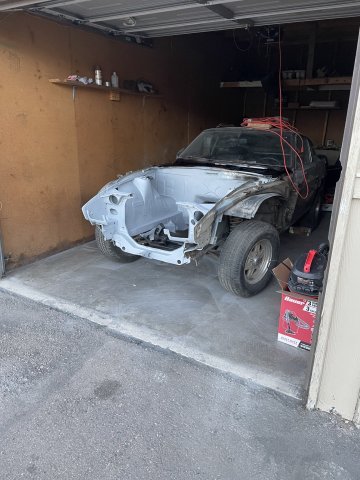
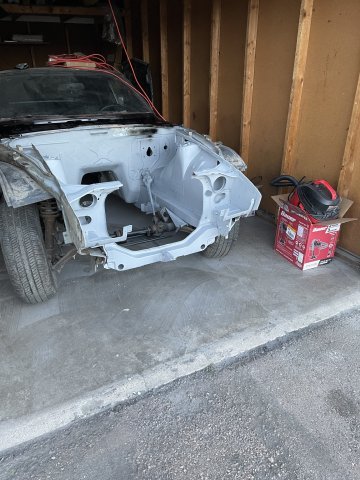
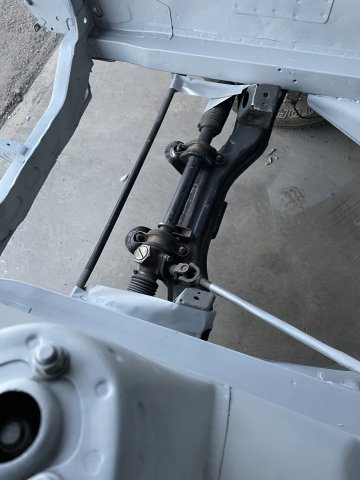
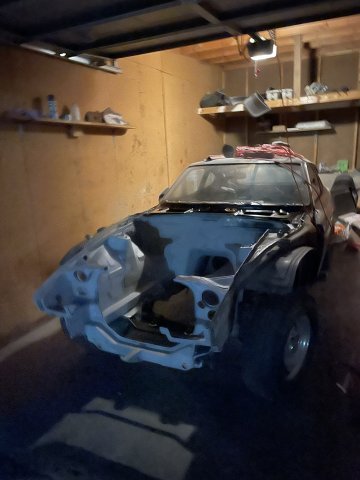
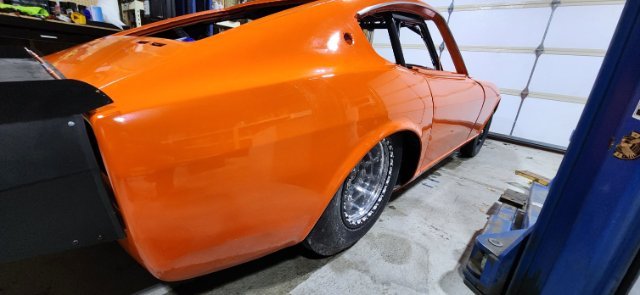
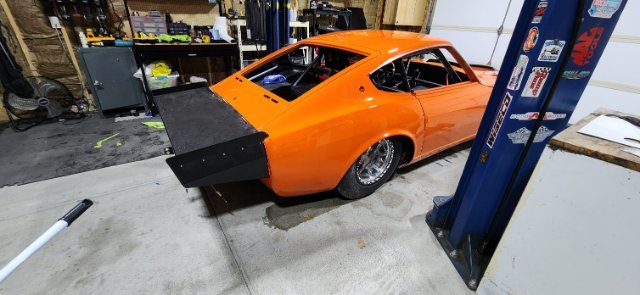
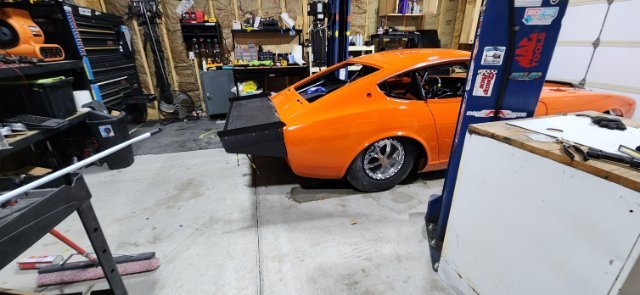
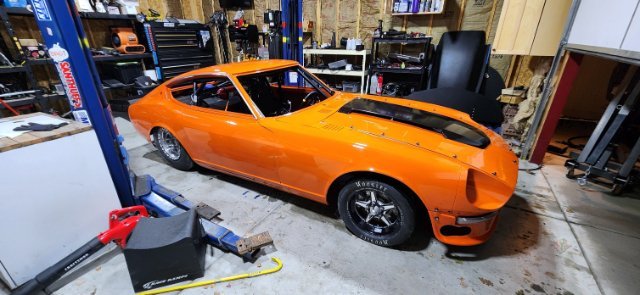
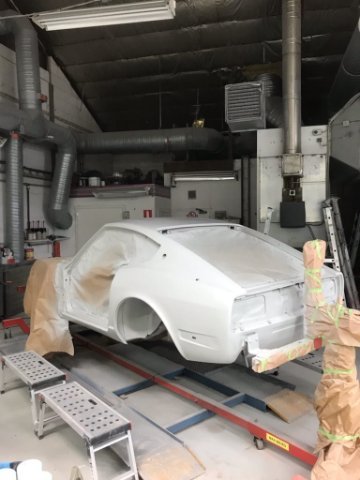
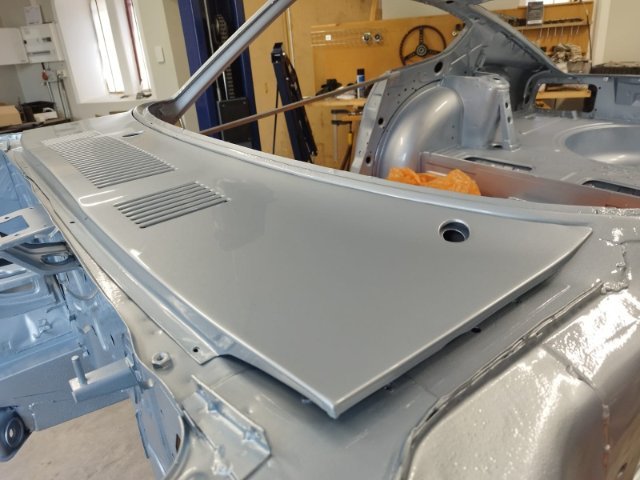
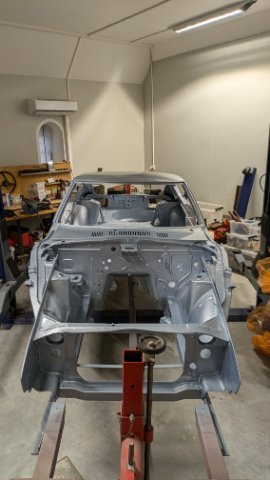
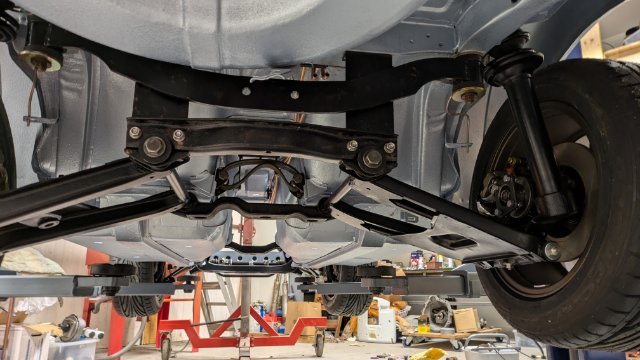
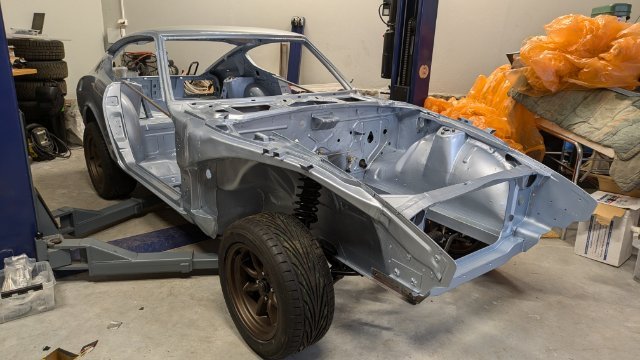
3 years later... took ages to find a good painter willing to take on the project. These days insurance jobs with small panel fixes seem to be more profitable. Luckily I found someone willing to do it in the summer months of this year while the insurance workload is reduced. Prepping... Overall quite happy with the result. Couldn't contain myself and started puzzling together the undercarriage the first chance I got. Pulled lines in the trans tunnel and assembled the suspension component. On the wheel first the first time since 2017!
 6 points
 -
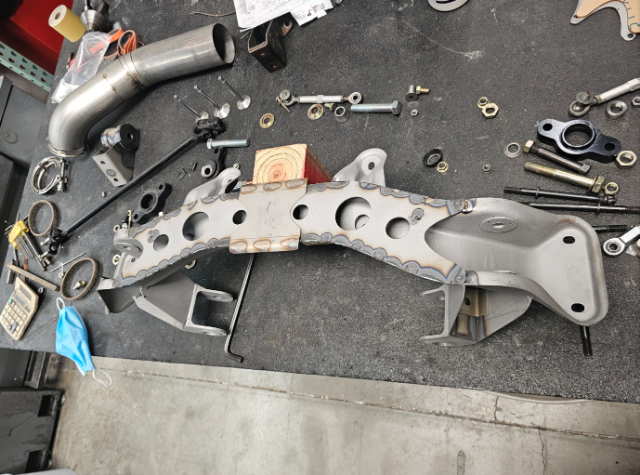
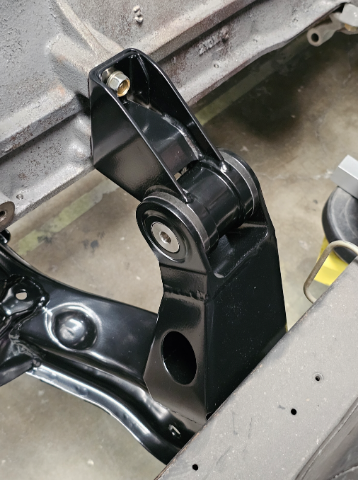
More pis of it finished up The bottom plate was beat up a bit and bent from floor jacks. So I took off the old one by drilling out the spot welds. I then drew up the shape and had a new one laser cut. The center plate that is welded to this plate, I re-made it as well, but out of 304 stainless steel. This way I can leave it a brushed stainless finish after powder coating and it is a good place to use a floor jack. I then spot welded on the larger plate in the original locations I then tigged the seam between the spot welds Then tigged on the center stainless plate Then blasted the entire cross member and powder coated it in a super black semi gloss powder coat. Powder coated the motor mounts as well I always first do a primer powder coat that is sandable I sand most off this off to fill the small blemeshes Then final coat Finally the brushed stainless plate for the floor jack Next up is getting a new transmission, then finishing the exhaust
6 points
-
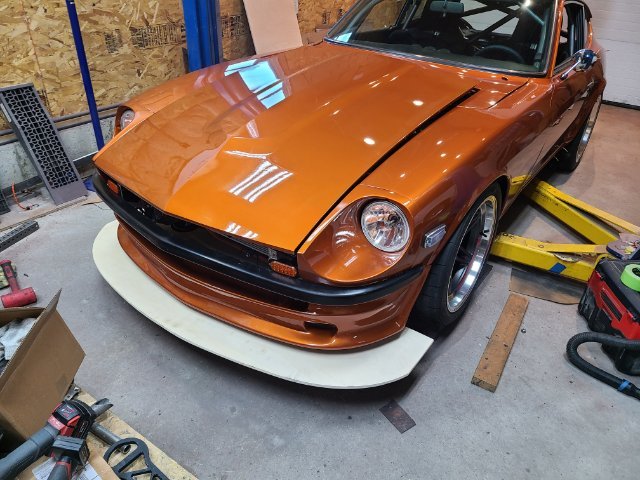
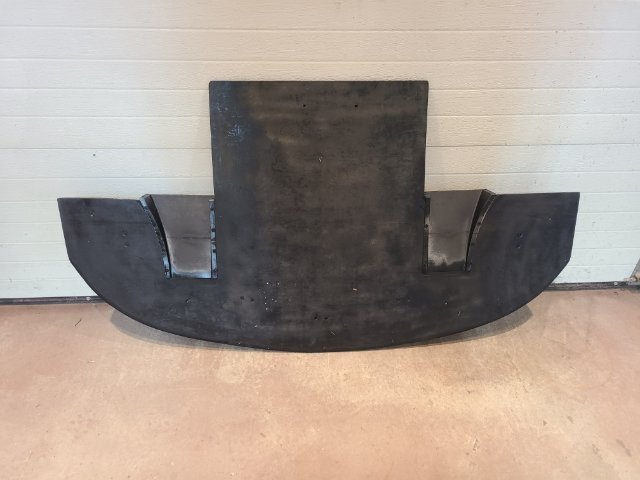
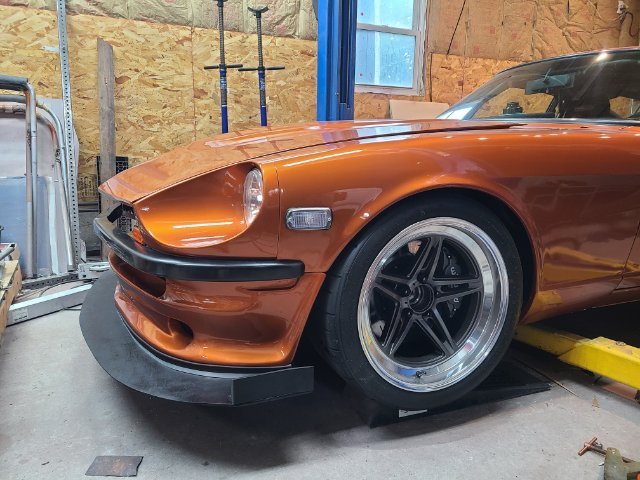
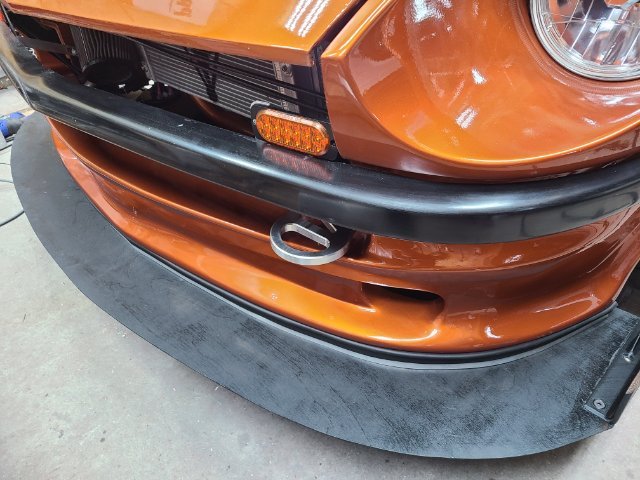
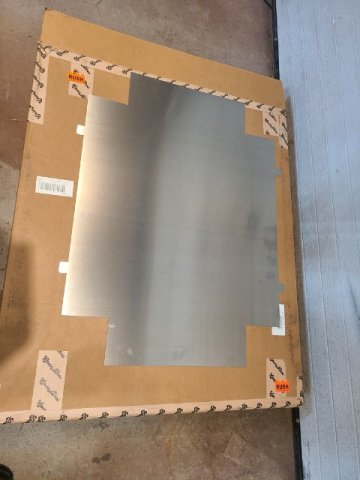
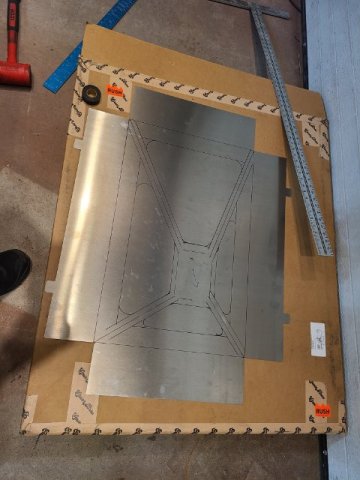
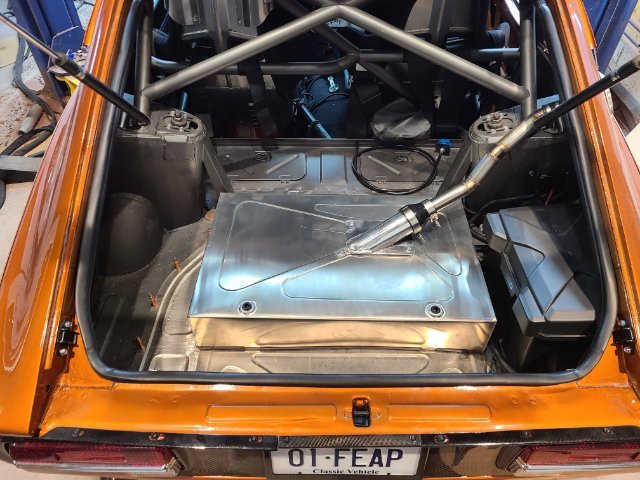
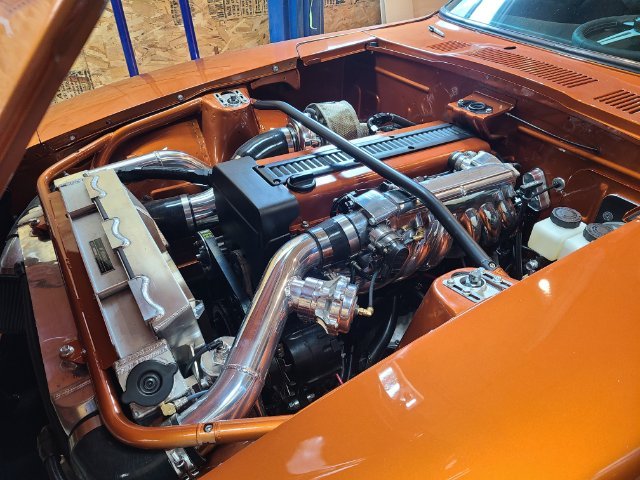
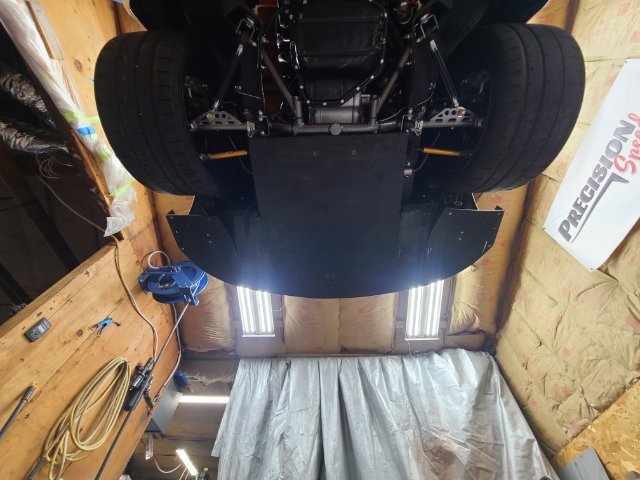
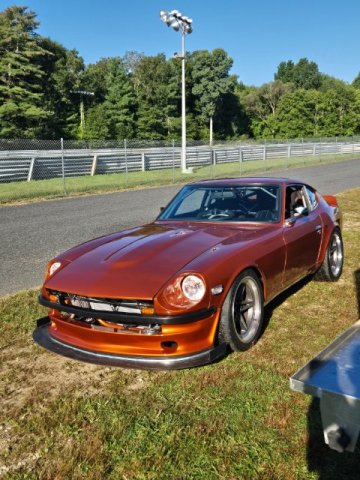
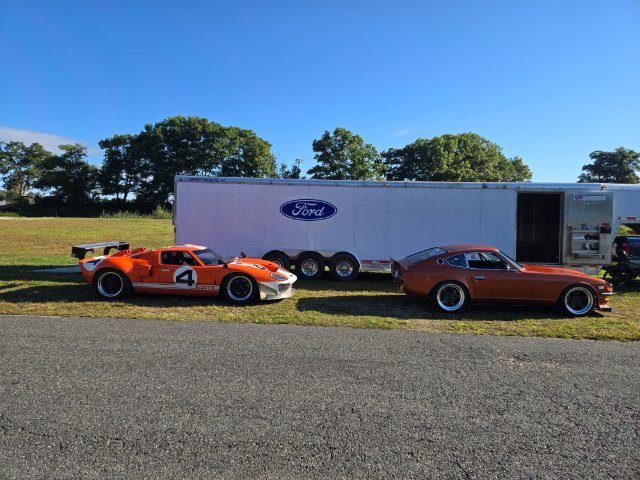
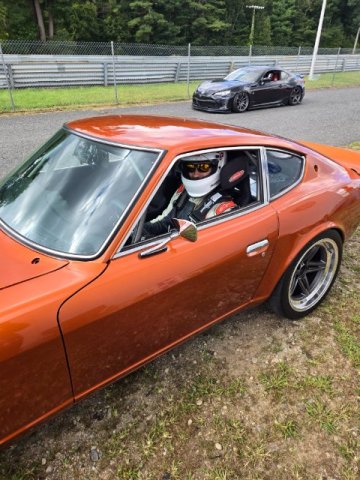
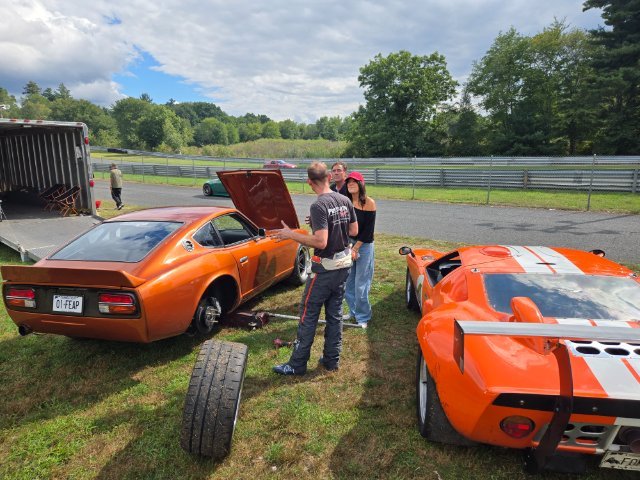
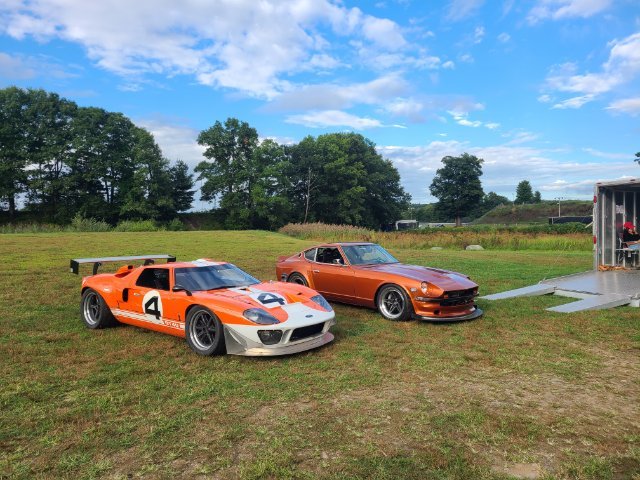
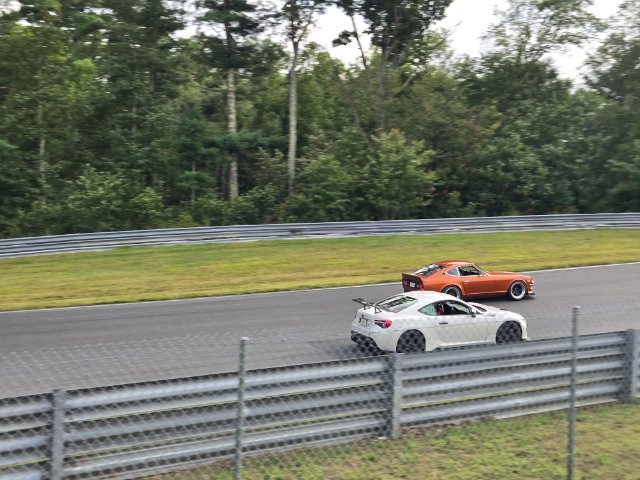
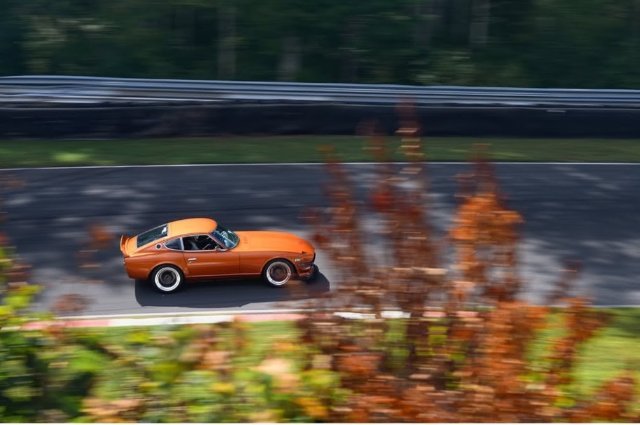
Last weekend i got the offer to run a single day of a multi day event if I wanted to shake down the car. So i scrambled all week getting a bunch of things checked off the list. a couple days getting up at 5am and working for a couple hours before work and then to 10-11pm after work but got it so i could run it. Added a front splitter. strut bar, seat belts. fuel cell bulkhead, fire extinguisher, coolant overflow, battery tie down and kill switch, tow hook, brake bias controller, some tuning changes and im sure a few more things. But i made it. My uncle and I loaded up friday evening and saturday morning drove an hour and a half to the track. Had a great time. car was an absolute trooper and didnt skip a beat. New track for me so had some getting used to the track and the car. but i did 4 sessions problem free, I didn't change a single thing all day. found one loose bolt after session 3 that i caught before it was a problem. Car performed well. Had a fairly competitive pace by the end. Anyway. huge photo dump
5 points
-
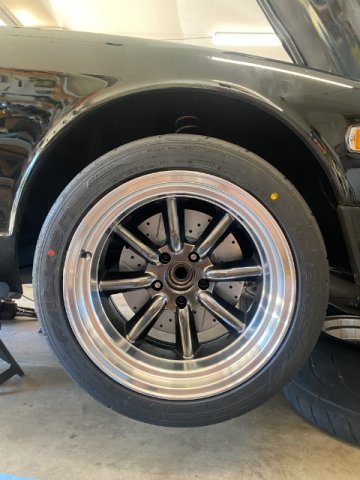
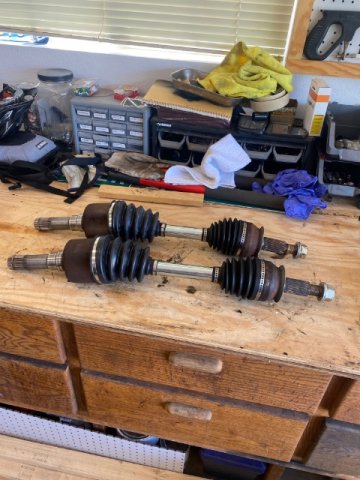
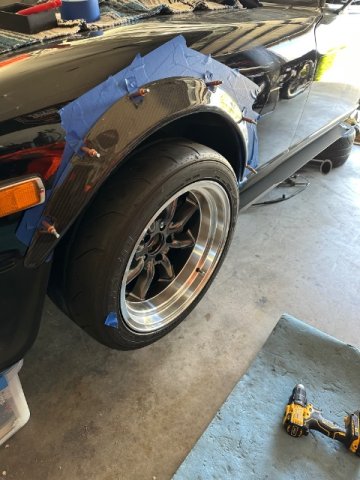
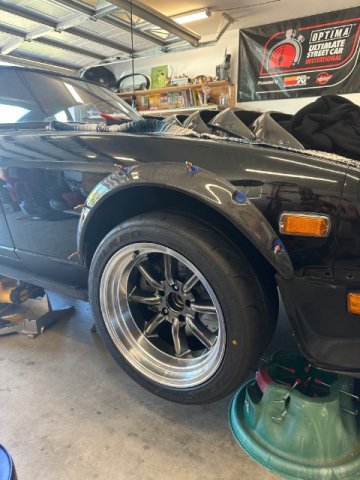
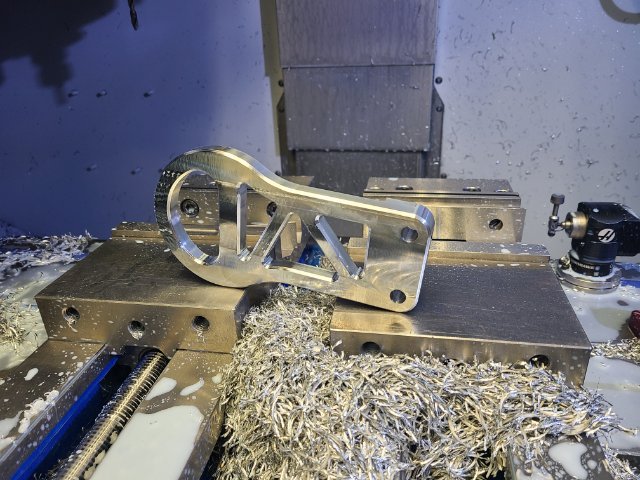
Been a while since I posted any updates. Been moving along. For the Turbo car I decided to build my own wheels. Ill CNC machine the center sections myself and have the lips and barrels spun for me. I really like the old SSR RS8 wheels but finding them in the correct bolt pattern, offset, and caliper clearance is impossible. I fould a set close, from Japan and had them shipped over. Since this car uses Z31 hubs and such, the spacing is out much more than a standard Z so I need a bit more positive offset. I dissasembled the wheels and scanned the center section into my computer and reverse engineered the shape. Next I re-assembled them and had the 245-45-16 tires Im going to use mounted. I test fitted them to the car, and close, but not good enough. This is the fist time this chassis has been rolling on its own wheels in 27 years. Its been on a cart or a lift. Felt good to see some progress now that the suspension, brakes, and cross-memeber are finally complete Scanned this complete assembly and put it in CAD. Now I have the exact shape of the tire on the rim. Cool cross section of it. Finally I scanned the side of the car, put it into CAD. Now I can adjust my wheel center offset for caliper clearance, and adjust it to work with new Lips and Barrels I will order for the proper offset and fit to the car. Having it in CAD alowed me to look at it from every angle and check all clearances, for calipers, springs wheels lip, ect. Even compressing the suspension to make sure I have fender clearance at full travel Final wheel spec is: Rear - 5 lug = 245-45-16 on 8.5" width rim- 27mm positive offset, 2.25" outer lip on the rim Front - 5 lug = 245-45-16 on 8.5" width rim - 31mm positive offset 1.75" outer lip on the rim Next I need to find some time to program the CNC and start cutting chips. But I got distracted on the NA car, so that update is next.
5 points
-
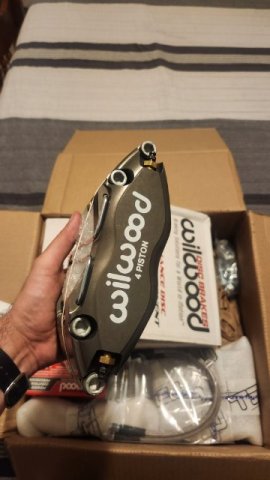
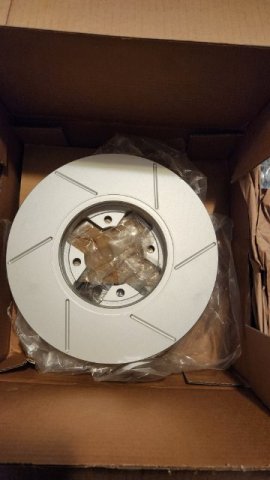
Three weeks until I'm home and properly working on the car before a long road trip. I've been creating a detailed list on some Google notes of everything I hope to accomplish. I'll update once I truly get to it, but for now just wanted to share my excitement for my new brakes. Was in Utah about two weeks ago for a handful of days for a music conference and my brother was kind enough to let me borrow his truck to drive up to Logan just for one evening to have a quick dinner with the siblings up there and I took a quick trip to my folks' place late in the evening and opened up some of the parts to keep my motivation haha. Also had a big box of new seals from Resurrected Classics. They were kind enough to give me a steep discount on their weatherstripping kit when I asked if I could get it without the door seals since I had already purchased the S30 world seals before they released their kit. Looks like they were kind enough to give me the discount and kept the door seals anyway! I'll be making a thorough comparison of it against the Precision kit I have, mostly to see if it's truly far better for some of the worst fitting parts.
5 points
-
I have two heads in stock as I type this so the head can actually be purchased. I can't help that you can't afford it. That's a feature not a bug. For the very beginning my goal was to provide the components so that talented engine builders could make the decisions on the types of components they wanted to use. Based on what I've seen and taking the pricing of the relatively simple L6 head as the baseline I highly doubt it. I'm not really sure what I did to put a burr under your saddle but you remind me of the guy that starts a fight in the line to get into the club because he can't afford the cover charge. Just get out of line and go somewhere else.5 points
-
He's saying although we are launching a DOHC head in 2024 we readily admit it will be pale in comparison the mighty KN20 from Datsunworks. At least that's what I'm hearing.5 points
-
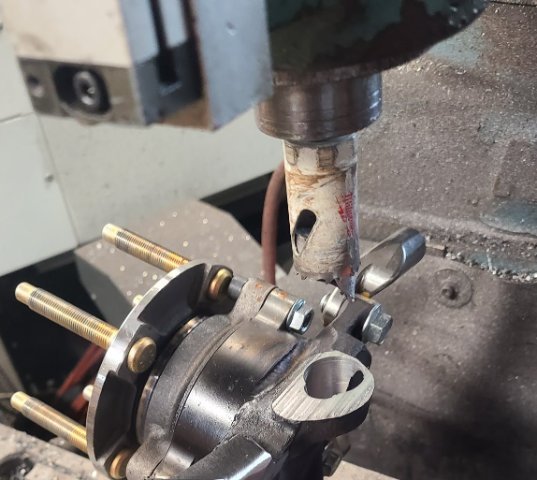
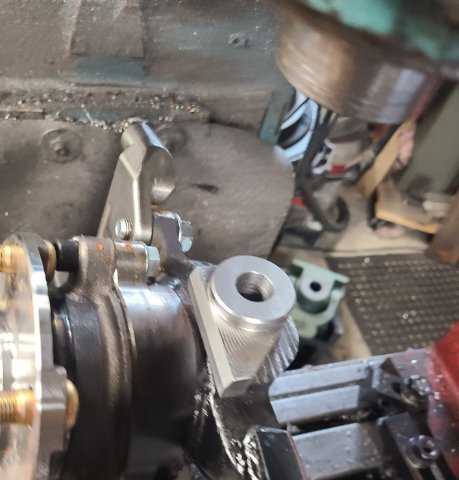
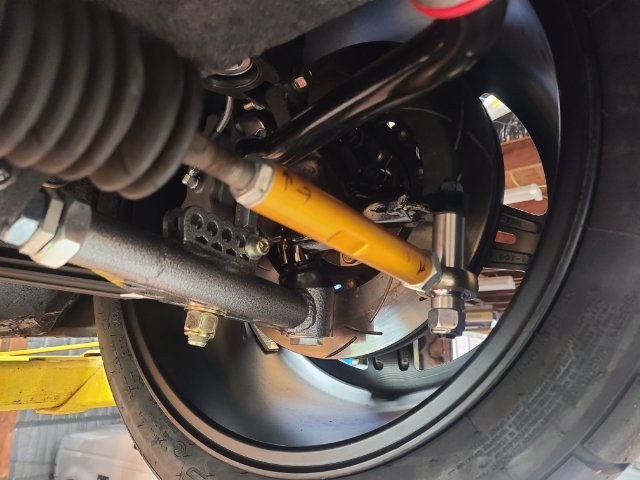
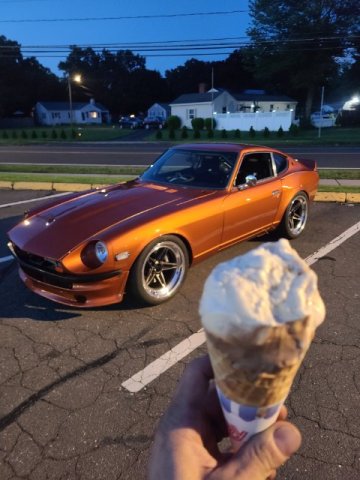
spent the last few days focusing on fixing some steering geometry. If you guys remember this car came with the 240sx knuckles and if you've ever done any research on that swap, its hot garbage. I spent some time adusting ackerman right off the bat and made it so it was drivable and made a small adjustment last week. My plan has always been to modify them and get all the geometry dialed to how i like it and then scan it. and make a billet version that is modular and can be tweaked in from there. Anyway. This weekends goal was to dial in the mechanical trail and some roll center correction. The 240sx knuckle on the wrong side of the car made the mechanical trail very large so the car had very very heavy steering feel. I did some measuring and made a decision. Clipped off 8º of angle off the ball joint mount. and offset the mount to where i wanted it. Designed and machined an adapter block and welded it on. came up with a quick bumpsteer kit as the knuckle needs to have the tie rod mount lowered by a good bit. didn't take good photos but the car drives SO MUCH BETTER. steering feels great. "light" (for manual steering) but centers still centers well and has good feedback. Took the wife to get ice cream last night and what a great feeling that was after a year of work.
4 points
-
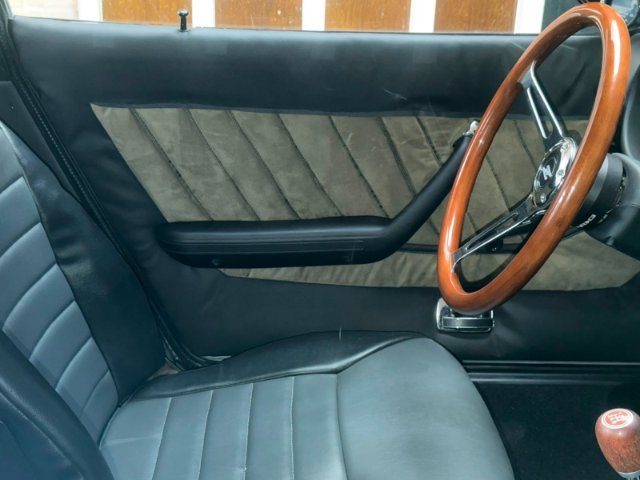
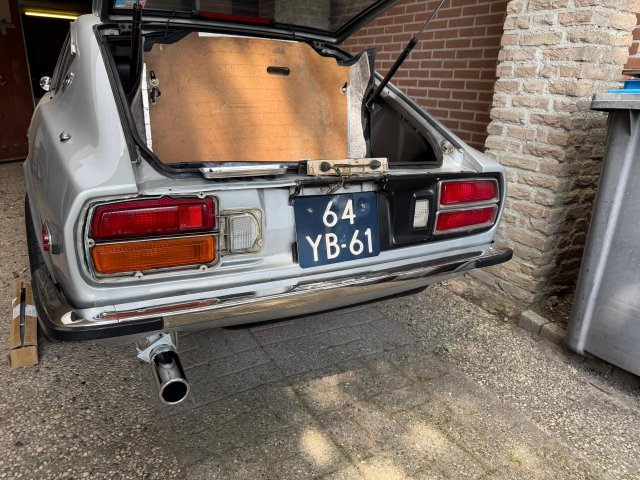
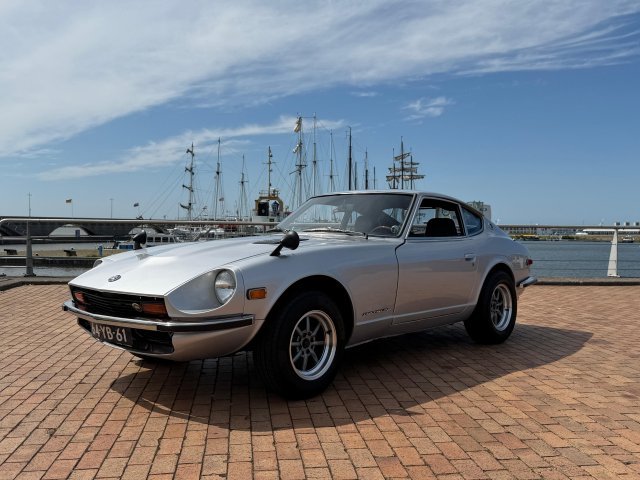
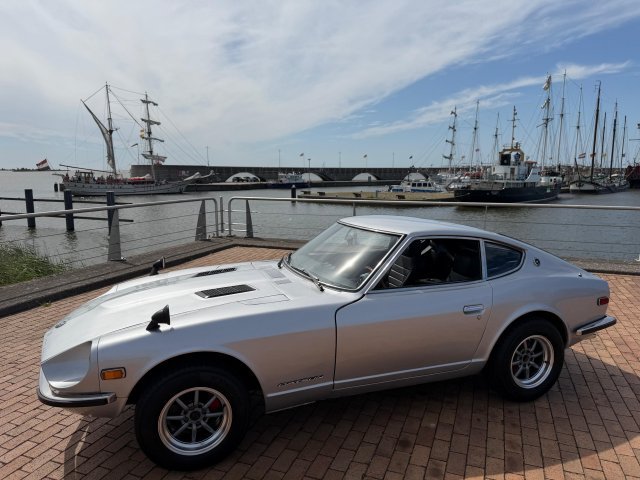
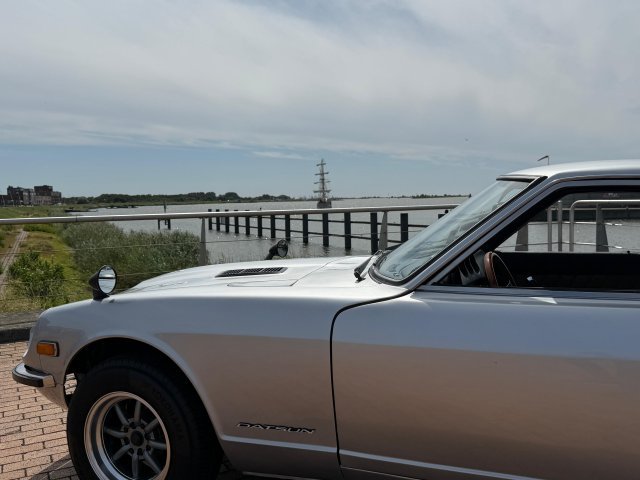
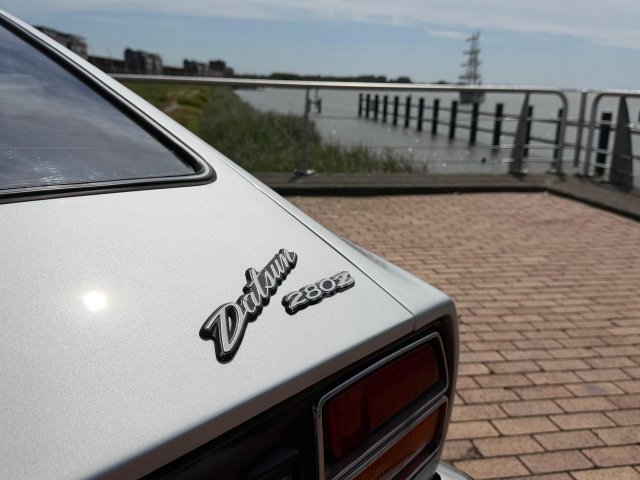
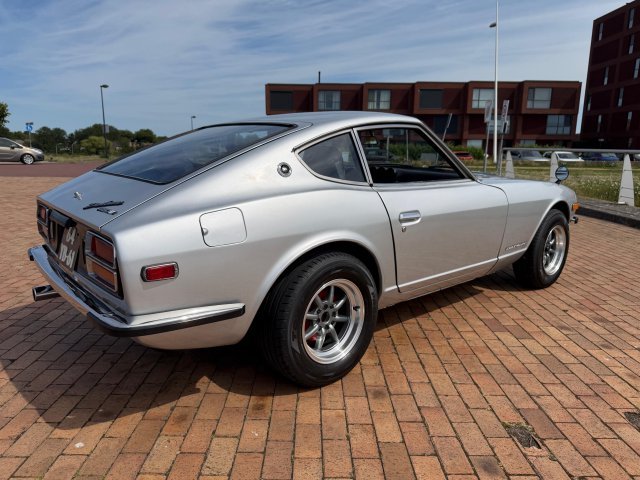
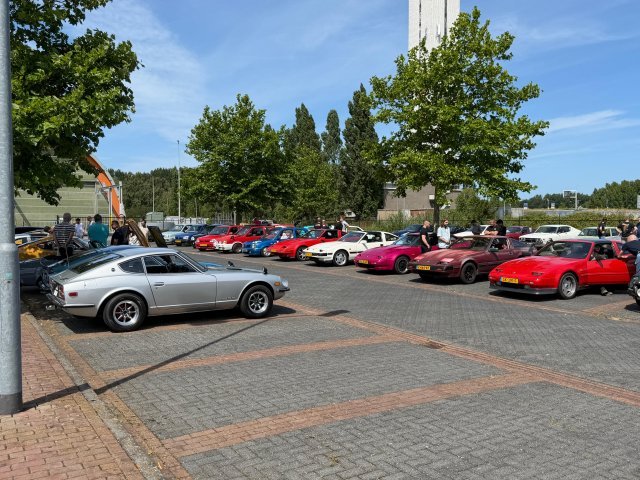
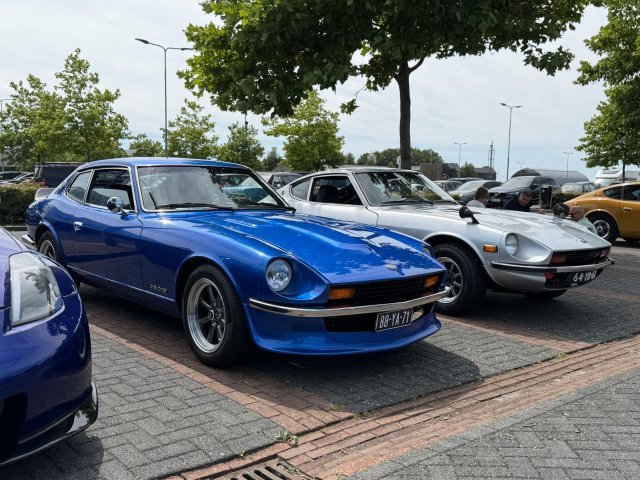
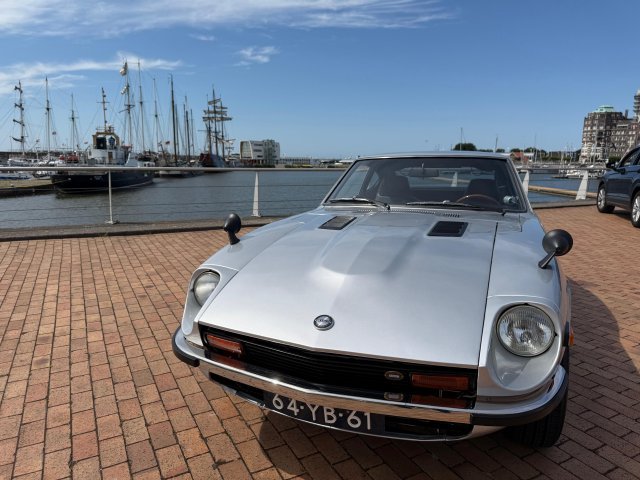
I finally had some time this weekend to work on the Z again and finish off some of the little things that where nagging me. I finished my DIY door card project and got them installed in the car. I must say that they turned out pretty good. The only finishing piece would be to add the wood trim back in but I would have to make one myself. A few weeks ago I managed to pic up a set of Euro taillights from an original Dutch 260z that where in excellent condition. So with the remaining time I had that day I quickly switched them out. Yesterday there was a small all Nissan/Datsun meet I attended which gave me the opportunity to compare my Z with others and do up some inspiration for future modifications. Afterwards I finally had the time to take some proper pictures of the car (with the car not half apart) and cruise along the dikes. WhatsApp Video 2026-07-13 at 09.15.40.mp4
4 points
-
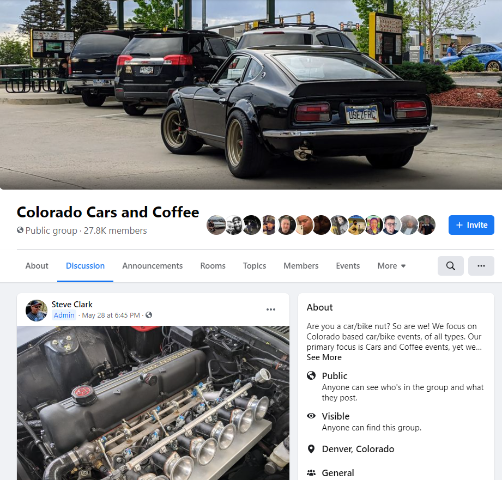
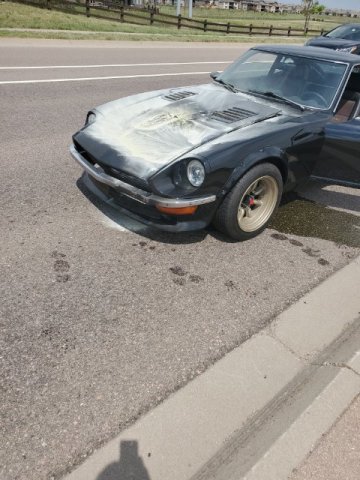
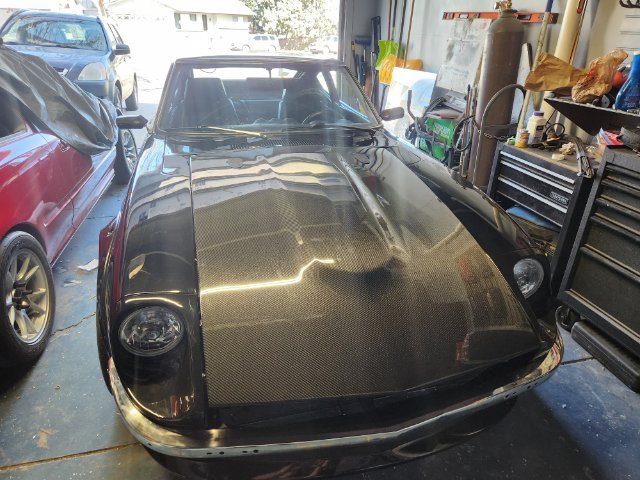
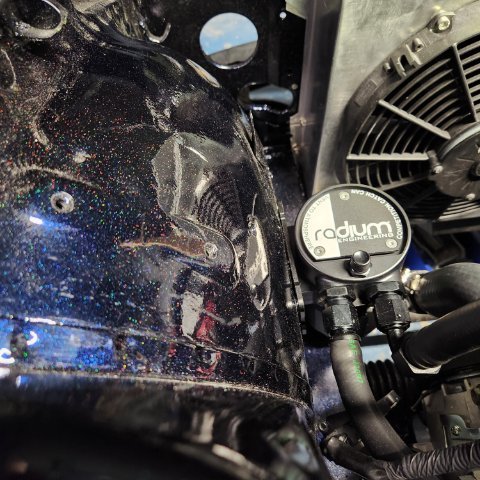
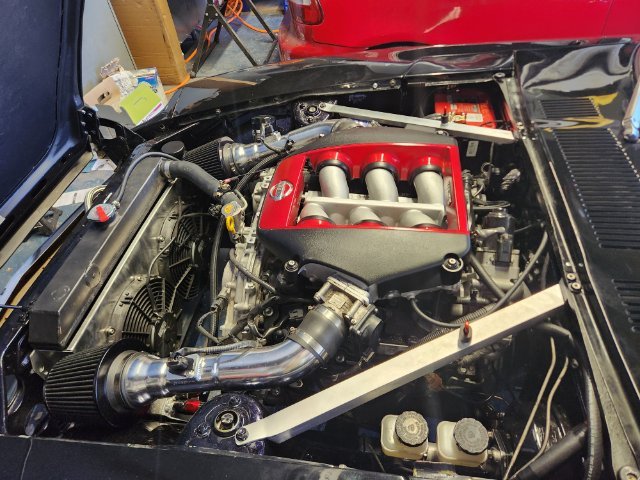
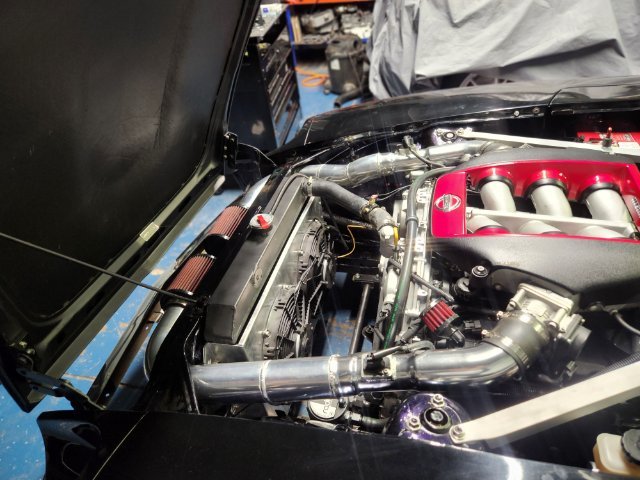
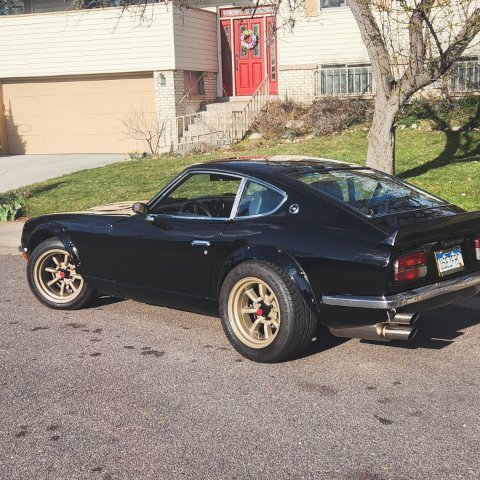
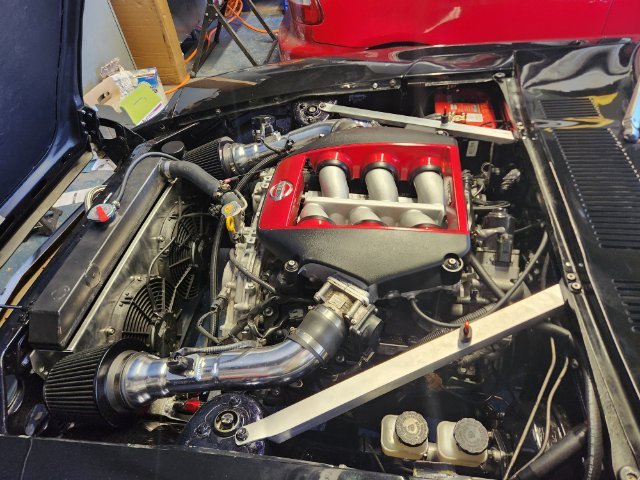
Hi everyone, I am at a good point with my build and wanted to share its history since its one of the few running and driving VQ37 swapped Zs in the country. I am going on over a decade of ownership. I originally bought the car from New Mexico and brought it over to Colorado. Come to find out, it was once a Colorado car also. I picked it up in primer with a rebuilt engine but not really knowing too much about it since all I had were photos and the owners word. The previous owner used it for autocross. The entire interior was missing and it had a rats nest for wiring. I remember it had a switch to manually turn on the fans. It also had a full radiator support and driver side frame rail replacement from a donor Z. I got lucky that this was done really well, I have had no problems getting the car aligned over the years and it drives straight! I saved some money and got the car painted in black, the car was originally a yellow car. The painter actually welded in floor boards and frame rails and closed up the wheel wells from where they were cut for the ZG flares. The rear hatch had to get replaced since it had an inch of bondo over the key hole. Luckily, I was able to track a hatch from a 240Z in the junk yard (when is the last time you have seen that haha). I added sound deadner to the interior and then took the car to an upholstery shop to get the interior put it. I also added some nice gauges. I was able to source some cheap Watanabe 16 inch wheels from yahoo auction Japan. They were different colors but I ended up paying around 900 usd after air shipping them spent another 300 getting them powder coated. I also picked up my Recaro seats from Japan. To this day I have no idea what car they came from but they are one of my favorite parts of the car. The SUs where swapped out for a triple Mikuni 44s. I drove with those and even had them tuned but they were too finnicky at altitude. During this time I got into flipping carbs for resale. I didn't want to deal with the Mikunis and decided to swap to fuel injection. I ended going Jenvey ITBs on Haltech. This setup actually worked great for about a year and even made it to the main page of my local Cars and Coffee. Around that summer I started to develop some running problems where I was running too rich. On my way to the tuner the worst thing happened. The car caught fire. From what I could tell, the itbs backfired and caught the fuel line on fire. If anyone is running itbs on an L Series, I highly recommend an airbox. I got really lucky since a guy like 2 cars back behind me had a fire extinguisher and that the radiator hose blew and stopped the fire. I sent the car over to my tuner/builder and waited on my insurance adjuster to visit the car. I was able to get a full payout through Hagerty and that kickstarted the funds to get my Z back on the road again. I knew I was done with L series. I never really wanted to build something that close to race car since I mostly drive my Z on the streets and occasional canyons. I wanted to stick something Nissan that could remain relatively stock. Something I could start up and just drive. In the past I almost swapped VQ35HR motor and have always had that build in the back on my mind but I noticed that the engines were almost the same price as the bigger brother VQ37. So I went with a VQ37 out of an automatic AWD G37. The reason I chose that engine was to avoid 370z's had been driven hard and the auto engines were cheaper with less mileage. The only change to the block that I needed was a lower oil pan from a RWD VQ and its bolts. I sourced a transmission directly from Nissan since at that time it was actually only about 500 dollars more compared to a used transmission. I looked recently and it seems like the transmission have doubled in price since 2021 when I bought mine. Here are the photos of when I got her back. We ended up putting some flake in the engine bay since I grew up loving lowriders. I also installed a GTR intake conversion. It ended up being a bit of a hassle since the custom fuel rail didn't clear the injectors. We had to extend the fuel ports on the fuel rail to make them taller so that it could clear. I added a catch can since the car is set to vent to atmosphere. I pulled the headers and stripped them and cerakoted them also. The custom hood didn't make it out of the fire so I went carbon fiber. Next I ended up getting the intakes extended to the front of the car to make it a true cold air intake. I recently took the Z engine harness apart and reloomed it and fixed one of my turn signals. Come to find out one of the wires was cut off. With the help of Dave Irwin, I was able to track down all of my missing grounds and also why both lights would blink at the same time (bad switch). I had an extra parts turn signal switch which I harvested and was able to get everything to work out. I recently tackled getting my horn to work. I have never got it to work since my entire ownership. The guys at classiczcar forum really helped me trouble shoot it. Come to find out, my only horn didn't work and for some reason my steering rack wasn't grounded. This is pretty much where the car is now. I took her to a local car meet today and I am hoping to just get more seat time with her. If anyone has any questions about the car or the swap feel free to message me.
4 points
-
Thanks for the replies and comments. Time is always an issue, however Im at the age now where my daughter is 26 years old and working full time. Been married 30 years so the wife is obviously understanding of my hobbies. Hopefully continuing to make progress regularily. Hoping more people come back to the forum and participate in the community. Here is a picture of me and my daughter when she was probably 2ish years old, same car Im working on now. I need to get her back in the shop for a new photo - Time flies
4 points
-
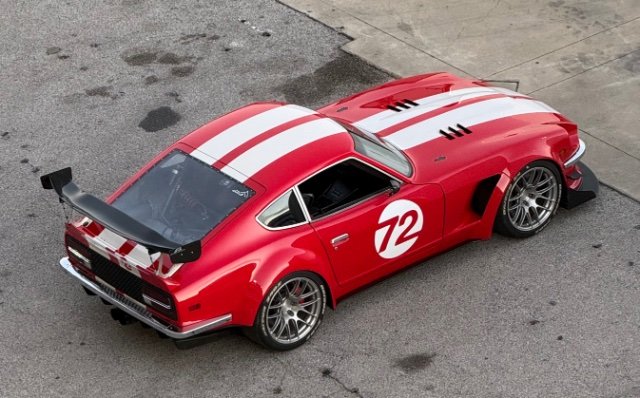
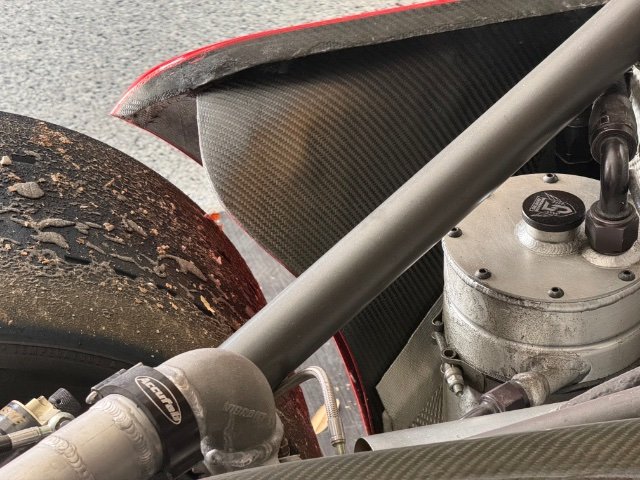
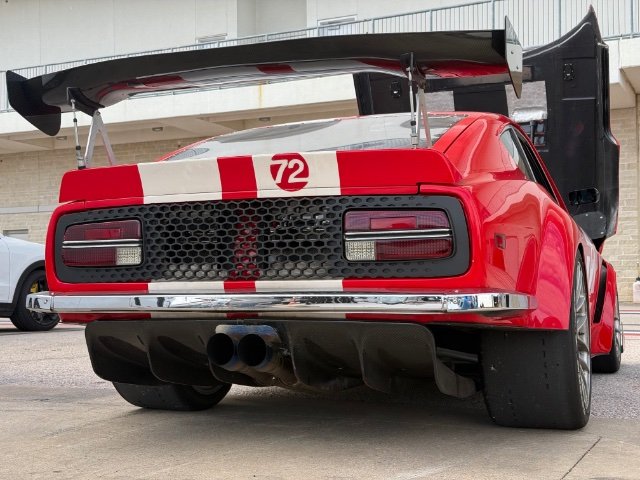
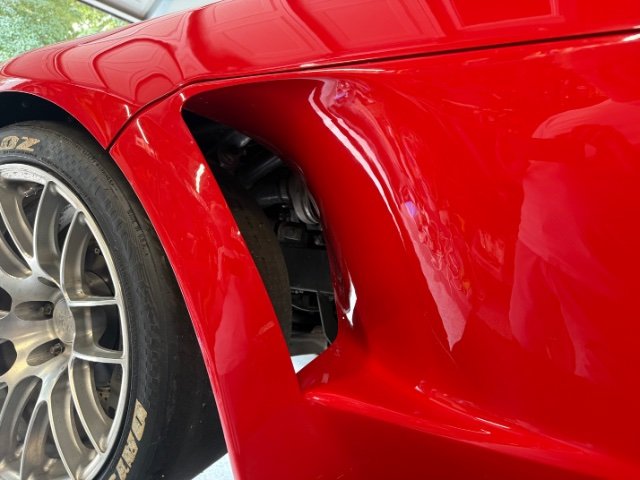
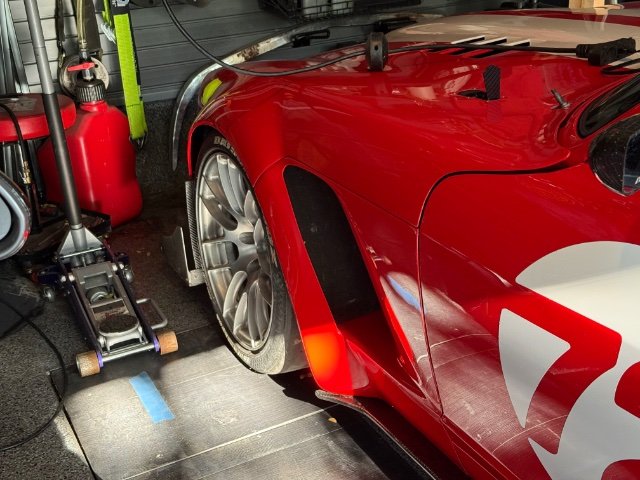
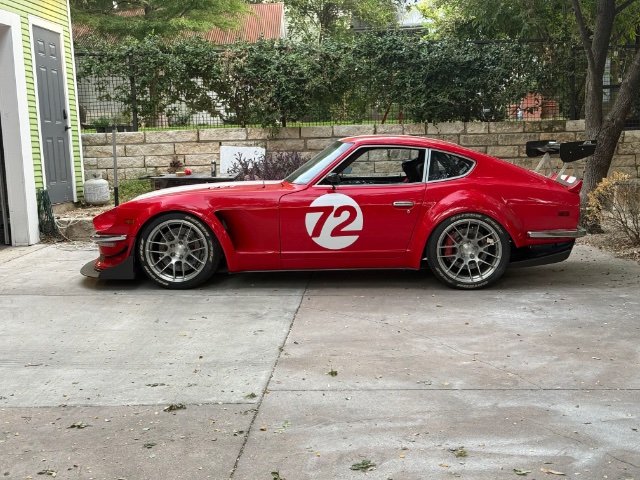
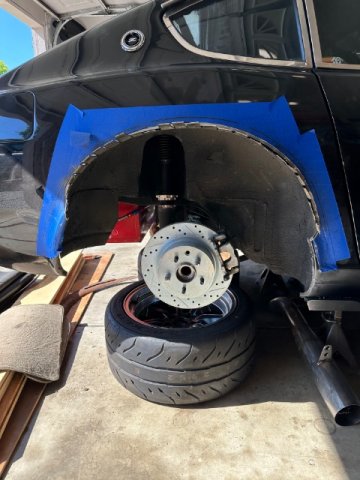
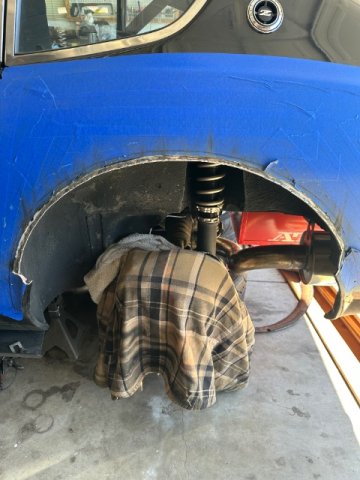
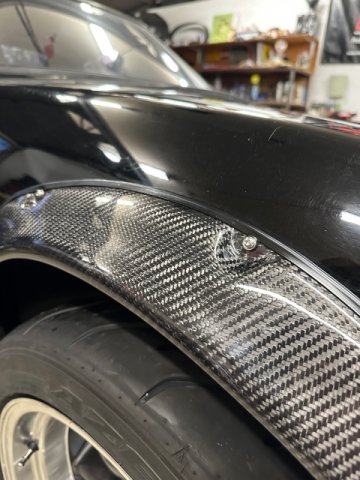
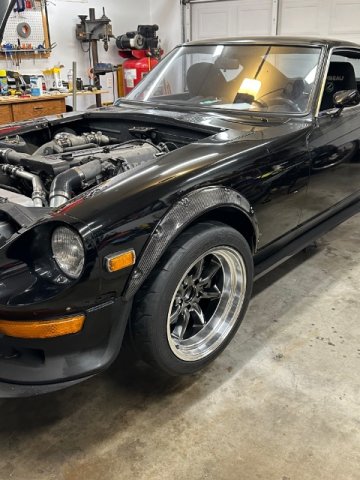
if anyone's still tracking this build I have what might be a last update since the car is mostly done (lol is it ever done?). I finally cad-designed the front fenders and then had a local shop 3D print the parts, then took that to a bodyshop to integrate into the existing fender part and paint it. After that I overlayed the inside walls of it with carbon fiber for added stiffness and protection. I also cut the lower part of the rear fenders and put in a horizontal cf winglet to better extract air. Overall I think it looks great and the resulting new parts helps downforce a ton by extracting air from the wheel wells.
4 points
-
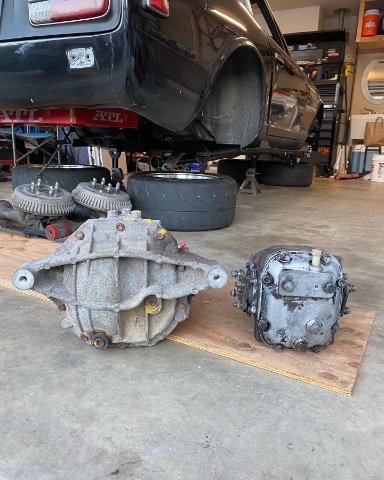
Since that broken rear differential a lot has happened.
4 points
-
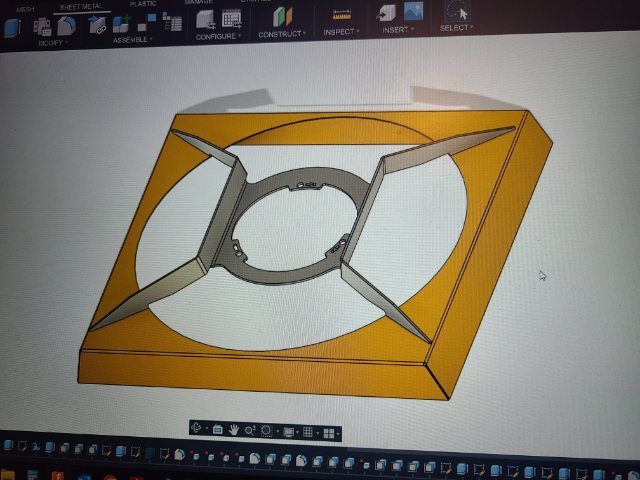
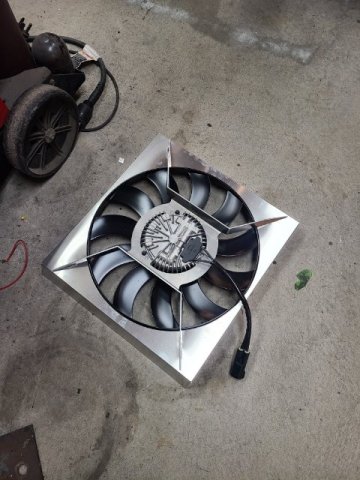
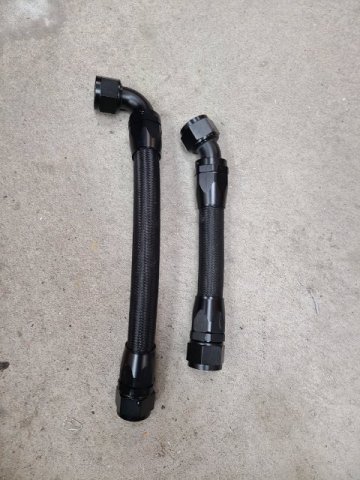
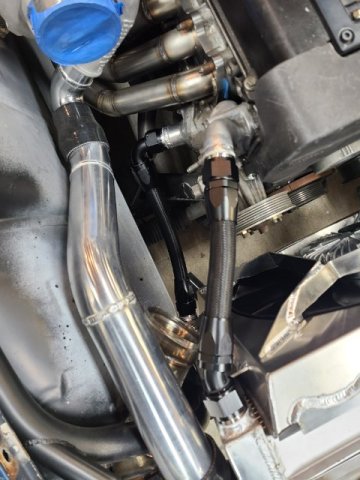
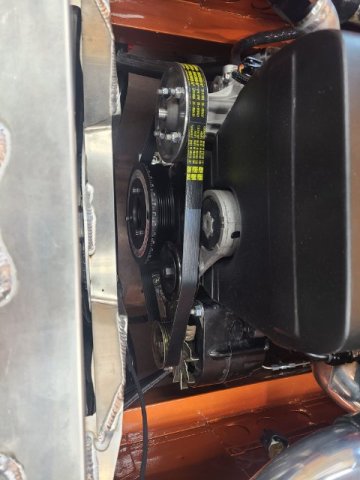
Next order of business was electric fan and shroud, and radiator hoses. I chose the 2016-2019 Camaro single SPAL 18" fan. it will be PWM controlled and is a very popular choice according to the internet as it can flow 5000CFM. Although I cut up the factory shroud to "work" I felt like I needed something fancier. modeled up a base to start working from and had my friends at laserbros in NC laser cut and bend it up. Should have gone one or two AWG thicker so added some bracing as well as some mounts and very happy with the final product. Cut down the radiator and inlets and outlets on the engine and welded on some -16an bungs, made up a couple hoses. in the last photo of the "hose installed" you can see the end of the pipe for the intake I welded into the chassis I mentioned in the previous post. Also decided to move the alternator to the other side of the engine to get it away from the heat. When i pull the engine to paint the bay i'll design and make a bracket to permanently mount it over there.
4 points
-
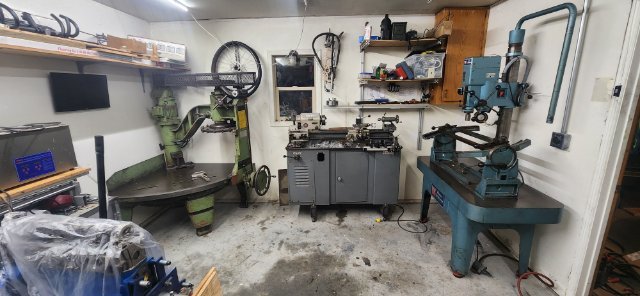
I just wanted to share something pretty exciting in my world. 5 weeks ago I overheard a friend talking about how hard it was to get any machine work done. And it hit me..... I know how to rebuild heads I just need equipment. Did some research and found that 4 of the main shops in the area have sold out or retired. Told the idea to my father in law. And was just spit balling with him. I dont have the cash to start anything and it was just an idea.. well he gave me and my wife a rather large gift and I have now bought a storm vulcan 85b blockmaster and a winona van norman Ph-2000L valve ane seat machine. Still need a valve grinder and obviously tons of tooling. But im excited to see where God takes this. Been 25 years since ive done and work but am excited to get back into it. Plan to get the surfacer going and try to drum up some buisness to make some income to buy more tooling. I onoe they are not the best machines bit they are functional. Just wanted to share
4 points
-
Hi,guys, after one year off with other work, i put back the engine with reground camshafts, and ready for new start !😅 Wait and see ,and Happy new year
4 points
-
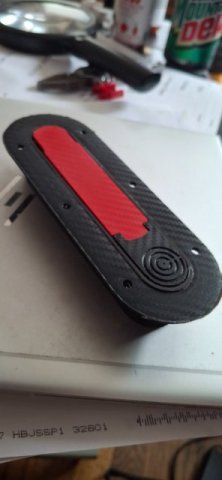
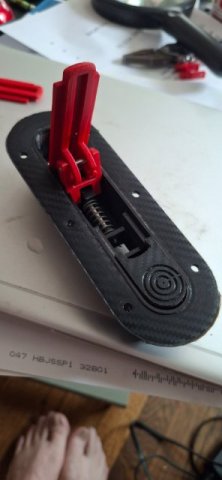
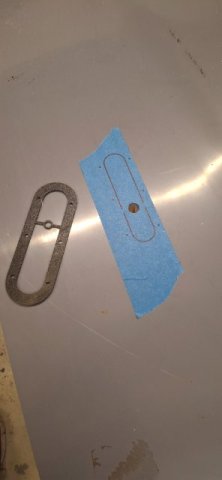
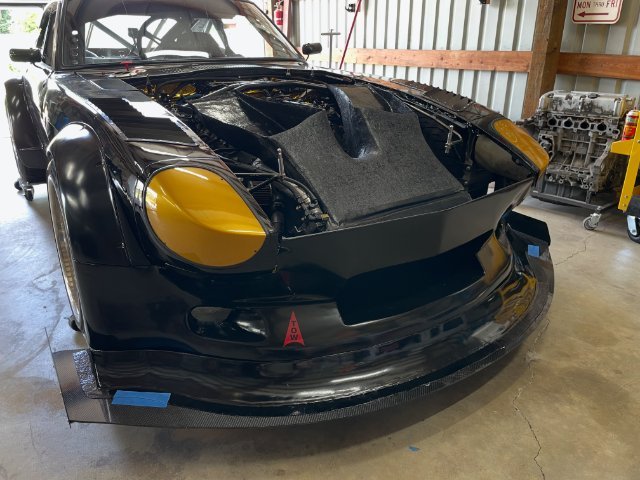
My custom made 3d printed aero hood latches are mounted.
4 points
-
Went out for some Auto-x this weekend, and had a proper blast. Highly recommended for anyone here who still hasn't gone to try it. Enjoy a slow lap, some V8 noises and straight cut gearbox whine. I have a handful of things to think about and address moving forward, but overall I'm very happy with where this sits. Next up is OnGrid at the Ridge in late July for more testing, and maybe, just maaaaybe a little redemption.4 points
-
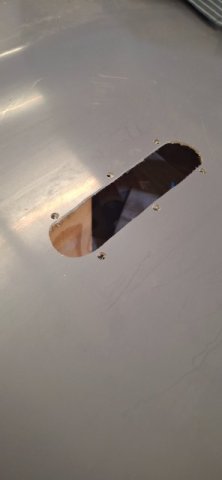
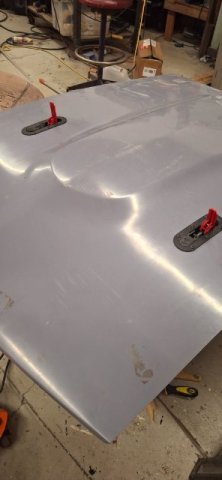
Good progress over the long weekend. Paint, bondo and fiberglass is mostly a waiting game which is pretty annoying. Got the duct glued together and painted so it looks like something. Trimmed it up a little and we are in great shape! The holes in the hood are a little bit large, but that's ok, and will likely get solved with a new hood (fiberglass) or something on top. Also got the transition piece painted which is exciting! This will help blend the splitter into the air dam, and will get taped onto the splitter once I put some trim on top of it. Need to get to work on the new intake pipe as well, going to put the filter over near the wheel for now. In the future, I'll flip the manifold and pull air from the cowl/wiper box area, but that's a bigger lift in terms of fabrication. Can't tell you how excited I am to have a metal fabrication project after 10 months of composites.
4 points
-
Meh, he's a paid supporter of the site. I figured I'll give him his moneys worth4 points
-
I started typing a number of snarky responses and have settled on Wow what a shitty thing to say.4 points
-
well old story , but MAG58 was right, mercedes M104 head is possible on a datsun L28 stroked , build is not over but we will see what happens soon bye bye Didier
4 points
-
**UPDATE Went to court yesterday and basically played dumb. Told the judge that "I went to the state ref and he told me since the car is so old that he couldn't do anything to certify it. So how do I go about taking car of this ticket. The vehicle is a pre smog vehicle so I've never had to SMOG it" The judge said "Ok so what Im going to do here is dismiss the case cuz it seems like your car doesn't qualify for an inspection. Sorry about the inconvenience Mr. Soto" I tried to play it cool but I was so happy. After reading all the horror stories from other people about having to revert to stock and all that I was lucky I guess Hope this thread helps someone going through something similar4 points
-
Greetings Everyone, Due to the increase in spammers HybridZ, registration has changed from being automatic to manual. That means one of the Admins will need to approve any new registrants. If you ask or tell someone about HybridZ (please do) let them know registration isn't automatic anymore. We'll do our best to stay on top of any additions and hopefully you all will see a lot less spam. Thanks, The HybridZ moderation team4 points
-
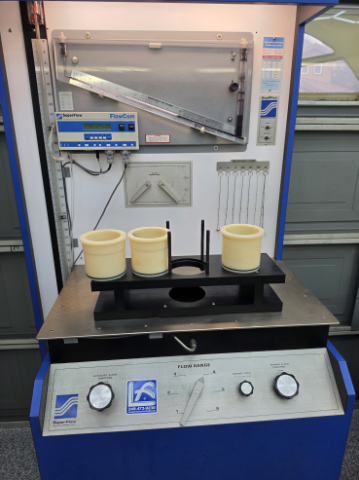
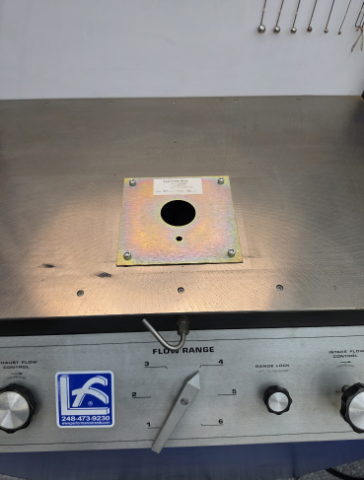
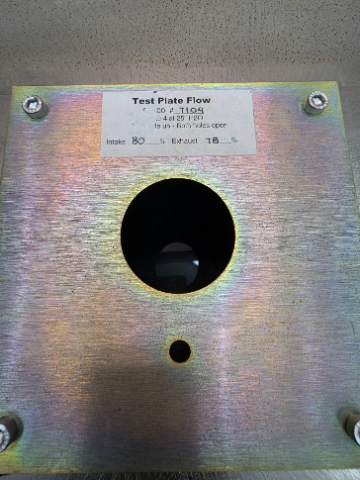
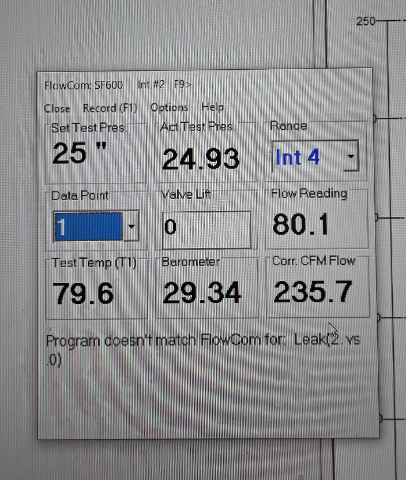
I've decided to build a detailed thread to document L-Series cylinder head flow testing and the results. Like many aspects of these engines, it's sometimes hard to know what to believe or how to interpret what you see and read. Test setup, equipment, testing methods, and just straight-up BS can all contribute to the confusion. I don't sell a product or service and have nothing to gain from the results I post, so my goal is to keep the testing unbiased and as consistent and repeatable as possible. Feel free to comment or criticize as I move through this. I'm happy for any input. First up is the equipment. I have a SuperFlow 600 converted to run the digital FlowCom directly to my laptop where I use PortFlow analyzer from Performance trends. This software sets up the test and aids in the data logging and reporting. It also compensates for Altitude, Barometric pressure, ect. So no math or reading of the old school manometers. Its super accurate and very repeatable. I built a L-Series specific test stand and replaceable cylinder bores to test the common sizes, 84mm - 240z , 86.5mm 280z, and 89mm - Big Bore. This has a considerable effect to the max flow due to bore shrouding, so its important to test on the correct size. This is the first place numbers can get "offset" If some guy is flow testing a Z head on his 4" Chevy bore, you bet the numbers will look good. More on this later. These bores are made of nylon and seal to the test stand with an o-ring. However any leakage can still occur, so the software takes a zero measurement first, and this leakage is then subtracted out automatically Next up is calibration - the bench should be calibrated on a regular basis to check for issues. You do this by bolting the supplied test plate that is matched to the machine and simply flowing it. Here you can see the plate bolted on, it has calibration flow percentages written on it to compare Ans this is the screen on the laptop, you can see the bench is within .1 percent calibration for the intake and exact for the exhaust Ill flow and document the heads I have as well as some I will borrow from friends. Some will be stock, some will be modified to various states. Ill also do some test to help point out important details. So stay tuned Thanks - monZter
3 points
-
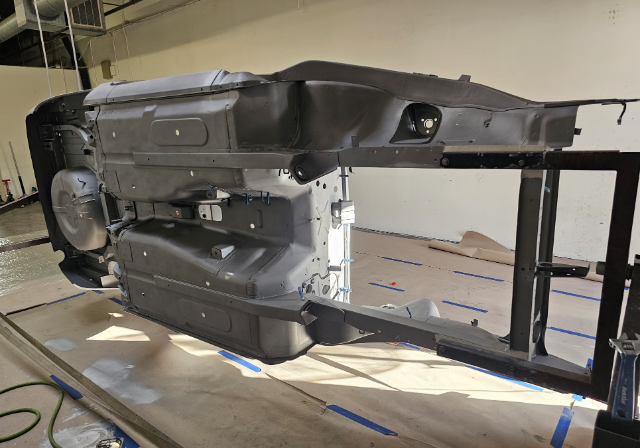
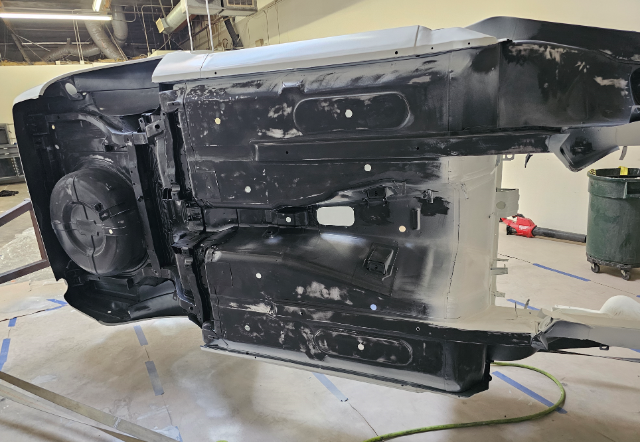
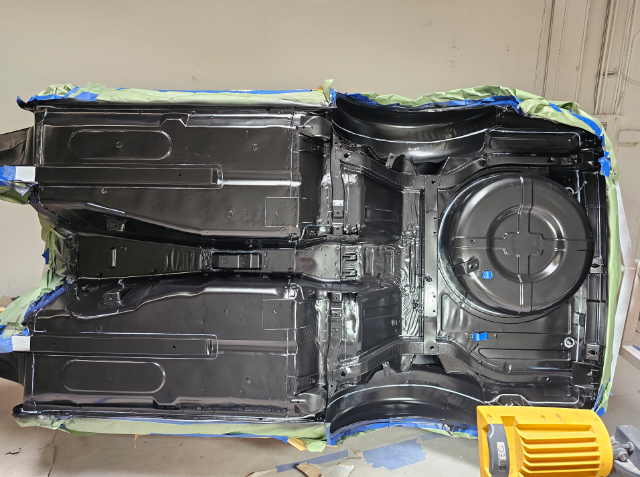
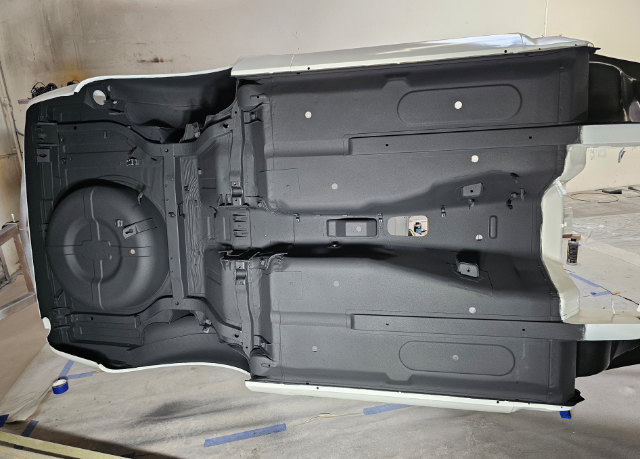
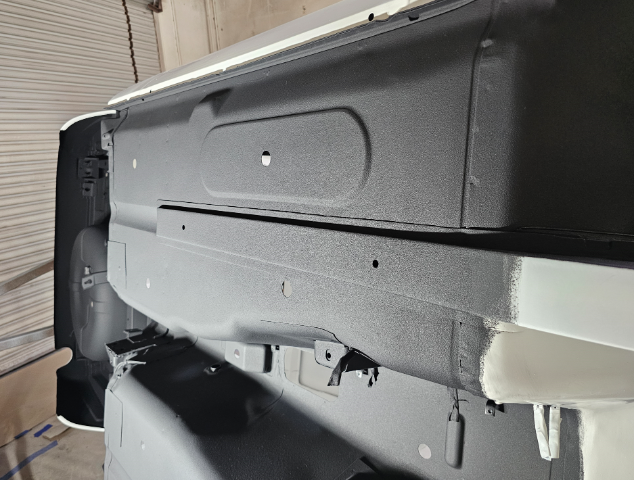
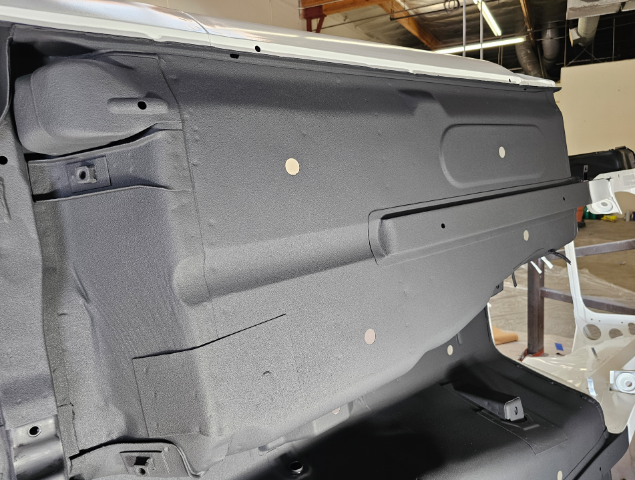
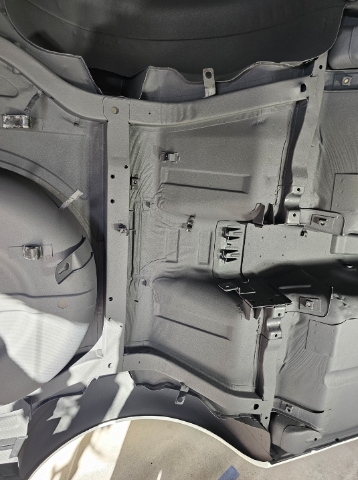
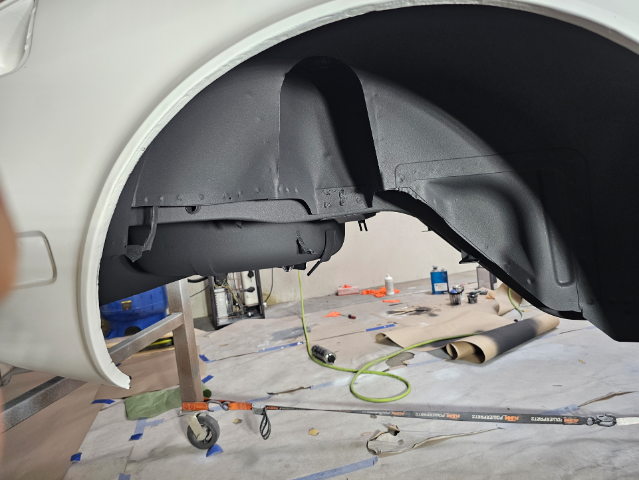
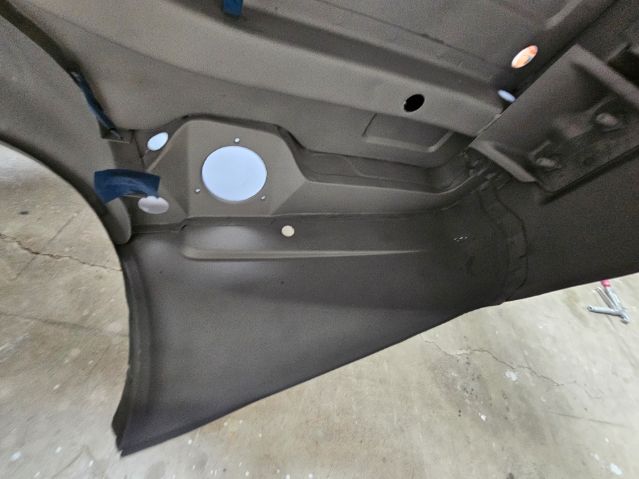
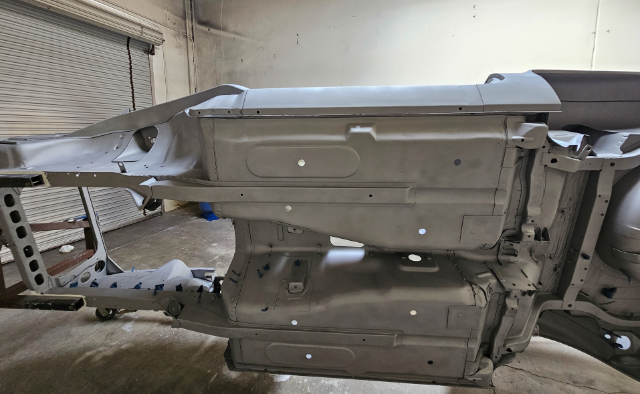
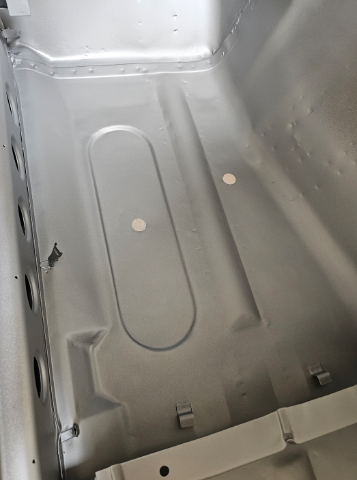
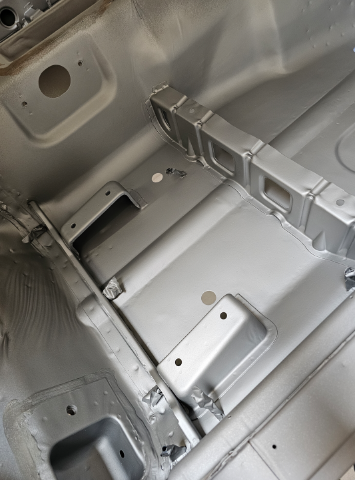
Before getting the top side and interior sealed up in 2 coats of white epoxy, I first hit the underside. I chose to do it in black Epoxy to more follow the original paint where you could see the black though white overspray. I first put down a full coat of the black again using my 360 degree extension paint gun to get in all the difficult location like between the spare tire well and rear valance, then a normal 1.4mm tip gun. After allowing the top to cure for two days I sanded out the bottom side and scuffed it well with Scotchbrite. I then applied 2k epoxy seam sealer in all the original OEM locations I then taped up the topside and put down a final coat of black I then let that cure for two days before applying the Gravitex. It is made by U-Pol the same company who makes Raptorliner, Gravitex is better in my opinion for the other side as it is intended as a sound insulting stone and chip guard. Its what you see on the rocker panels of German cars. Goes on the same with an undercoating style gun. Its a 1k product so I will need a sealer coat on top of it before finally paining the underside white in body color. I really happy how it came out. The weeks of metal work straitening and shrinking the original floor pans really looks good all finished.
3 points
-
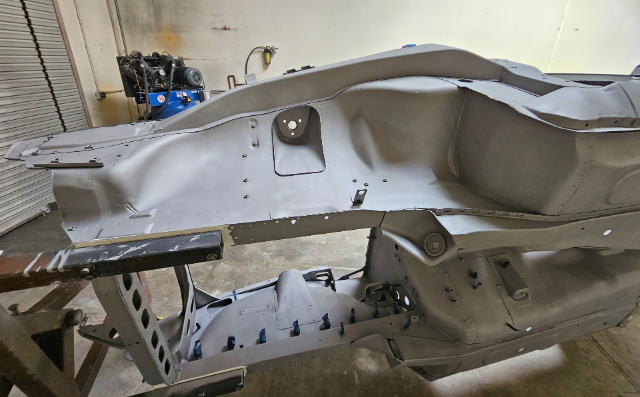
Its been an exhausting month of hard work getting the chassis in Epoxy to move it back home before the end of the month. Here is the process. 1.) strip all factory sound deadening/undercoating with a scraper, heat gun, wire brush. 2.) clean any residue with paint stripper and after-wash solvent. 3.) strip original paint from body with Citri-Strip paint stripper - again clean with after-wash 4.) remove interior tar paper with dry ice and liquid nitrogen. 5.) wash and clean entire body with Mastercoat metal prep - phosphoric acid rust neutralizer https://nomorerust.com/collections/metal-prep-rust-remover-products 6.) sandblast all seams and overlop joints. 7.) brush Mastercoat rust sealer primer into all seams and nooks https://nomorerust.com/products/mastercoat-ultimate-permanent-rust-sealer-silver-primer-original-sprayable-slim-quart 8.) lightly blast the floor pans with white aluminum oxide until white metal 9) brush 3 coats of Mastercoat rust sealer primer on to floors 10) blast the internal frame chambers clean and blow out any sand 11) spray the internal cavities ( rocker panels, rear fenders, rear internal quarter, and front internal cowl area with Matercoat using a 18 inch long extended tip spray gun https://paascheairbrush.com/collections/extension-spray-guns?shop_consented_scopes=email%3Averified+openid+pay%3Asession_token+profile+shop%3Aaccount_uuid&shop_sign_in=true using a 360 degree spray tip to coat all surfaces 12) sand the entire body removing any Mastercoat not reaming in pits or detents 13) sand the entire external body shell and underside with 180 grit and clean with wax and grease remover 14) lightly blast entire body inside and out until perfectly clean and lightly textured to promote adheision - holding the blast nozzle 12 to 15 inches away at 60psi with white aluminum oxide 15) hours blowing out the remaining grit 16) again using 360 degree long extension spray gun, paint all internal cavities and under sides with DPLV Epoxy Primer 17) Spray entire body inside, outside, underside with 2 coats of Epoxy Ridiculous amount of hours https://www.youtube.com/watch?v=y-kogRrJYJU
3 points
-
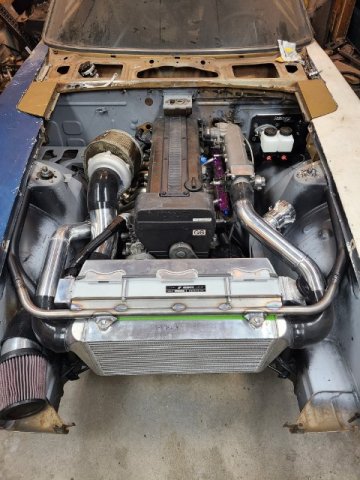
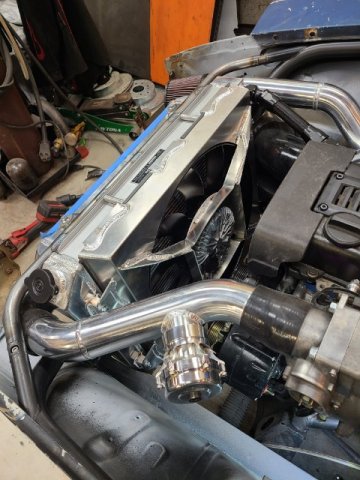
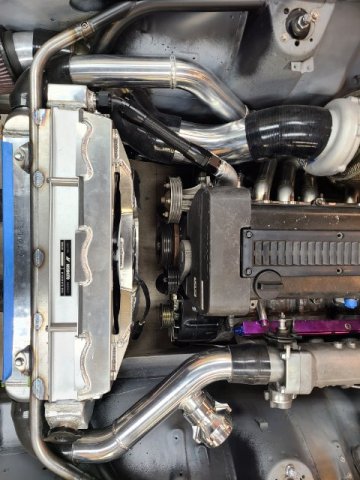
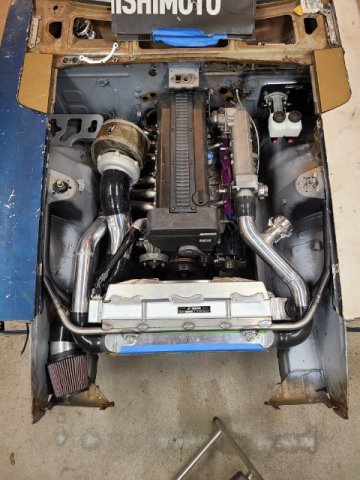
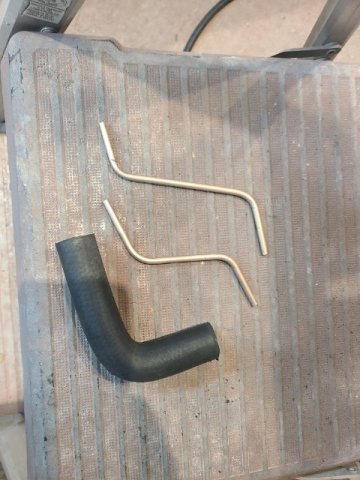
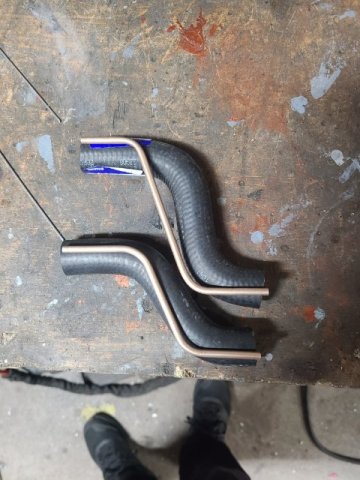
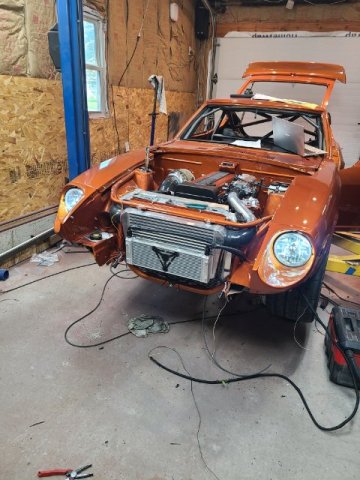
Got a little more work done. Started getting the front end together. headlights wired up. have new corner markers on the way and need to come up with a grill and turn signal. Bent up some brake line templates and headed to the parts store to try and get some pre bent heater hose. was a successful journey. got a u bend that worked for both hoses perfectly. Got the hoses on. pressure tested for leaks. found one small one at the turbo. fixed it. filled and bled the cooling system. Got the fan hooked up to the ECU thru PWM, and man does this fan flow some air. turned all the way up it might move the car like a fan boat. haha. I had it running while playing with the tune at 35% duty cycle and it CLT stayed at 172ºF when it was 85ºF in the shop so i was happy about that. will play with setting once i can get it on the road. I made the alternator bracket to move it to the driver side but having a little issue with belt routing. Currently did get a belt on but the tensioner doesn't have enough movement to work how I'd like so I'll reevaluate this later. Belt is tight and spins everything so I can run it this way for now and figure something else out later. I have the same alternator on my other car but on the passenger side so worst case I can probably get away with moving it back over there. just was trying to avoid the heat from the turbo. Also got the brakes bled. I'm real close to taking it for a spin around the neighborhood. Going to try and get the edged around the windows sanded and buffed this week so i can put the glass back in.
3 points
-
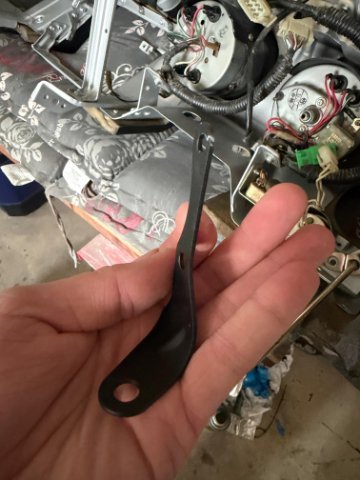
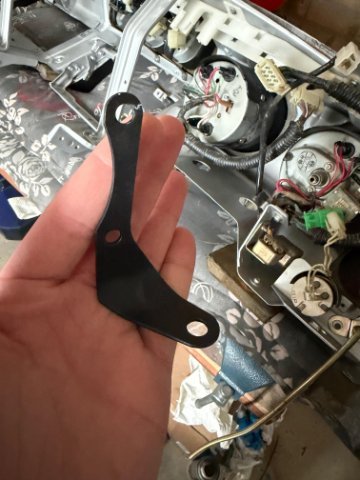
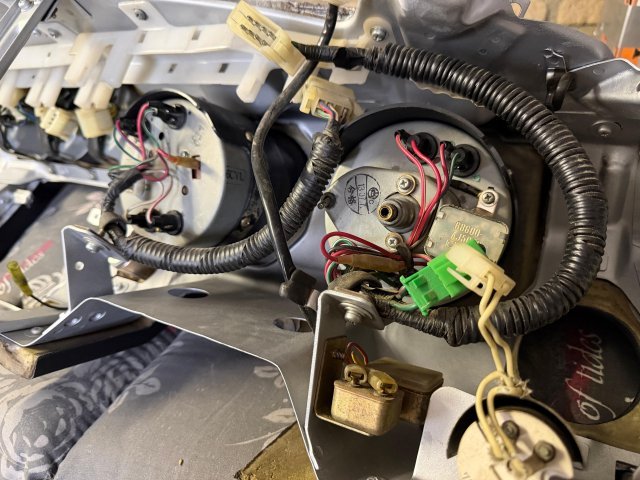
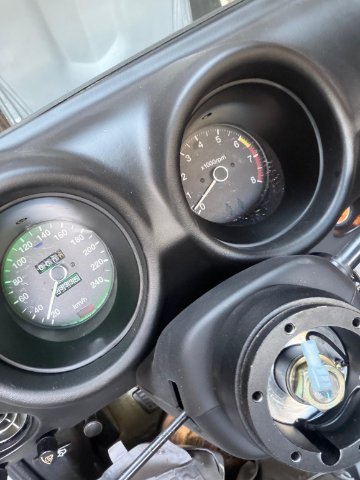
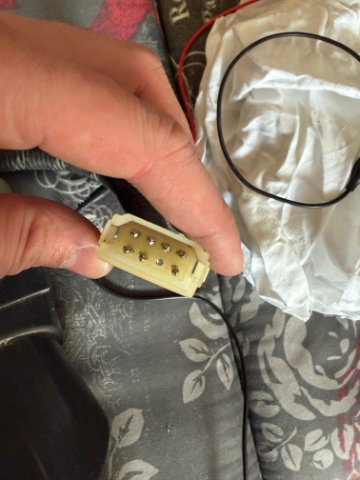
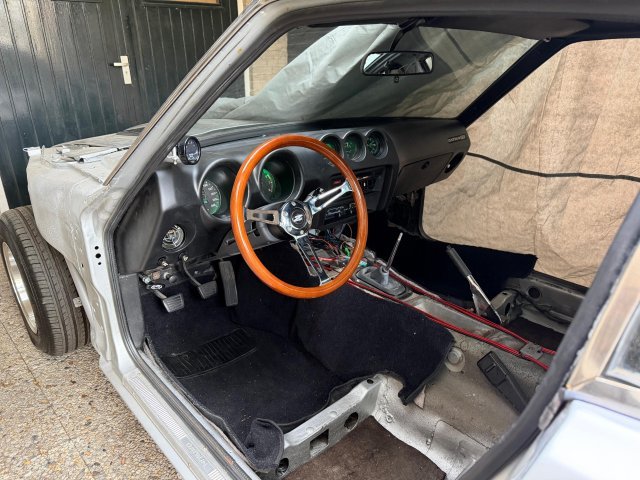
It’s been a long week where in a lot happened, including me getting engaged to my beautiful girlfriend last week! But personal stuff aside we are here for the Z. The body shop couldn’t wait any longer and with my permission they ended up modifying the passenger side frame rail to fit. All in all they did a great job and the end product looked great and above all was very strong. As an added bonus they even gave the frame rails a new coat of underbody spray and drilled two holes in each rail to coat the inside with wax and prevent condensation buildup. This meant I could finally pick the car up last Friday after being over 4 weeks stuck in the shop. By coincidence I was free from work that day so I even got to start the reassembly of the interior starting with the dashboard. And I also quickly strayed the Apex fender braces silver to match the rest of the car. I finished reassembling the dashboard during which I had a little bracket left over. I have studied every possible parts diagram and video but I can’t seen to find where this bracket came from. It was stashed together with all the dashboard parts and bolts but unfortunately I wasn’t smart enough to take pictures of the disassembly. Does anybody know where this little bracket belongs? Anyway I decided to continue the reassembly of the dashboard and reinstall the dashboard into the car. This went rather smoothly even though installing the dashboard all by yourself is a bit of a pain. I immediately tested all the electrical components to see if all the light (which I replaced with LED’s) and gauges still worked. Everything fortunately worked except the tachometer backlight which turned out to just be a reversed polarity, which isn’t an issue for halogen bulbs but is for LED’s. This was easy enough to fix by switching two pins inside the tachometer connector. I’m now at a point where the dashboard is complete and the carpet is mainly in. Because of a national holiday I will have a four day weekend starting this Thursday. This means I can finish the interior of the car and start installing the Apex front and rear control arms, steering knuckles and front crossmember. I really hope these don’t contain manufacturing faults or else they own me a really big apology.
3 points
-
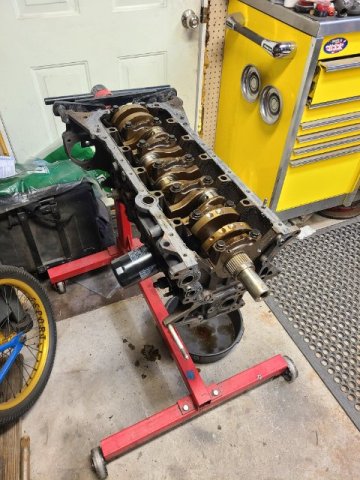
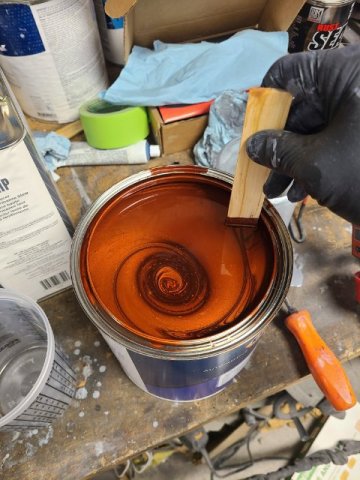
Long week number like 200 but happy with the my progress. Made a tweak to a color based off a cadillac cts5 v blackwing. Its a bit more "copper" tone of orange than I was picturing with the modifications but I am very happy with it. As soon as I started pulling the masked off areas and was seeing the contrast with the grey I loved it. Did get some fisheye on one door so I'll have to fix and respray that at some point and a couple sags/runs in the clear to sand out, but I can make some serious progress on the build now. did get the engine stripped down as well. Bearings, rings, valve springs and a gasket kit have been ordered to freshen it up. but otherwise everything measured out good and seems like a good starting point.
3 points
-
Hi everybody, long time for updates. Been quite busy with kids and a very nasty divorce going on. The good news is my garage and cars are still intact and I am still making progress, although very slowly. Car is very close to track testing. I decided to have a new pair of steering arms machined to match the front geometry. I will post more when they are finished. In the interim, I took the time to catch up on some side projects I wanted to do. With the advancement of AI, some of the projects I considered impossible a couple years ago have turned out to be quite easy now and very inexpensive. Based on Arduino technology, I have integrated a motion sensor into my data acquisition system. I use a Race Technology DL1 Club box which is limited to 8 analog sensor inputs, but can decode an almost unlimited amount of CAN signals. So I built a circuit that decodes the motion sensor and outputs a CAN signal. I now have 3-axis roll, pitch, and yaw angles along with speeds and acceleration live data. It will all be packaged in a small box that mounts in the car. Next is a infrared tire temperature monitor. A 16x4 temperature array sensor once again combined with Arduino and CAN output board. I am trying to package this as small as possible so it can be mounted on brackets roughly 4" above the tire. Again real time data of inner, middle, and outer tire temps while driving. Hopefully saves a lot of time when dialing in the camber and pressures. More to come...........3 points
-
Been a long week but got everything completely stripped and got some epoxy primer layed down on all the metal surfaces. have plenty of body work to do but atleast its sealed and protected now. Hopefully in the next week or two i can get the bodywork done and get some color on it. I did talk to john and his comment is "I don’t claim to be an expert on bonding. But in my experience cracking at a bond line is often due to inadequate surface prep both the underside of the fiberglass and the underlying metal), poor bonding agent, not enough bonding agent, cheap body filler, and/or excessive flexing of the unibody. On the other hand, I know a lot of guys who do the bolt-on installation. For performance applications, it can be an advantage for working inside the wheel well". With that said I think I will spend the time to make the fitment as good as possible and make a last minute decision based on how well it fits/looks.
3 points
-
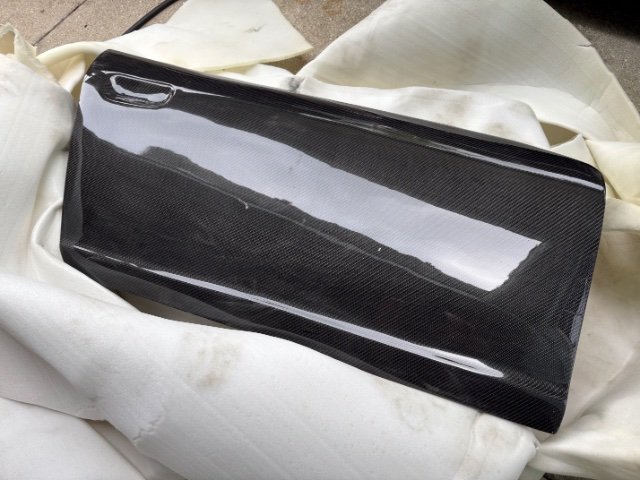
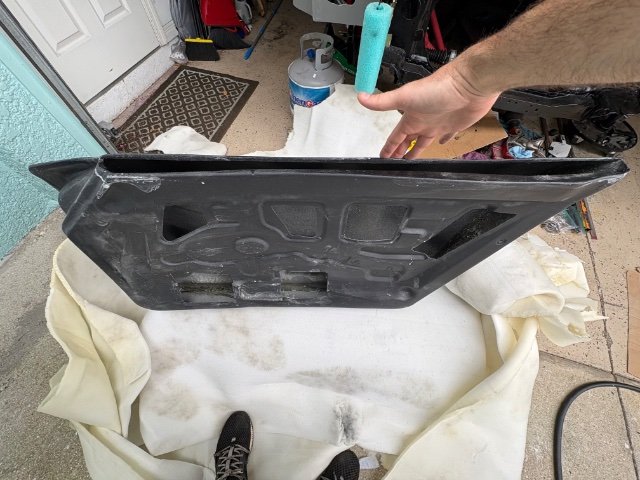
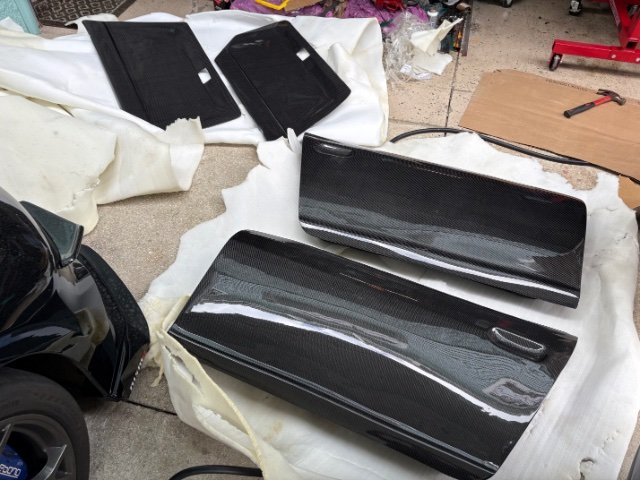
Carbon fiber door and door cards came in, these things are super sexy 🥰
3 points
-
Without the oil cooler, my water temps were never an issue. Never over 200 on track. When I put the Aviaid Mangusta pan on the car it had a provision for an oil temperature sender. Even though my water temps never got too hot on track, once I installed an oil temp gauge, I discovered that my oil temps were getting near 300F. I added the Setrab 34 row cooler, and my oil temps stay below 250F.3 points
-
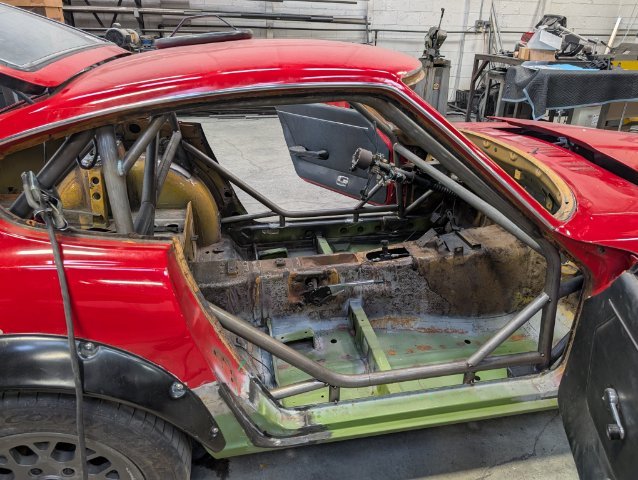
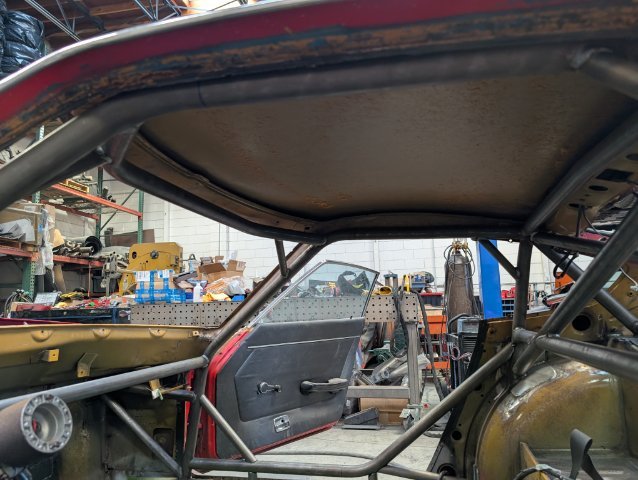
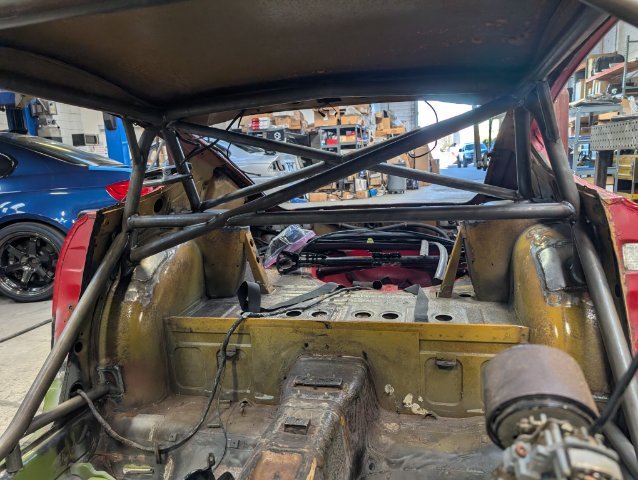
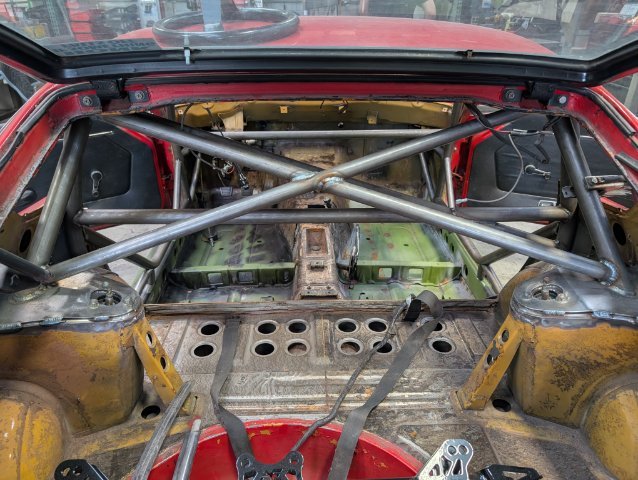
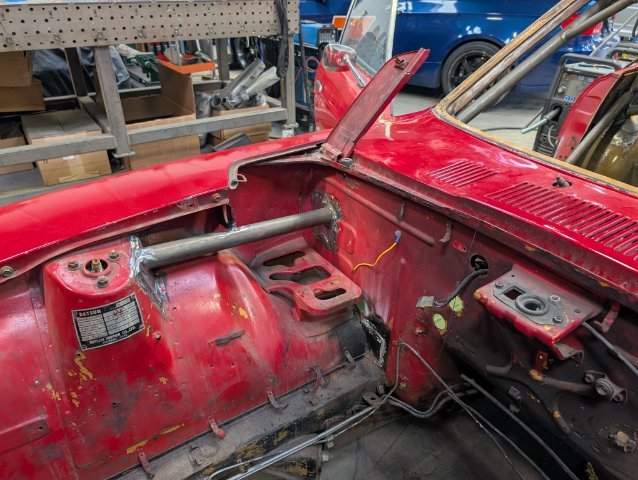
Unrelated update but reasons as to why there's been a lack of updates to this thread: Got a new job that demands a lot more of my time so unfortunately less time to optimize the SLA conversion. Upside however is that I'm learning NX which seems to be some next level software. I think this design is going to take one more fundamental change to really get the dynamic geometries perfect but the work I have so far has been a pretty excellent starting point. The car is also back from the rust repair shop and the cage shop, needless to say my wallet is in a lot of pain at the moment (especially with the S54 being built) but we do these things not because they are easy but because they are hard and we hate money. Anyway, enjoy some photos of the cage in the meantime.
3 points
-
Hi All! I've owned a few s30's in the past and finally decided to build one. My car background is a lot of JDM cars including Supra's, AE86s, S13s, Skylines, a Stagea 260rs, etc. I have always loved the style of the s30 (don't we all), the aftermarket support for it and the random people who would stop me and tell me about their "Z" story. The story of this build started over a year ago when I purchased this 1978 Datsun 280z. The story behind the car (that I know of) was it is an American car that was brought to Washington and held at a speed shop awaiting restoration. Then was bought and stored in a heated warehouse for years in BC before i bought it. A little side story, I originally purchased a 1971 240z from the same person and they also had the 280z for sale but was well out of my price range. I would have loved to restore the 240z but unfortunately the amount of work it needed was well beyond my budget and experience just to get it to a useable condition. If you looked at it funny, rust would fall off the car. Mistakes we made. I was sold on what it could be but not what it will take to get there. almost a year later the 280z was still for sale, and the price was a little better. With some luck, i was able to convince the owner to trade back the 240z and cash for the 280z. Success!...Now, it seems the 280z was re-sprayed a British racing green but wasn't done the best and was flaking so i believe that's why it originally underwent the restoration in Washington. The car was just a rolling chassis, the front end had been primer epoxy'd and luckily had everything in boxes and labeled like "driver door guts", or "Rear hatch slam", which was nice to see. Now the goal of this project was to be a fun drivers, resto-mod car. It will be getting an RB26 from an r33 GTR, an RB25 transmission, DBW for the factory ITB's, Techno Toy Tuning full suspension, brakes, differential swap kit, running a Haltech S3 ECU and Wiring Specialties Harness, Poly fuel tank with an r32 skyline Radium hanger and Hellcat fuel pump. The bigger ticket items like turbo/manifold, radiator/fans, and then some smaller things are missing but most of the project is there now. I do plan of re-wiring the whole car considering I'm spending money in every other area. Now, just like anyone, I did set out with budget but considering since I last built a car, prices have gone up for parts which I stupidly didn't account for. Also a lot of, "well if i'm already doing this, then i might as well do that", and "since i have this off, i might as well get that." So the budget has been blown....but at least I'm happy! (maybe). BUT as it stands, the suspension and diff swap kit is in and the car is currently at the body shop getting the sunroof hole patched as well as some of the smaller trim holes plugged and a few small rust spots taken care of. Here are some pics throughout the build and as it stands. Any questions, advice or help for some "gotchas" will be welcome!3 points
-
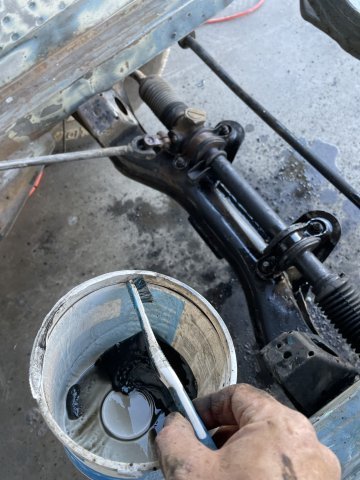
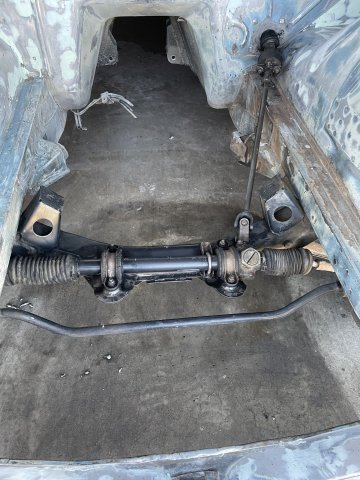
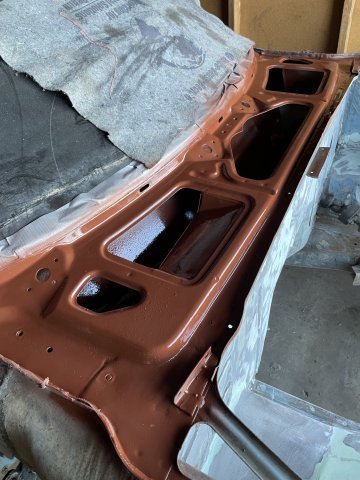
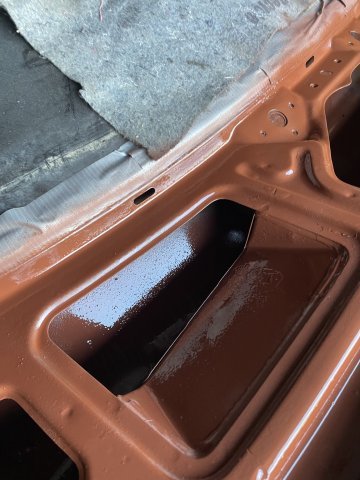
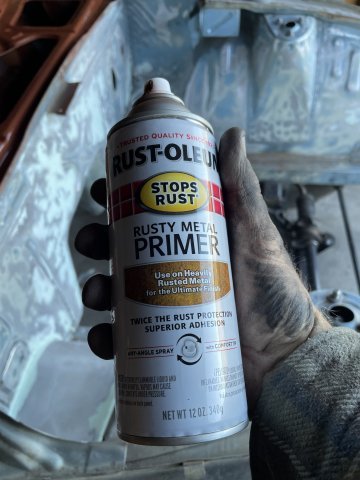
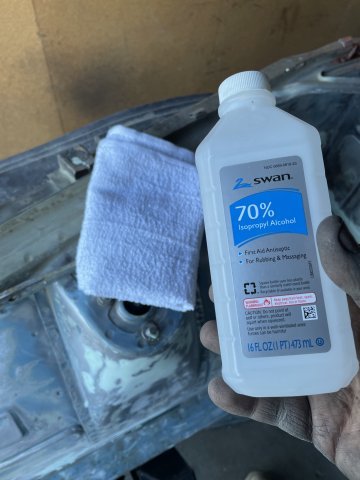
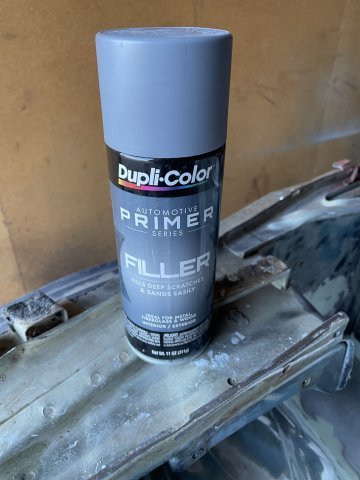
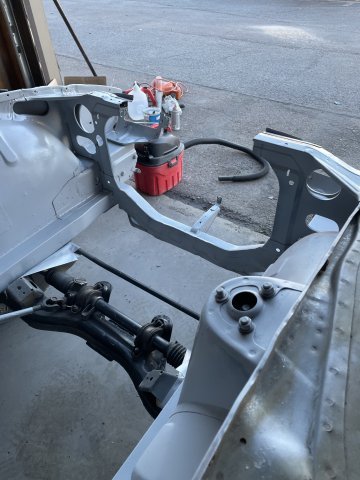
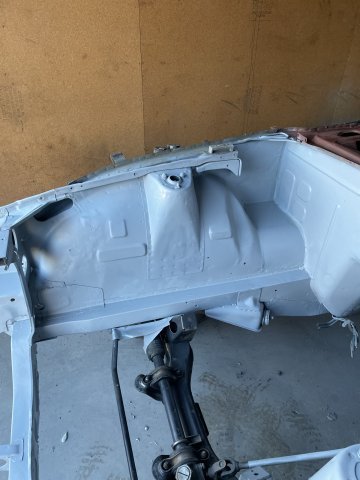
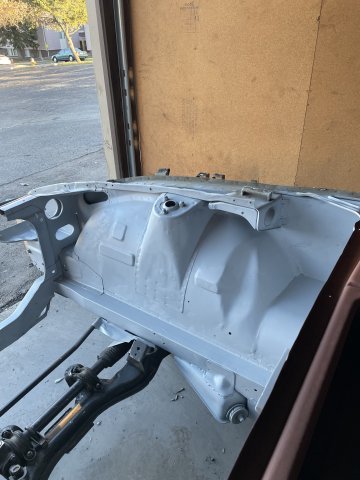
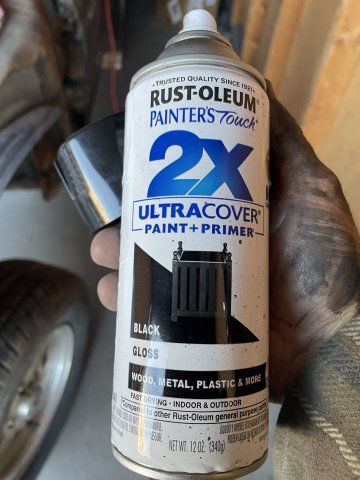
11-01-2025. 260Z work. I got the engine compartment sanded down after the glaze and then cleaned up the crossmember and rack with cleaning solution "g@s" and a toothbrush, and then steel wool, etc. Then I vacuumed out the cowl and primed it with rustoleum rust primerand top coated it with gloss black paint, then painted the engine bay with filler primer. Once dry I will use some spot putty I picked up on the areas that need it, hand sand it smooth and filler primer over that. Once it is good, then I will progress to color and then clear. Busy day! Pics:
3 points
-
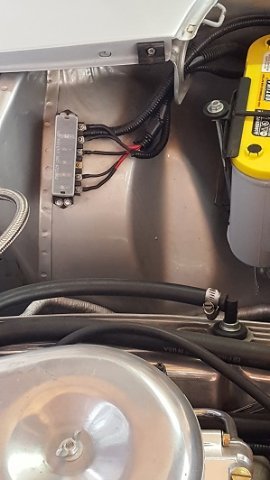
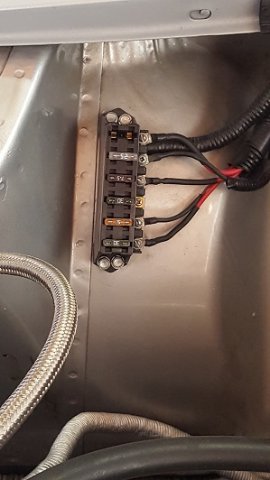
Picked this up from local hot rod shop for my 240z SBC 350 project about 13 years ago. Circuits: Electric fan relay Fuel pump Radio and amplifier Power windows Summit Racing/parts store etc probably have this fuse box.
3 points
-
Update: after speaking to Cortex and getting some spindle dimensions from them for CAD mockup, looks like I’ll be using their Radial X spindles. Very exciting stuff, I am a bit weary about using aluminum spindles but the car is a track car and last weighed at ~600# over each front wheel so I think I’ll be alright. Thanks! Excited to share my progress with you guys. I’d eventually like to make my work/design open source and see what more talented suspension engineers can do with it. If I didn’t just buy one of these yesterday I’d offer to trade you a complete kit for one of them KN20 heads XD. A bummer indeed, just another bump in the road! Funny you mention Stock Car blade-swaybars. It’s basically all I’ve been looking at for switching over to that design. Plus the parts are pretty cheap & standardized. Thanks everyone.
3 points
-
So.......it's been 7 years since my last post. The car basically sat in that drive way for a few years then pushed it in the garage for another4 years where the mice got to it. The gas in the tank and lines went to shit. I replaced the fuel pump and got it kind of running again. Obviously having the car sit outside for so long it pretty much ruined everything in the fuel system. This is where a project goes to die .....you lose interest and end up selling for cheap because it doesn't run. Well ......not this time. Last year the house where I was storing it had to be sold so I needed to find a home for it while getting it road worth again. My best friend who lives in Rochester, NY (I'm in Massachusetts) told me to trailer it to his place and we can work on it together. I know that the carbs need to get rebuilt so I decided to send them to Kyusha House. Here is the before pictures. And after Taka's absolutely amazing work.....3 points
-
Here comes the Project thread that I should've started when I picked up the car in 2021...... Firstly, I'd like to thank the person who has been the biggest help with this car, and who has ended up being one of my best friends, Andrew Mielke (who owns Milkfab Engineering). Without him the car would not be where it is today! His hybridz profile (check out his z) also shameless plug for his business: MilkFab Engineering Z acquisition: I had always wanted an s30 after growing up hearing my dad tell stories about how much he loved the gold 240z he had when him and my mom were dating. Any time we would see them at car shows or out and about i'd be drooling over them. When I started dating my now wife, I noticed a copper colored Z sticking out of a storage building on the road they lived on. Her and her family started jokingly calling it 'my car' due to me staring at it every time we'd drive past. Fast forward 3 years from then, we were married and looking for a house. She gave me a call because as she was driving to her parents house she saw the car outside and they were working on it, asked me if she should stop by and ask about it. I said 'yeah' never expecting it was actually for sale, and when they told her it was and priced it I was super surprised. This was in early 2021 when Z prices were going up dramatically, and she knew that. I told her we shouldn't get it, that it would be unwise since we needed the money for a house down payment, we had no place to put it, etc. BUT, she made me buy it, saying 'You never know if the prices are gonna keep spiking and you never be able to get one....'. So, we bought it, my parents drove over two hours to come pick it up and take it to their house where I could work on it/store it until we had our own place. My wife is a nurse and worked weekends for a while, which meant I spent many a saturday getting up at 5am, heading to my parents, working all day, then driving back in time for dinner. Over the course of 2021 I got the car 'ready' to come home, and we bought a house for it to come home to. The short of it: Where we started (There is probably more than this I'm currently not remembering) L28ET with no E or T round top su carbs lots of electrical gremlins from previous owner cutting random stuff to try and get the car running Radiator support bent from car being wrecked nasty gas tank Where we are now: Frame straightened L28ET with the E and T many fewer electrical gremlins cleaned gas tank coilovers proper race bucket seat (passenger still gets to bounce around in a nb miata seat lol) More posts to come with some build processes, pictures, stories, and more general nonsense.3 points
-
2.0 is coming along.
3 points
-
Before removing the diff, I would check the u-joints on your driveshaft as well.3 points
-
Bumping zboi's thread so he can continue his contributions to the community. Let's see an update.3 points
-
After almost 25 years, still together.
3 points
-
They received all of the shirts without backorders and are starting on printing this afternoon!3 points
-
Yup! Been daily driving it, 300+ days a year, for the last 4 years. Approaching 75,000 miles on the turbo build. No regrets.
3 points
-
I want to thank all of you here for giving me inspiration for my build. I have adopted the Hybrid Z name for my build years ago since this site provided a lot of information that I consider priceless. I was able to meet some great people at ZCON, some that know my build and others that just wanted to say hello and compliment me on my build. When I built this car I built it as my version of what a Z should be therefore I know a lot of people were not going to like it since it was my vision and nothing else. Taking my car to ZCON for the 1st time and walking out of there with these awards it’s just incredible, especially with all the awesome cars I was competing against. It’s great to see the judges appreciate all the hard work and effort that has gone into it. These are the awards I received. 1st Place in Ultra Modified Best Engine Gold Cup- This was totally unexpected and shocking it was given to a Z with and LS3 since most of these guys are Nissan purists. Again, thank you all for your support and keeping this site alive.
3 points
-
an LS is also vastly more expensive then a traditional 350 swap. He should do whatever he wants to do.3 points










.jpg.1990af17048858cad04130309b7009f5.jpg)
.jpg.45075ff6916891e2f05a046adae76a2f.jpg)
.jpg.cd24ccb14d0d6e48f6ad41acc08cda77.jpg)





.JPG.610ed984fe518681d3e91e1e9db2c217.JPG)
.JPG.e329303b2289e41a95dd4a5e6b9b2bf6.JPG)
.JPG.9c7a1ba75f1d864dfbf8d25cacd45f1e.JPG)
.jpg.9a495c827ef23eaabc1d5953ebb2a222.jpg)
.jpg.a28119b0a846d3cc307ea2f488edf719.jpg)
.jpg.9342f7c8ede52da0e23921e7d8cf589c.jpg)