Zetsaz
-
Posts
943 -
Joined
-
Last visited
-
Days Won
34
Content Type
Profiles
Forums
Blogs
Events
Gallery
Downloads
Store
Everything posted by Zetsaz
-
18 was released a little while ago for those who maybe missed it. Still amazed by the amount of work into such tiny details.
-

A musician's therapist (The $300 Z)
Zetsaz replied to Zetsaz's topic in S30 Series - 240z, 260z, 280z
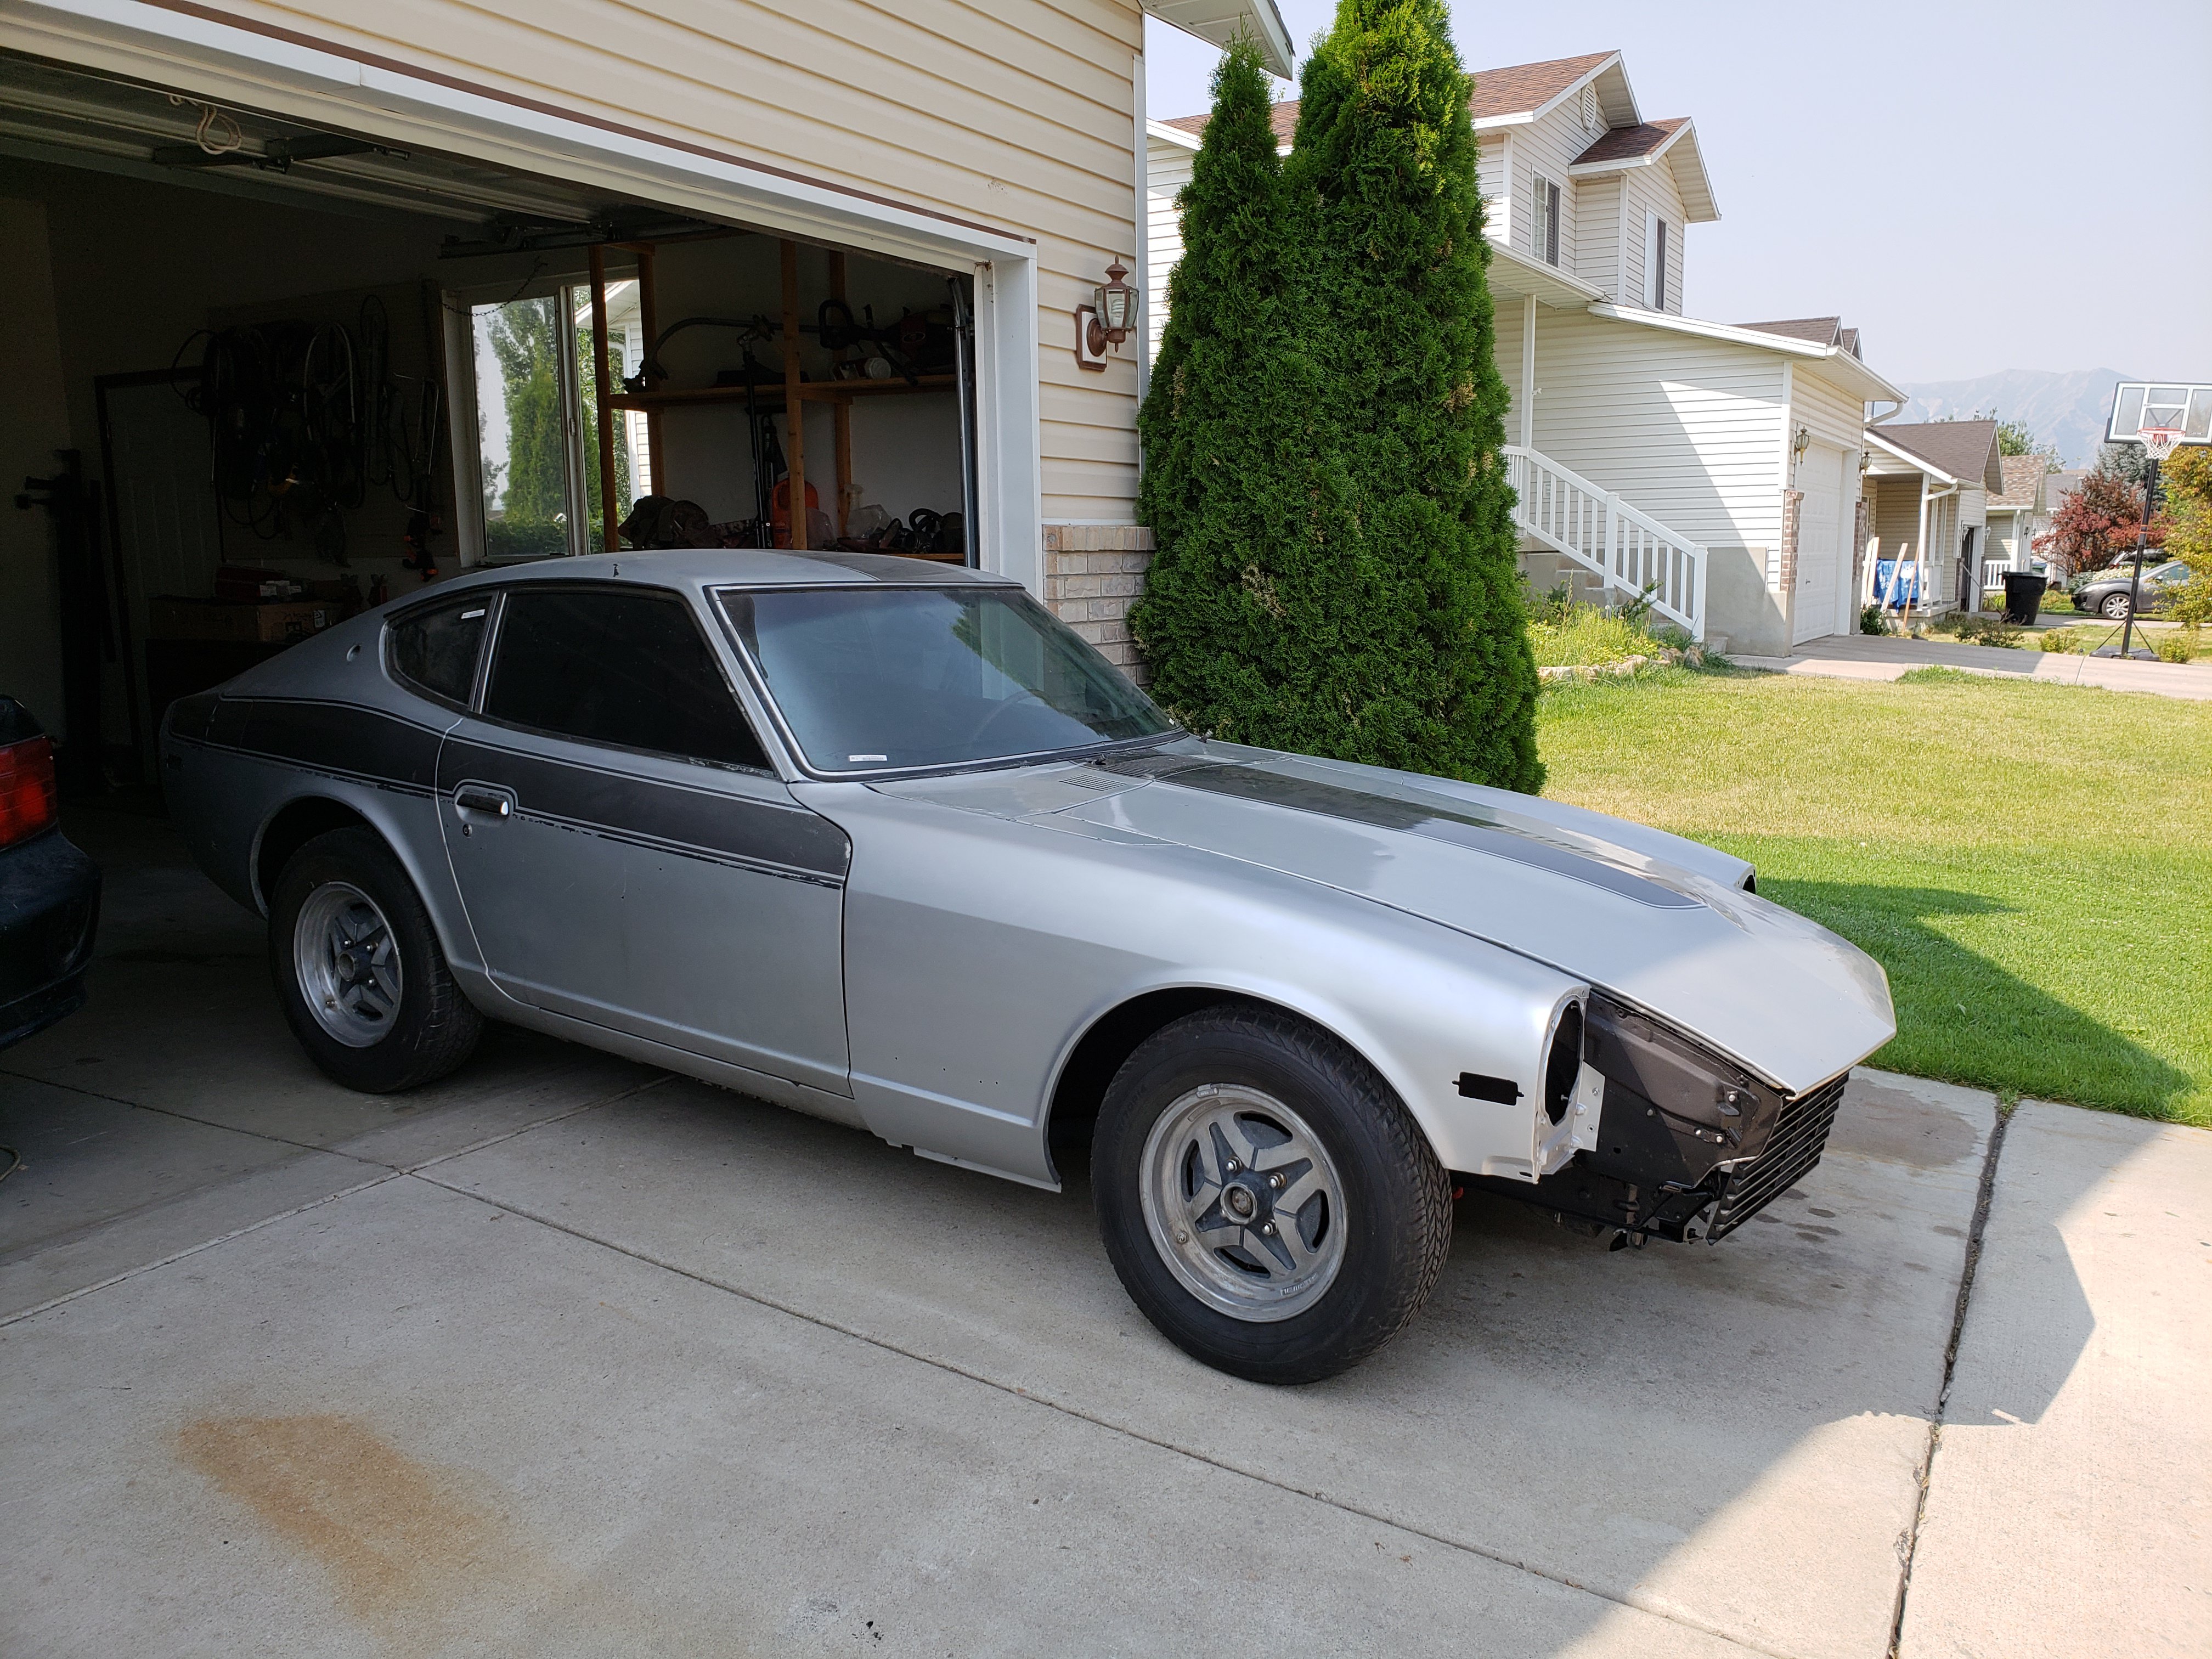
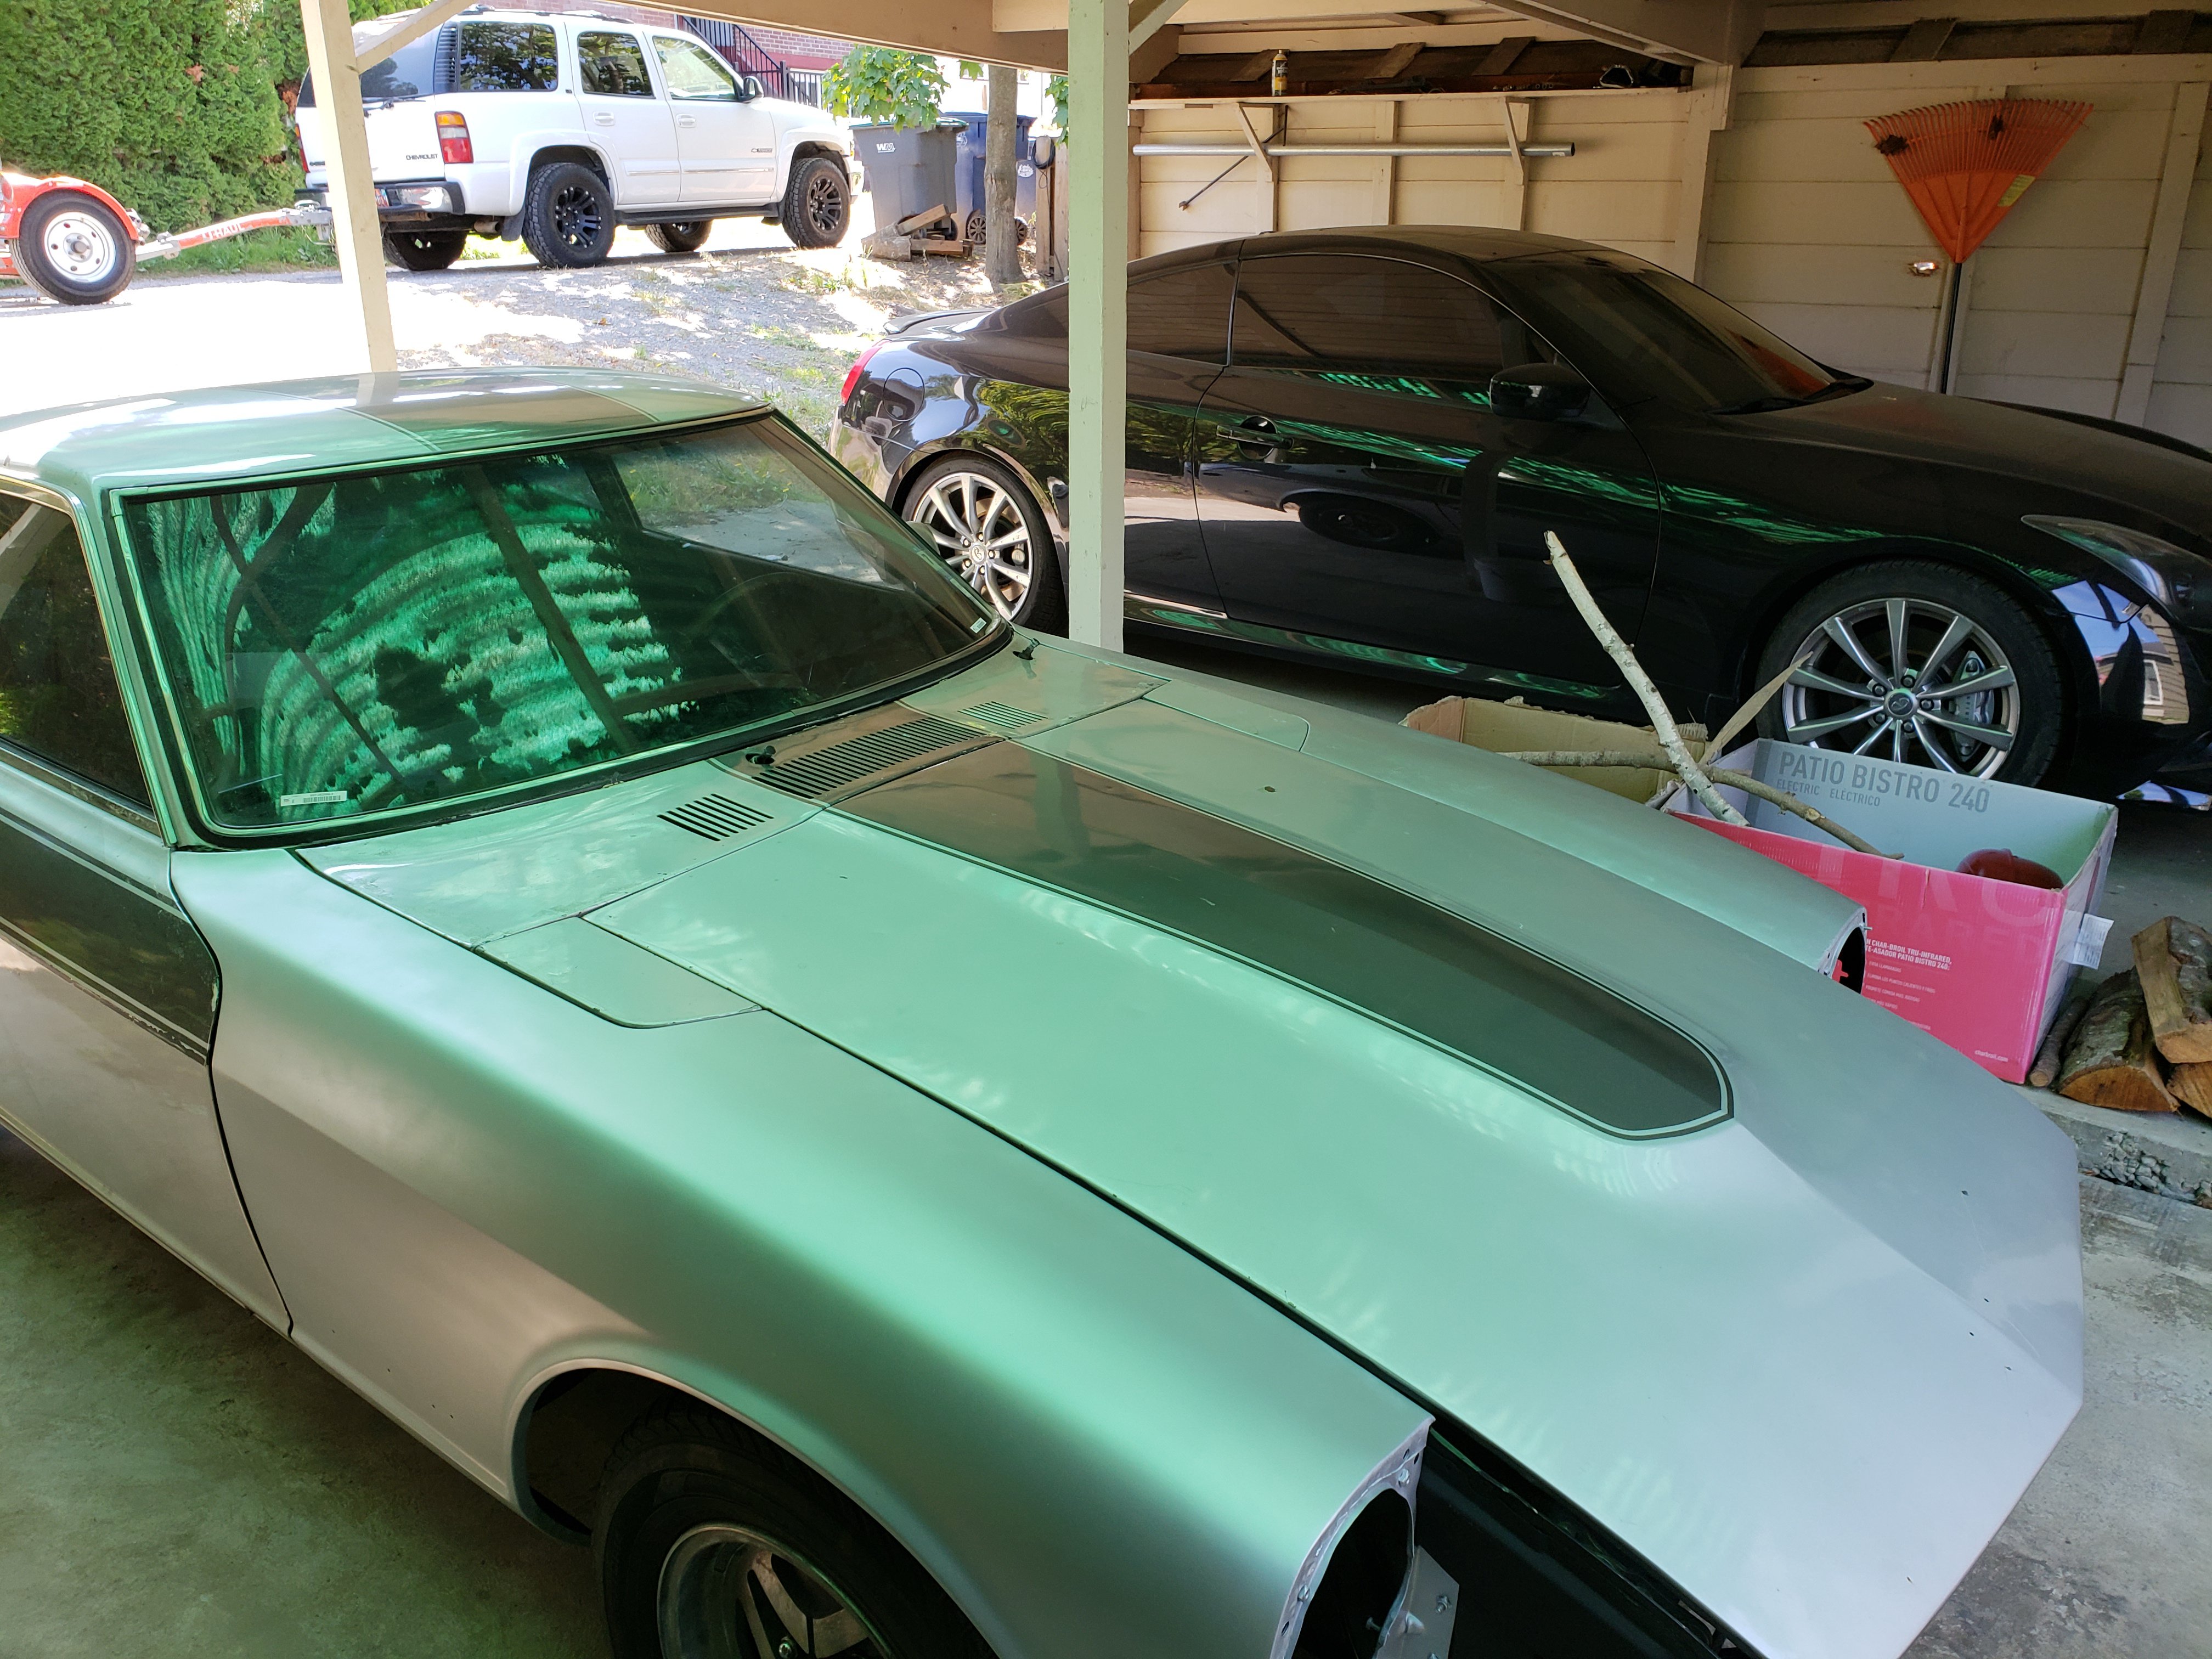
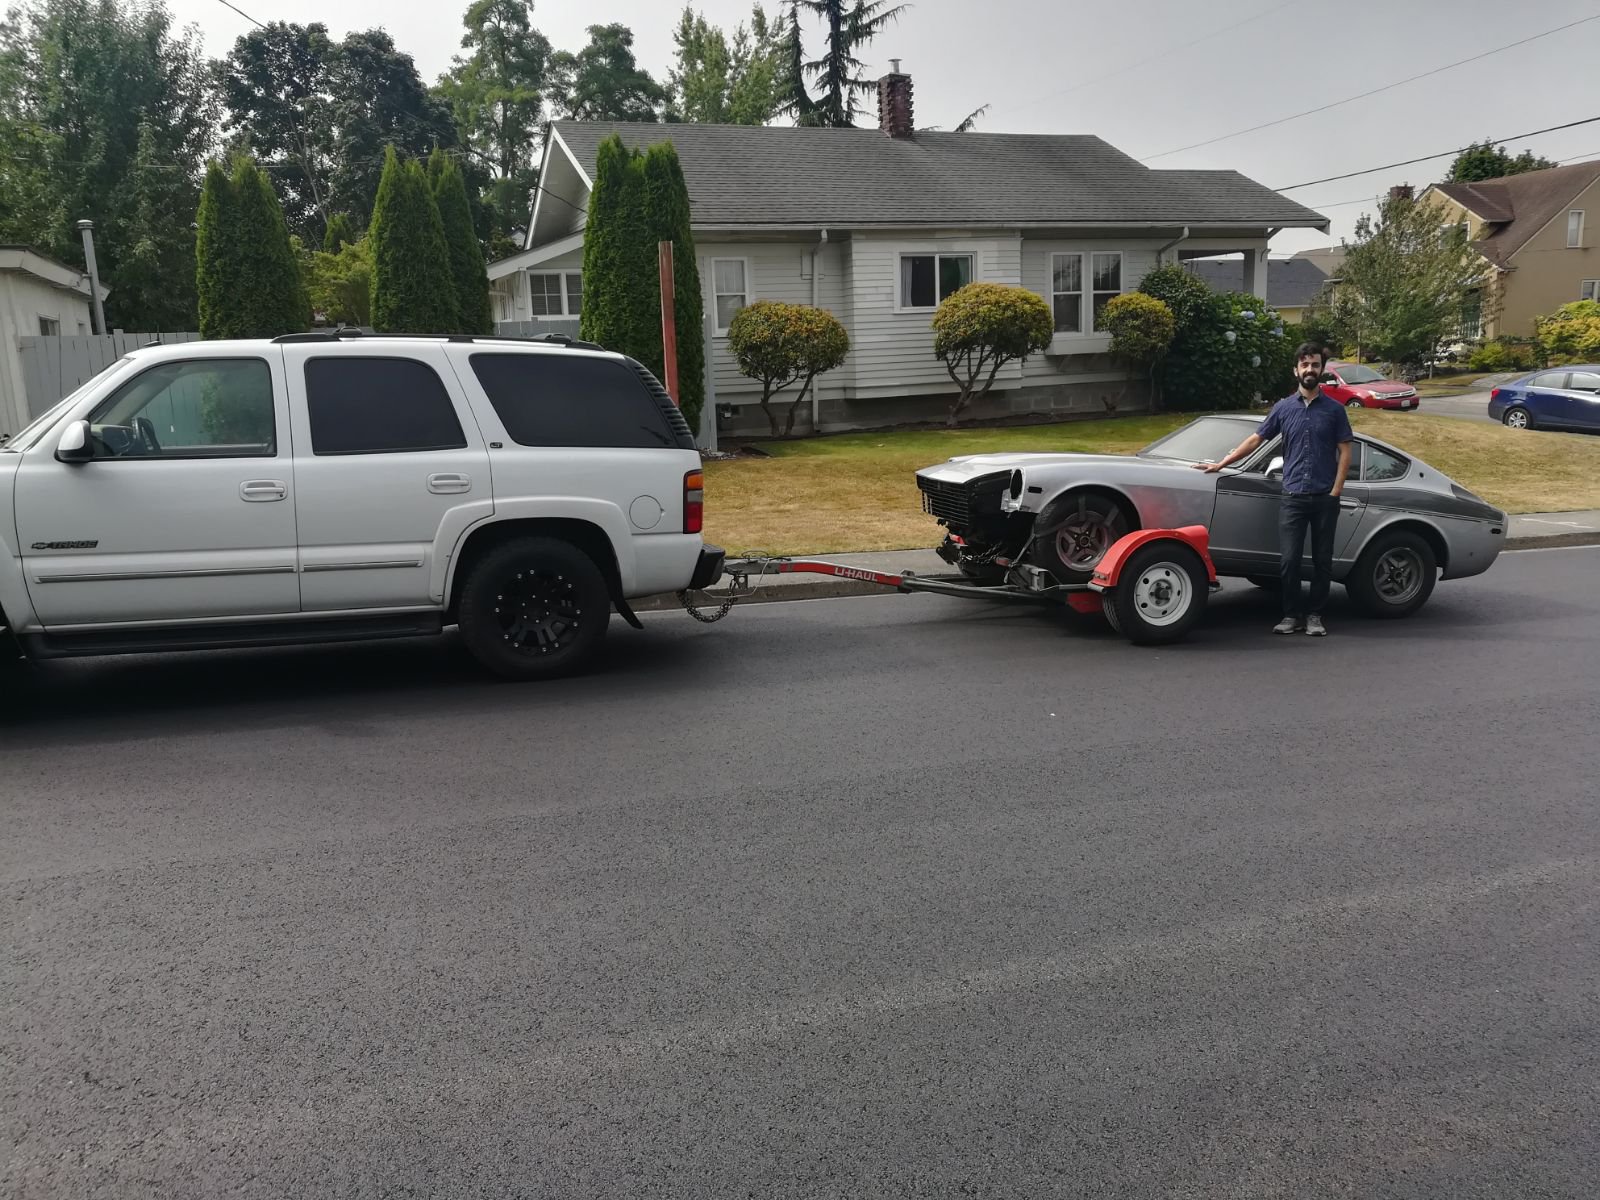
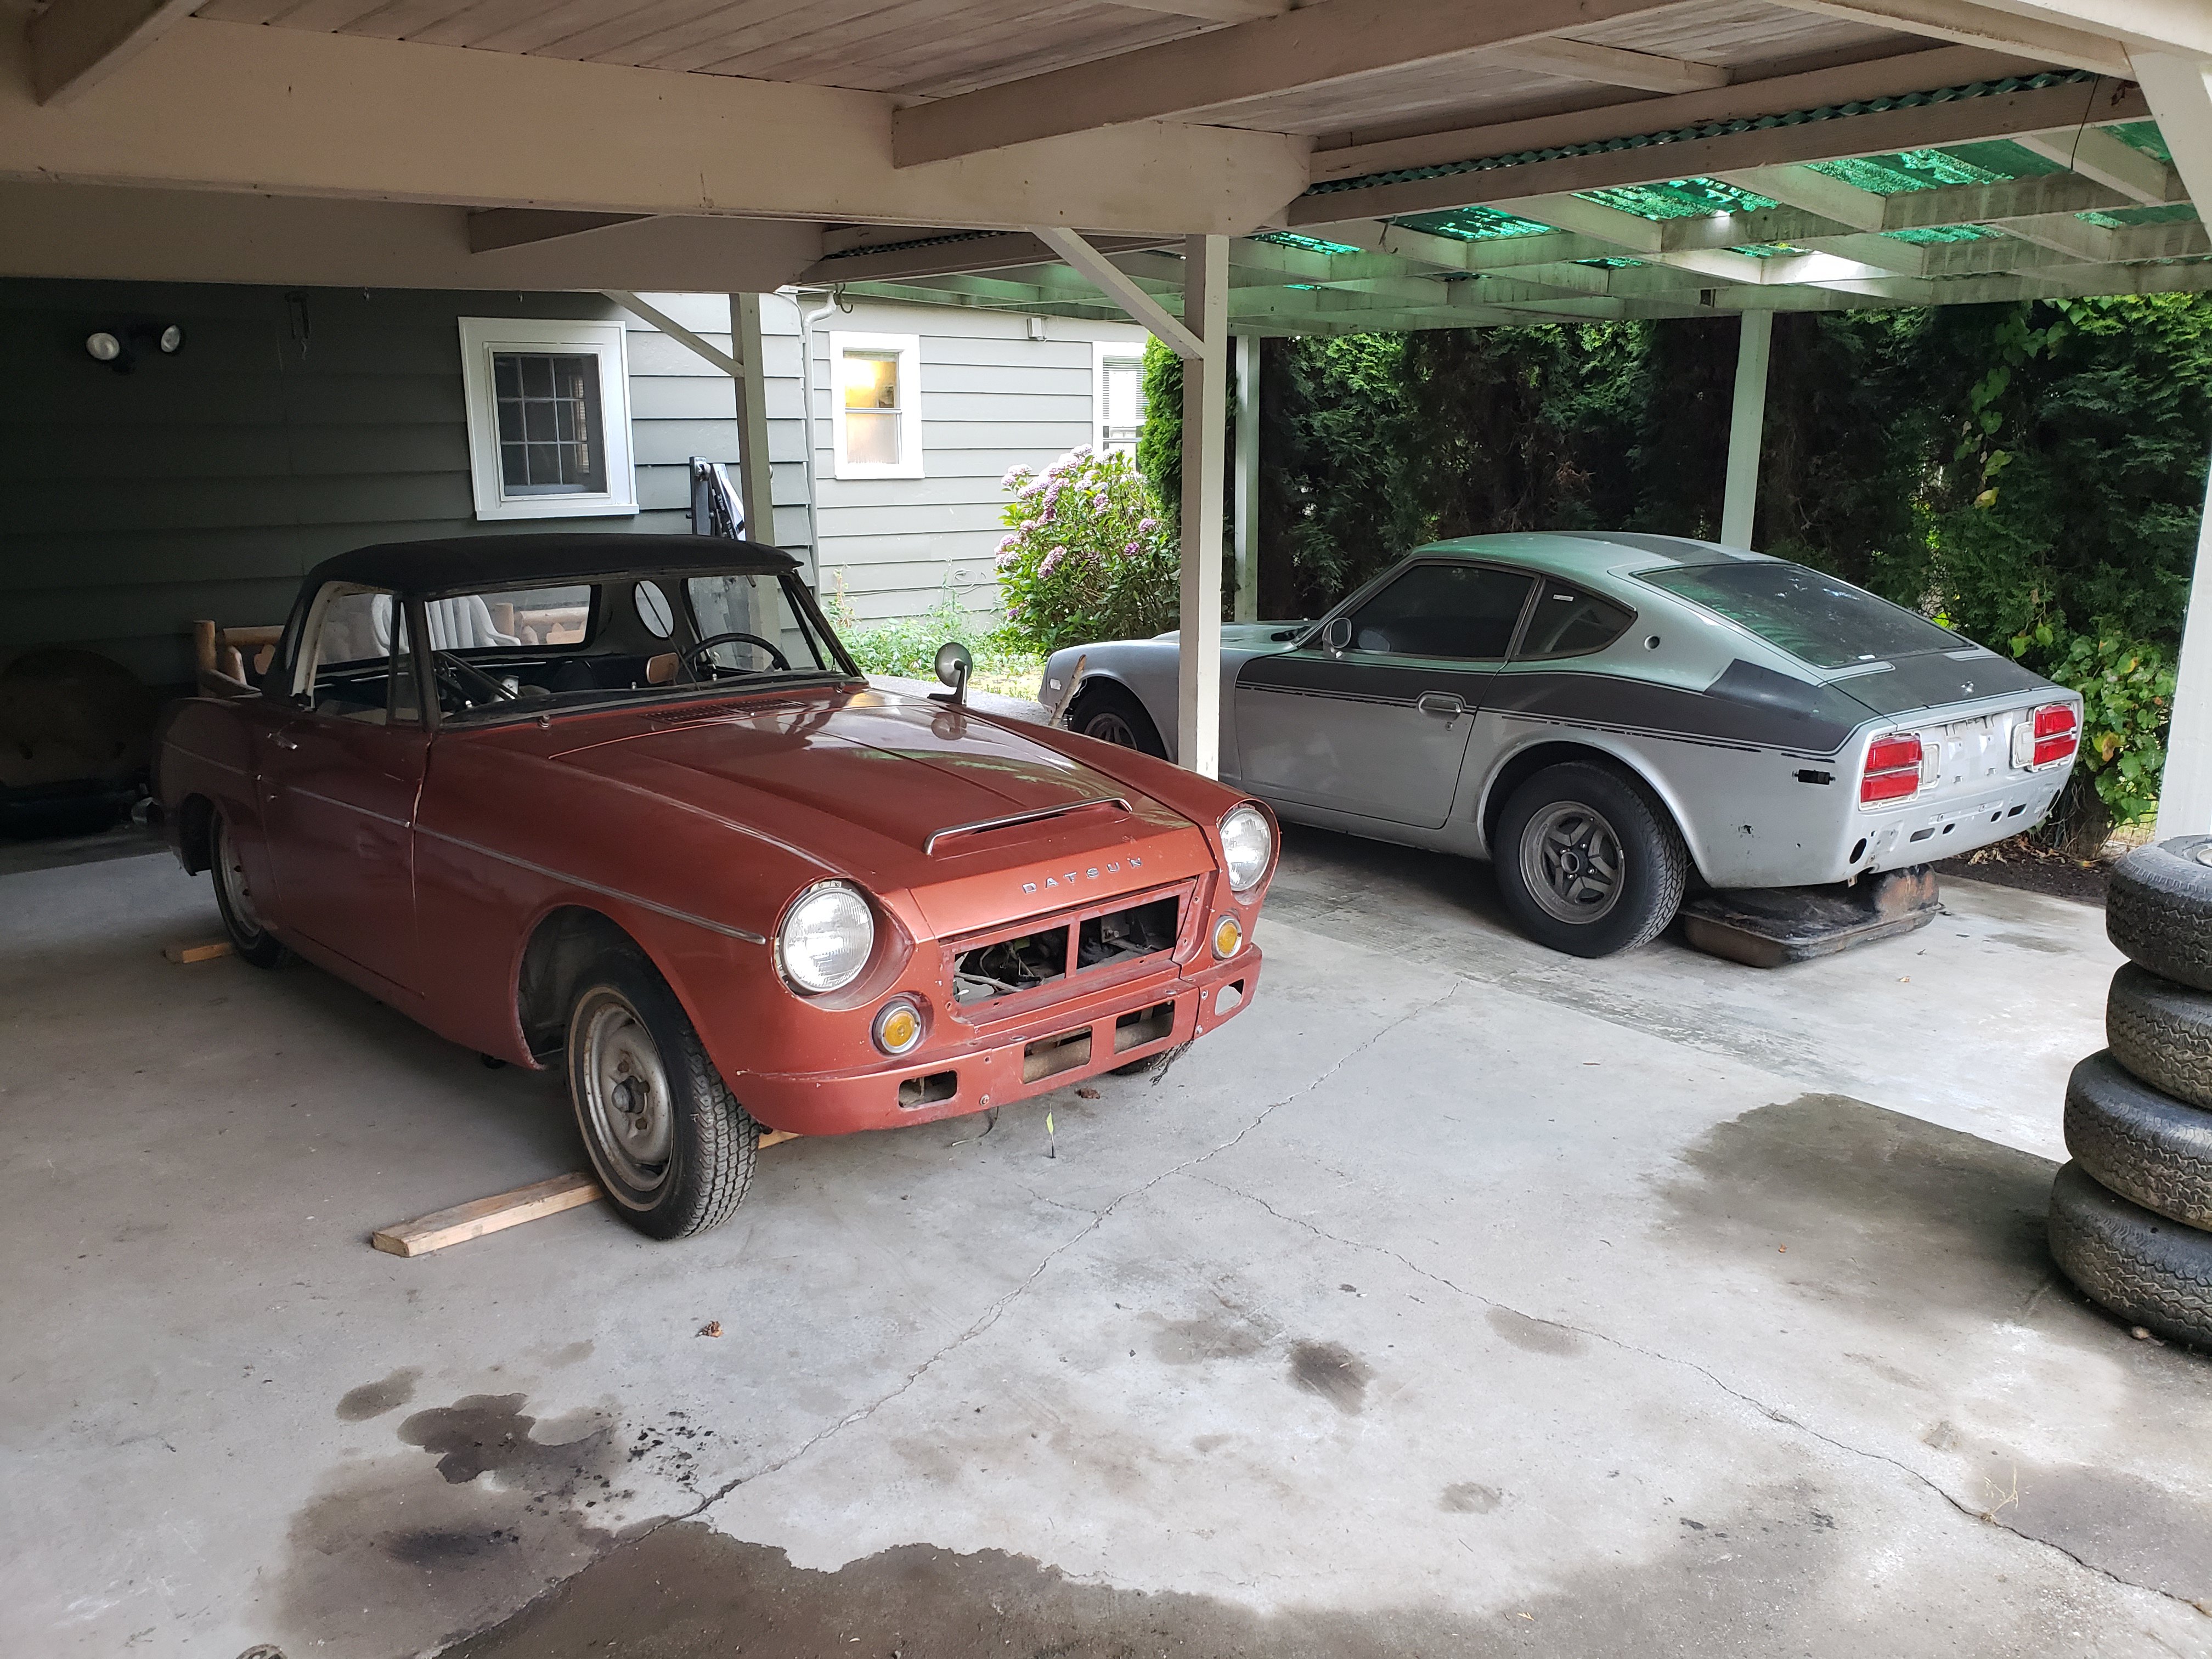
Post is much later than anticipated but the car is finally in Washington! I didn't get the chance to make seat rails with how long it took to strip out the electronics and interior from the other car, but I was able to at least bolt in the engine and transmission so I wouldn't be carrying them in a truck. Was very tempted to take the car on a full dolly, but the cost was on the virge of ridiculous so I settled for a dolly and disconnected the driveshaft. At least I know my rear end will hold together now that it's been put together haha. Some Pics of the car before and on arrival. Don't mind the mismatched silver on the fenders. I took some rustoleum and did a quick spray of them so the mismatching wouldn't drive me completely crazy. It's unforunately the only thing that didn't come with the shell along with seat rails. In other news, my girlfriend has been looking for a roadster for a long time. The prices on some were out of budget and others were just so rusted they weren't even worth looking at. She ended up finding a very nice example from a true roadster enthusiast near Snohomish. Aside from needing to be put together (there seems to be commom theme here....) the car is in great shape and has a new remachined 1600 engine with all new parts ready to be put together. Came with tons of extra goodies, I'm almost more excited to help her put it together than I am to do the work on my own car. I'm so indecisive sometimes I don't know how to move forward with things, especially anything engine related. Anyway, until it's moving my carport was the only place for it, sadly that meant potentially losing the only working space I have for my daily unil one or the other is moving... that is until I found out I could fit the whole thing sideways and still park my car behind it. Thank goodness the last owner included the tired dollies. That's it for now. Haven't gotten much work done since getting back due to some setup for work a long with some very long days running a high school band camp for my job. Next up is either an upgraded or just personally rebuilt brake master cylinder since I discovered mine was leaking really bad the morning I left. It messed up some of the not totally cured paint on the engine bay After that will be seat rails, then wiring, then engine decisions.... which I'm not particuarly good at, so it might be a while haha.
-
My understanding is that this was made by a guy in Australia. Few reviews I've seen on the Datsun facebook page are pretty good. Should work fine, just more expensive than some other options.
-
That should work, though you can probably get a turbo distributor and trigger wheel, or a crank trigger setup from Hoke for less.
-
I might just... Every single trans option I have for the L28 that'll hold reasonable power basically puts me in the same price range as doing a JZ swap, whether it's NA-T, or the 1jzgte options I like. I think even the W58 would hold the power I was looking for out of the the L series, so a JZ swap price might be a wash compared to what I have left for the L series I'd actually enjoy. We'll have to grab lunch and talk more about the whole process once I'm back up in Washington.
-
Your car is so cool, I'm jealous haha. Letting me try it briefly was a bad idea... just made me want to abandon the L28 completely. Would slow things down to getting it on the road but wouldn't do things twice I guess. For insulation I'm gonna be using Lizard Skin, but I distinctly remember when I drove my car in the Cache Cruise-In last summer there was a TON of heat coming from near the shifter even through the shifter boot. This year after having a proper lower and upper shift boot to fully seal the cabin from the trans tunnel the heat was greatly reduced. It was 95 out and it was actually... bearable haha. Still not great without AC, but I'm sure if I wasn't driving so slow for the parade it would have been just fine. More to the point... just make sure the cabin is totally sealed. even with insulation and carpet like I had with the original stuff from the car it was getting really hot without the boot.
-
A musician's therapist (The $300 Z)
Zetsaz replied to Zetsaz's topic in S30 Series - 240z, 260z, 280z
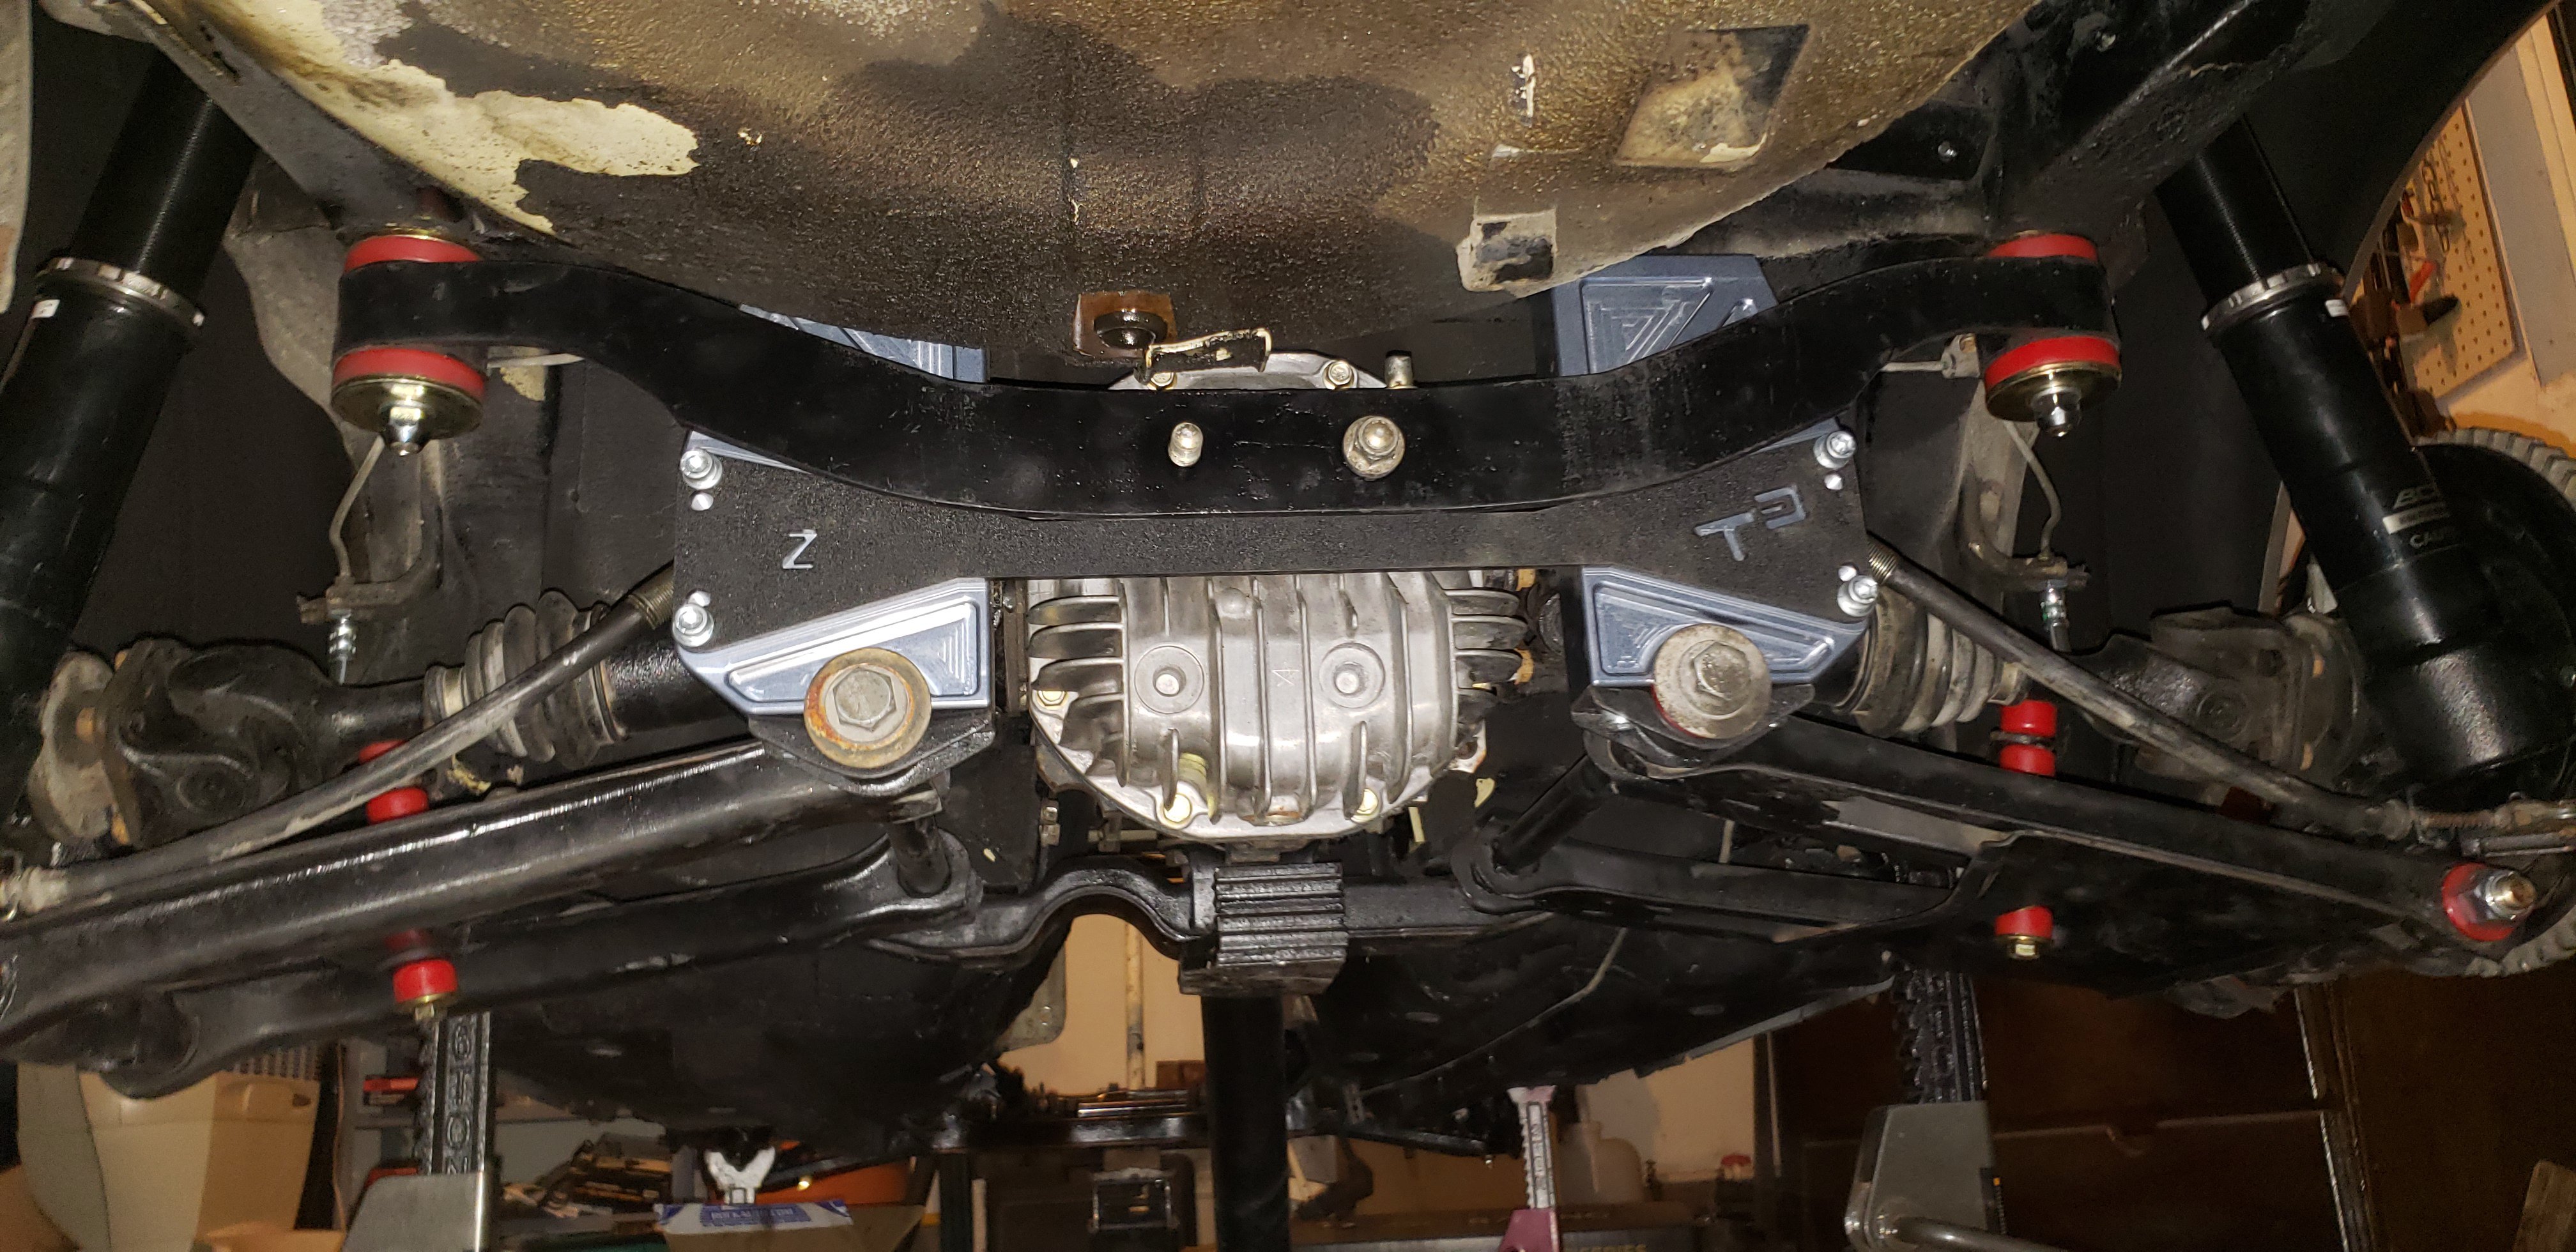
Major milestone today. All suspension components, all bushings, and all brake parts are now bolted in. Tested the emergency brake and it seems to be working great! All brake lines are in and new hoses on all 4 corners along with new hard lines on all 4 corners. Will double check that the ends are properly tightened and bleed the brakes this weekend. Pulling engine and transmission out tomorrow. Enjoy this picture for now, it's very satisfying. I'll wipe down some of the grease from the parts I had roughly repainted next time I'm under there for fuel lines.
-
A musician's therapist (The $300 Z)
Zetsaz replied to Zetsaz's topic in S30 Series - 240z, 260z, 280z
Long day. Front lower mount of the diff wasn't bolting in. Dropped everything and realized that the passenger side bolts weren't even starting. Bought a tap and die set that I had needed anyway and chased the threads. Finally bolted up the rear, then bolted in the rear control arms and coilovers along with brakes. Only thing left is the sway bar and brake hoses which should be done tomorrow. After lots of debating (which I do a lot of with pretty much every decision on this car) and using @seattlejester as a sounding board for the millionth time this month I decided to get the T3 drop mounts and dog bone to fit the finned cover. I could have run the smooth cover, or just cut the brace of the stock drop mounts and sourced the old makeshift braces a user here had made a while back, but I figured if it's something I'll be upgrading later, I might as well get it now. I was concerned that it wouldn't fit with the stock mustache bar since that's not really a weak point and I have better things to do than spend an extra $300 on bling. Wasn't fitting at first and I was feeling disappointed.... until I realized I had left the nuts on the mustache bar loose to line up the bolts up front. Serious facepalm moment. It just barely touches, tight fit, but it'll work. Buttoning up the rear suspension and brake lines tomorrow, pictures to come. We're going places people! (Not literally... but places none the less) -
Very friendly! Talked with him for a good while at nissanfest. He said he went with the LSA because he didn't feel like redoing his exhaust piping haha. Talked mostly about all the nice reinforcements he's done
-
They have a tendency to do that.... when I was pulling my axles I ended up getting a sharp screwdriver to hit between them so I could pry and separate them from the companion flanges.
-
A musician's therapist (The $300 Z)
Zetsaz replied to Zetsaz's topic in S30 Series - 240z, 260z, 280z
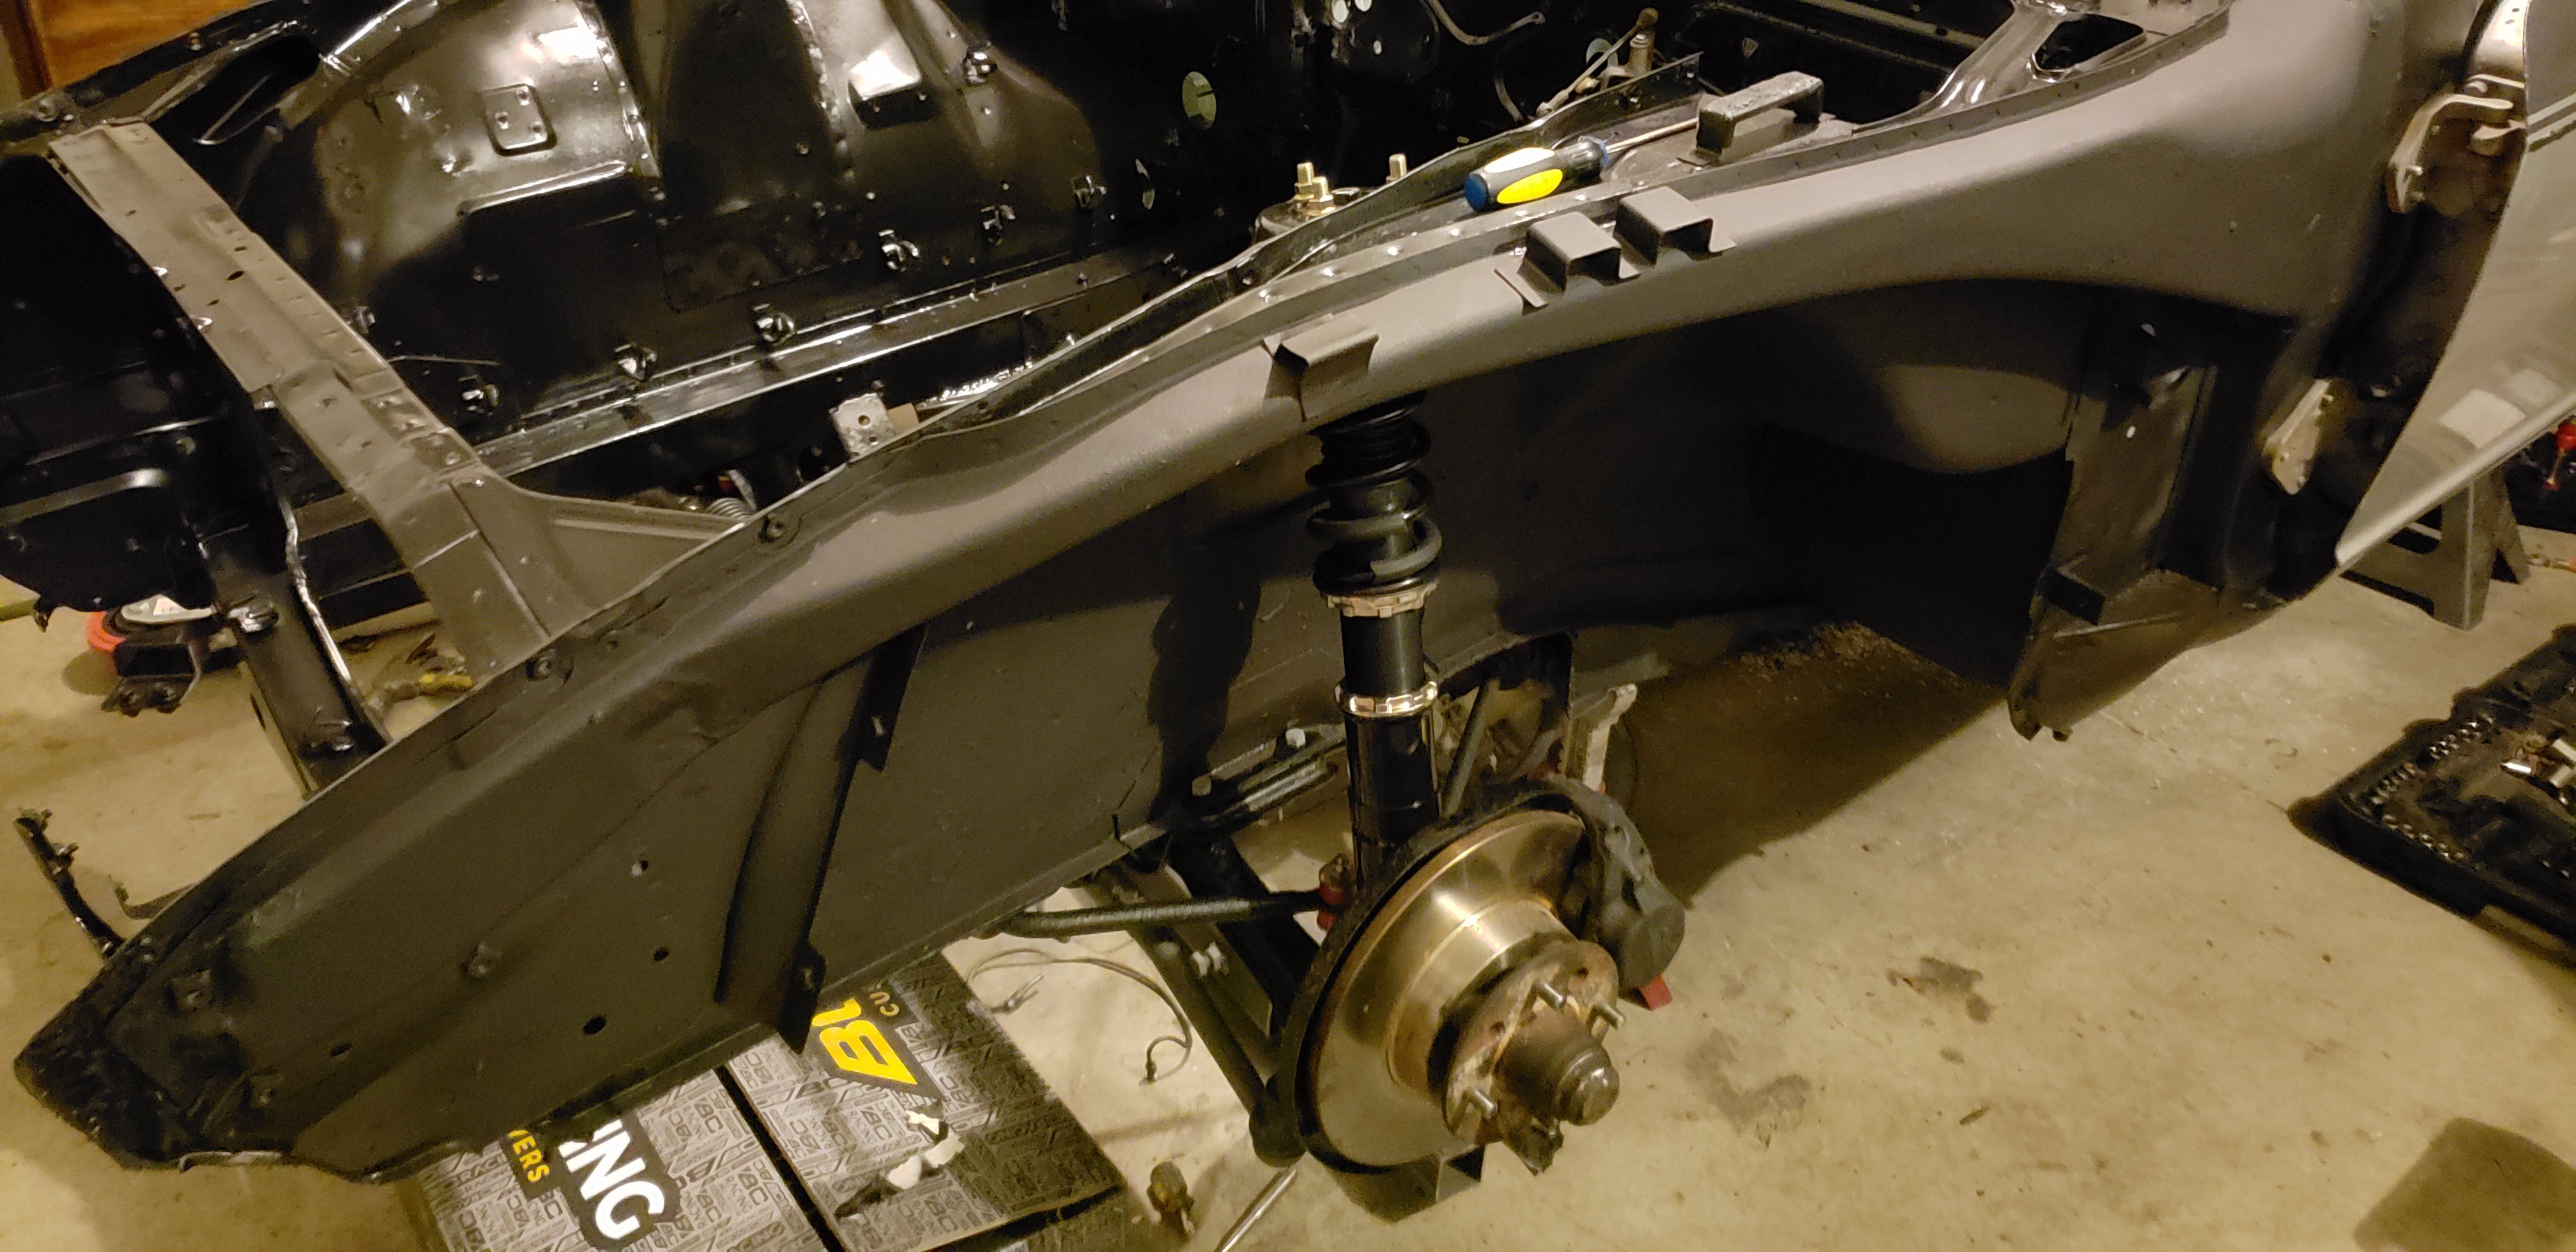
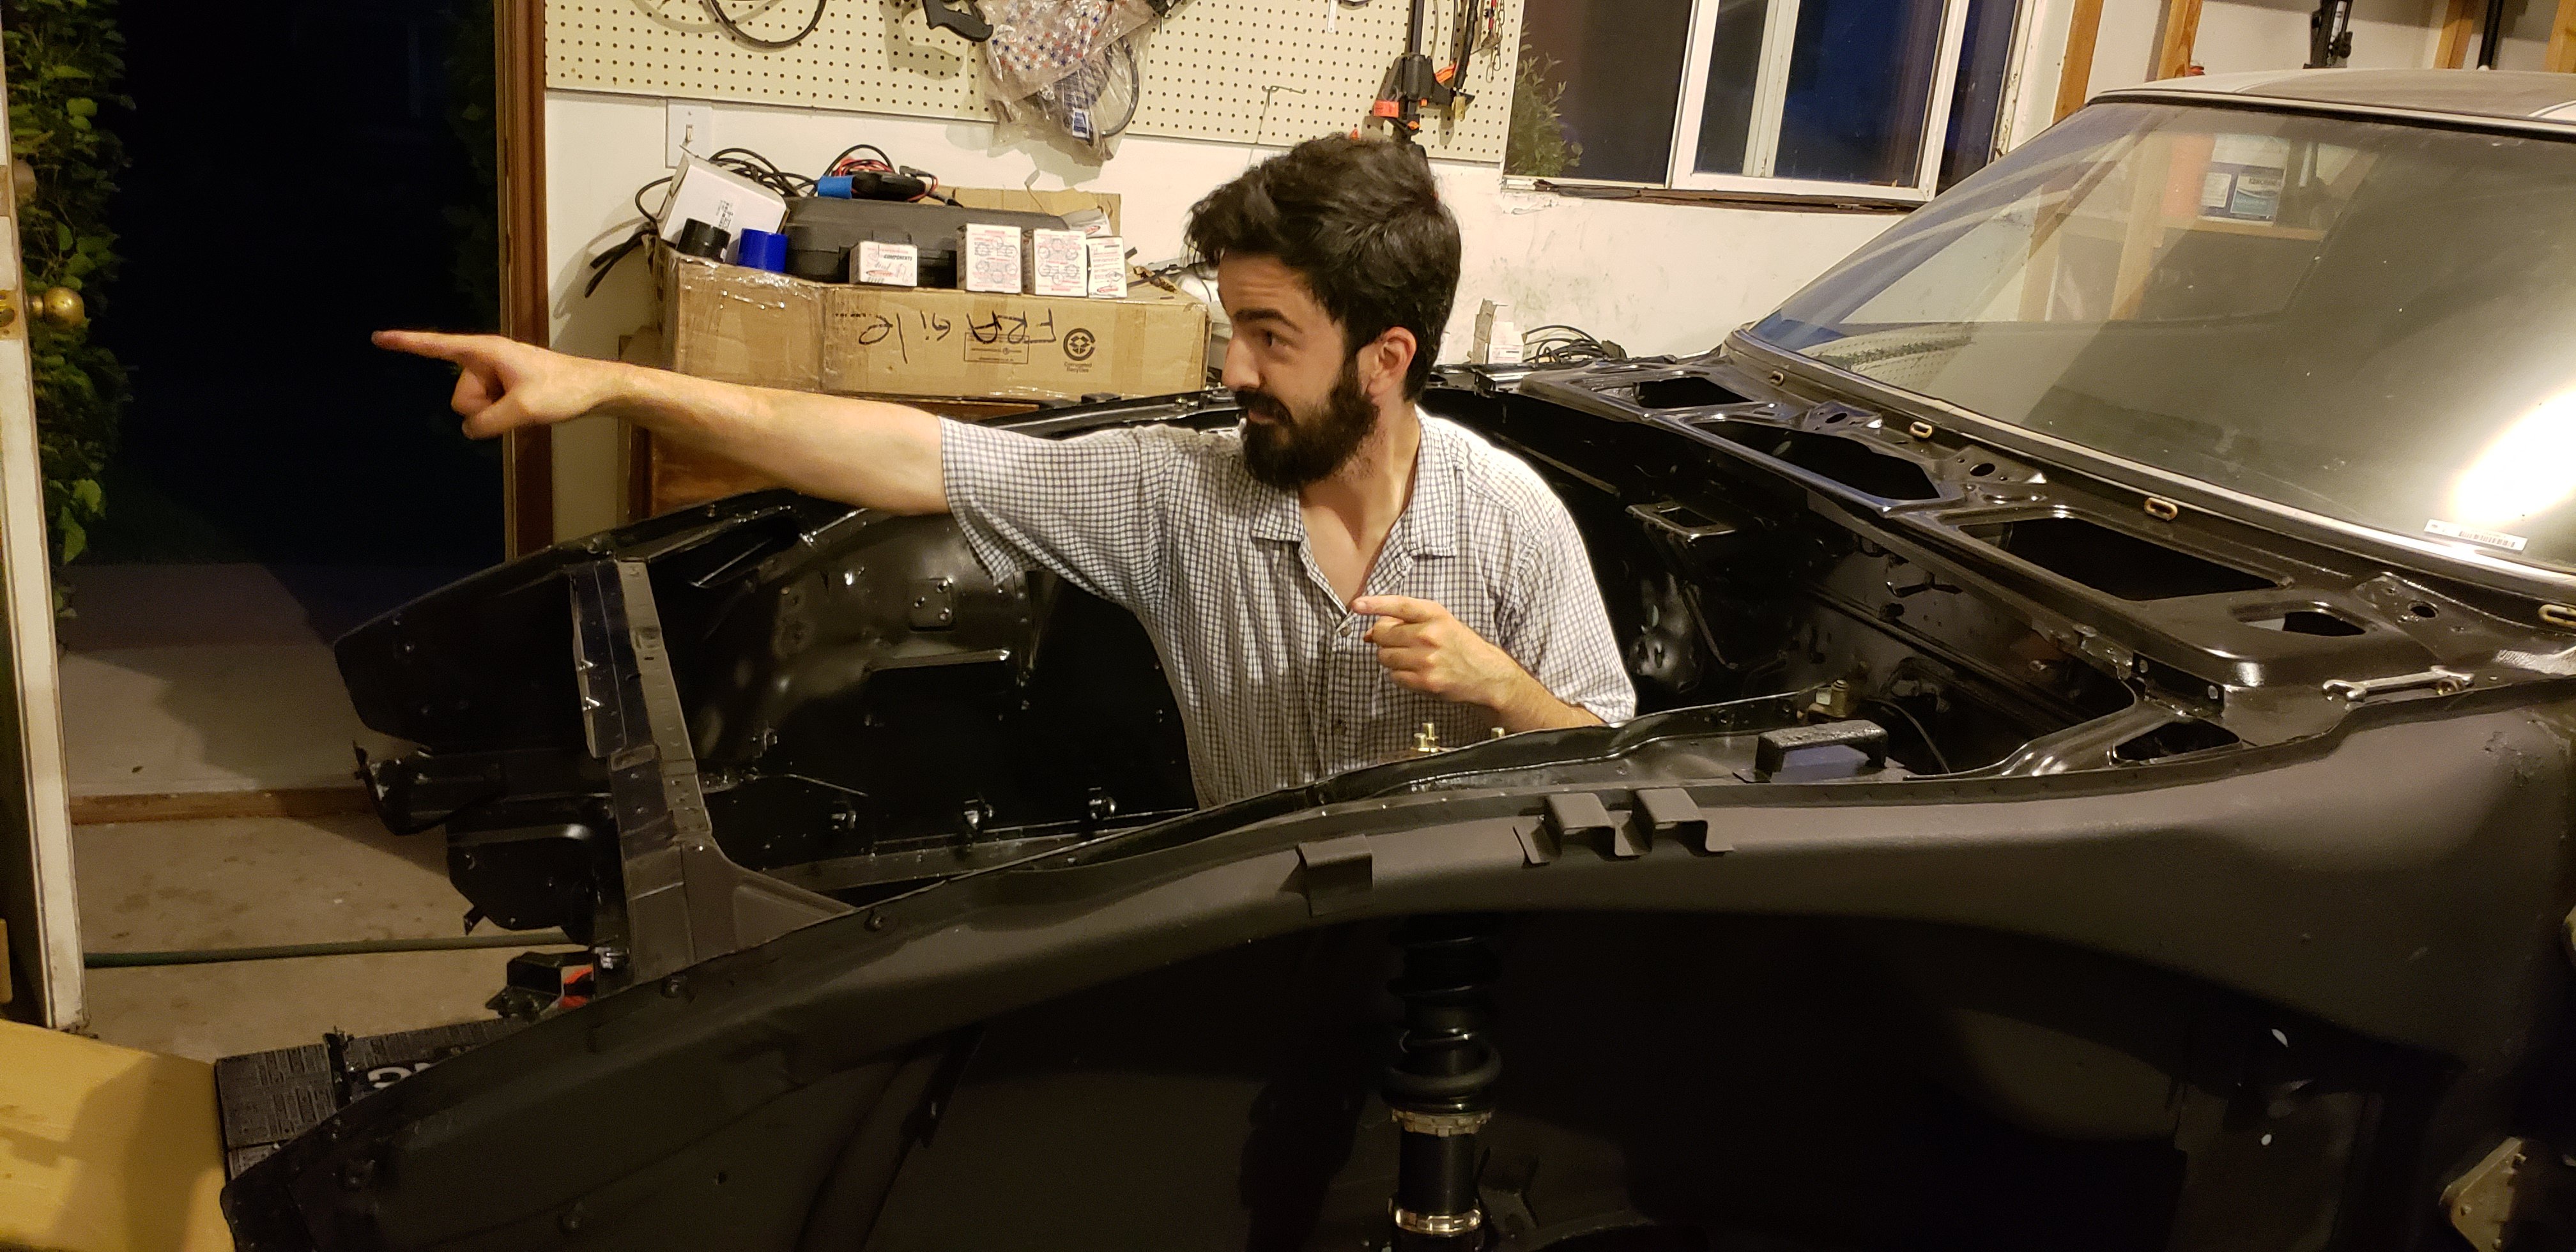
Got the front suspension done. Rear is also about ready to bolt short of a modified drop mount for the finned cover and brake hoses since the old ones were dry and a couple were near impossible to pull. This week I'll be pulling the engine and at least bolting it in, and seat mounts. Once that's done it's just a matter of bleeding brakes, and stuff all the interior and wiring into the new shell at a minimum so I can finish working in it in Washington. Getting close! On with the project. New shell won't be Flintstones powered either, I'll power this thing to Washington myself if I have to
-
Aftermarket fenders are pretty much all from Tabco I think. I bought one from blackdragon when they were going out of business. Wish I'd bought both only because it was clean metal. That being said, they will most definitely not fit without some work. I spent a few hours trimming excess metal from the stamping and bending some parts to properly curve with the rest of the car. Bolts up front did not fit very well and required some serious pulling by the headlight to fit. Can't speak for how well the lower bolts into the rocker panel fit until I swap them onto my new shell. Last shell had replacement rockers which of course also require some work to fit.
-
Ah! This is perfect timing for this post. Are those just plain holes in the new rails you made? Or do they have a threaded nut welded on the other side? Last question, did you just use some 1x2 steel for that? New shell I got doesn't have seat rails and don't quite feel like reusing the originals from my old car since my hair skims the headliner at stock seat height
-
A musician's therapist (The $300 Z)
Zetsaz replied to Zetsaz's topic in S30 Series - 240z, 260z, 280z
This definitely seems like the easiest way to do it. Might just do this with some extenders between the rails to support a bit of the weight of the seats and bend the tabs on the end of the original rails. Only reason the bolts are at an angle is so the supports carry the weight of the seat and not the area they're bolted on. Those universal brackets mounted to the same area would probably be easy to bolt in to the stock location to be able to swap between seats if I ever decide to do that in the future -
A musician's therapist (The $300 Z)
Zetsaz replied to Zetsaz's topic in S30 Series - 240z, 260z, 280z
@Jboogsthethug, send me a picture of your mounts, either on pm or on a reply here. Need more ideas. Definitely don't feel like I need a huge amount of room, I'd just prefer to save a tiny bit of head room. Aside from my hair skimming the top, the whole setup is actually really comfortable for me. Distance to steering wheel, shifter position, leg angles, and the door top is perfect height and distance to comfortable rest my elbow on and still keep my left hand on the wheel haha -
A musician's therapist (The $300 Z)
Zetsaz replied to Zetsaz's topic in S30 Series - 240z, 260z, 280z
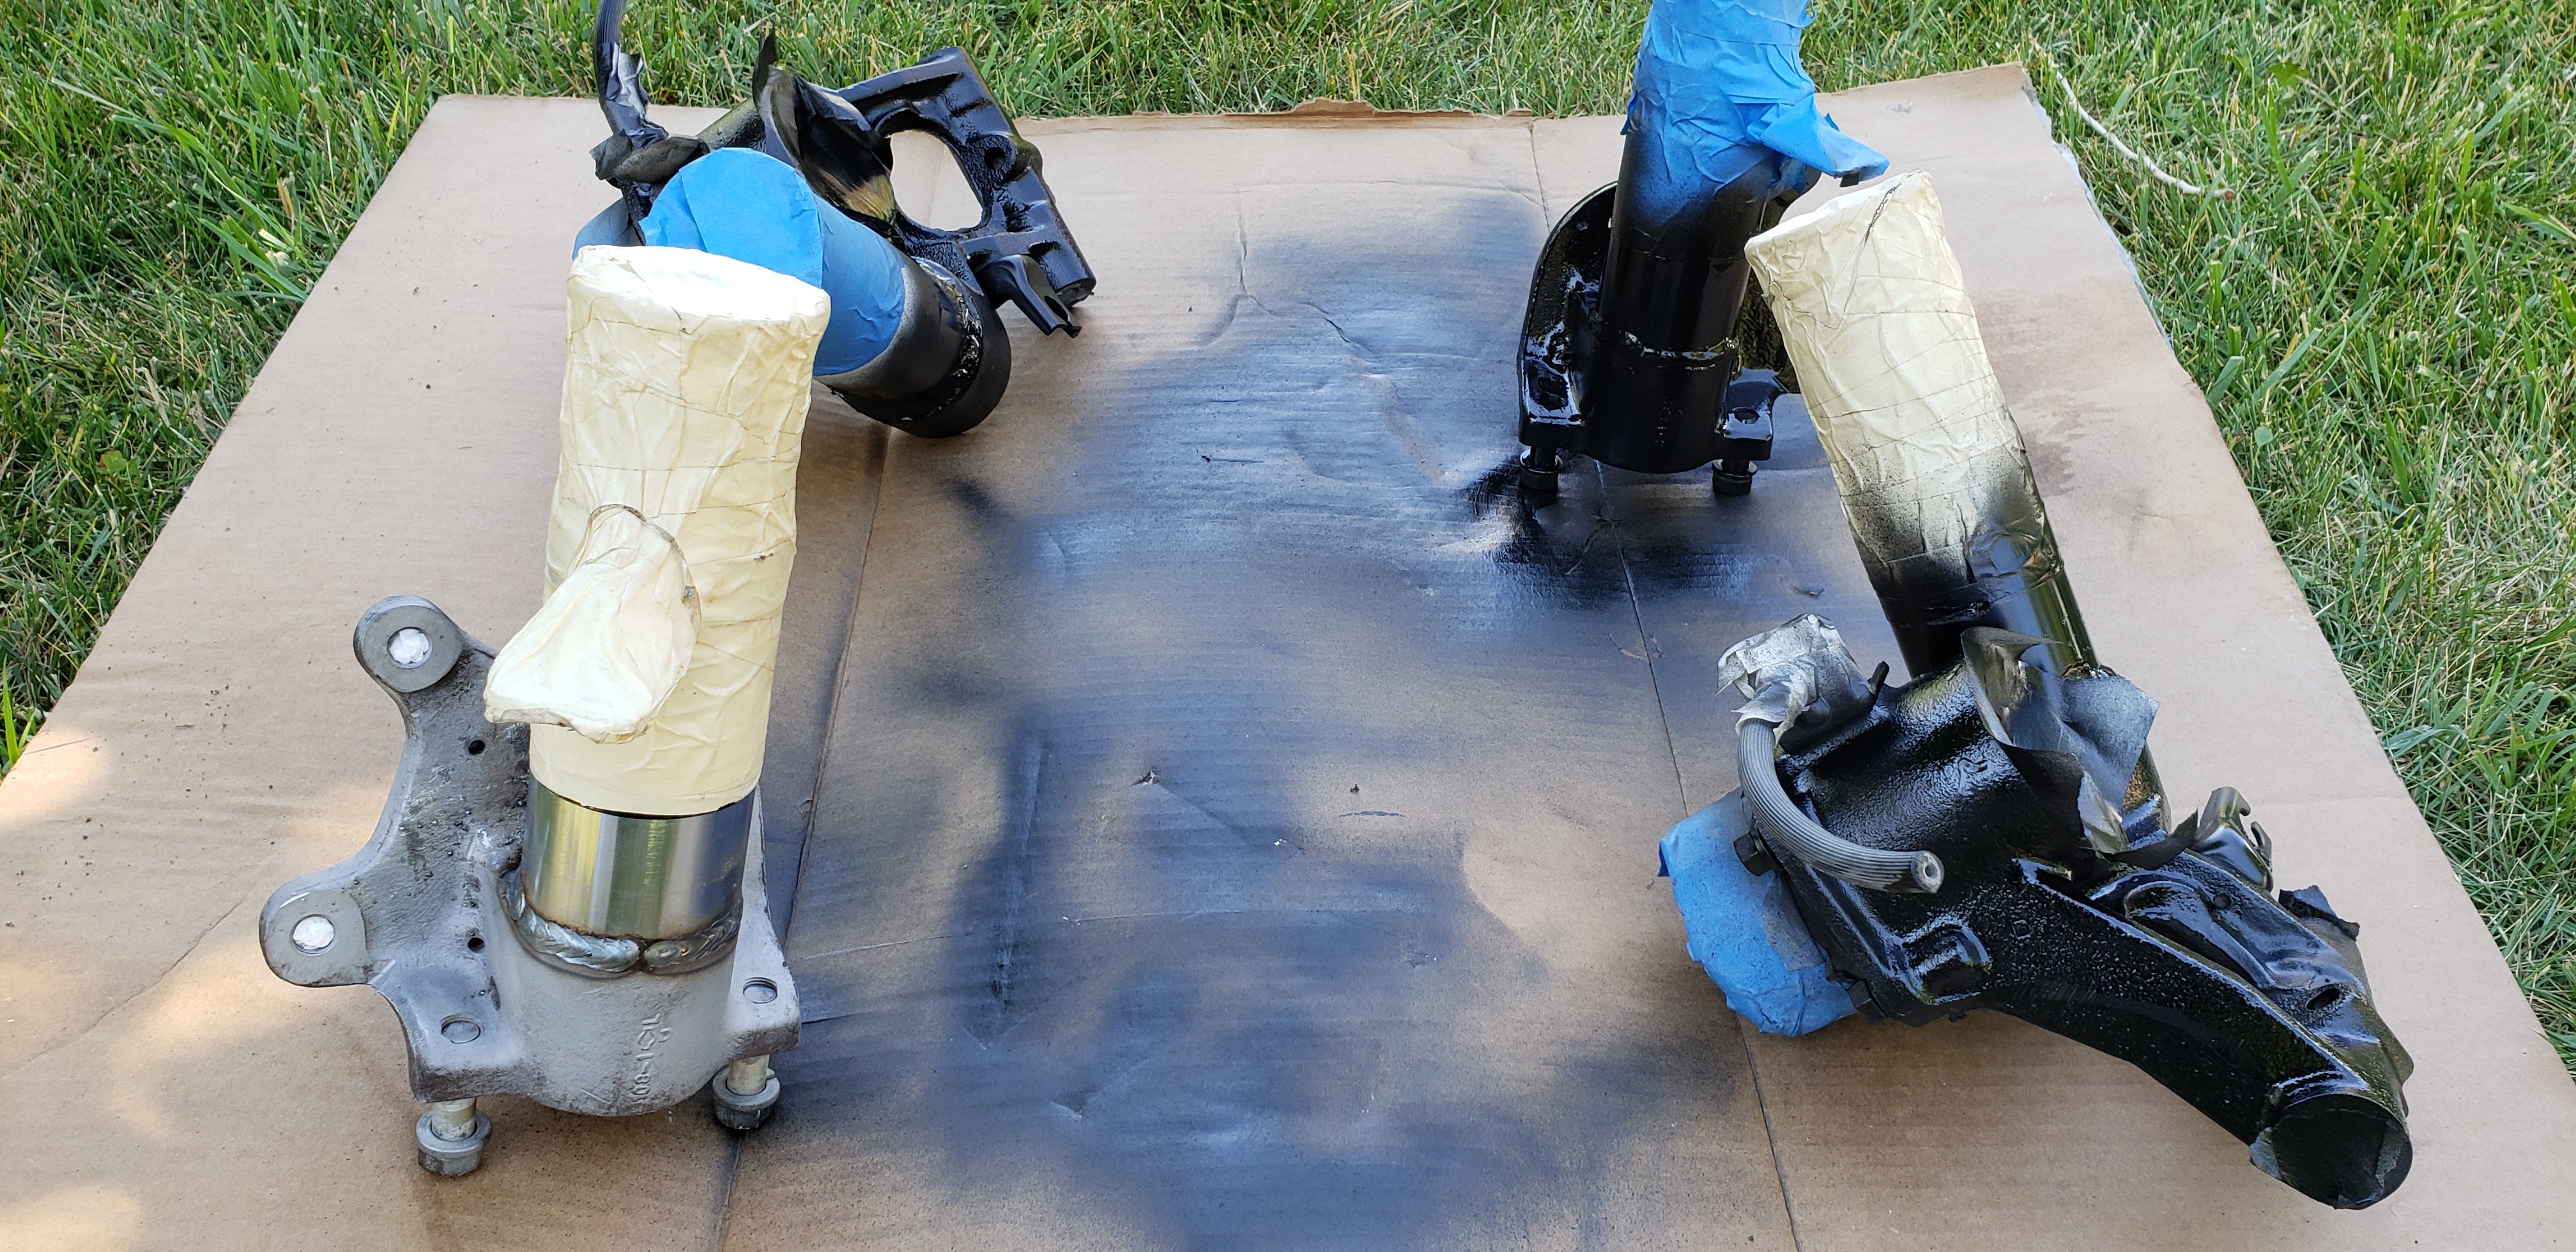
A very very very big thank you to @jpndave and his sone for helping me weld these things. I don't have a MIG and even so I don't trust my very minimal experience with it enough to do something like this on a critical component. Welds turned out super nice. Made sure to cover all threads and was able to do a rough sandblasting job on them before welding. Covered all the threads and tried to cut the tap right where the black coating on the new pieces meets the silver, or just above it. Used Krylon rust protectant stuff in satin black. Surprisingly good match to whatever black BC is using on these! Not a perfect job, but these are mostly out of sight anyway. Excited for my bearings to arrive early next week so I can start putting everything back together. Next job is probably figuring out whether I want to make custom floor mounts for my seats or hack them out of the other shell. Other car will probably become a parts car and eventually be parted out when this project is "done," so chopping them out doesn't seem like a bad idea, but I need an inch or two more of head clearance. Currently, my hair just barely skims the headliner.
-
Checked multiple dealers they had as well as amazon. Jegs seems to be the cheapest from what I've seen. Some guys on the jalopy forums who have lots of experience with it on multiple vehicles seem to say that it covers more area than they claim. @jpndave, I'll definitely take you up on using the stuff you have and buying you new stuff when I figure out how much it covers. If the interior really is this much smaller than some people have said, I might end up using only 2 gallons of the ceramic to get the right coating. Regardless, your 4 gallons will be more than I need and I'll happily order you a new batch of however much I end up using.
-
I can never seem to find accurate measurements of interior, and don't care much for over-estimating when ordering product or coming up short. Went ahead and took some rough and conservative measurements of the interior and added them up. Not that these measurements cover floors, roof, "trunk" space, doors and firewall, but do NOT cover the rear quarters. I did my best to measure things not accurately per se, but conservatively. Leaving room for error and extra material. Here's a sheet where I did my rough sketch. Not that I assumed the doors were square from their largest measurements, which I tried to do for everything. I included the transmission hump as part of my floor measurements. Everything was estimated on the high end. Total estimate after converting sq in to sq ft was 65 sq ft. Does that sound right? Some other threads I've read have said used over 100! Have I done some measurements wrong or is this just because of the wasted material from cut and stick types of insulation? I think 75-80 sq ft would be fairly accurate to cover a portion of the wheel wells and quarters. I used the Lizard Skin Coverage calculator and came up with 3 gallons of ceramic insulation and 3 gallons of sound control. Price total is close to $500 without their applicator. If I got this route, thankfully @jpndave is close and has used it before. For the cost of that much material, I'm definitely leaning towards just insulating with the ceramic heat material to cover everything, then down the road using the Dynamat Dynalite or another semi-lightweight, but much cheaper alternative to the LizardSkin Sound deadening. You can come to your own conclusions of what materials will be most cost effective for you based on these rough measurements or the estimates others have given of as high as 100sq ft or more if you're not being very careful about how you cut the mats.
-
A musician's therapist (The $300 Z)
Zetsaz replied to Zetsaz's topic in S30 Series - 240z, 260z, 280z
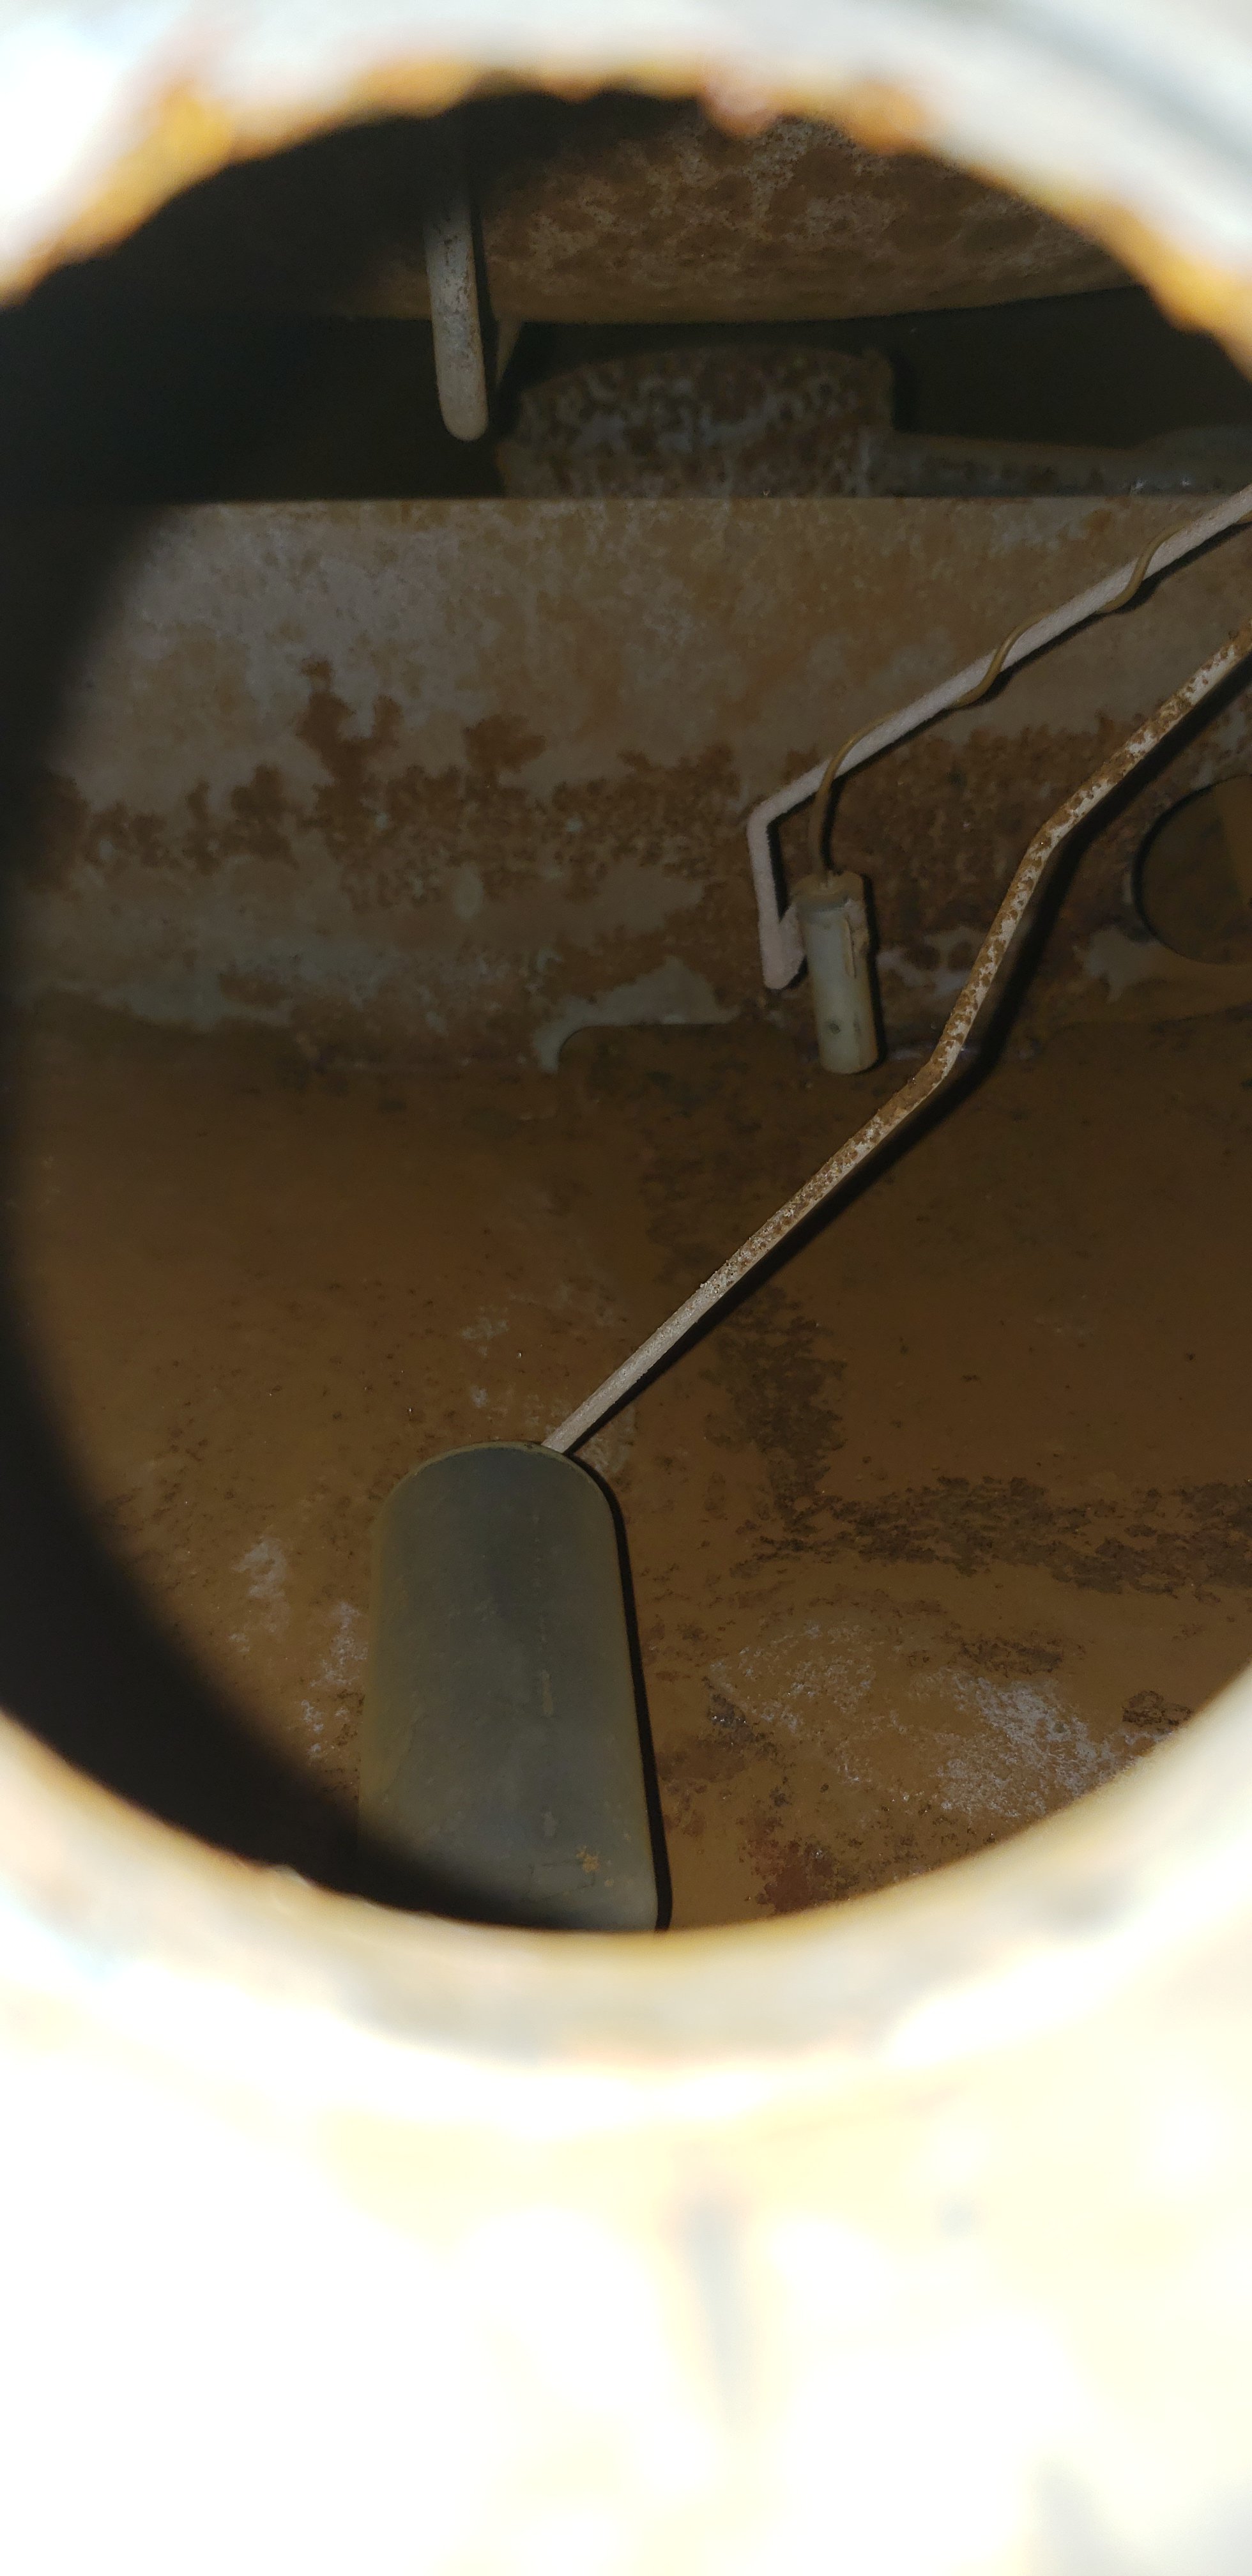
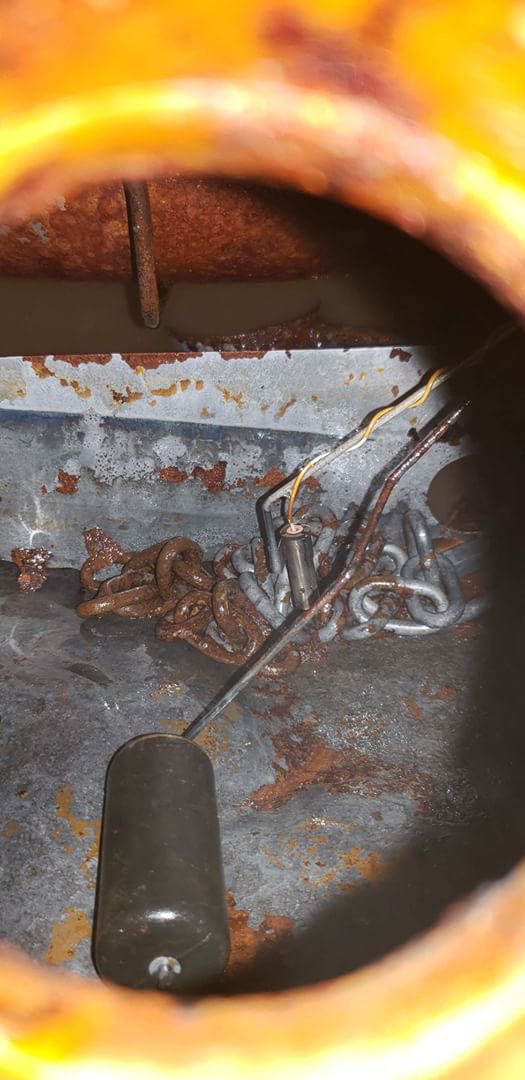
Before and in progress shots of the OEM fuel tank I've been trying to clean. I was conflicted about cutting into the new shell since it has solid metal all around. I was getting frustrated that OEM tanks were so expensive and I couldn't find any in junkyards. Was lucky enough to find this fairly straight but rusty (as they all are) tank out of New México. Ordered a POR15 sealing kit for it, but trying to get as much as possible cleaned up with the chain like some other guys have done on different projects and a LOT of vinegar. I think it's doing a great job. Trying to make sure I only drag the chain around and don't ram into pieces of the baffling. I'm removing the sending unit any time I need to slosh things around and break stuff loose with the chain so I don't break it. Making progress! Goal is to get the new shell on refreshed suspension and working brakes at a bare minimum by the end of July so I can take it to Washington with me and actually make progress.
-
A musician's therapist (The $300 Z)
Zetsaz replied to Zetsaz's topic in S30 Series - 240z, 260z, 280z
Small progress today on getting the new shell moving. Chopped the spindles to mate the coilovers to and split apart the entire suspension. Will be redoing the rear wheel bearings while I have anything apart. Took the rear pieces to a shop a block from my folks' house to have the spindle pins pressed out. Will be pulling them and putting antiseize or swapping out for the grade 8 bolts some people have used instead. Don't want to have to deal with stuck spindle pins down the road and take everything apart again when I decide to upgrade the rear arms. Will need to figure something out for my seat rails since none were replaced when the floors were redone on my new shell. Past owner was going to use racing seats in a lower position so the originals weren't needed. Still deciding whether I want to take the time to make some shorter custom mounts or cut the floor mounts out of the old shell when I'm ready to move everything over.... will have to think it over while I'm finishing the coilover upgrade and brakes. -
Can't help there... closest I've seen to what you're describing is someone welded another piece of 1x2 at an angle from the top mounts. Not much difference between that and what I assume you have other than creating a more fixed point for the "front side" of the fuel tank to sit against and creating short straps.
-
Regular Car Review has been part of my Monday routine for years now. This one was pretty good, mostly because there were SO many of them and so many had such identical mods haha.
-
I did the same thing. Going with an original tank now, but if I'd kept the camaro tank I'd just cut whatever you have just outside of where your tank straps/mounts are then weld that to new pieces that run side to side. Essentially you're just shortening the piece you already have mounted to the car then running it to new pieces that go side to side so any impacts don't instantly mess with your tank mounts and cause serous problems.
-
Ford Super 8.8 irs swap thread. Rear brakes too
Zetsaz replied to Invincibleextremes's topic in Drivetrain
Not directly related, but are you posting your progress on that bike anywhere? -
Would love to! Highly unlikely that I'll be able to do it this summer since I just got that new shell haha.


.png.d75a3e1c8607cba8020e56c825fbe070.png)