Leaderboard
Popular Content
Showing content with the highest reputation since 01/16/26 in Posts
-
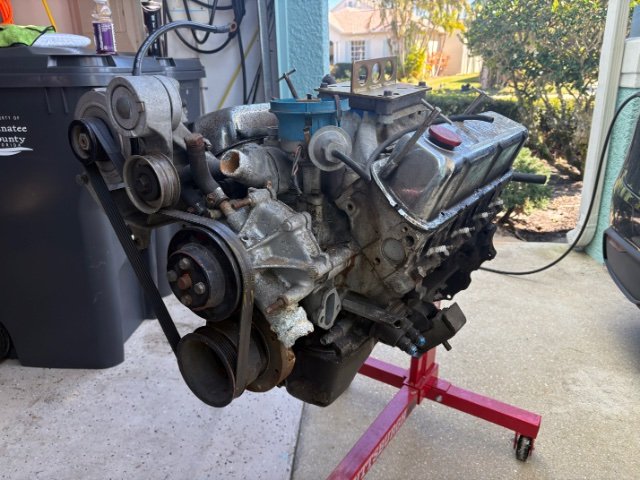
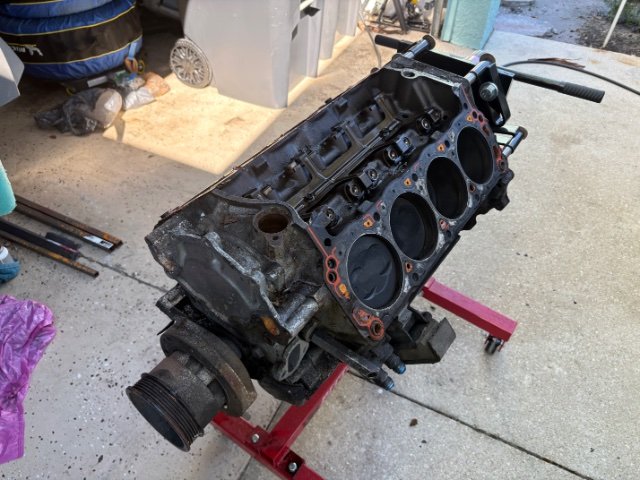
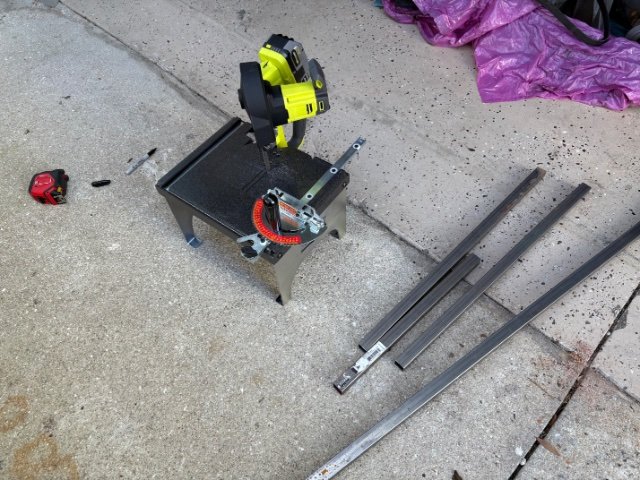
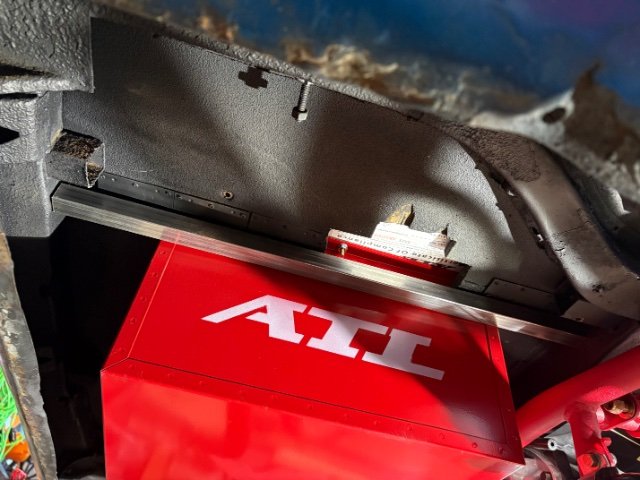
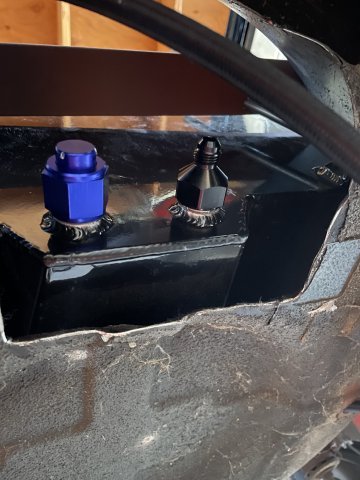
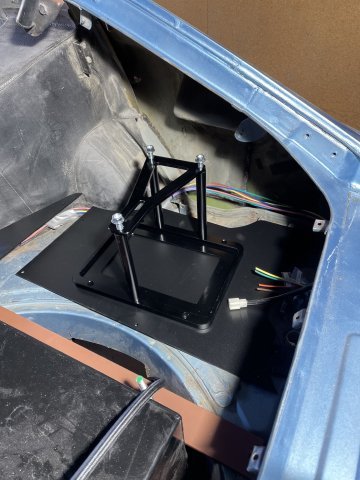
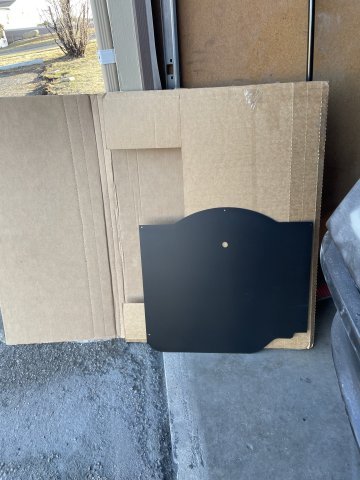
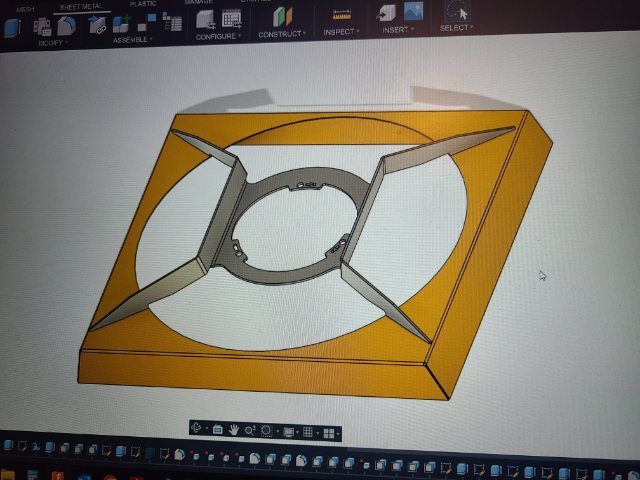
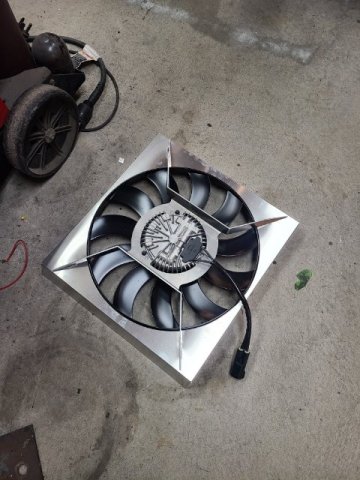
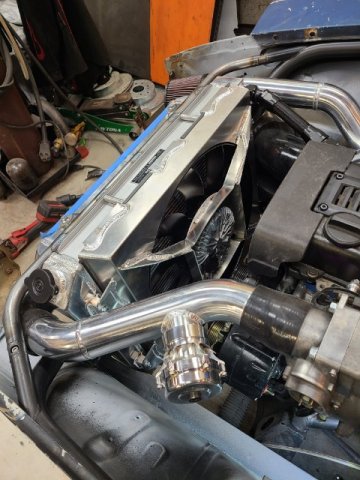
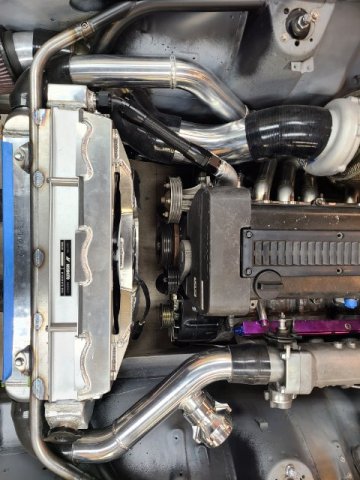
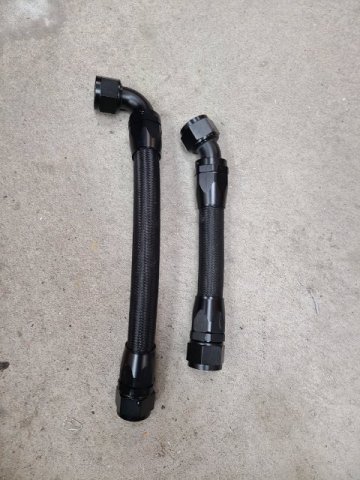
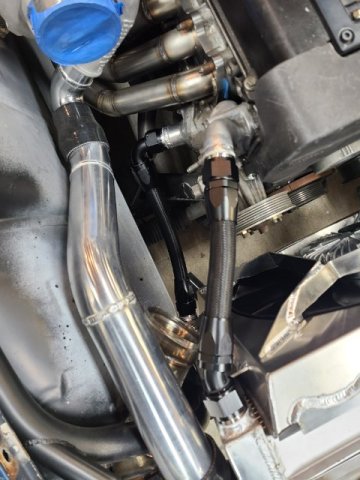
Next order of business was electric fan and shroud, and radiator hoses. I chose the 2016-2019 Camaro single SPAL 18" fan. it will be PWM controlled and is a very popular choice according to the internet as it can flow 5000CFM. Although I cut up the factory shroud to "work" I felt like I needed something fancier. modeled up a base to start working from and had my friends at laserbros in NC laser cut and bend it up. Should have gone one or two AWG thicker so added some bracing as well as some mounts and very happy with the final product. Cut down the radiator and inlets and outlets on the engine and welded on some -16an bungs, made up a couple hoses. in the last photo of the "hose installed" you can see the end of the pipe for the intake I welded into the chassis I mentioned in the previous post. Also decided to move the alternator to the other side of the engine to get it away from the heat. When i pull the engine to paint the bay i'll design and make a bracket to permanently mount it over there.4 points
-
HybridZ is now 26! It's too old to remain on its parents' health insurance plan, and now needs a real-job, with benefits and maybe even a 401K plan. Anyone left here, who started working on their V8 Z project back in the 20th century, and is still wrenching on it? Anyone?2 points
-
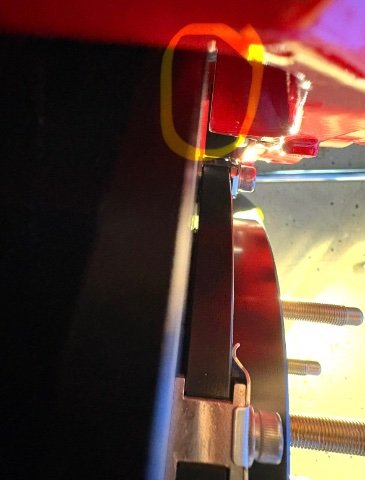
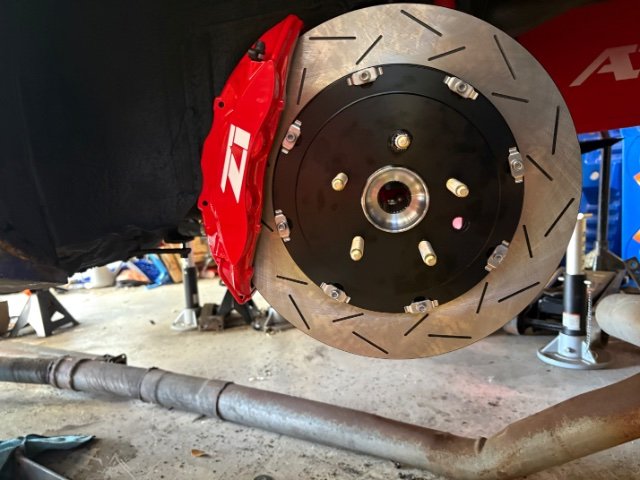
Got the rear calipers on today. A few challenges getting this to fit for the 240Z. Tight tolerances between rotor and caliper, needed some washers to align it right. Also getting the pad clips on were tough, some clearance issues with the wheel well as the pins go in from the back, but got it eventually. I love big brakes 😍.2 points
-
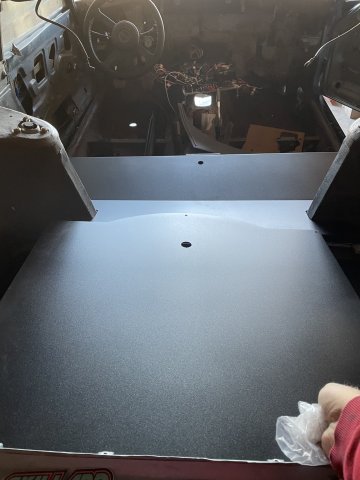
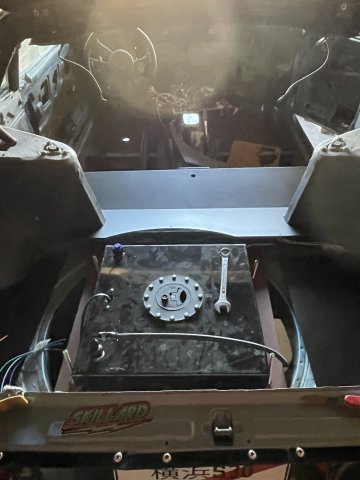
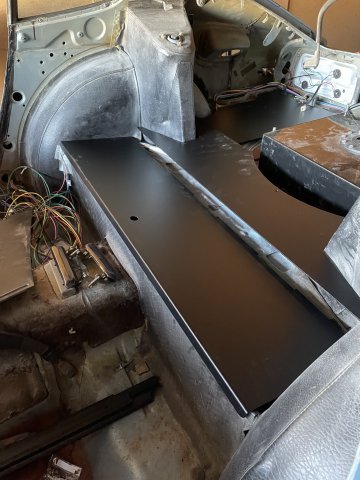
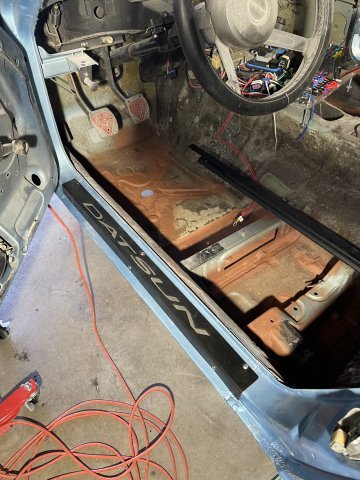
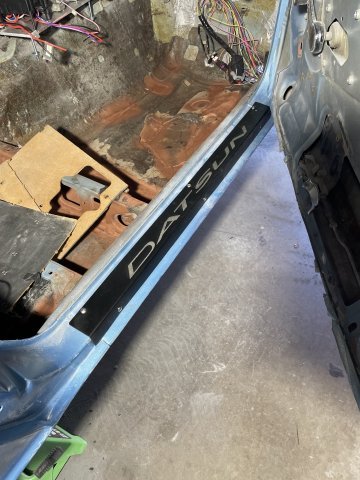
02-14-2026 Happy Valentines Day! Today I got the transmission in. Took a long time. I left the pilot bearing in the freezer overnight, and I was able to tap it in easy. After I installed the clutch and made sure to use the ARP lube on the bolts, I started prepping the trans tunnel. I had to cut off the factory trans ears and grind them smooth and gave them a quick coat of paint. Then the hard part started. After trying and trying, I realized the trans tunnel just wasn't going to let it happen.....so I started cutting it out from the firewall back about a foot or so, then more and more..... little at a time, as I needed the room. I did keep the pieces cut out, As I will cut and modify and have a mobile welder come and weld them back in AND while here weld a thick steel flat plate about 3-4 inches wide the trans area and passenger floors to add more reinforcement for the power level of the engine. I was able to use a floor jack and level the engine up, and now you can see in some of the pics, what it looks like level.....yeah, dusty but you can still see it. My center console will be modded with the center floor cut out leaving a small ledge on both sides so I can make a custom aluminum floor. The shifter mechanism will be left fully exposed, I love look. It makes the shifter throws SO SHORT! So, big day. All in, now need a trans mount underneath that will bolt through the floor into plates to hold it, the reinforcement plates across, and eventual console mod. I got VERY dirty! Cheers! PICS:1 point
-
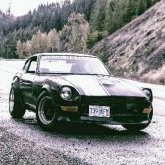
Hi all, I'm new to HybridZ. I'm looking for information on the best parts to pull from a donor car I just picked up. My 240z and the 1982 280zx donor are in the pics. The donor car is complete and the odometer shows 71k. My plan was to pull the full drive train and swap it into my '72. I will save all the parts from the '72. I want to keep the car all Nissan. So, for the motor, is it worth keeping the fuel injection? I have also seen something about using custom brackets for the rear disk brakes. After I have picked what I want the rest will be parted out. Thanks for looking and good info. Bill1 point
-
02-11-2026 ATLAS Z update: I got back half of the car all wired in except for a license plate light I am waiting for it to arrive. pretty cool LED unit I found on Amazon for 8 bucks. Got the headlights almost in. I always have a problem with this job. I had to break out the angle grinder and mod to get the driver's in....unsure so far far with the passenger one. Strange..... it REALLY fought me. I also got the 10AN line between my main filter and pump in, so it is ready for installation. PTFE lines take some work.1 point
-
Thank you. a bit overkill but im happy with how it came out. I hadn't planned on making them but no reason i can't. I can get some material and when i get some down time i could make another one.1 point
-
up here in the north east we get some great fall scenery for cruising but can get a bit chilly so the heater will be used for that aswell. but the defroster on a raining track day will be important. Thank you. love being creative during a build.1 point
-
Happy Birthday HybridZ. I’m a little over one year into my V8 track build, this forum has been very helpful 💪1 point
-
Well Happy Birthday to Hybrid Z !There is still plenty of time to keep playing! What a great forum it has been. Thank you for those who help keep it going! I'm close to the 20th century (2004) since i started on my Z. Still going strong1 point
-
The reason for this video is investigate the Quality of Car Bodies that are produced by a Chinese Manufacturer who also produces the 240Z assembled body. The Actual Chinese Reproduction of the 2025 SEMA SHOW Toyota A86 Body was purchased and examined by several individuals who expressed their opinions about the body. The owner will attempt to assemble the vehicle with available Aftermarket Parts( tail lights, interior parts,etc. This body was the same one at the SEMA Show so time will tell its quality and parts fitment is up to the OEM Standards. This body came from the same factory as the 240Z body at the 2024 Sema Show. I checked this at the Sema Show and after watching this video, my opinion on this car is there is a definite lack of quality control in the welding of this car. There seems to be a lack of spot welds on some of the panels. On Utilized Body Cars, spot welds will determine the strength of structure. Normally, the original manufacturer would use Robotic Spot Welders on the Assembly Line. On this car, the welds are not located close together thus not providing a strong panel. Another major flaw is the Front Strut Mounting Holes are oval not round as they should be. This shows a definite Quality Control Issue. It seems that assembly of this car was rushed and put together just for the show. The Collision Industry has a established Standard -ICAR which provides proper methods of assembly of Body Parts. A ICAR Body Specialist should inspect this car before it is put on the road or used as a race car.1 point
-
Second Owner of the SEMA SHOW Toyota A86 Body The First Owner of the SEMA SHOW Chinese Made Copy of the Toyota A86 Body decided to sell the body. The real question is why? The next Owner bought it with the idea of attempting to assemble the body and create a drivable car. As the body has No VIN Number and No Manufacturer ID Number, they knew that car registration in most states would not be possible. They intended to use this body as a Race Car as no registration would be necessary. As the video demonstrate that most mounting holes that not align with OEM parts. Also, they discovered a lack of sufficient welds on the body panels. Mounting brackets were missing or mislocated. So even if it was going to used as a Race Car, major welding and reinforcement of the vehicle would be necessary. So far, there has no one that I know who purchased a 240Z body from this same manufacturer. So far, we could not get a firsr hand through inspection of the Zbody and find if that body is manufactured better or not.1 point
-
1 point
-
1 point
-
1 point
-
I sat in those tillet seats at PRI this year and was very impressed with the hold and comfort despite not looking like it would be either.1 point
-
1 point
-
1 point
-
Thanks for bumping this thread, good read and some good resources for me to follow up on. I will be getting to the aero parts of my build soon and this already has given me some new ideas. Balance is definitely the big thing that can be missed and tire sizing comes into play here too which I’ve already been thinking about. Most likely going with a wide square set up for the track, so increasing oversteer with just tire set up.1 point
-
FYI -- I've confirmed with SuperDan that the site certificates have indeed been updated. Some users may need to refresh their browsers to update the cache or empty the browser cache. Cheers.1 point
-
This matches my experience too - a lot of aero “common knowledge” starts to fall apart once you actually try to measure things. The front-vs-rear balance point really stood out to me; I always assumed any lift was bad, full stop. Makes me rethink how careful you have to be adding splitters or diffusers without addressing the whole car.1 point
-
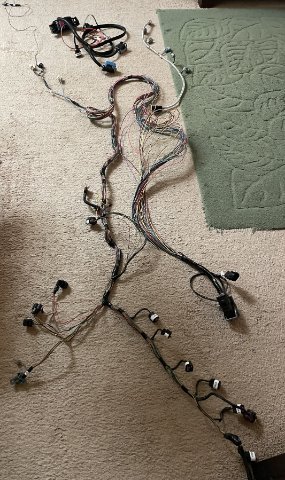
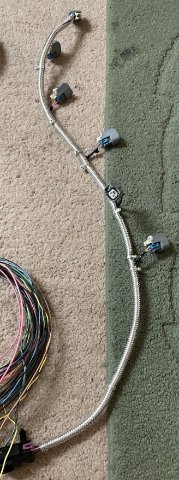
01-20-2026. Engine wiring harness. So, today I took my custom Lime-swap wiring harness for the ATLAS, and stripped off the looms and tape, so I tailor can fit everything and cut the wires down for a good, hidden fit. it's quite a bit of work removing the plastic bracket that originally held it on to the valve cover, straightening it all out, getting it all ready to be installed and then separated and cut and spliced back together correctly. I have these special splices they advertise that melt with a heat gun and solder the center.....I thought I'd try them. Some exposed wiring parts will have the chrome looms I bought over the wires, as you can see in the Injector wiring in the separate pic.1 point
-
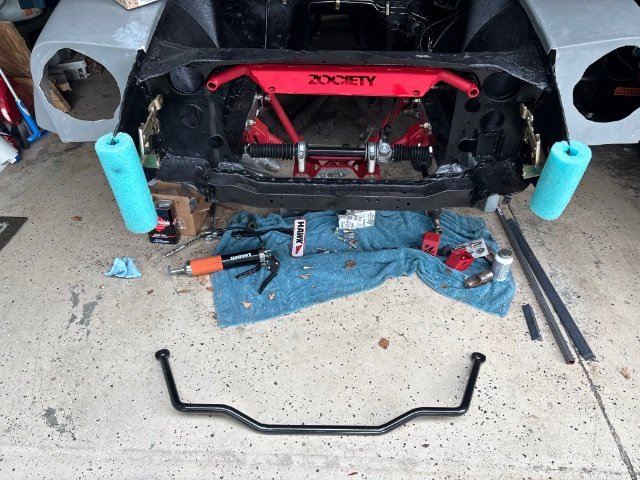
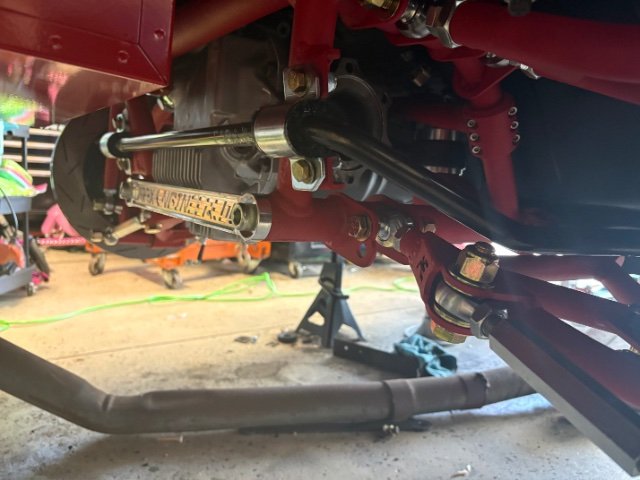
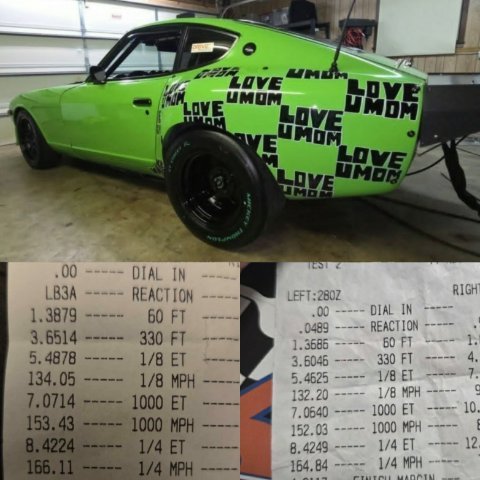
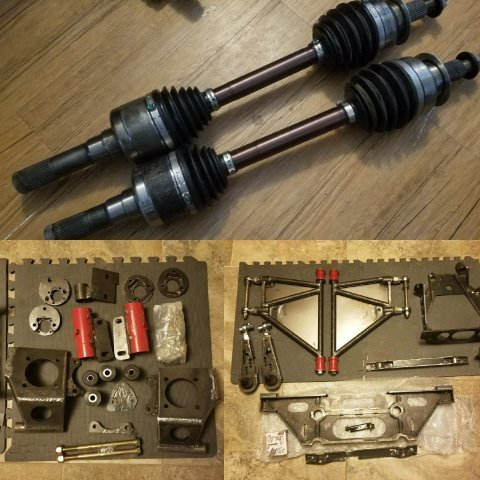
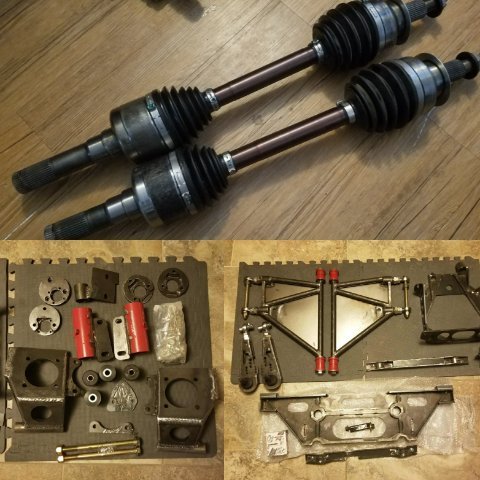
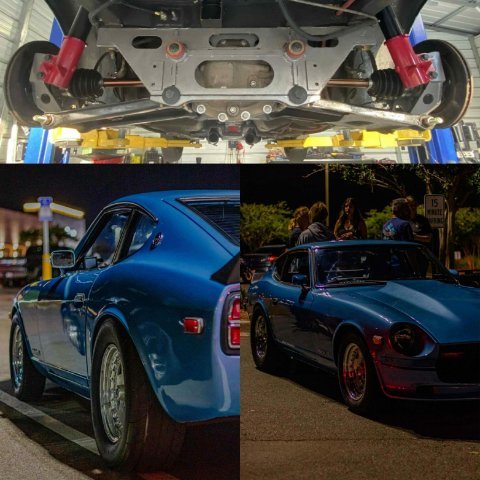
Unless somebody has a faster timeslip, fastest IRS s30 (barely) so far is Terry Garmon with 8.42 @ 166 mph in the 1/4 mile. Also included is a picture of Rick dunns 700hp car with the newest version of the rear swap, and a picture of all the components laid out, including the axles. The setup has evolved over the years, but even the earliest versions are out there putting down thousands of miles with all kinds of high and medium hp levels.1 point
-
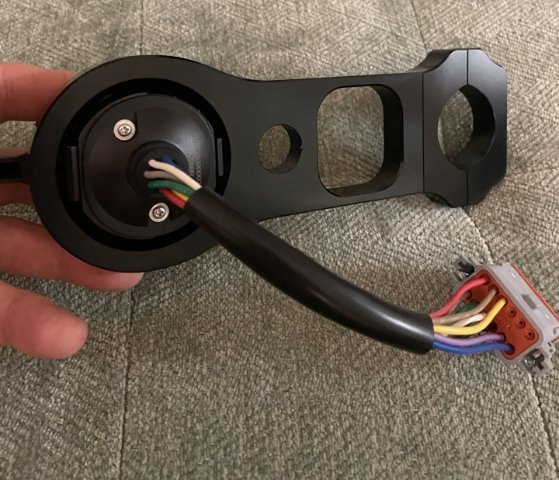
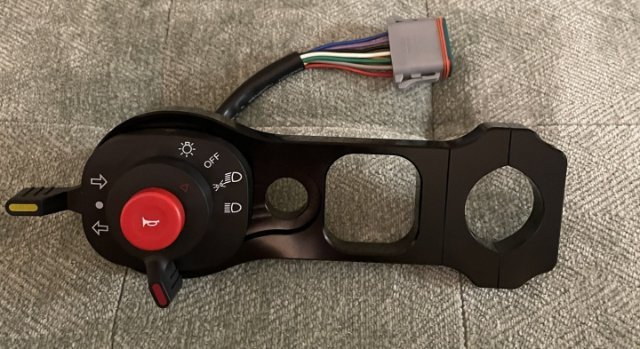
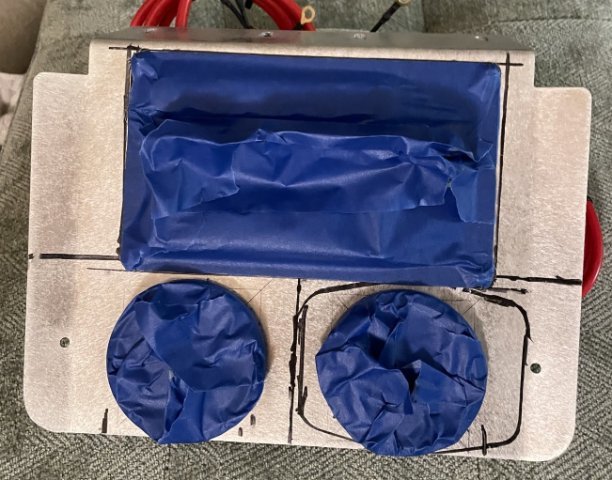
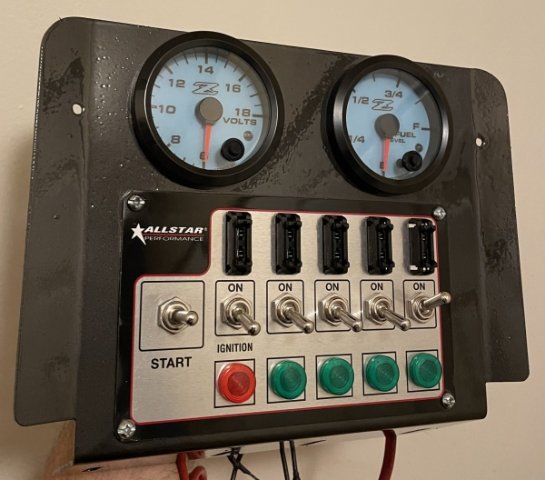
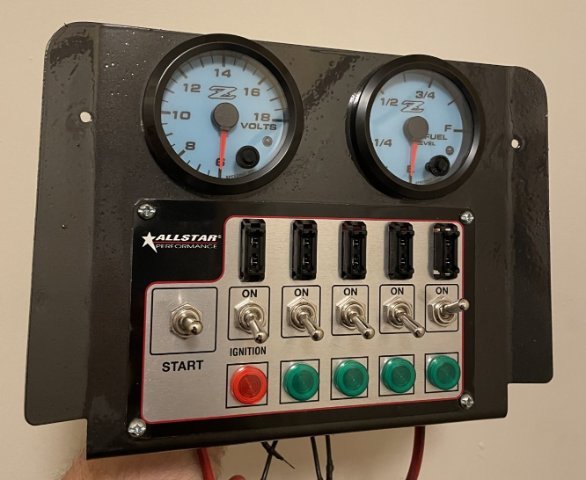
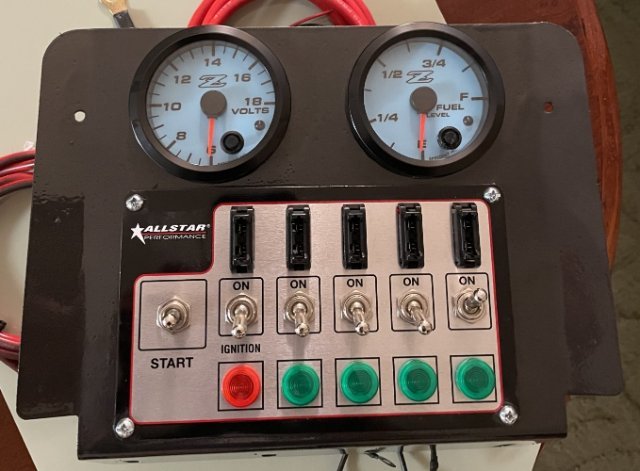
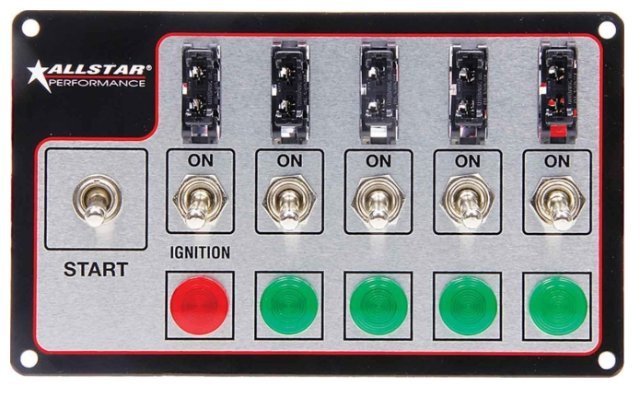
Another pic of the toggle cluster I am putting in my Atlas Z. fused and the start toggle is a momentary switch. when you flip the ignition toggle it will kill all power to the stand alone engine harness that the fuel pump runs through. I love the old school look. The quality of these toggles when you operate them you don't see often these days anymore....I got it at Summit and yep, the price is high, but the quality is A+.1 point
-
01-19-2026 First survey of my customized stand along wiring harness for the GM Vortec 4200 / ATLAS 4.2 engine swap. Keep in mind If I had kept the auto trans there would be more....I also deleted 90% of engine functions as well....only kept the cool stuff like gauge feeds, etc. At least I have a wireless throttle! enjoy the video. 01-19-2026 harness video.MOV1 point
-
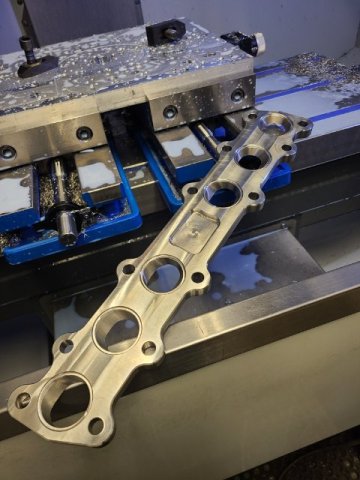
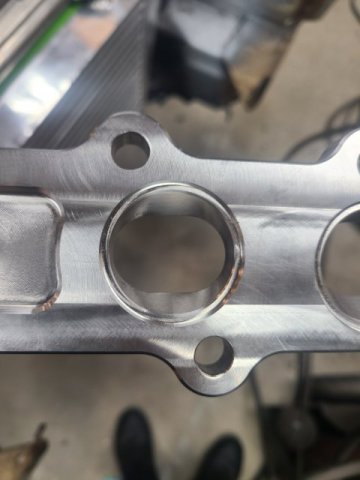
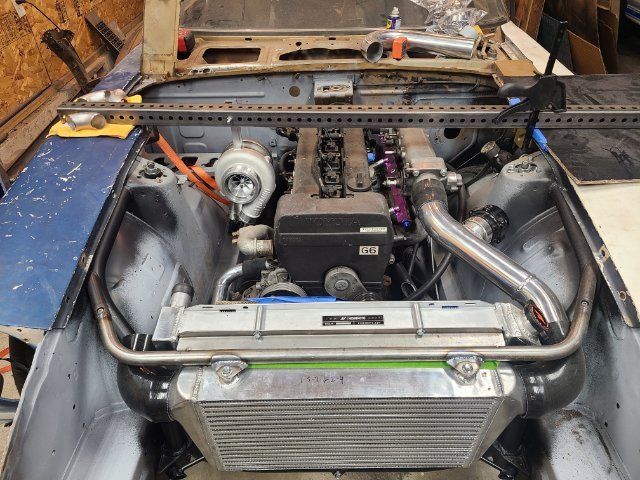
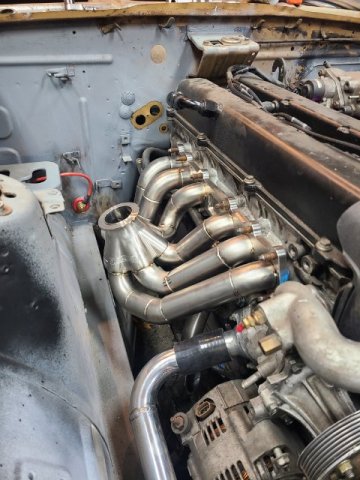
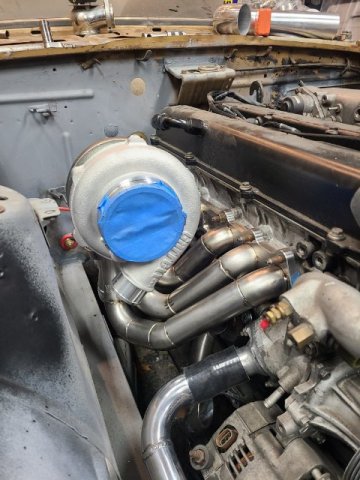
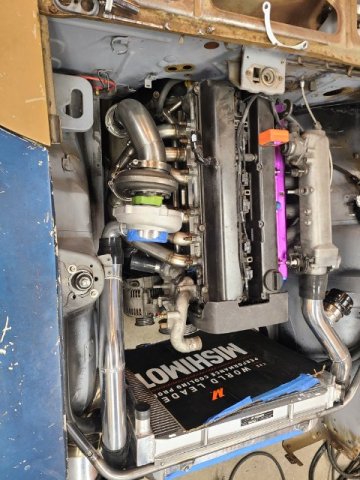
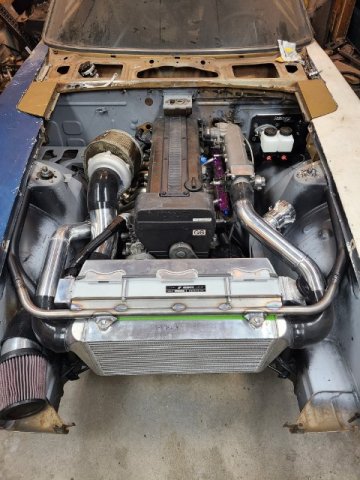
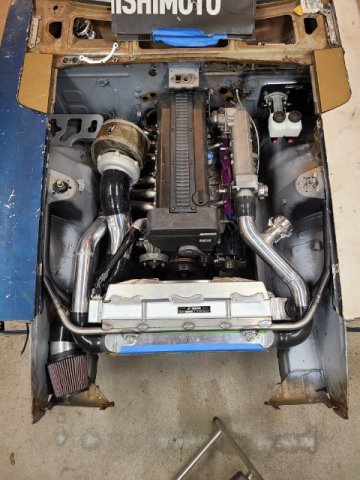
started tackling the turbo system. designed and machined a stainless exhaust flange because I couldn't find one I liked. 304ss that seamlessly transitions the oval port to round so i can use sch 10 stainless. Went with a billet turbo flange from elmer racing. I make these kind of things but no way I could have made one for what they charge. beautiful piece. I ordered 321 sch10 stainless weld els to make the rest. after a little "writers block" i finally got a decent layout for a turbo manifold. The car came with a precision turbo but unknowing the condition and the size wasn't ideal i ended up going with a garrett gtx3076r with a v band inlet.1 point
-
Very interested to see. Jim's Swiss 240Z (stock internals except for a mild cam) with ITB's and a Holley ECU tuned by our local legend - Tony at UMS - made about 183 RWHP. Jim was a bit disappointed (he was thinking 200ish) but we all thought that was pretty amazing for just ITB's and a good tune! It would be nice to see what all your engine work will accomplish. In ANY case it'll be a blast to drive!1 point
-
1 point
-
Here's the video with the CFD on the splitter diffusers:1 point
-
FWIW, I have a ZTrix hood on my 2X Nat Champ EP car. It weights 10 lbs and was weighed with an accurate scale. I asked John Washington to lay this up with weight in mind. The hood is sufficiently stiff and doesn't have any CF in it. It's pretty surprising really. I bought some more of these recently with John and they weighed 13.5 lbs. I assume this hood would work properly with the front torsion mechanism on the stock Z, but we don't use that or the rear latch. Hope this helps. Greg Ira1 point






.jpg.b34f27553f5960421801c8ab2cbf5db3.thumb.jpg.7889e8073010b6a0d8d6aae0626e768b.jpg)
