Search the Community
Showing results for tags '260Z'.
-
 Did some digging around, and I'm going to get an adapter set made to adapt the 240z spindles to s550 disc brake mounting points. This are massive brakes that sell for pennies on the dollar. Good for the guys with 800 hp ls v8s and 2jz setups. Going to use 65 mustang hubs which have the same A2 and A6 inner and outer bearings as the 240z spindles. Still got some fitting to do, more to come later. We are talking 4 piston 14 inch brakes for under $200 sometimes. Or 15 inch monster 6 piston brembos setup if your heart desires. Anyways, let me know if anyone would be interested, I'll be building the setup for my own 240z, but if 5 or 6 people want some, I will make extras. I did something similar for 1968 dodge chargers and people love them. Made an adapter that allowed use of 2014 mustang brakes on drum hubs and people have been buying and using them with great results, so I'm not new to designing something that works and offering it to people. I'll post pictures as I make progress. Currently dealing with a child who has a fatal heart defect so this may take a few months, but this is something I'm seriously designing right now to go along with the super 8.8 rear irs conversion I'm developing... The idea is to have a balanced braking system off a 2015 mustang complete, front and rear, no mismatch.
 -
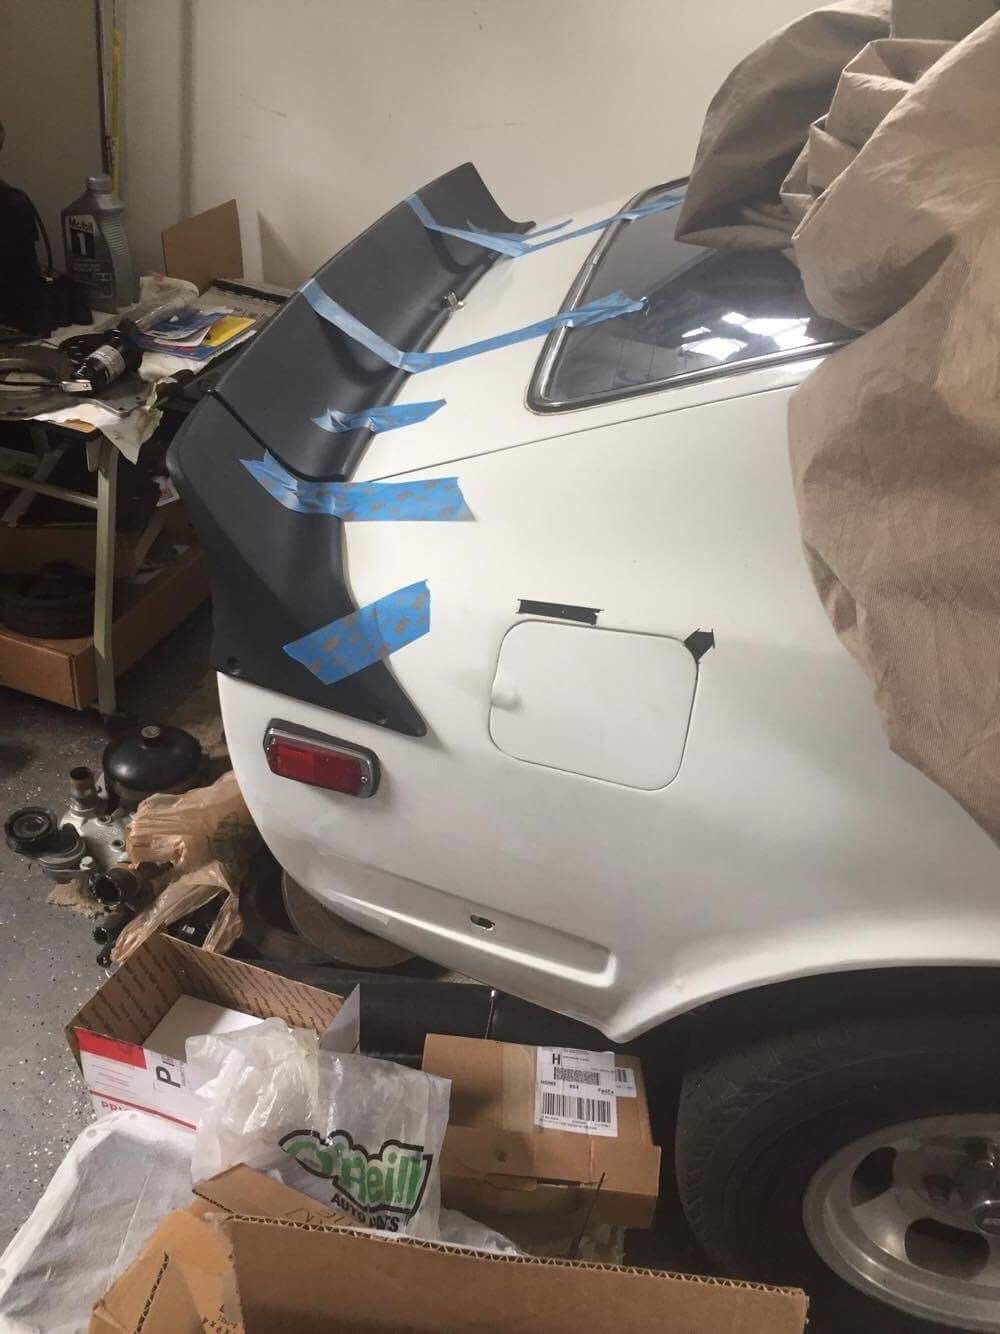
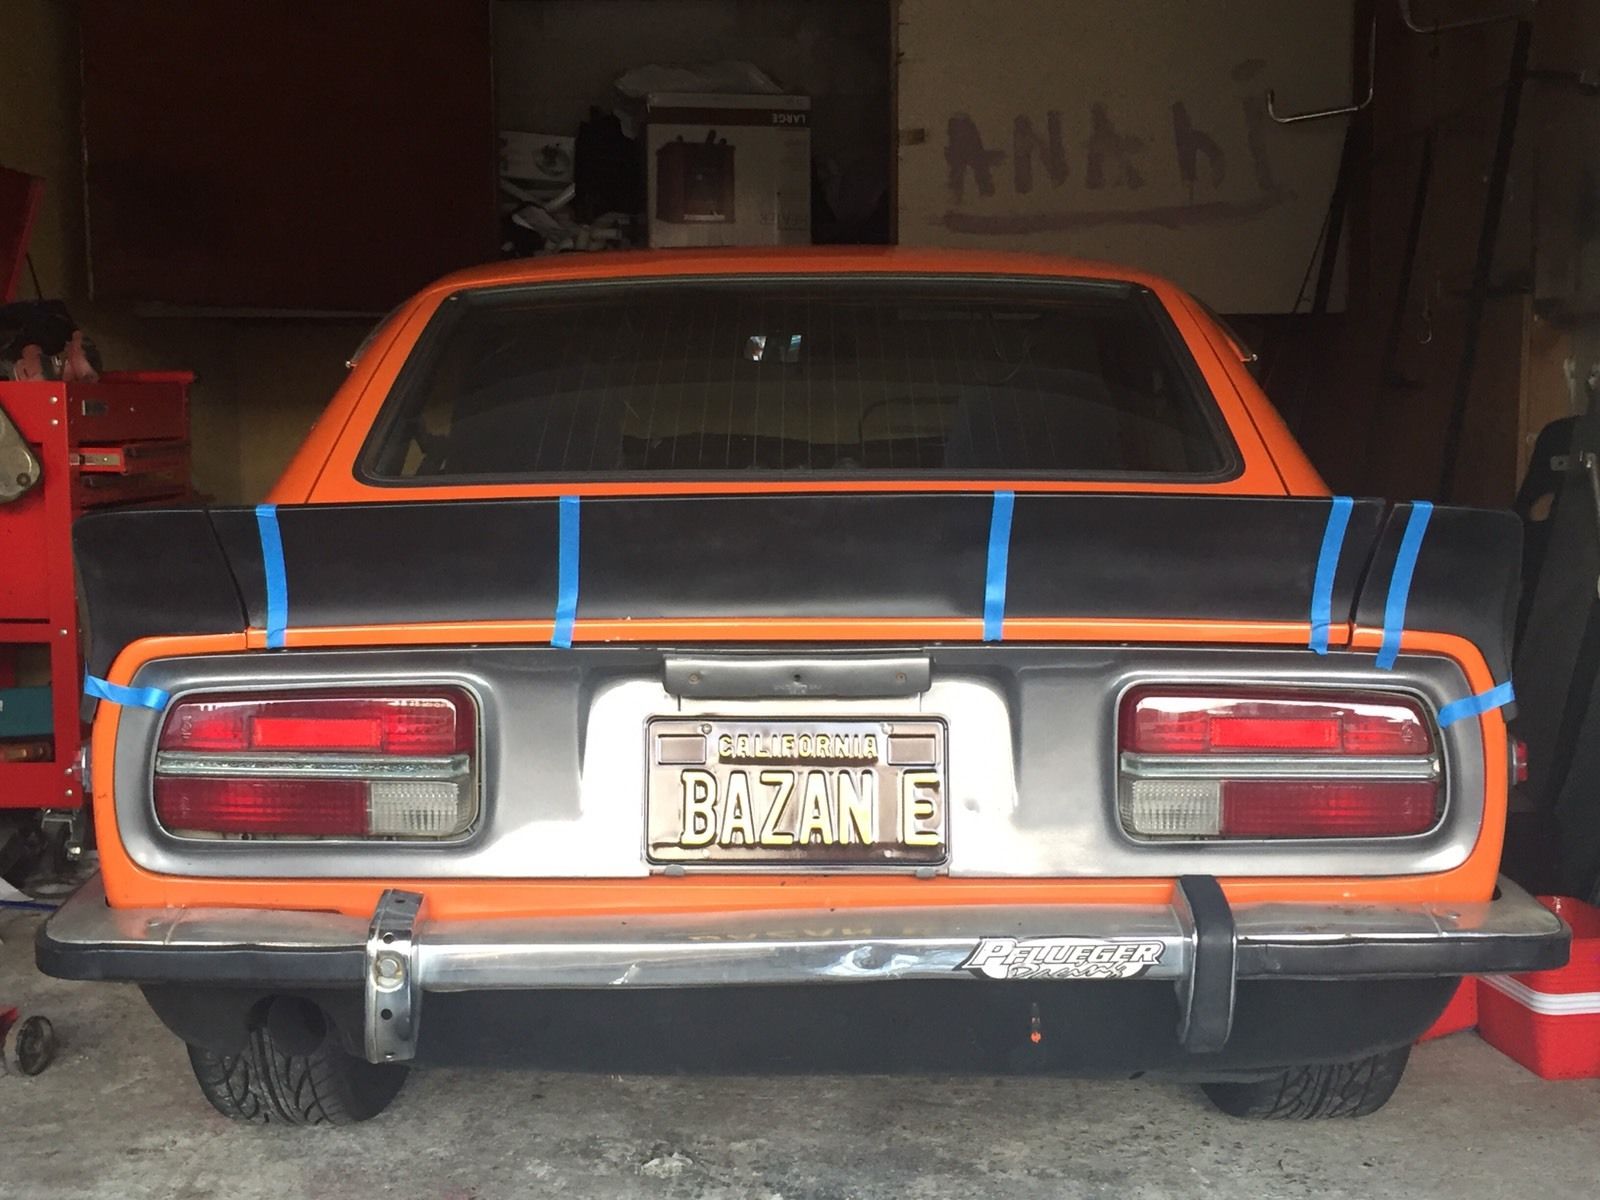
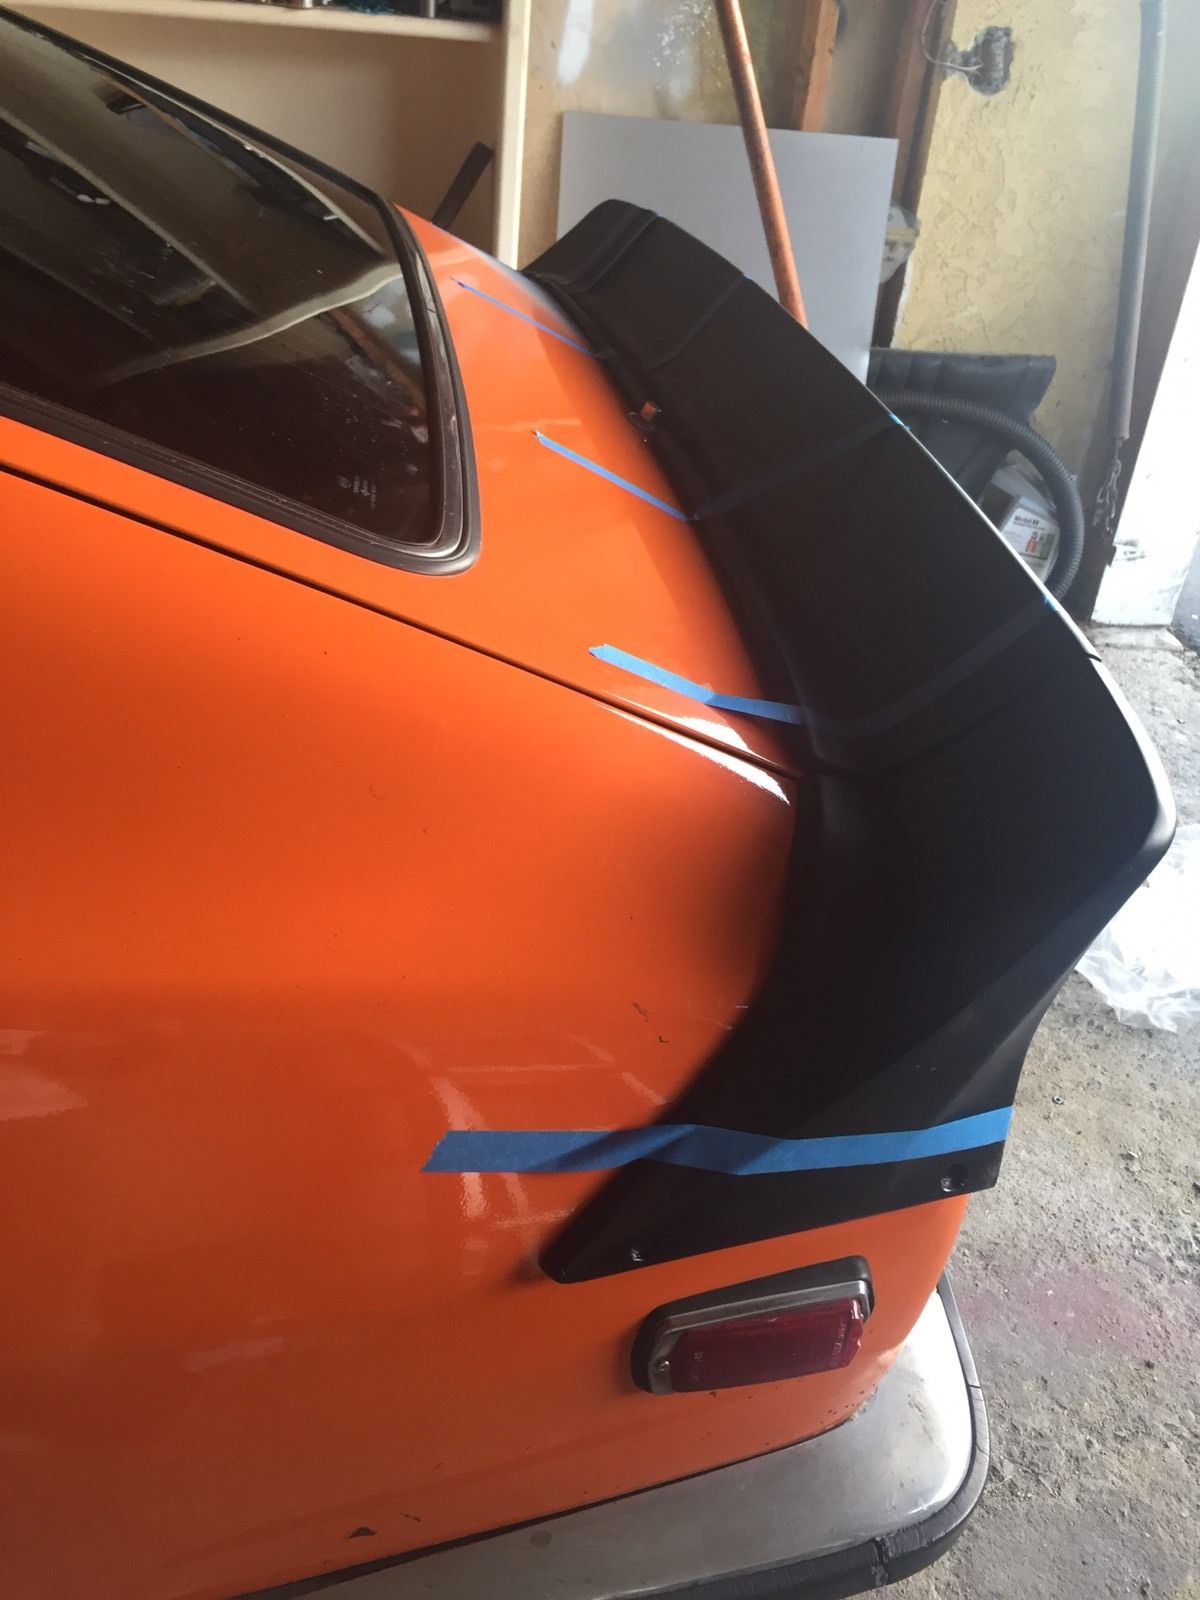
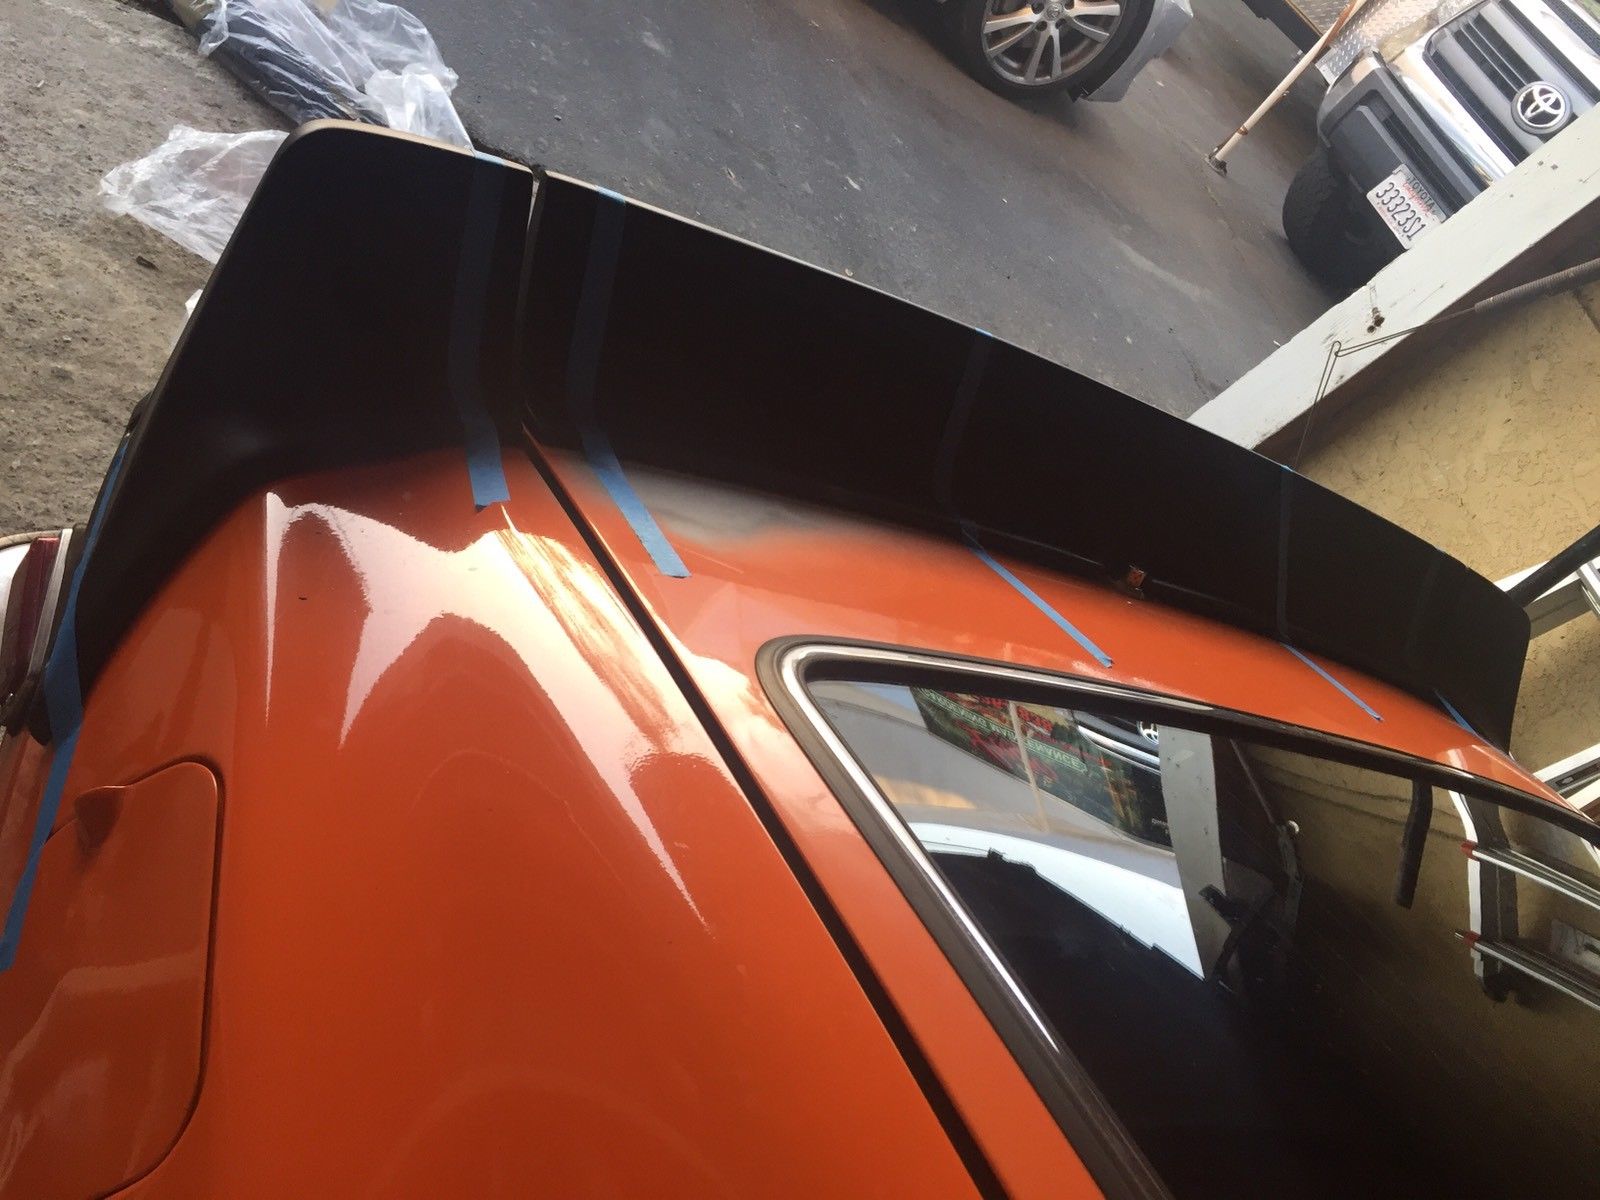
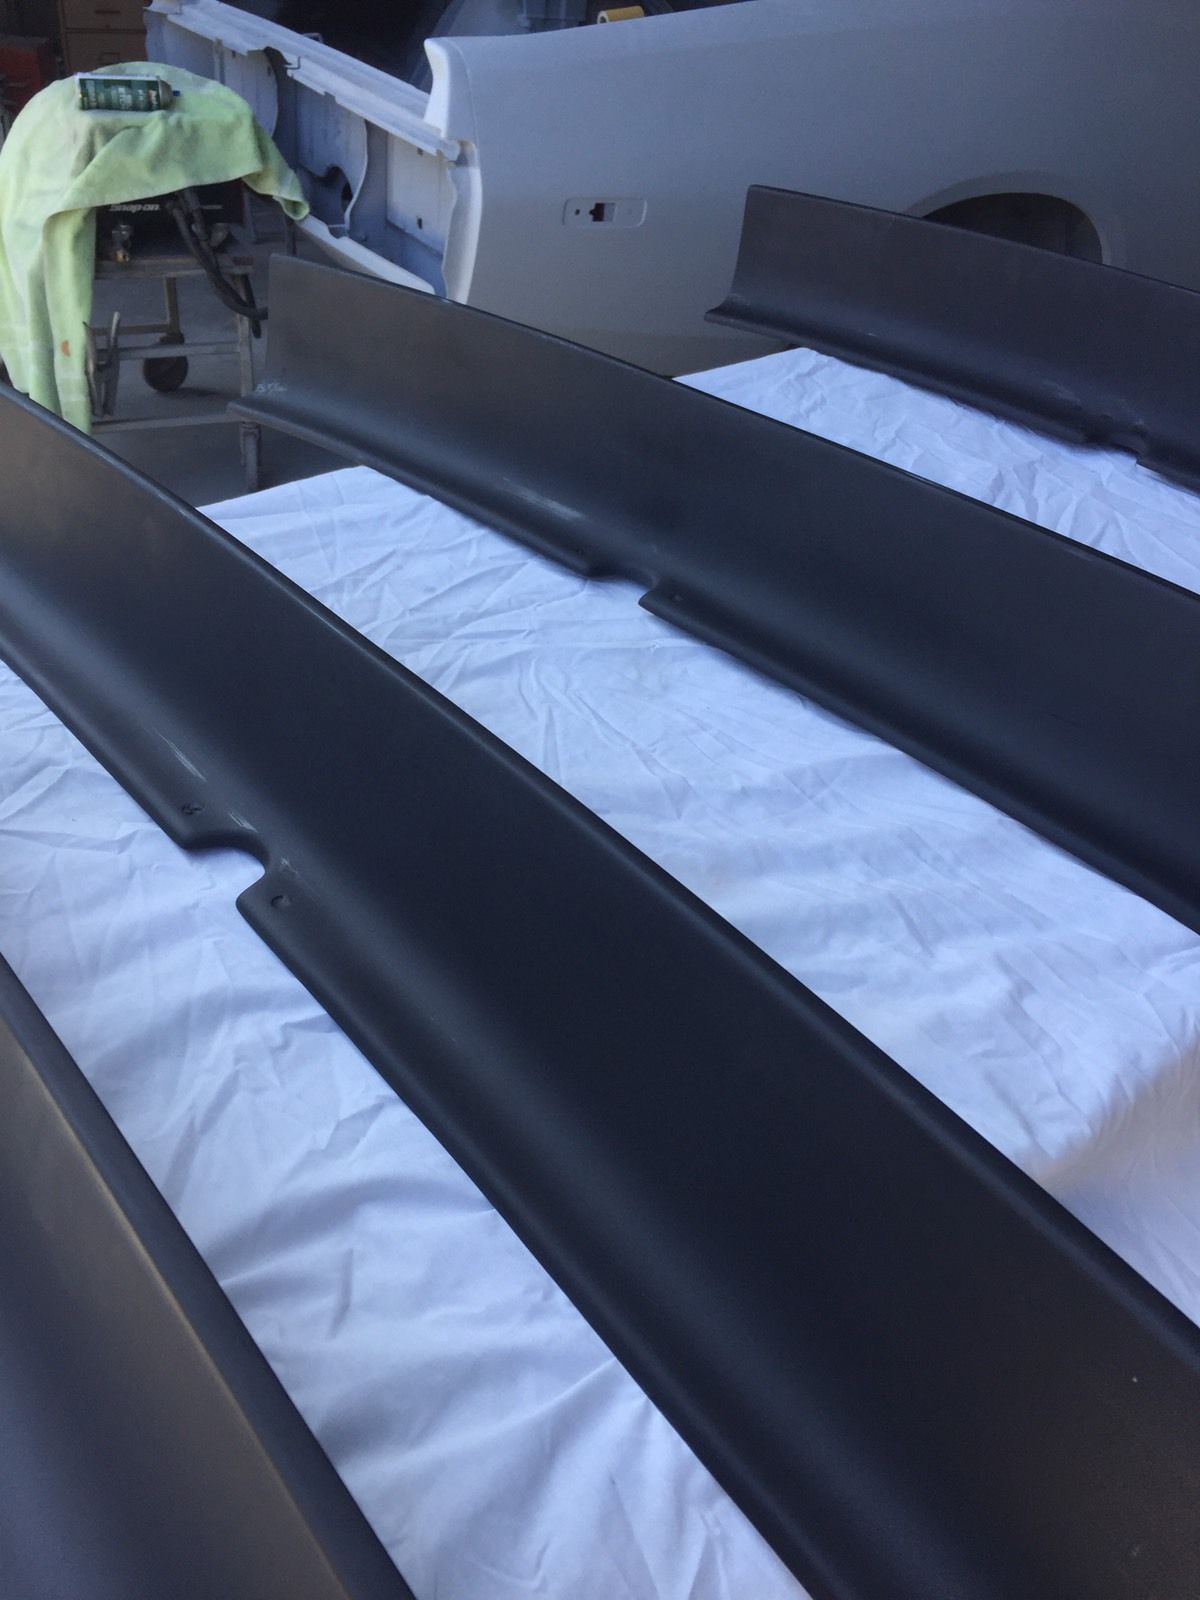
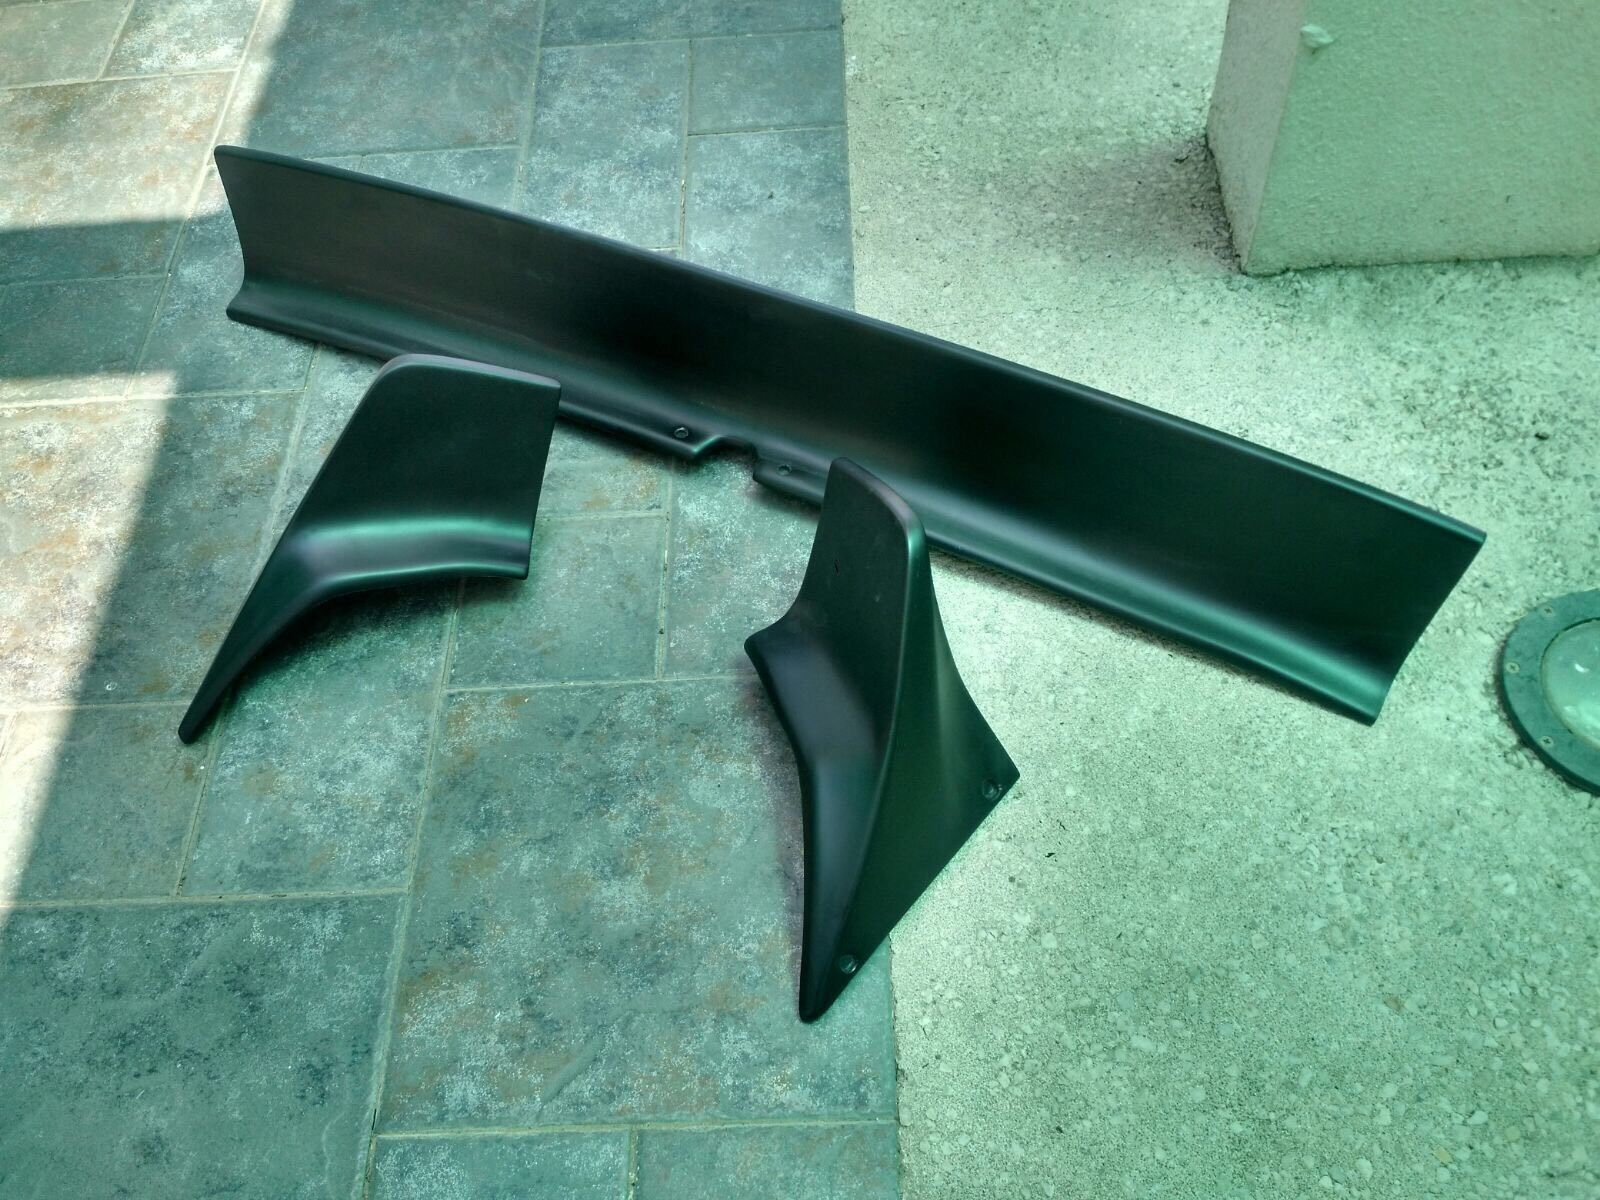
Hello Hybridz Members! Three piece spoiler for Datsun s30 240z 260z 280z Product is made from fiberglass with a flat black primer finish. Hence, spoiler is not a finished product ready for paint. This spoiler has 2 mount holes in center piece and 2 on each individual corner. It also has 2 threaded inserts in center piece and 1 on each individual corner.Quality and fitment are really good, all spoilers are brand new and never installed. some modification might be needed for perfect fitment. Price $280 shipped! - I can provide a discount for a group buy (5 minimum) Item ships from California* Local pick up available Payment: Paypal or cash for local pick up Any questions please feel free to send a PM

-
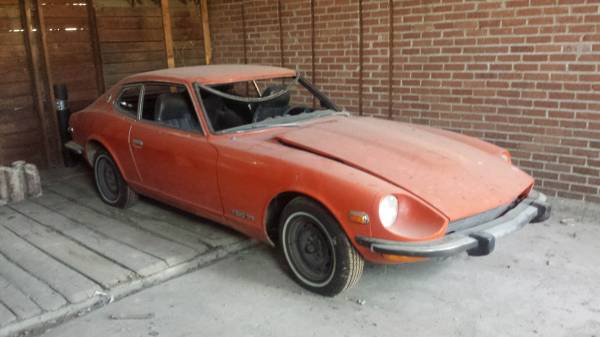
Hello, This is my first post, but I have been lurking a little for research. I recently found a 260z (claimed 1976, but the door is stamped 6/74?). The sketchy bit is that it has no title and no windows. I have gathered that the windshield is the same as any s30, but the door glass and hatch are different for the 2+2. I haven't bought the car yet, and I wanted to find windows to budget it out first. As a student, my budget is small so I am not afraid to use plexiglass for side windows and the hatch. The issue is I can't find any 2+2 windows, and I was hoping you guys might be able to point me in the right direction. Cheers!
-
Version V1
48 downloads
Simple roll center calculator for the Z car based on measuring the angle of the control arm. I tried to list all the definitions and assumptions. Please drop me a comment if you see any errors or improvements. I checked it against my professional software and got the same values when using the same inputs so I think the math is correct. -
Although in the USA and Australia there are a huge amount of Hybrid Z cars, in the UK most S30 chassis cars have rusted away and the rarity of them now means that swapping big power and exotic engines is a rarity. My car is a UK spec 1975 260Z 2+2 that has been painted and welded enough times that it is is far enough from original for me not to worry about the purist route. That and the fact that is it a 2+2! I wanted to start a thread on here for advise from people who have done this many times and hopefully a UK project will be interesting even though I am covering the same ground many people on here already have. I bought a crashed JDM Toyota Soarer over Christmas and stripped it for the engine, fuel tank, looms, gearbox (W58 as it was a converted auto) etc. The original L26 is out and sold and work has started to strip the engine bay of everything so we can sand blast it and begin the engine swap with a view to making it look as clean and factory as possible. I will upload some pictures soon when I have worked out the best way of doing it.
-
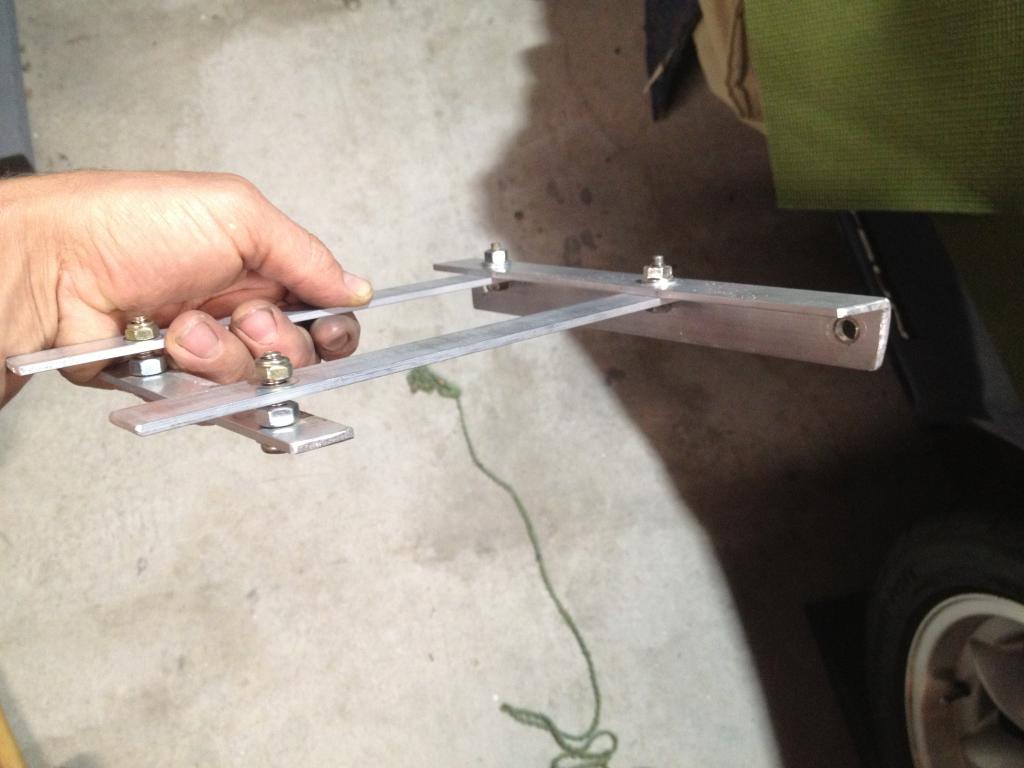
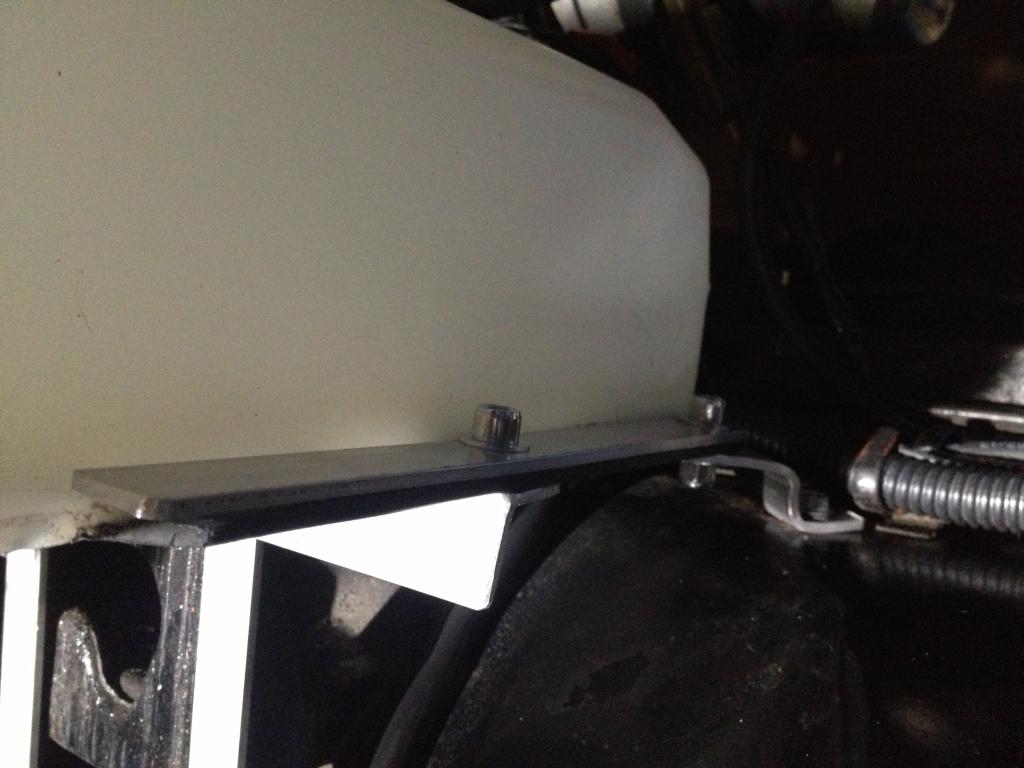
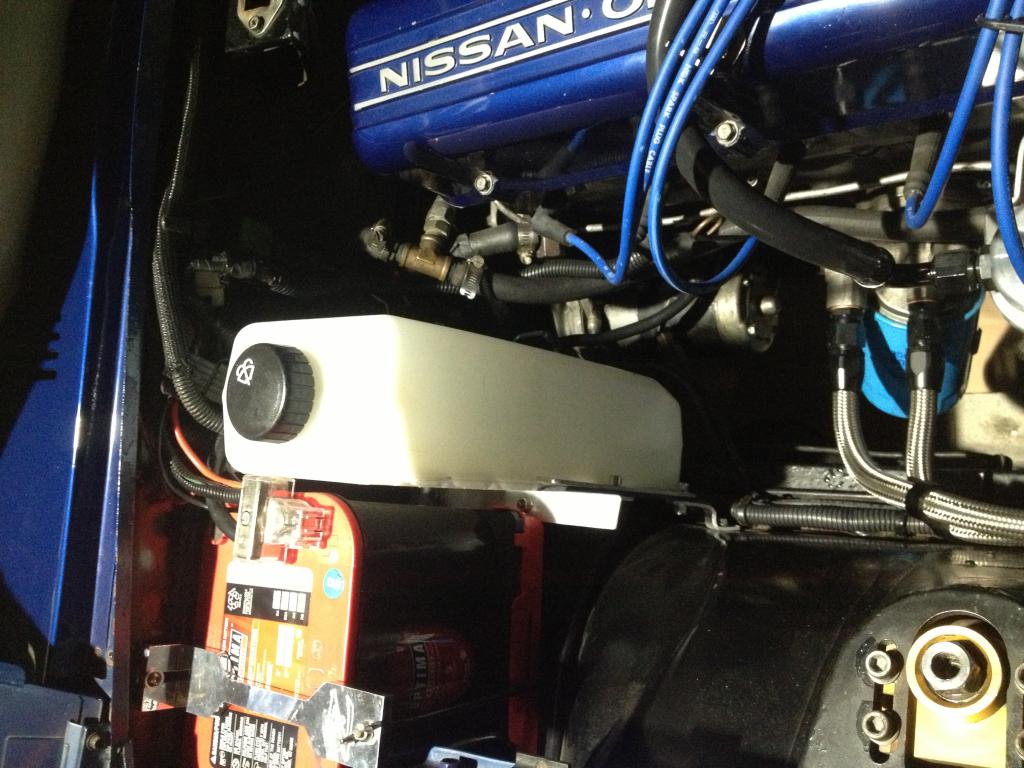
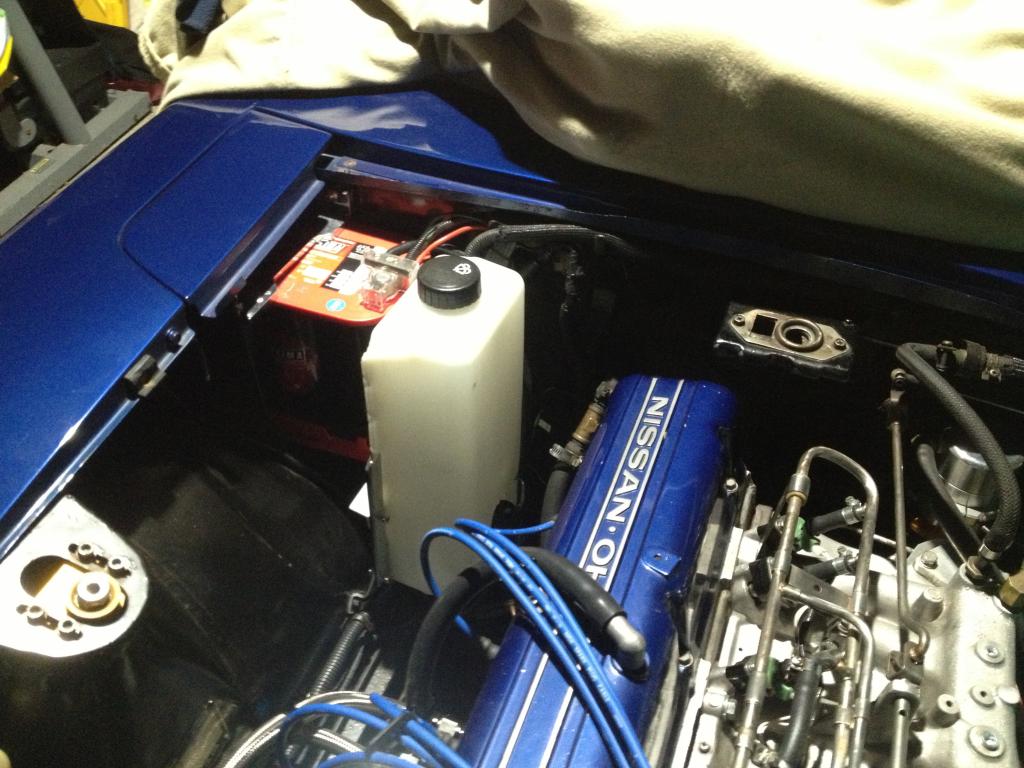
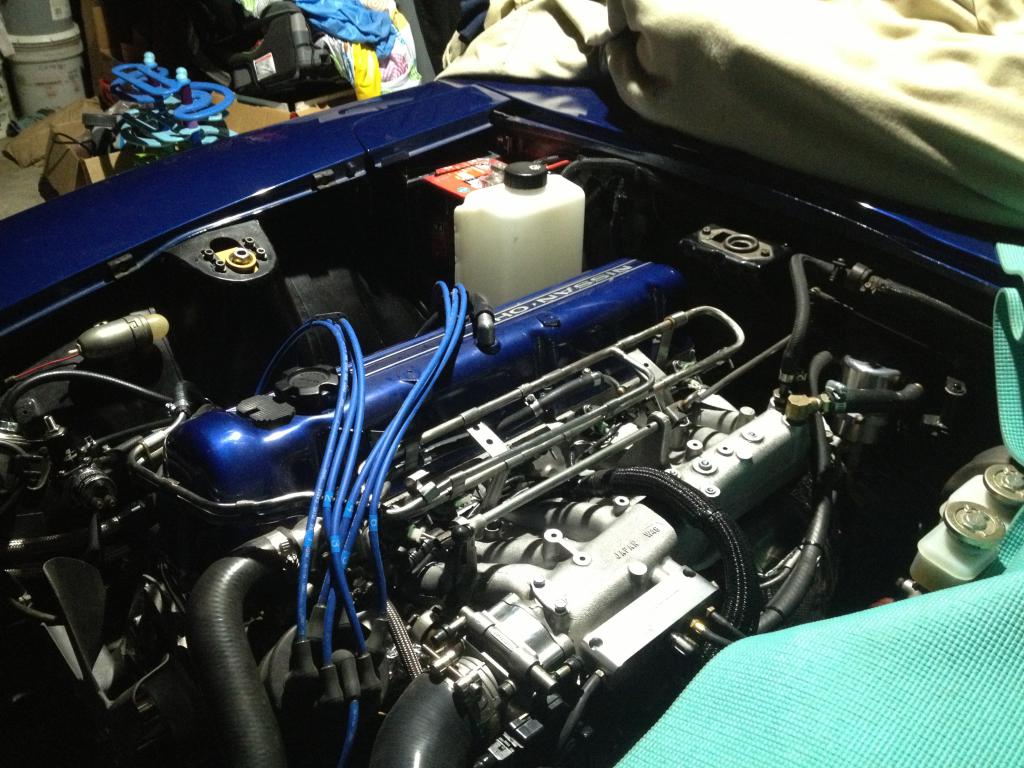
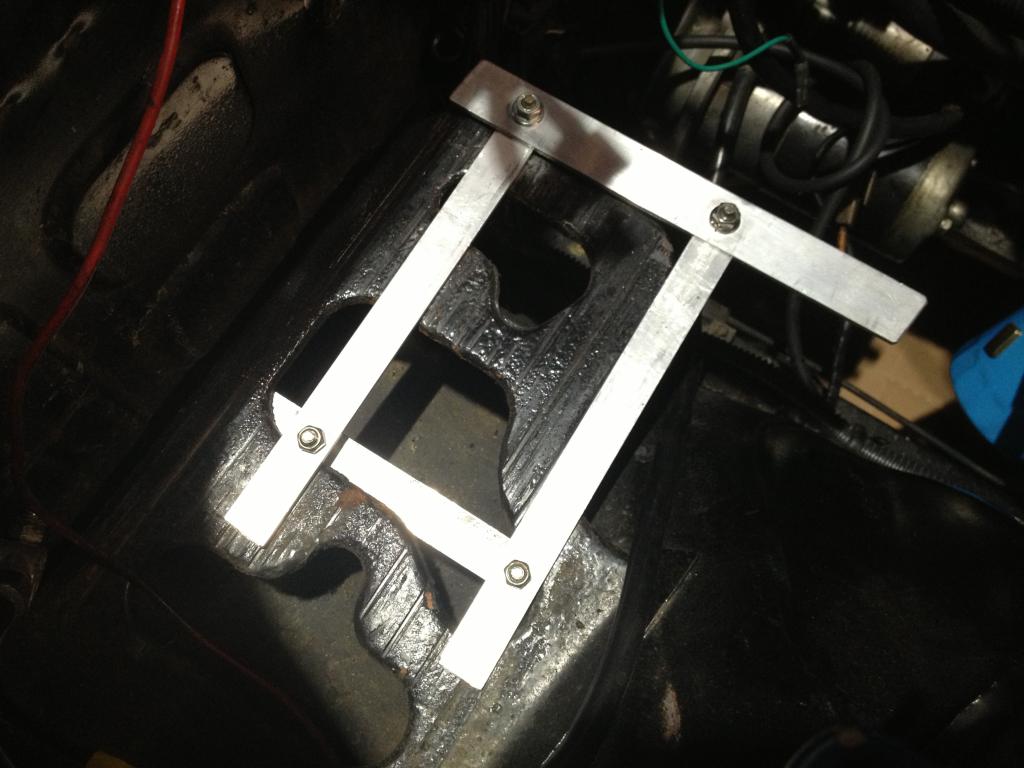
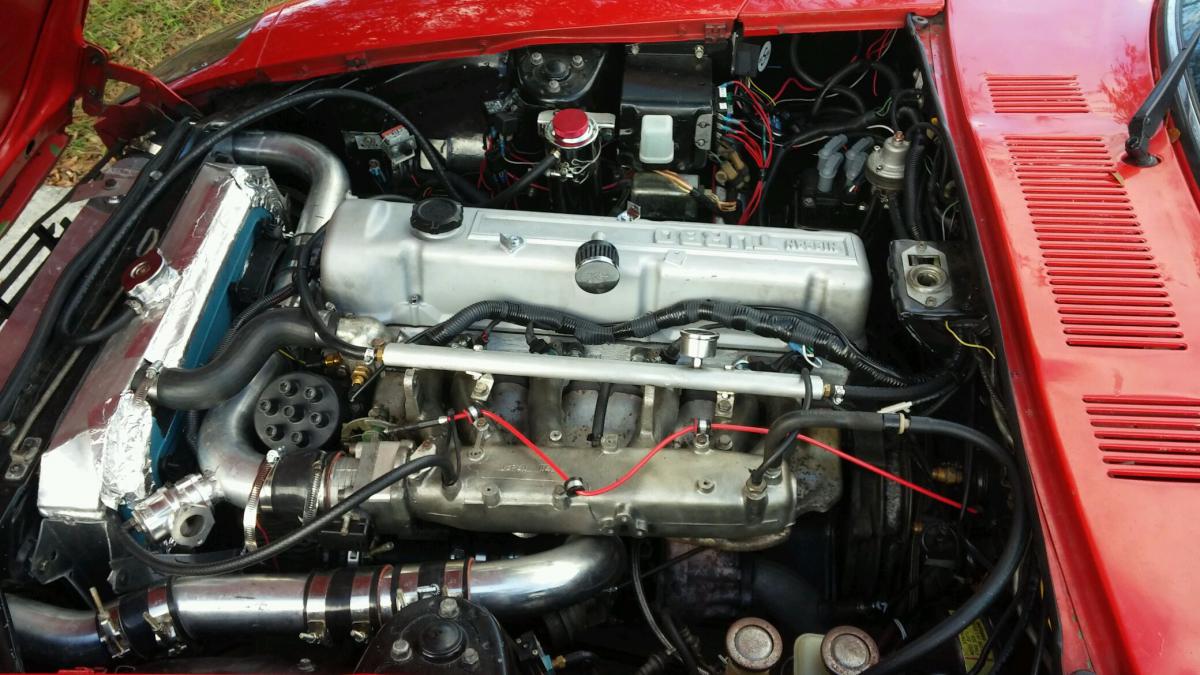
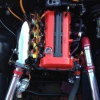
I want to share with everyone my DIY intercooler sprayer. I went to find a windshield fluid reservoir from a junkyard but couldn't find anything that I liked. Then I ran into this: http://www.midwestbusparts.com/index.php?main_page=product_info&cPath=16_319&products_id=2046 My Streetsmart boost controller controls a relay that powers the built in pump and activates at certain boost pressure or RPM. I made a bracket from cutting up a straight price of aluminum from the Home Depot and bolted it to the factory battery tray and a factory hole in the fender.The size is awesome and it fits perfectly using factory mounting holes. I have two patio mister nozzles each attached to the front license plate mounting tabs. With my setup, if I put them higher than this, the water sprayed all over the hood/engine leaving spots every where. This initially created a syphon when first kicked on as well but I fixed that with a simple anti syphon/drip valve designed for backyard misters. Theses where hard to find ironically and only found them on Alibaba Express and I had to buy a 50 pack for $10 but only needed one. Windshield washer fluid has worked the best when it comes to minimizing water spots under the hood. Alcohol would be better but washer fluid is cheap. I haven't measured the benefits yet but when I do I'll post it, I can't imagine it's not effective. It drains quickly if I set the boost controller to activate it at lower psi, slower if set to higher pressures. Same would go for RPM triggering. This same system can work with a basic switch versus using an electronic controller if so desired.
-
Hey, i was planning on getting Work Equip's 03 replicas for my Z -Cosmo Racing Coilovers (already installed) -15x8 et0 FRONT (wheels that i'm planning to buy, equip's 03) -15x9 et0 REAR (wheels that i'm planning to buy, equip's 03) I'm planning to buy them and go with the 205/50/15 or the 225/50/15 to have some stretch and fit under my stock fenders, i'm currently on Cosmo Racing Coilover's for s30 that they can be dropped on 3'' Let me know your answers and if you have pics it would be better.
-
Hello, This is my second post, my first was extremely vague and lazy on my part. I have always had a deep interest in cars and all things that move really. My experience with mechanics is limited to 2 semesters of high school auto class and minor experience with outboard boat engines. I also have rebuilt a 4 cylinder boat engine with the help of a friend who is a mechanic. I have basic tools,(screwdrivers, ratchet set, wire strippers etc.) and a home garage to work in with limited space and no large equipment such as welders or a lift, just the basic tools. I have only driven a manual car a handful of times but have some experience driving other manual vehicles. I really am set on getting a 240z. From my research I have found that it is a relatively easy car to work on, has excellent technology for its age and the L-series motors are extremely reliable and great sounding. The unique look and nostalgia of the car is really what sold me on making a z my first project. My project z would be garage kept and I would most likely sell my current car to buy a cheaper daily driver and use the leftover $ for the z. I have a decent budget for a college kid and plan on this project to take years, so my budget will eventually increase, but for now I am looking at approximately 25k. This must also cover the cost of buying the car. What Im looking to do is get a 240z (70'-74') in running condition with minimal rust. What I've heard is that rust can be the most unpleasant and expensive problem to deal with, and considering i have no means to do body work myself, i would like to avoid having to pay for major body repairs. I would like to begin with projects that mainly increase the reliability and drivability of the car. I would also like to use this car as a learning experience for whatever mods I can do myself. Wiring, electrical, filters, bushings, tires, coil etc. would all be things i would like to upgrade or improve and repair. Maybe a few years down the road if the frame and body of the car are sufficiently stiffened and the motor dies i will look to do an engine swap. But for now just handling and reliability mods,followed by suspension and, eventually I would like to do upgraded headers and exhaust for the l24 just to let it breath a little better, but not looking for a rocket ship. What I really want out of this project is a unique classic, not something that i will see 10 others just like it on a Sunday drive. A car that can be mostly for learning to build, fix and upgrade as well as help me become a better driver. Suggestions as to how much I should look to spend would really help. How much can I expect to pay for a running 240z with minimal rust. I would like to have some of the 25k leftover to do some of my own work with, because having a hand in the building of this car is very important to me. Also suggestions for what projects to start on or if i Should have the car looked over by a professional before starting any projects. I apologize for the long post and hope this better meets forum standards. Im am young an very passionate about getting into the z game. Thanks.
-
Hi Guys Can anyone tell me the engine origin of the codes cast on L6 crankshafts. Is there a list I could look up? I bought a lot of stuff from Electromotive in the late 80' early 90' when they were clearing out their racing Z program. I have 15 cranks of various type including P30 and E31, even some with no cast marks.
-
Hi all, I have been a reader on this forum from 2013 and now decided to transfer my blog also to here in hopes that someone finds it useful and interesting. Hopefully you have some good feedback and also criticism! This is my first car project and first time welding on a car or with a MIG so all help is appreciated! Best regards, Olli-Pekka My quest to find a suitable project started when I saw a article/video called "Dare to be different in a Datsun 240Z" (Dare to be different in a Datsun 240Z). Although my goal was not be different but the lines and the body of the Datsun appealed to me so I had to find one. So the quest to find a suitable car from Finland started, because it looked that the prices abroad were higher than in Finland. As by order, there were two specimens for sale on Nettiauto (Finnish car-sale site), that piqued my interest. Both of them were in a reasonable condition and so was their asking price... that is if project cars can be reasonable priced. After few events, it was time to decide which of them I would like to go to see. The choice was to see the car in Eastern part of Finland which was a 1976 Datsun 260Z 2+2. This decision was based on the fact that the car in question was priced better and it was in "better" condition. By better I mean that the condition was good but not too good not to warrant a full going through and to build the car just the way I would like. Added bonus was that car was reasonably rare: the car was sold new in Germany in the year 1977 and for the European market there were 454 cars made that year. (ZHome - Production numbers). The car changed owners after few hours of negotiation and kicking the wheels.The fact that the car had been in a garage for the last eight years, caused a bit of a problem to get the car on the trailer, because car did not move on its own (gearbox was broken and fluids had been drained from the motor) and the trailer we had did not have a winch. With the car came a "new" transmission, all of the parts that were needed to make the car run again and a rust free right fender. The seller also had all of the cars original documents and a Factory Service Manual, which was really nifty! All in all, I drove about 600 km to get the car and all of the driving was done in the worst weather that early winter 2013 had to offer... It snowed very heavily and it was slippery as... well it was very slippery. We did manage to get the car to its resting place without huge problems and the "great journey" towards Gran Turismo could begin...
-
Hi i have been reading through the forums and FAQ regarding CLSD types and wish to purchase a OS Giken unit but i am having trouble working out which one... Is the NS046-HA simply a straight bolt in apart from the bushes to go from 10mm to 12mm bolt holes for a 1976 260z? As this is what appears to be suggested in the threads i have read. The Distributor here in Aus suggested that the unit i need is the same as the SR20DET S13, which is part number NS044-HA according to the OS Giken website and that there were more than just minor modifications required to make it all work. As far as i know they don't stock the NS046-HA so its likely that i will have to order from overseas. Appreciate any feedback, Regards David
-
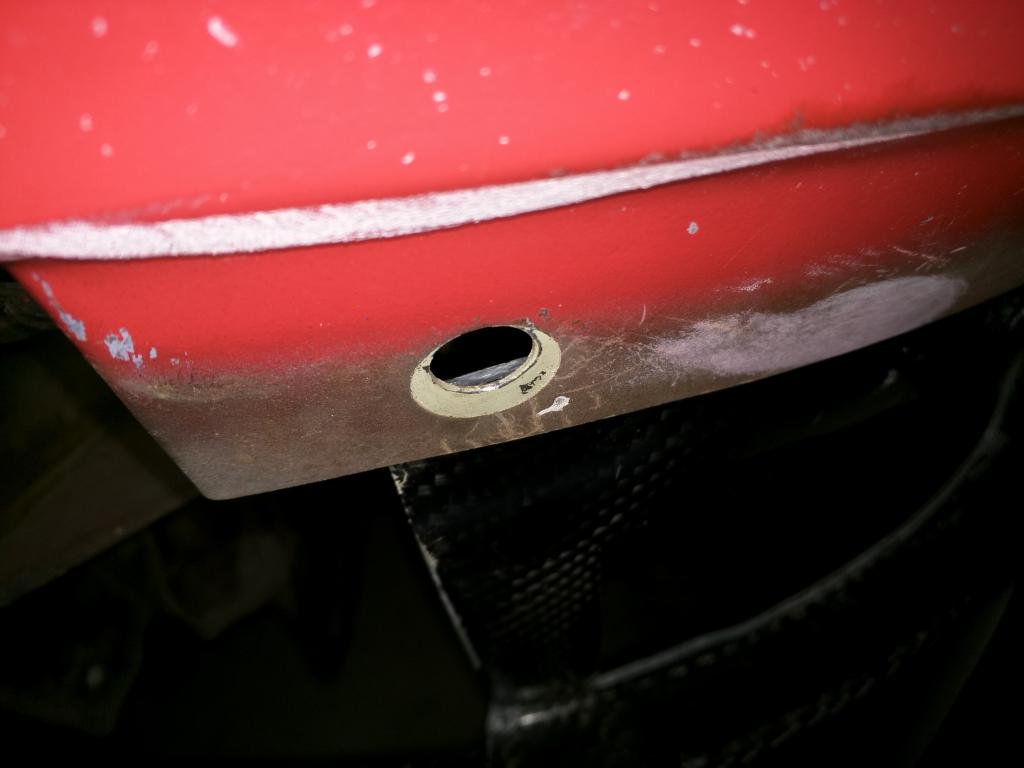
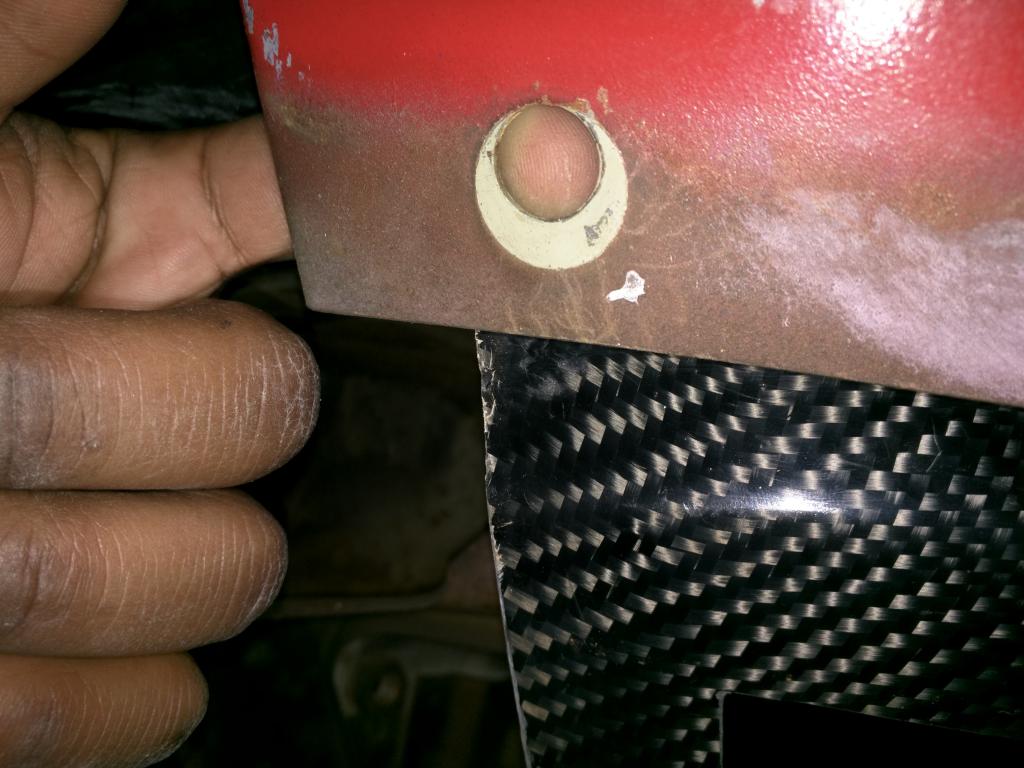
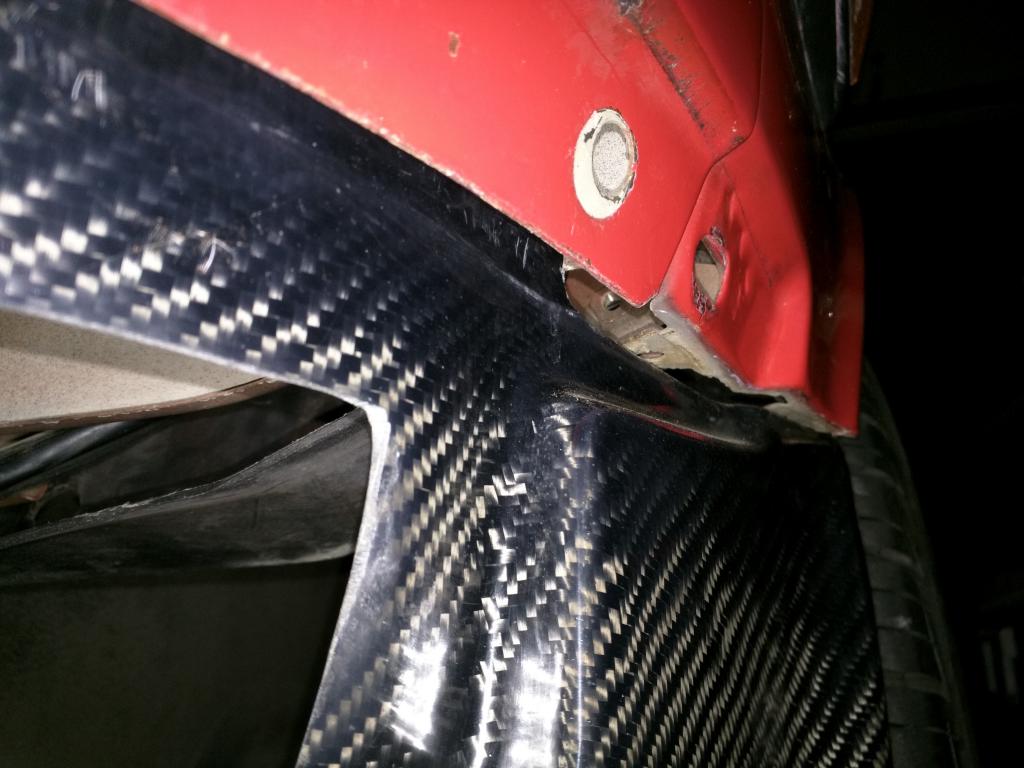
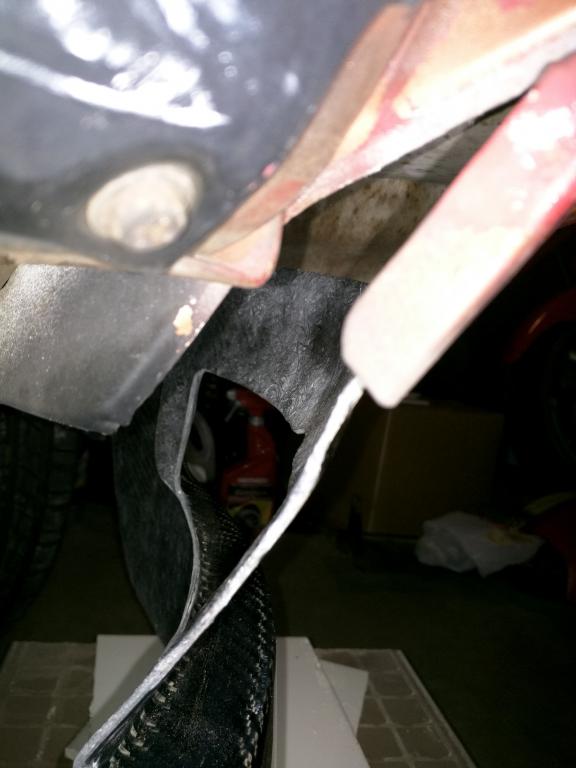
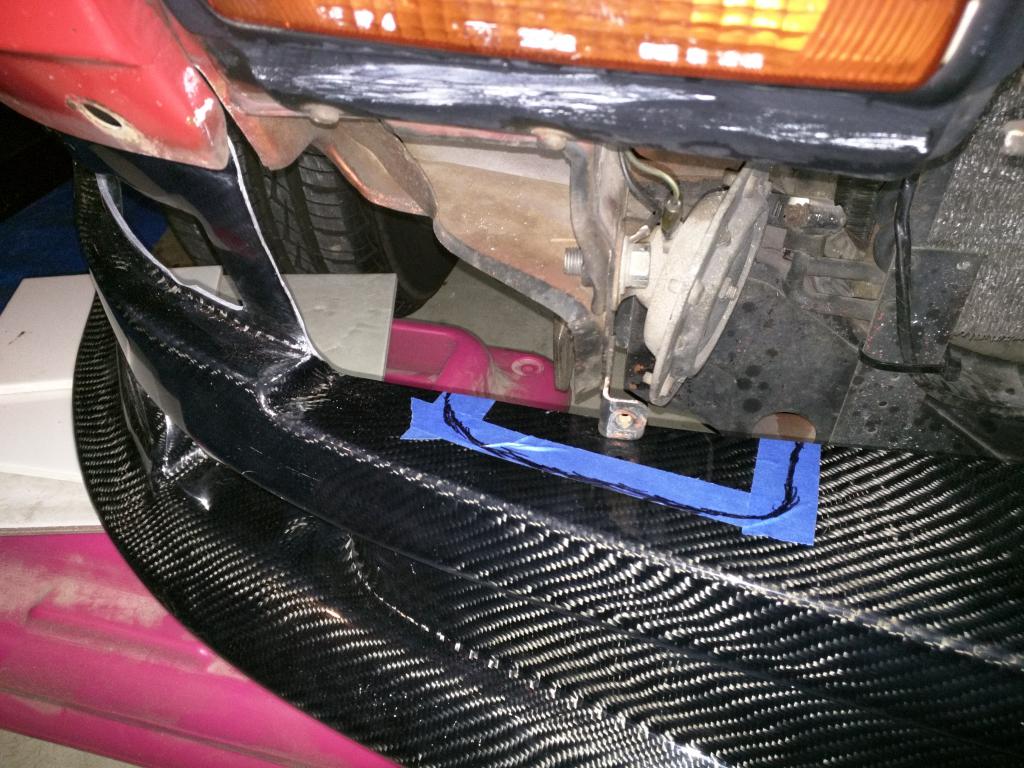
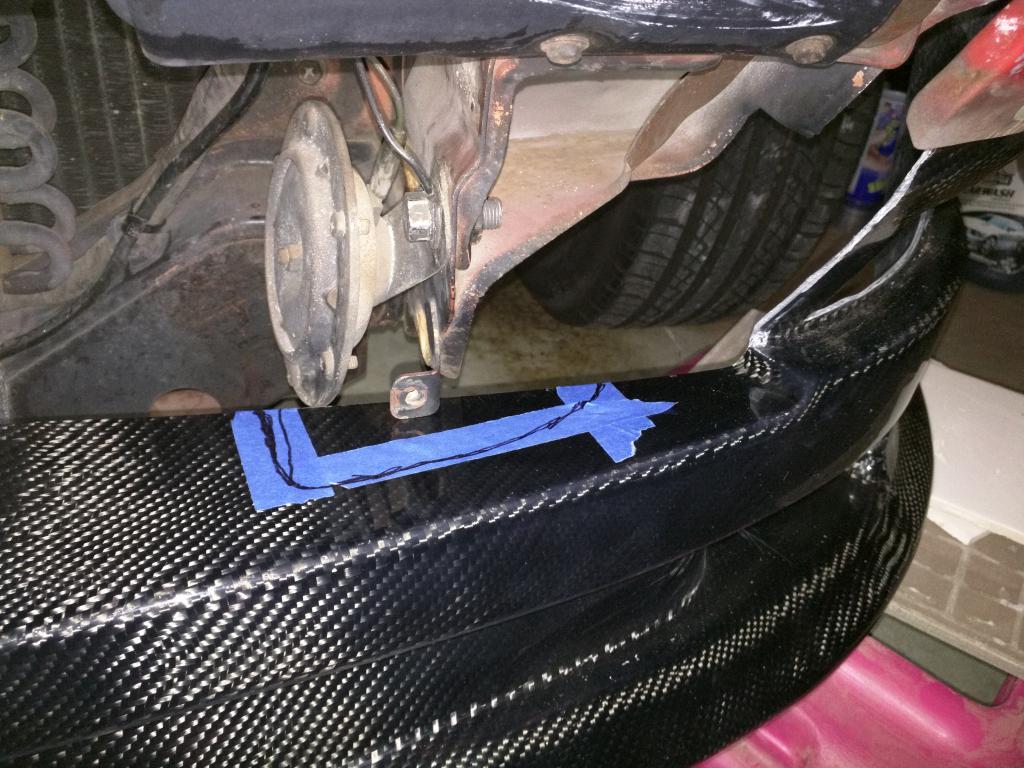
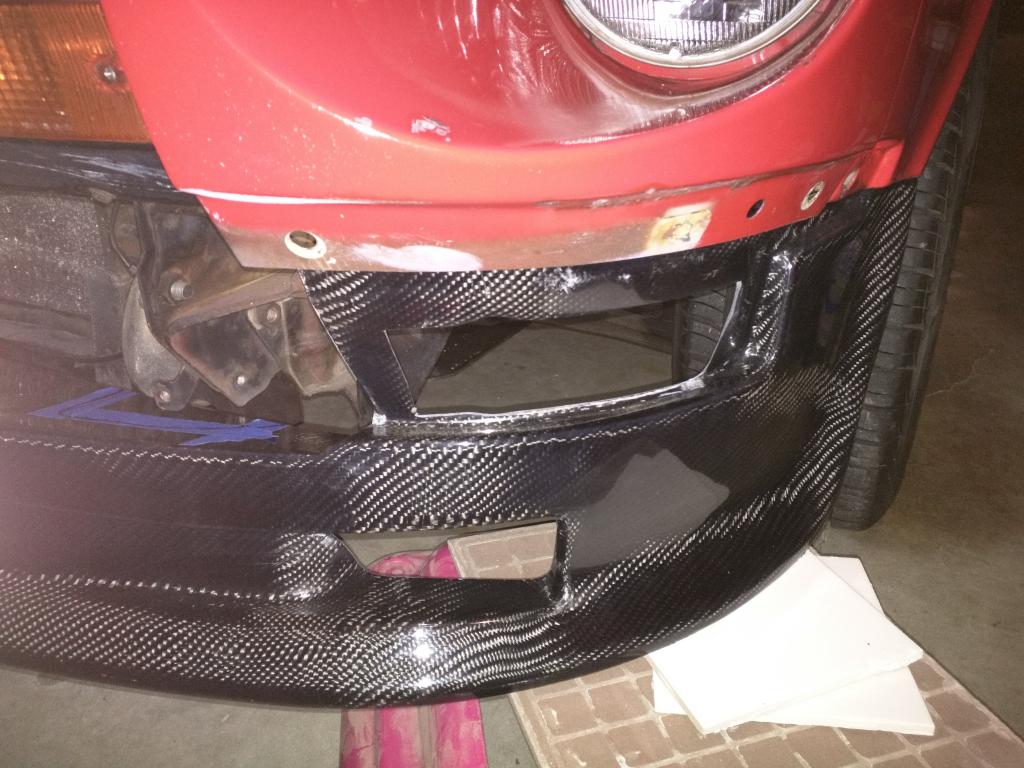
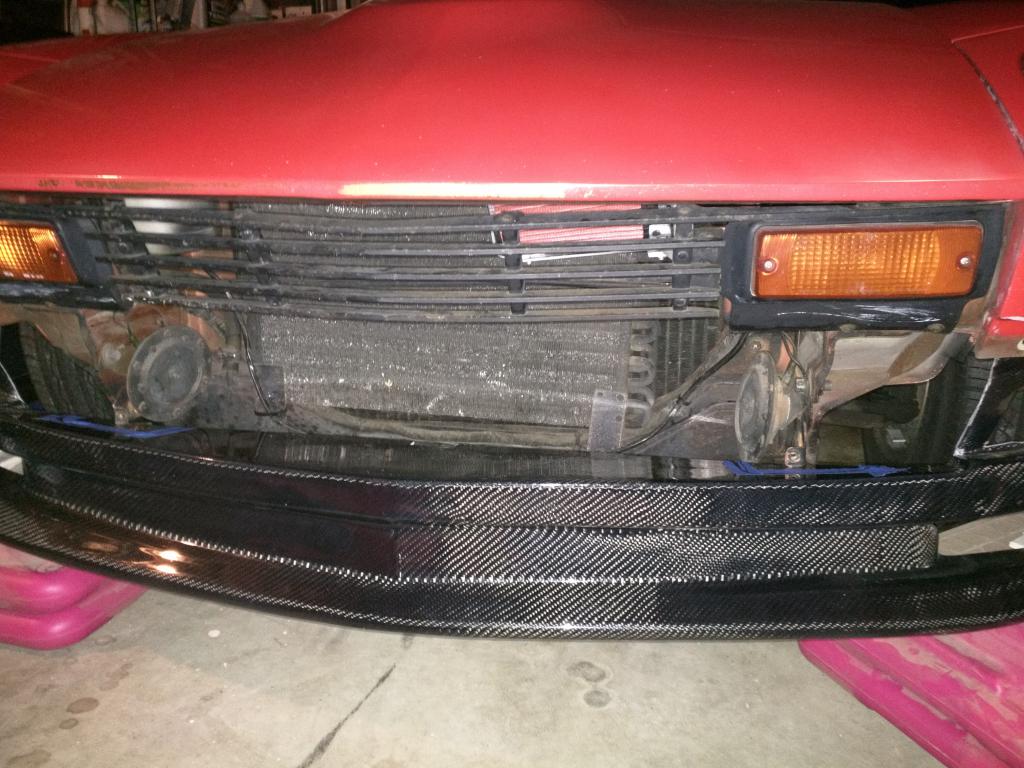
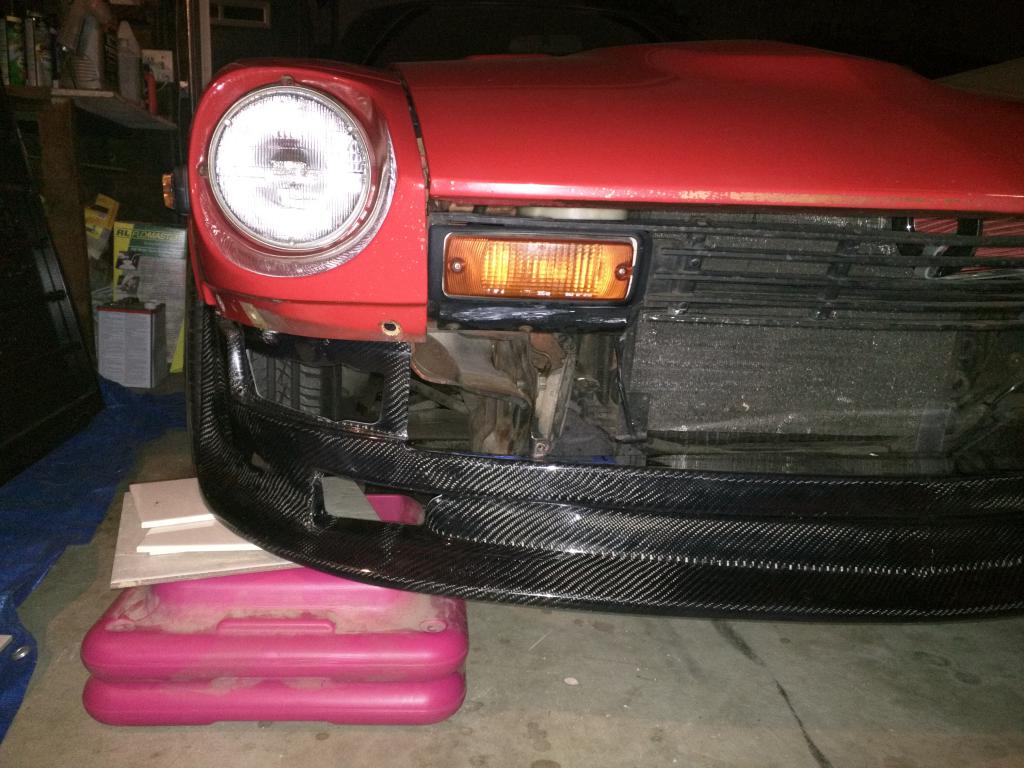
So I had bought an S30 air dam from Japan this past summer but never got around to mounting them to the car until this past winter. I originally got air dam with turn signal cutouts because I was planning on doing front turn signal swap and going for a 240z set, now I'm not so sure. Anyway, upon install I realized that the air dam doesn't come close to the sitting flush against the mounting points near the headlight buckets. At first, I figured it might be because there's extra material on bottom of the mouth of the air dam but I assume that even after cutting it it still wouldn't sit flush on the mounting surface anyway. Additionally it seems as if the vertical faces on the inside of the turn signal cut outs aren't long enough to sit flush with the inner most edge of the mounting surface. Also when you have one side of the air dam seated flush along the fender lip, the other side is pushed away from it, which leads me to believe that the air dam's overall size is too narrow. Am I wrong in assuming that the 240z and late 280z air dams are similar in nature? I'm very close to just purchasing a fiberglass 280z air dam and redoing it in carbon. Apologies for the lack of light in the photos, I was doing this at about 11 at night.
-
1971 240z "Kirin" Hi there! This is going to be my little Z build. Picked her up as a gift to myself after coming back from Japan. Today she sits eagerly awaiting to be fixed up and driven. After months of sitting I decided it was about time to get a move on it, so here we go! Last Updated: Dec 1st, 2016 - added a couple notes to self May 21st, 2016: Got it running after sitting for 9 months! Now it's sitting again -- Crank Keyway worn-out Note to Readers: I've linked most of the things I've purchased with their part number and a website. If you see something that isn't linked, or want to know where I purchased something, let me know! Exterior -Chassis: rusted -Body: dented steel panels, cracked fiberglass head buckets -Bumper: deleted rear bumper, ugly stock front still installed -Spoiler: Fairlady 432R Reproduction -Grill: Fairlady Z432 Reproduction (1 tuff z) -Paint : 918 Orange (original) -Misc: (order weatherstripping you lazy fool!) / (research rust prevention) / (research body work & paint) Interior Everything was stripped! Lend me your dry ice... Electrical -Battery: New Battery - Optima Red Top 25 / Autozone Universal Battery Mount / (correct size battery cables) -Alternator: upgraded alternator - 140Amp -Wiring Harness: stock (order pretty rainbow colored one - EZ) -Audio: no stereo -Lights: Headlights: Dapper Lighting 7" Classic V2 + White LED Halo (Halogen) / Tail lights: Dapper Lighting Sequential LED -Gauges: stock -Switches: stock -Sensors: Crank Pulley Flying-Magnets system -Ignition System: Distributor-less Simple Digital System Coil Pack Ignition -Spark Plugs: NGK Iridium IX Spark Plugs (PN 739-BPR6EIX) -Spark Plug Wires: 8mm Street Thunder; Spark Plug Wire; Custom Fit 6 cyl.; Black (PN 895-51090) (soon to be removed) -Misc: deleted external voltage regulator / (research windshield wiper motor) Engine & Exhaust - Acc. Belt: Napa (PN _____ ) -Intake Manifold: Mangoletsi -Carburetor(s): Triple Dellorto DHLA 45M -Jets: -Air Filter: K&N re-usable air filter (x3) -Cam: stock? not sure -Block: P30 L24 (Matching #'s) -Head: E31 - Ported (size) -Distributor: stock (delete & plug) -PCV Valve: Valve Cover Breather PCV K&N (PN 800-613) / Crankcase Vent Breather Filter PCV K&N (PN 800-406) (re-route to exhaust) -Exhaust: (research heat shield) -Misc: deleted random wires and screws in engine bay Cooling / Fuel / Oil -Radiator & Plumbing: Mishimoto radiator (PN MMRAD-DATS-70) / Upper & Lower Mishimoto radiator hoses (PN MMHOSE-DATS-70) / 1.75" Mishimoto radiator Tension Clamps / (install custom overflow tank) / (research fan shroud) -Thermostat: 160 degree thermostat & new gasket / 1/4" BSPT Alloy Steel Hex Plug w/ Plumbing tape (x1) -Fan: stock (order electric fan(s) x2) -Water Pump: stock (order gasket) -Misc: deleted manifold / carb coolant line & plugged thermostat housing hole / rotated 90 Deg elbow towards water pump - new 5/8" rubber hose [on order] hose brackets --- -Fuel Tank: stock (research fuel cell) -Fuel Pump: stock (research electrical/mech) -Fuel Regulator: none (research bypass 4+ PSI w/ gauge adapter) -Fuel Filter: Autozone (generic) -Fuel Rail: (removed) -Choke: stock (need to tuck) -Misc: new fuel sending unit, o-ring & lock ring --- -Oil Filter: Fram (size) -Oil Pan: stock -Misc: n/a Suspension / Tires & Brakes -Axels: -Suspension & Steering: clunk. clunk. clunk. -Braking System: I'll eventually stop..(all stock) -Rims: -Tires: cheap Goodyears (insert size) -Misc: n/a Drivetrain -Clutch: custom clutch hardline (3/8-24NPT to M10/1.0) -Master Cylinder: Tilton-76 7/8" Master cylinder (PN 76-875) / adapter (3/8-24NPT double flare to 3/8-24NPT bubble flare) / Girling reservoir, offset 7/16-20 outlet, 5oz -Slave Cylinder: Beck Arnley slave cylinder (PN 072-1258) w/ adjustable rod & return spring / SS clutch hose (PN 21-2170) (order mounting shims) -Throttle System: -Transmission: '77-80 "wide ratio" 5-speed -Differential: not sure yet -Misc: n/a Miscellaneous -AC: none -Heating System: deleted -Bolts: Replacing all bolts with ZCarDepot SS Bolt Kit (PN 650-000) -Hoses: Replaced most fuel vent hoses Going to have to backtrack a little, I hope you don't mind...
-
 As the title suggests looking for a z that's swapped clean would be a plus. As much as possible no rust. Willing to travel for the right one
 -
Hi i looking for right and left door panel for my 2 seaters early 260z black interior. Thanks Greg
-
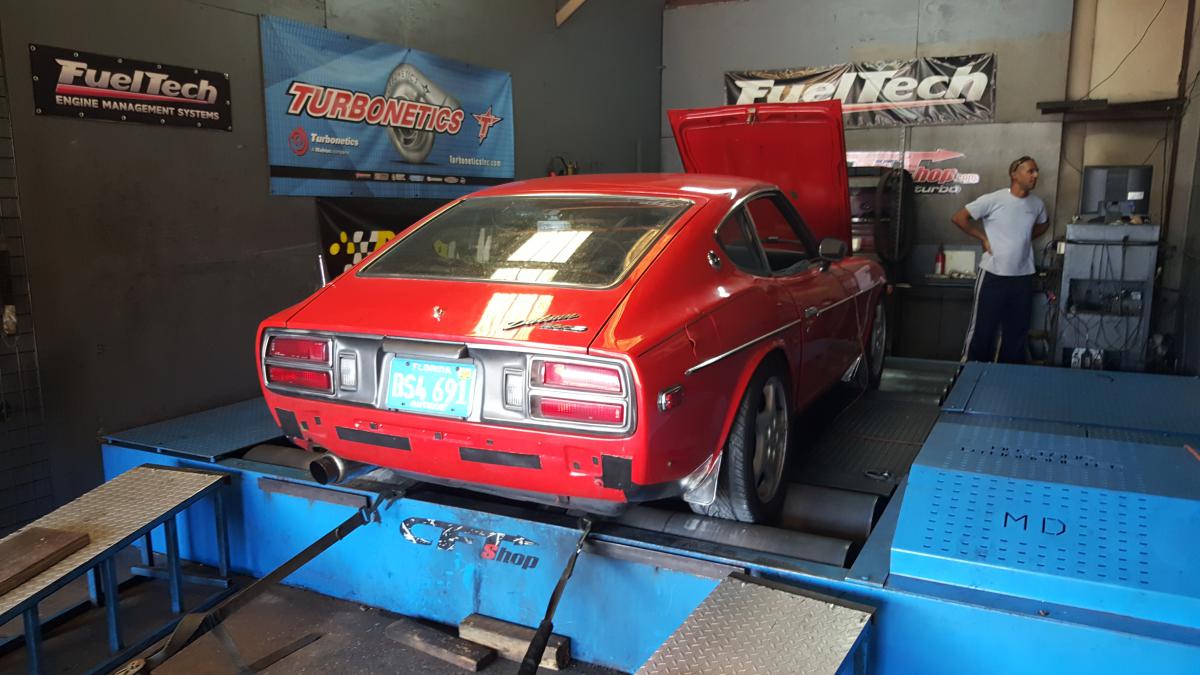
Here is the last dyno run we did to tune the car. It is a blast to drive. There are 29 pulls on this zip drive. You can just look at the last 3-4 pulls as they are the final tune. 225hp with 255 tq on the dyno. Think I am conservative enough on tune for longevity. Still need to work on decel, and initial tip in. Had multiple issues to deal with at the dyno. Kept losing power to the TPS(was the connection being loose on the spade to fuse panel). Blew coupler off did not know it for first 10 pulls. Pulled the power to 3 injectors by accident while closing the gaps on spark plugs. Had the vacuum lines to the boost controller wrong, hence could not build boost. Thats how it is when you don't finish things you start, or finish things others don't. Have to look over everything. Data Log Zip File.zip
-
My goal is to swap a 2007-2008 VQ35HR and 5 speed automatic transmission into my 1974 Datsun 260z. I had a 2003 350z with the 5 speed auto and enjoyed it more than any vehicle I've ever had. I still have a set of Works Bell Electronic Paddle Shifters for it that never were installed. I plan to retrofit them to the 260z steering column.
-
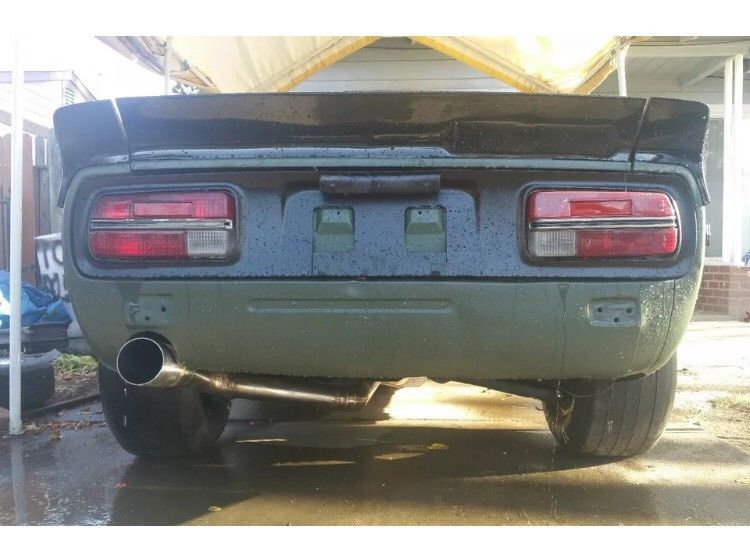
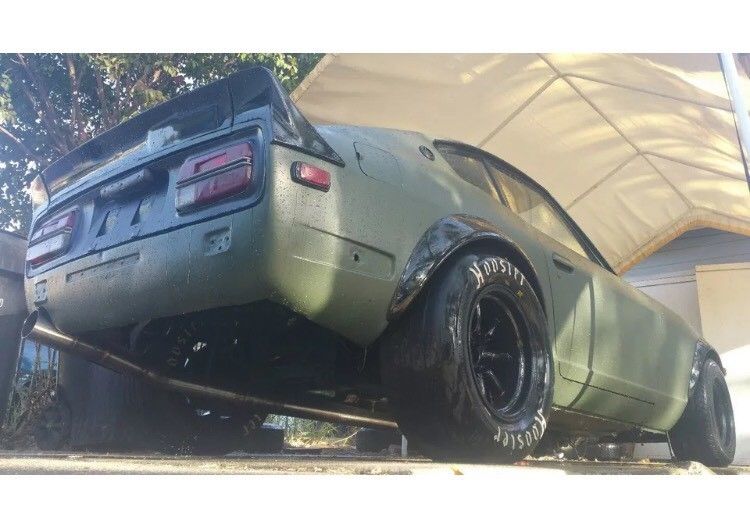
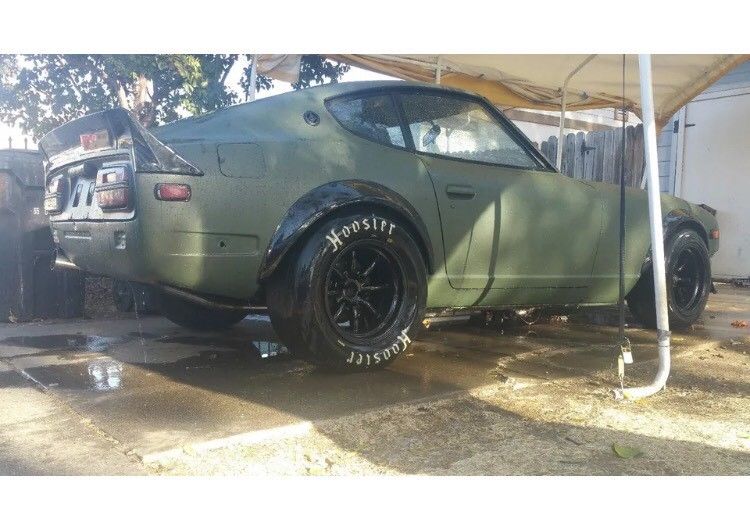
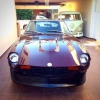
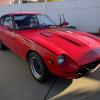
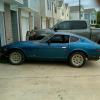
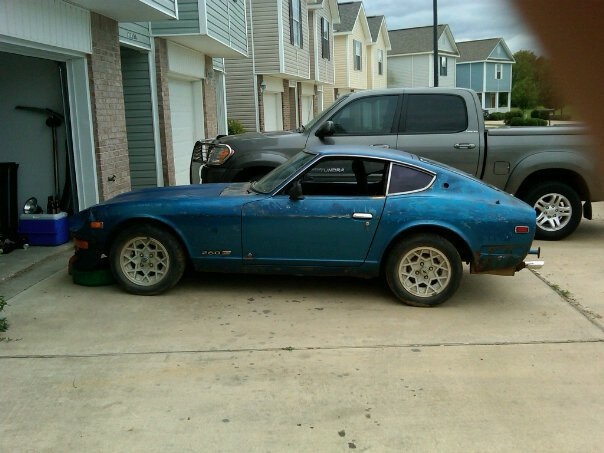
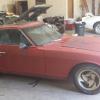
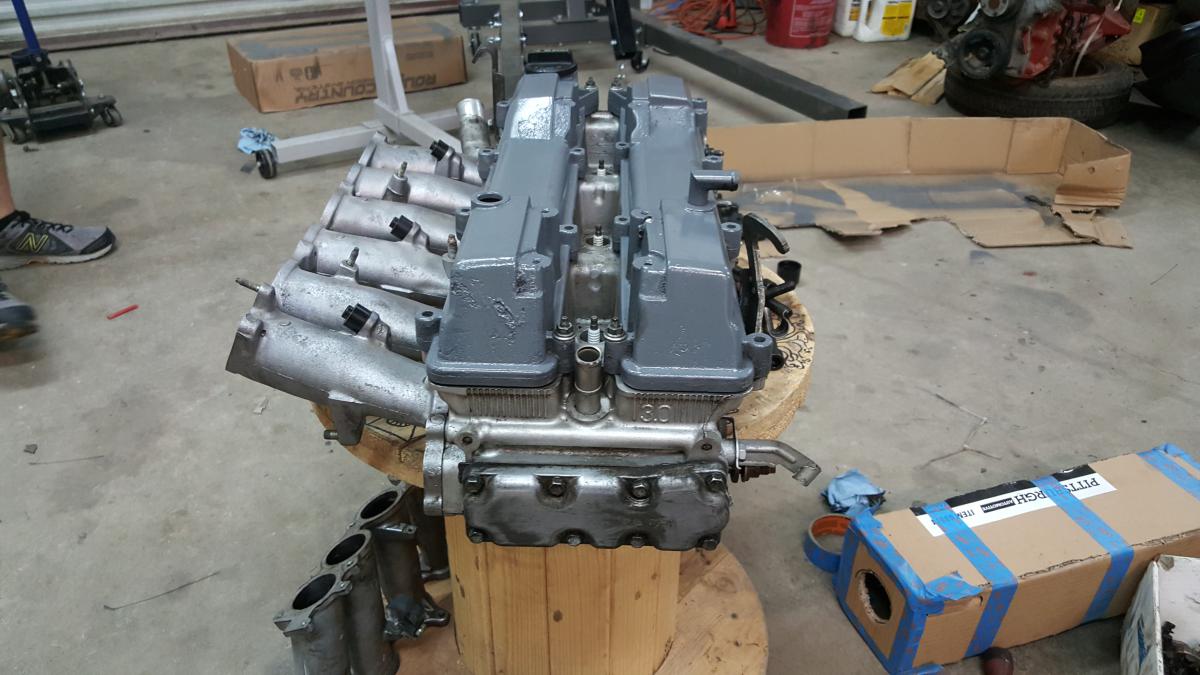
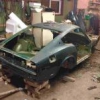
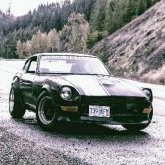
I haven't posted here in forever it seems like. A lot of you guys have yet to be introduced to the green Z unless you've seen it on Facebook. We picked it up actually to only rob the fenders from for the red one but I've ended up falling in love. It's a hardtop car whereas the red one has a sunroof. I attempted to make a new headliner for it where the factory one was torn up. After that not much else has happened except for locating all the rust areas which, on this car, aren't actually that bad. It has been garage kept for the last couple years that I know of which has led to mostly only the floor pans being shot. the rocker panels are decent but could use some patching and a few areas in the door jam area that need some attention. As far as engine goes I've resorted back to the 2jz I have sitting around. Still working on mounts for it and am currently gathering parts, or rather money to buy parts, to start rebuilding it. Nothing spectacular out of it but maybe some GTE internals If my engine builder friend has them. Stock head for now but maybe some day switch to either a 1jz for a 1.5jz build or straight to a non vvti 2jzgte head. These are all just dreams right now and I think I'll be more than happy with a stock 2jzge in a 2500lb car. As of now all I've done is painted the valve covers, clean the block a little, and have sourced some more of the parts I'll be needing. A crankshaft from an sc300 and also a wiring harness and ecu from an SC. After that all that's left is a rebuild kit with gaskets and bearings and such. Also gonna go ahead and replace the water and oil pumps while the engine is out. Suspension I'm leaning towards the T3 DIY coilover kit or maybe just some of the mr2 struts with stiffer springs. Wheels will be some of the diamond racing wheels for now but in the end is a secret . Let's just say I'll be looking into doing a 5 lug swap soon as well. Still looking into a cd009 transmission swap but I may just throw a w58 on the 2jz and get it in the car. Maybe I'll actually be able to provide updates for this thread pretty quick. I enrolled in my local technical college for their electrician/ commercial wiring class and will be done about summer time next year. I'm kinda excited about that but who needs eduaction when you have a Z car. LMAO. Thanks guys
-
Hey guys, This is the journey of my 1974 Datsun 260z to where it currently stands and where it is headed. I hope you enjoy! This was the car when I first got it... It was a good running car that was fairly "clean" with the exception of some hidden rust. I drove the car like this for a couple of years before I really got the itch to modify it. To start things off, my carbs started leaking so I rebuilt the round top already on the car. The outcome: Nice new carbs and a sad looking engine bay. (Ignore the wheel in the background, we will get to those later...) With the production of the BC Racing coilovers, I decided it was time to pull the car apart for a few updates in the winter of 2014/2015. It would share a space with an old Austin Healey Mini for the winter. With it up on Jack stands, the intentions were to go through the bushings, suspension and address the rear brakes. Along the Way I also picked up a set of Wilwoods for the front which are still having brackets fabricated. I acquired a Silvermine rear disc brake conversion, BC Racing coilovers, & some Prothane Bushings and work began. With all of the parts acquired that I wanted/needed for the winter ahead, I came across a pretty rair set of wheels that I would snatch up: 15x9 3-Piece Revolution RFX's that the previous owner had painted the faces of a House of Kolors Green. At first, I hated the color of the wheels but they have since grown on me a bit. With everything ready for the winter project, I started tearing the car apart... [/url With all of the suspension pulled off and the struts sectioned, I started assembling the front coilovers. The shop I had weld them had some pretty ugly welds that I ended up having to grind down. I also wire-wheeled the knuckle assembly and painted it for a nice finished look. I also went on ahead and wire-wheeled and painted the brake dust shields while I was at it... Finished Products:
-
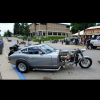
Hi all, Name is Dave, I'm Scottish but currently live in New Zealand... found this forum while searching for Z cars seemed to have a lot of projects and technical information so I thought I would throw in my 2 cents as well. I'm guessing most people on this site are from America? Im new to the whole S30 game but have admired the cars for a long time so when one came up for sale near me I decided to have a look and made a bid, sadly it went for more than I was willing to pay for it but through some miracle it came back up for sale a few weeks later (sale fell through) so once again I bid and this time won the auction. Managed to get it for almost $2000 less than the first auction. Score! I pick it up on Saturday morning then the fun can begin. This is the lucky lady herself... Needs a bit of TLC... and when I say a bit I mean a lot. Anyway something to keep me busy and spend all my money on eh? So I will hopefully keep updating this as often as I can or whenever I accomplish something or need help!
-
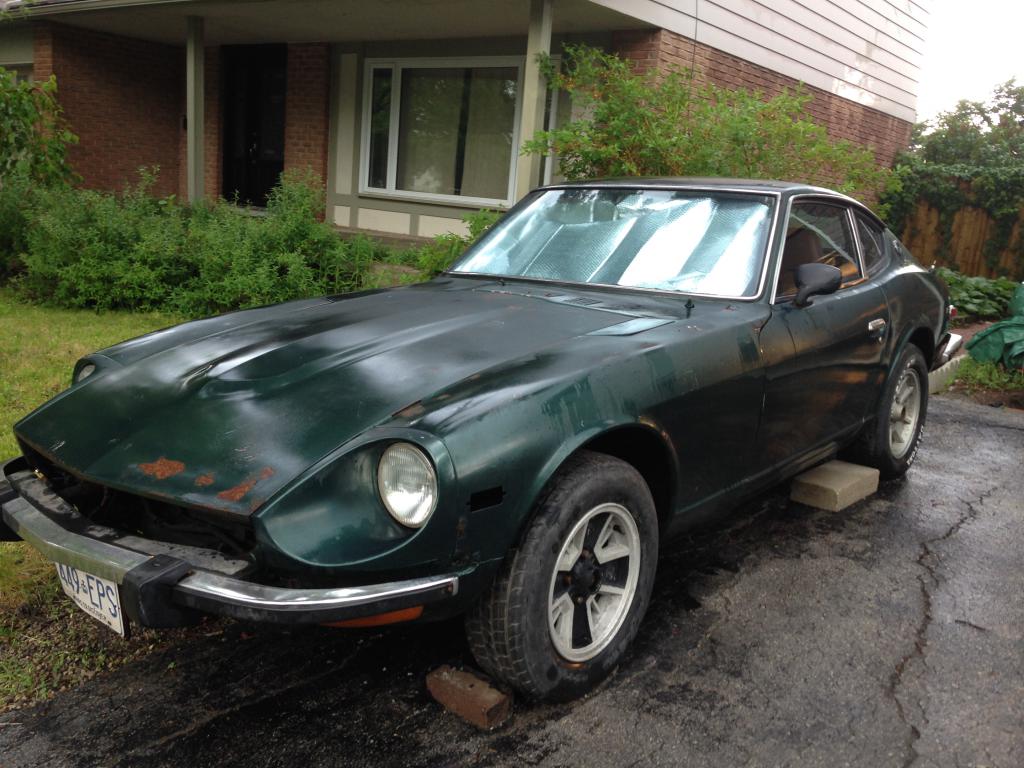
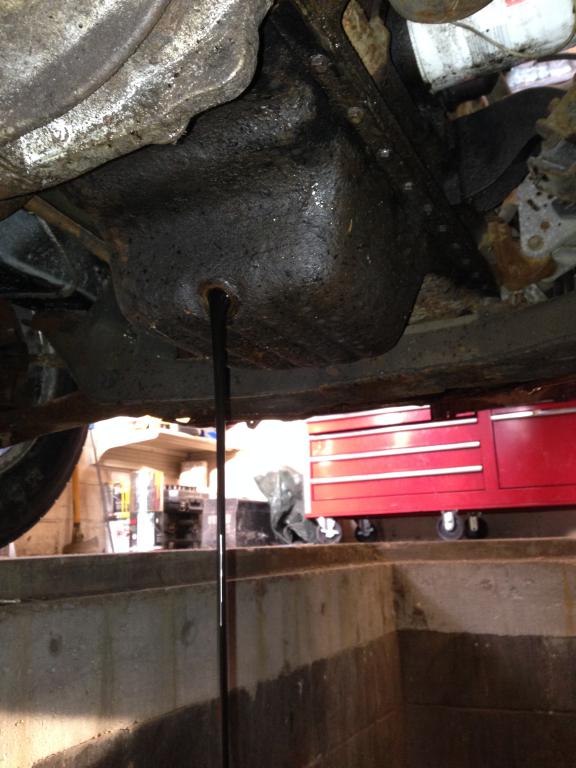
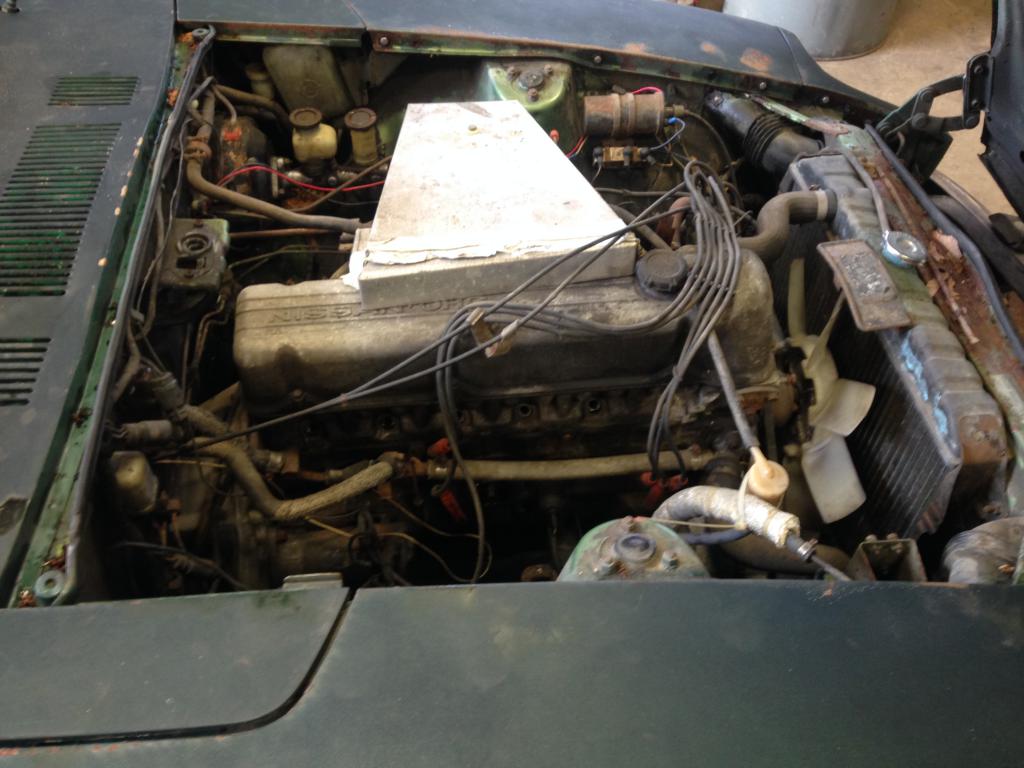
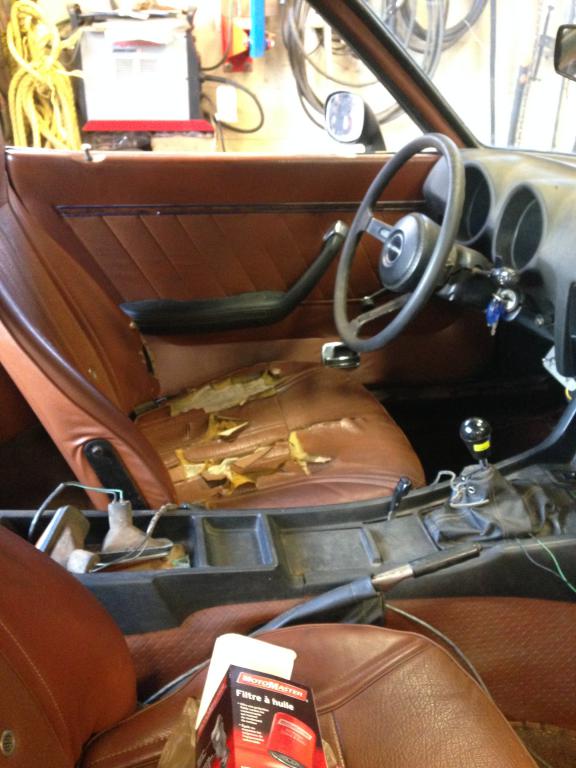
Hello all, I've been lurking on the site for awhile, and finally decided to take the plunge and pick up an S30 Z-car from a fellow forum member over at OntarioZCar, along with my brother (Adrian Z). (If you're in ON, and not on that forum, I highly recommend it - great bunch of guys). This is going to be a dedicated build thread, I will try to make it picture-heavy, as those are always the best ones. She's a 1974 260Z with 46k miles on the ODO. I thought it was mostly original, but on closer inspection in the shop it's had some work done on it (not good either, going to be a bit of a pain to fix). The front frame appears to have some damage and they fixed it poorly. The floorpans are shot, there's typical rust everywhere you'd expect from a 40 y/o car in Canada, but nothing that's not fixable with a bit of work. The bigger issue is that it was sitting neglected in a barn for the past 15 years, and the engine seems to be seized. Clutch is unresponsive as well, breaks nonexistent (work on moving first, then worry about stopping). The previous-previous owner jimmy-rigged the wiring, so that needs to be redone, and he took the stock carbs off in favour of a single-weber setup - not sure why. So far I've just been inspecting and figuring how deep of a hole I've dug for myself. I washed the car, drained the goopy old oil, and slapped a new oil filter on. Filled it with 10W-30, not sure if that's best, but some forum folks seem to think it works, so that's good enough for me. I'm pretty sure the rings are rusted to the bores, so I pulled the plugs and filled each cylinder up with WD40, leaving it overnight to try penetrate the rust, see if it feels like turning tomorrow... Taking her home Weird single-weber setup Interior - Driver's seat shot, the rest is ok Badly repaired front frame under the engine (not going to pass safety here...) Rotted floor pan First of many oil changes Eric
-
Car is no longer charging. Can anyone tell me what the role of the Black/Yellow wire is, going to the voltage regulator on a 260z? According to the factory wiring diagram it goes straight to the interlock relay. Is it supplying voltage TO the relay or is it receiving voltage FROM it? For context, here's the issue I'm having: I get 0v at the WB and Y connectors (these run to the F and N terminals on the alternator) There is 12v on the W wire at the regulator. The B wire is showing a strong ground. The BW wire runs inside the passenger compartment and becomes the green wires on the Tach, Amp/Fuel, and Temp/Oil gauges The BY wire connects to the interlock relay. Still trying to wrap my head around those last 2 bullet points. I have to admit, i don't understand why those any gauge besides the ammeter needs to be connected to the voltage regulator. Not sure if this is significant or not, but the BY wire reads .059 volts when the ignition switch is on. I am tempted to jump 12v to this wire, to see what happens, but i'm afraid of hurting the regulator, if it is isn't defective. Any advice is greatly appreciated!
-
Was wondering if the 95 300z turbo r200 with cv shafts is worth grabbing for the rear of a 260z late model ? Seems, from what I read, they have some issues just dropping them in.?
-
 Hey guys, need some help with a little issue I have been encountering, and havent really come across a answer in the search section SPECS early 260 w/ sr20det light to mild mods(stock turbo) suby 2004 3.9 lsd rebuilt 240z axles wolf creek racing axle adapters MY BACKGROUND degree in automotive science six years working for Benz as a master tech ISSUE: popping noise & vehicle hops in tight turning reverse, forward motion turning, or taking off(normal load driving) breaking u joints HISTORY About seven months ago I decided it was time to replace the stock 260z diff after blowing up its guts, After much research I picked up a 04 suby lsd off ebay used, had the diff rebuilt at known shop(seals , pinion and ring gear replaced), and installed it into my 260z using wolf creek racing axle adapters and stock 240z half shafts with new u joints. The diff was filled with motul 90pa, fluid specifically made for that diff. After being proud of my swap, it was off to testing the diff out and performed the break in procedures including the 20 or so mile drive with letting the diff cool to harden the metal. Everything seemed ok, but after 50 miles I started to notice a clunking/popping noise coming from the rear end & and the whole car would hop(during clunking noise) as if you were driving with a flat tire. This would happen when reversing down hill from my drive way and turning, or making forward turns from a stop, or when starting to move under low/normal load, or making large 180 degree freeway off ramps turns. When I inspected the diff I found the side seals leaking oil, and wondered if their was something wrong with the rebuild. I took the car back to the diff shop, who actually started yelling at me and swearing when I told them the car wasn't right and I wanted them to check it out. I asked them to inspect not just the diff, but the drivetrain for binding. Before the rebuild the shop was told to spend extra attention to the clutch's, due to the cost of replacing clutches vs just picking up a new diff. Talking with the diff shop about the problem, I asked again about the clutches, turns out they did not torque test the clutches or test the clutch adjustment, just visually looked at them and demand them ok. After a week at the shop, it was time to pick up the car. the shop said they drove the car all over and said the noise was due to no lsd additive and the wrong fluid. I showed him the suby recommended fluids and the motul site indicating that it wasn't needed, and he basically told me to GTFO and that he was perfect. Leaving the shop, heading home, within 20 miles, the diff starting popping around the corner and I lost the passenger side half shaft at the inner U-joint. The car ended up sitting for a month or two due to my schooling and work demands keeping me out of the garage. Last week I finally found time to swap the axle with a spare one I had laying around. The car seemed to drive ok for about 15 Miles, until I reversed out of a parking space making a corner....then the infamous popping noise came back. You can spin the tires free hand in the air, and you feel light resistance then a little moderate then light again, but I think thats just from the brakes(doesnt look like the axles causing it) MY THOUGHTS: I don't know if the clutches are causing the wheels to lock up and cause this issue, but that seems kinda unlikely. I am leaning more to an issue with the axles coming out of the diff at to much of a angle causing them to bind when rotating. The adapters seem to stick out a little far for my liking, but I have not seen a photo of them installed on another car to see if this distance is normal. However other people run this set up and haven't mentioned this concern. I would love to swap the axles out to cv joints, but have not found a shop that builds custom axles( I want the axle to have a suby inner to eliminate the adapters and reduce the angle), and honestly I'm pretty over spending a crap ton of money on this thing(I'm a paramedic student, poor as hell lol). I am also reluctant to spend over a grand on axles, knowing that this may not fix my issue....sooo hard to justify that one just yet. CALL TO ARMS!: This whole situation sucks, I spent days swapping the motor, and building the car, and now this issue, ugh. I'm ready to kick this car to the curb, but before my last straw breaks, I am humbly requesting assistance. Any ideas would help, any experience with this swap, any pictures of adapters installed, ect. I am located in the bay area and the only real rear end shop near me happens to be the one that told me to GTFO. I can try and get pictures or a video over the next few days if that will help anyone whos interested in this challenge.